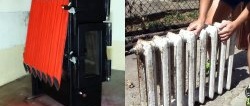
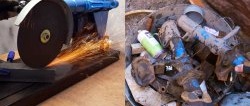
After dismantling, heavy, lime-covered cast-iron radiators make you sad and it’s unclear what to do with them. But if you think about it, they can be usefully used in the household, for example, to make a fireplace stove that is quite original and efficient with increased efficiency.

Will need
Materials:- old cast iron radiators;
- steel strips, sheets, bolts and nuts;
- corners;
- round and profile pipes;
- asbestos cord;
- fireproof glass and adhesive mastic;
- oven stove;
- grate;
- a fragment from a thick pipe of large diameter;
- heat-resistant enamel, etc.
Manufacturing process
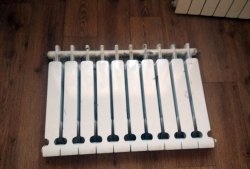
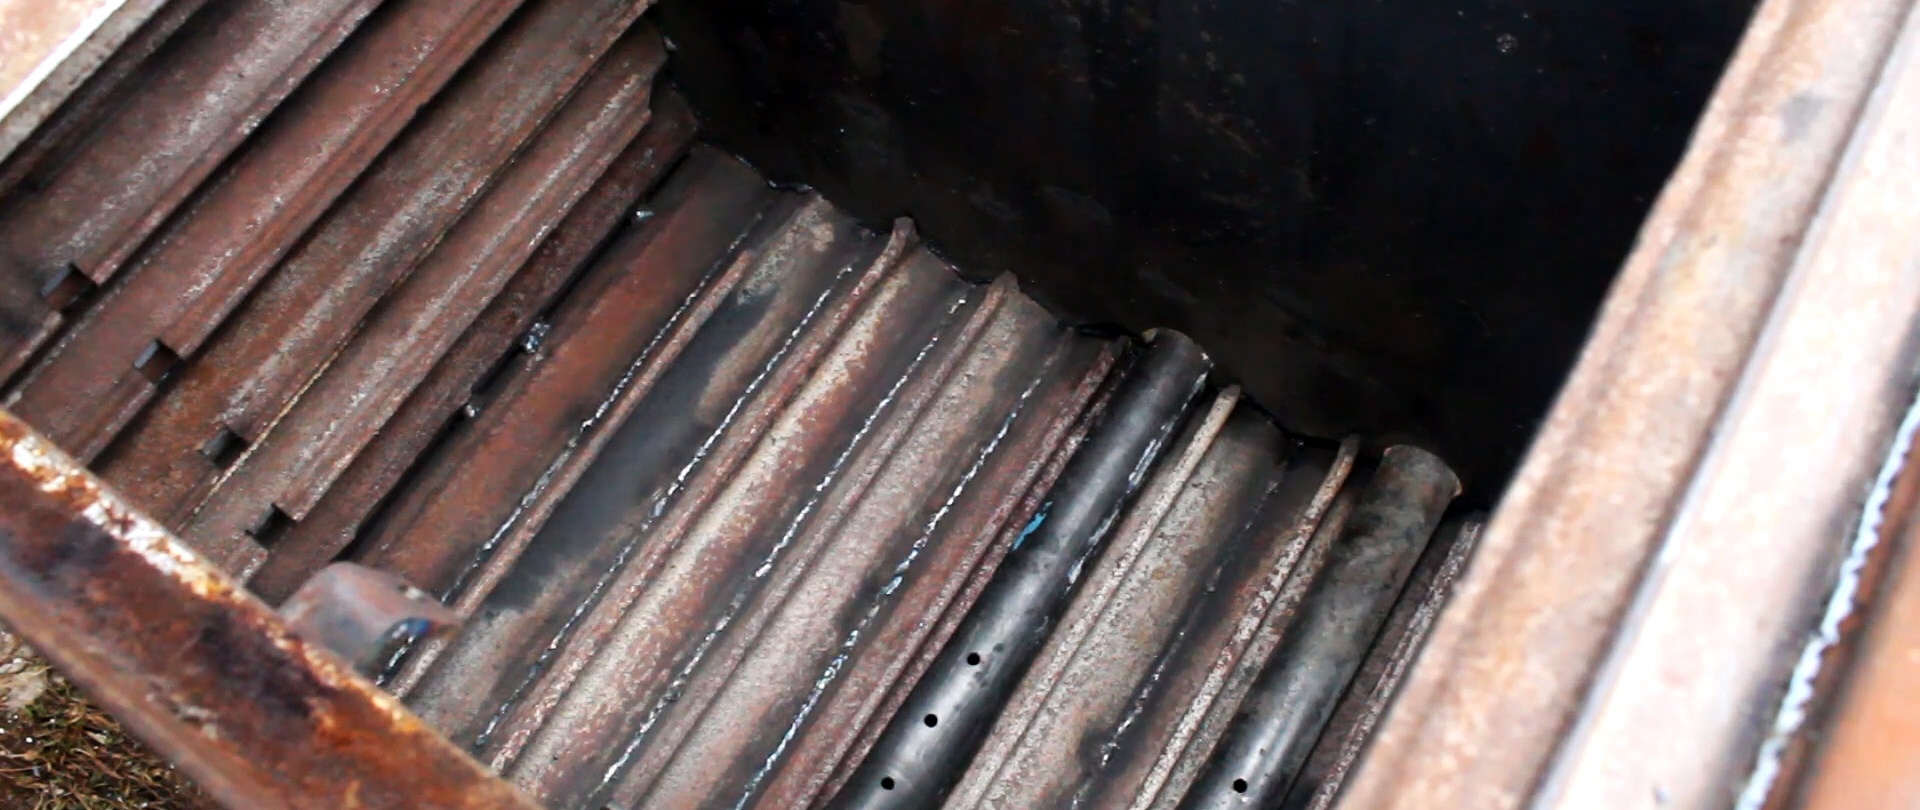
We cut vertical channels from cast iron radiators and heat them over a fire to burn off deposits and paint. We clean them with a metal brush and grinder.

We lay the vertical channels of the radiators on a flat surface with an emphasis on the limiter and weld them into sections with a different number of vertical channels.
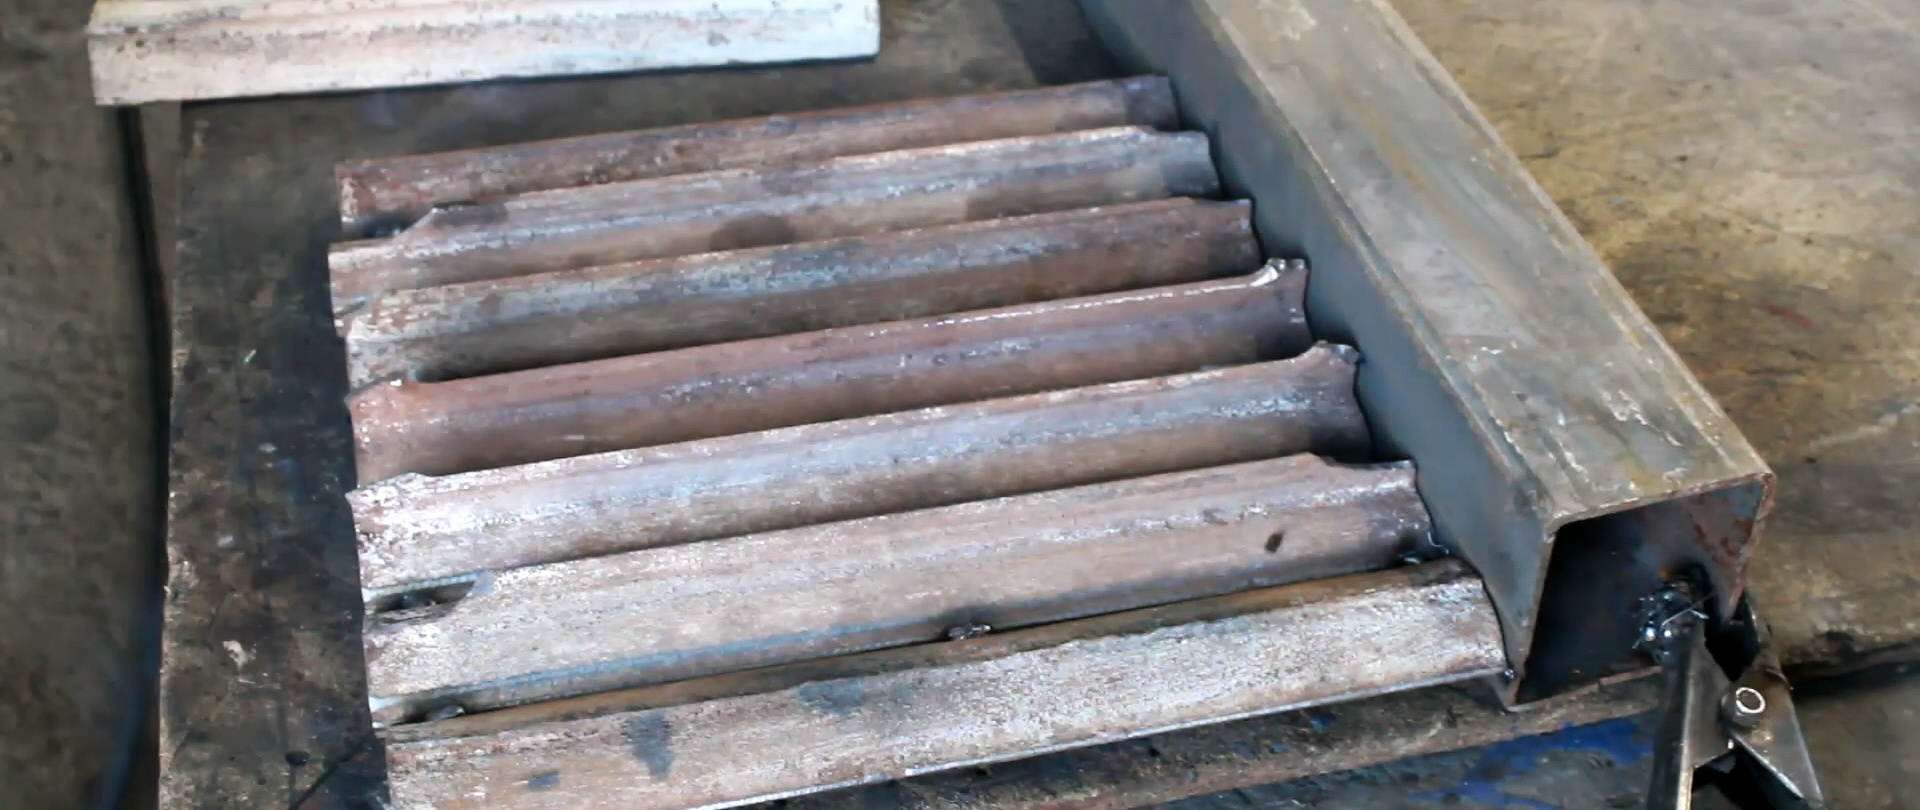
We cut several vertical channels in the middle and weld a section with solid vertical channels along the edges and shortened ones in the center. We weld a strip along the top of the shortened channels.

In the opening we fix by welding a steel square with an opening and four welded bolts in the corners.

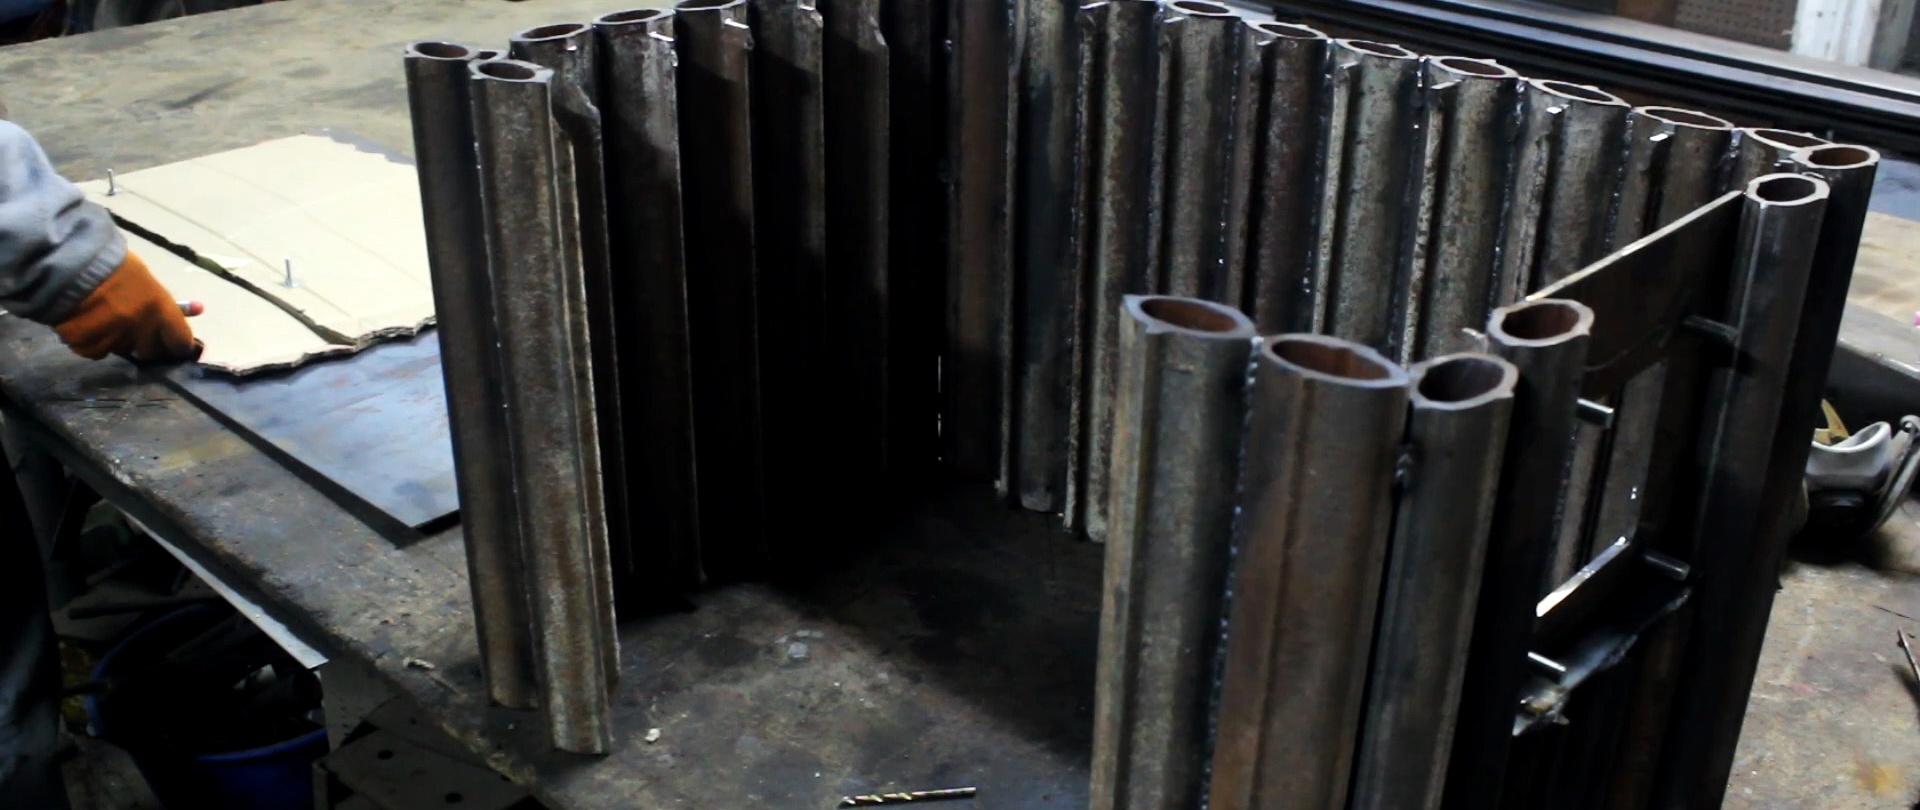
From the resulting sections we fold the box and fix it by welding.
The bottom of the fireplace is made using sheet metal. To do this, we cut out a fragment to the shape and size and weld it in place.


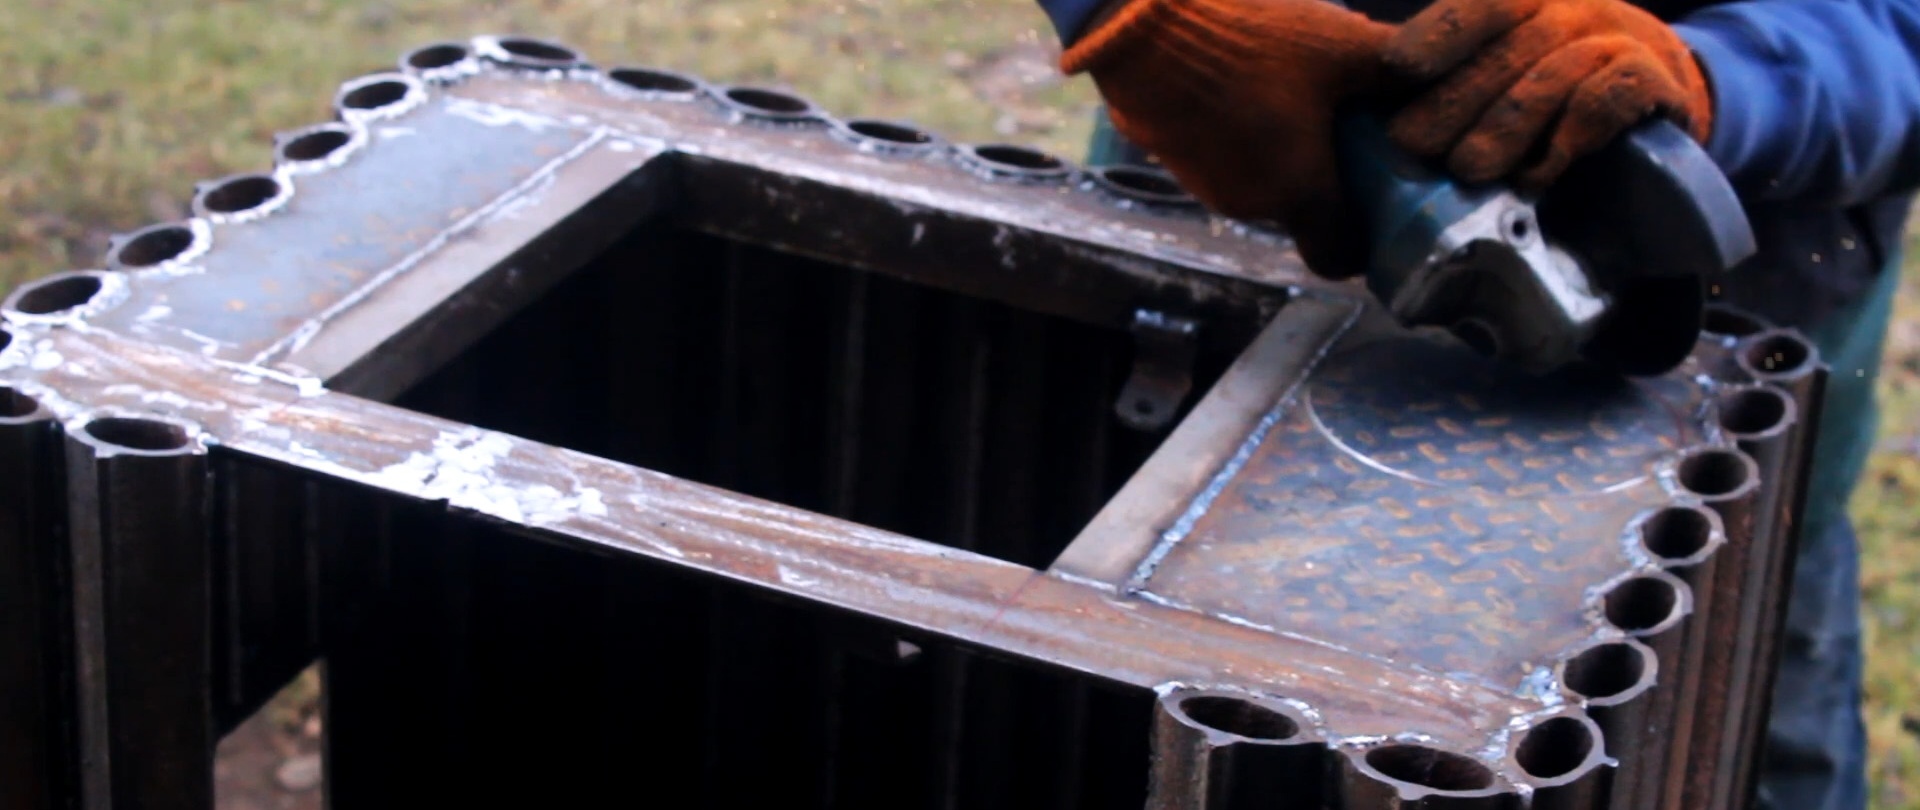
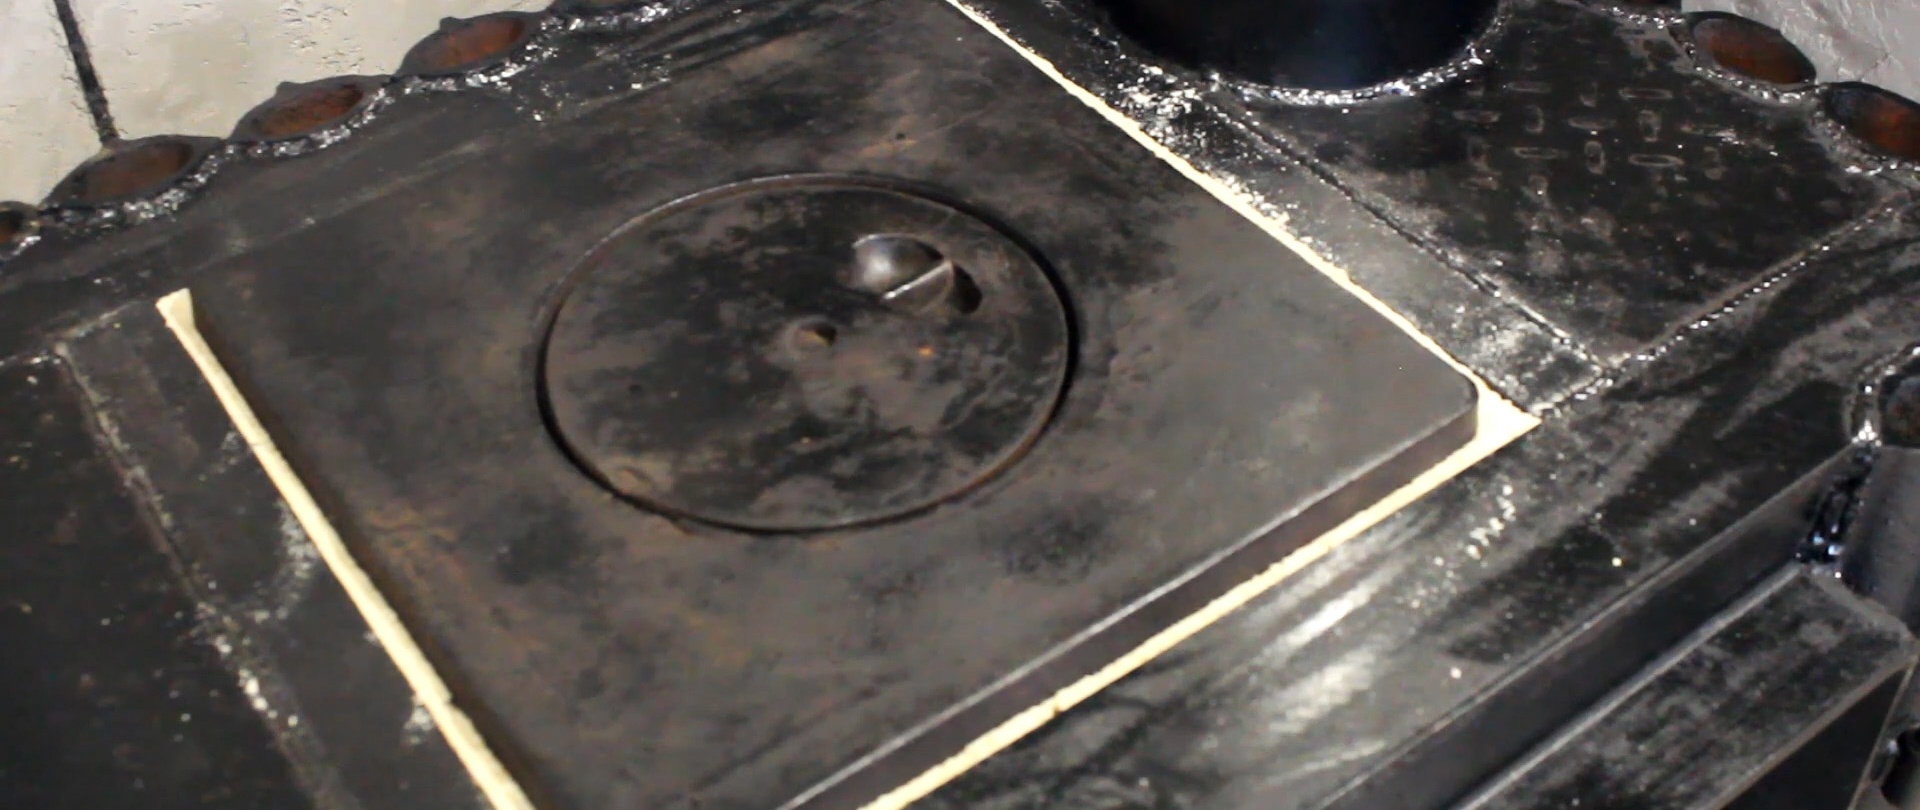
We form the upper part of the fireplace in the form of a frame using a corner and welding. We close the voids along the edges with sheet metal by welding. The middle remains open; we will install a cooking stove in it.

We strengthen the bottom of the fireplace from the outside, making stiffening ribs from the corners. At the corners of the bottom we attach stops from a square pipe by welding. Also, using sheet metal, we make a tray for collecting ash, welding it onto the stiffeners.

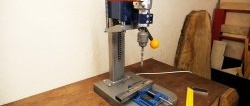
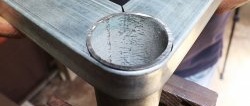
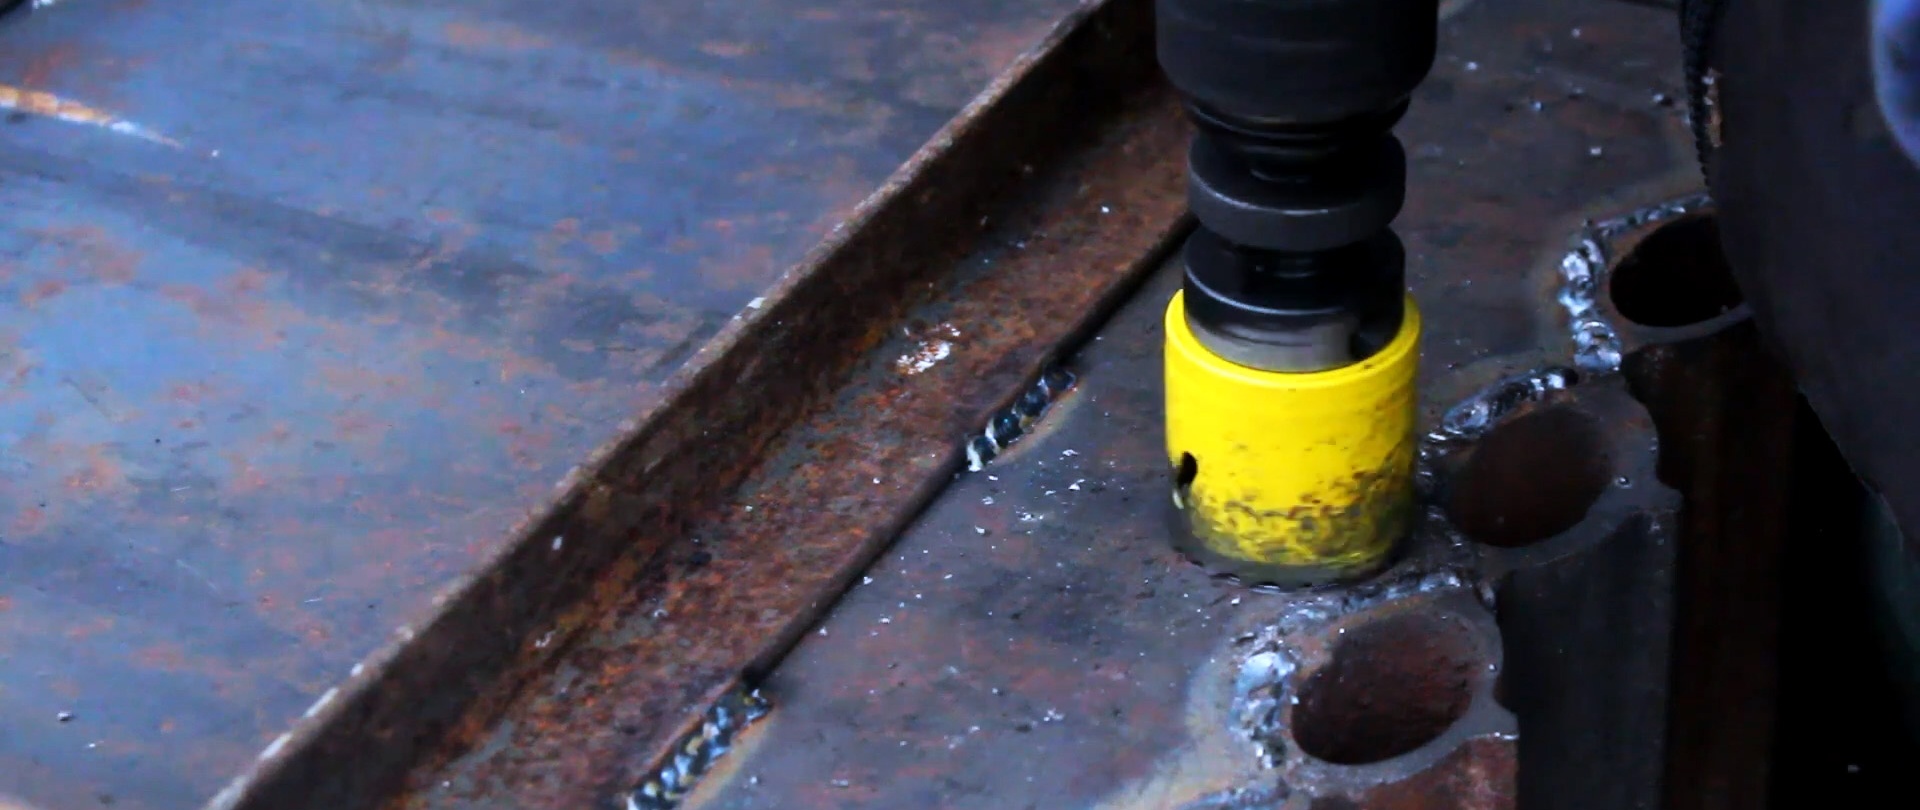
Using a core drill, we make two holes in the bottom of the fireplace and weld two round pipes in which holes were previously drilled. We place them vertically close to the back wall, bending and flattening the ends.

We make a hole on top of the stove and weld a round pipe in the form of a low sleeve into which we insert the chimney.

Using sheet metal, we make an ash pan and place it in the pan. We place two grates above the ash pit. Closer to the top of the firebox we weld a partition made of a thick large diameter pipe.

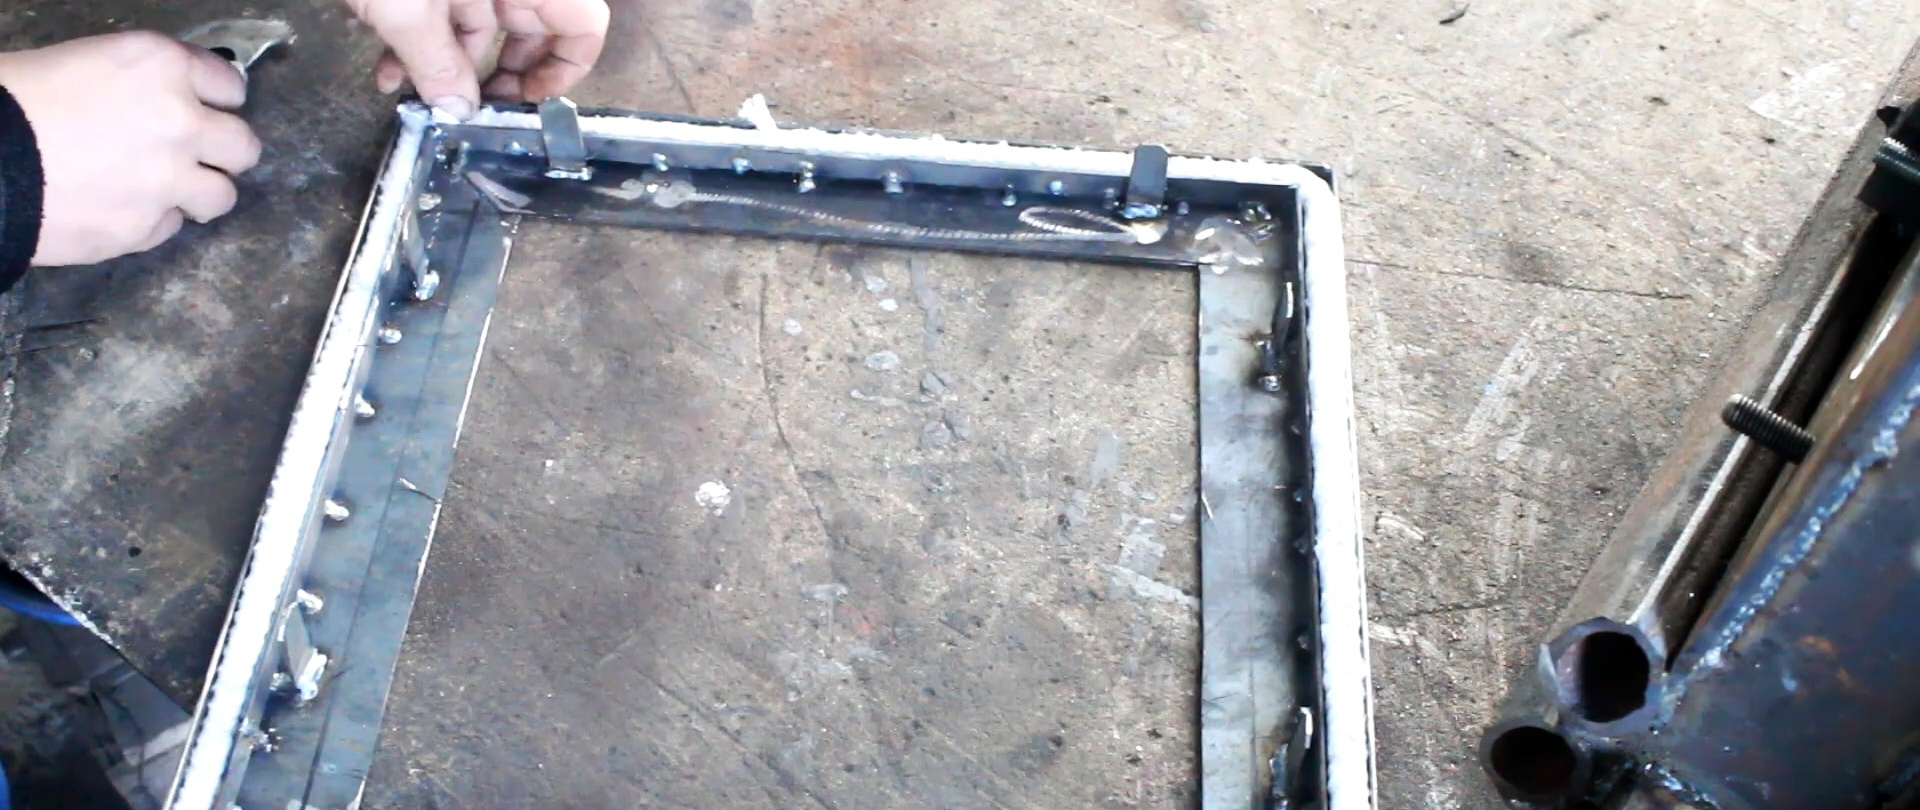
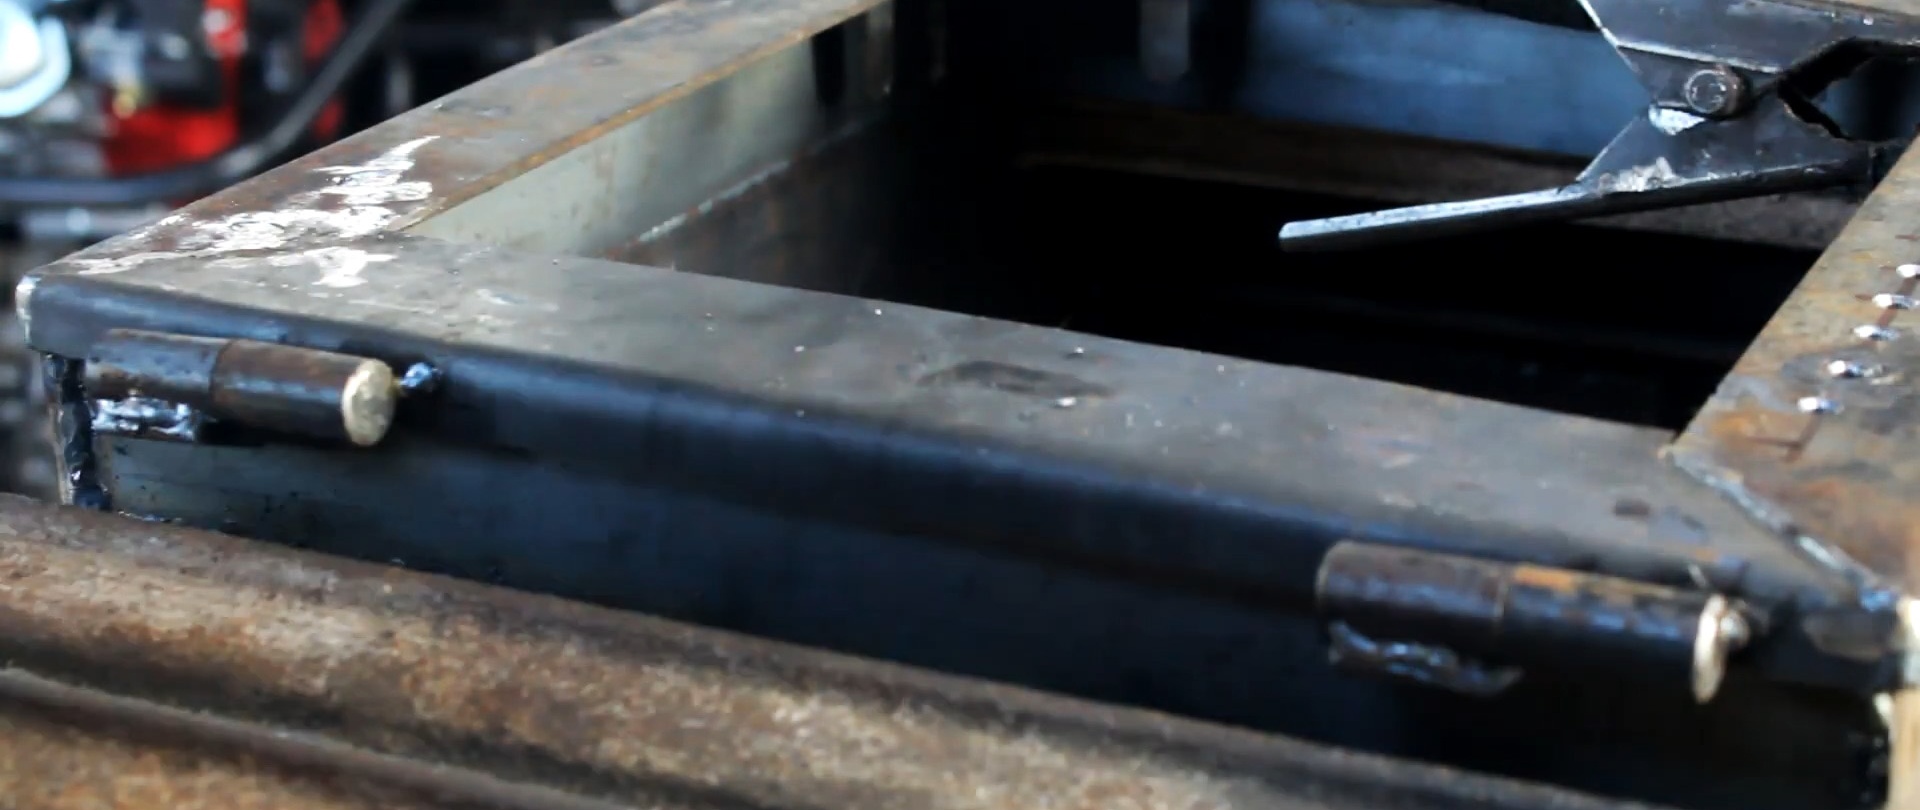
We make a frame from an L-shaped profile - the basis of the firebox door. We make a number of holes along one of its sides. To add rigidity inside the frame, we weld strips and tongues on four sides.
We lay asbestos cord in the gap between the outer corners and strips.
We weld hinges to the door and a gravity latch on the other side.

We also weld strips on the outside of the door along the contour of the square opening. We turn the door over and apply fire-resistant adhesive mastic along the contour of the opening, on which we place unpacked fire-resistant glass, press it to the mastic and leave it for one day.
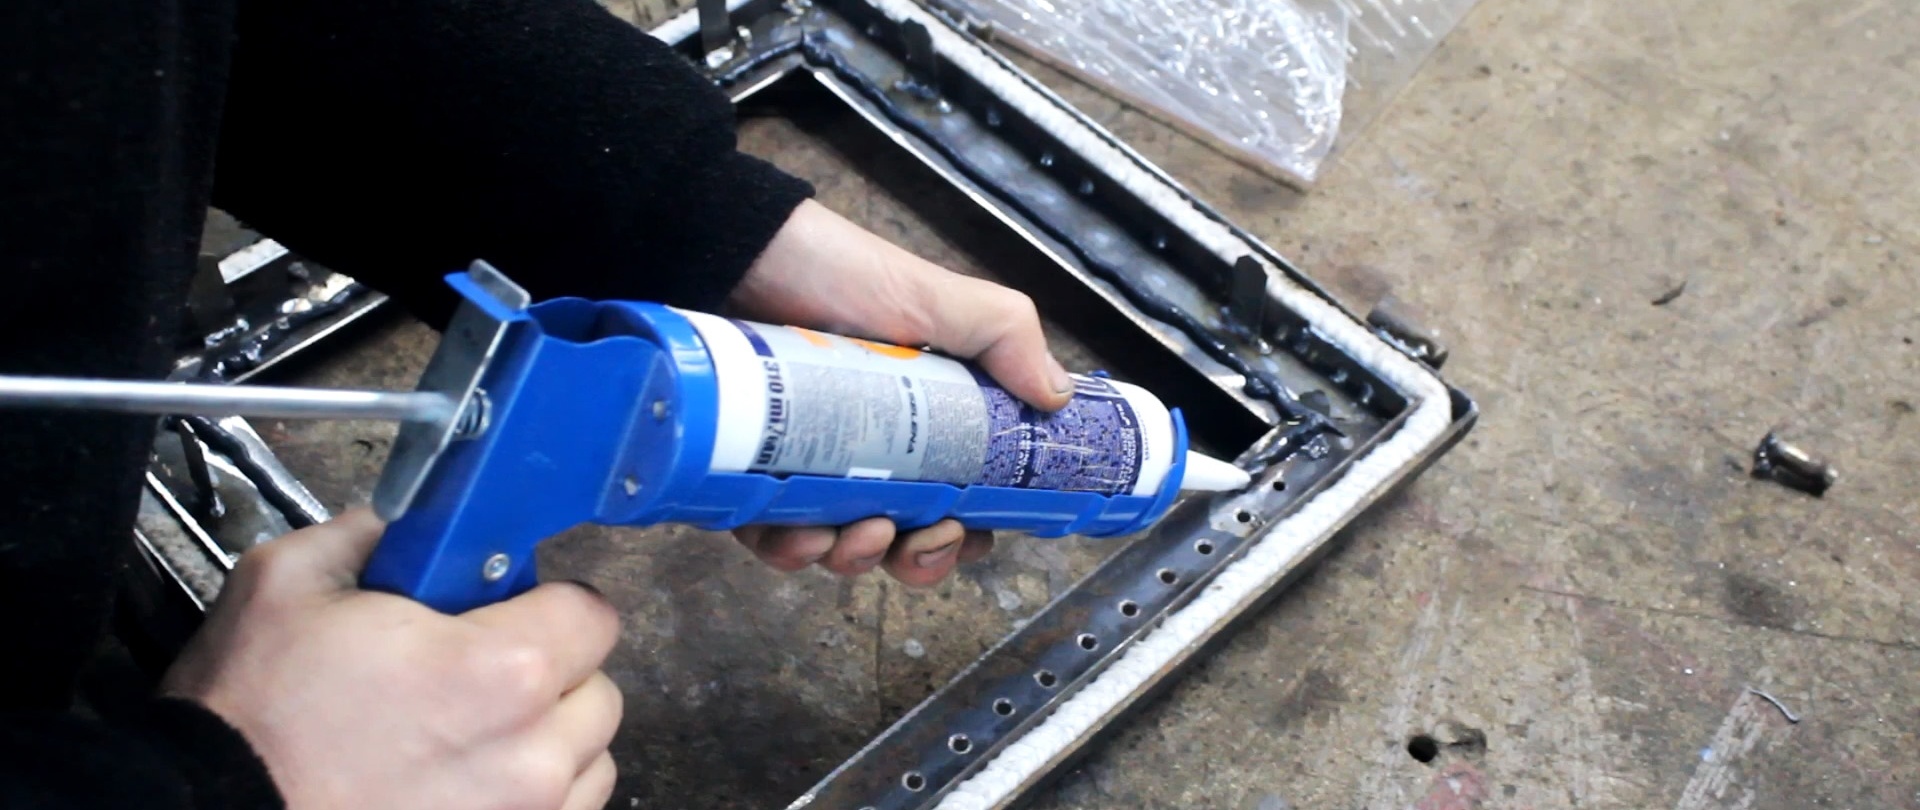

Remove the glass and remove excess adhesive mastic. We place it again, but put the already unpacked fireproof glass in place and press it securely. We place pieces of asbestos cord under the tongues and press them against the glass.
Using heat-resistant enamel, we thermally insulate the perimeter of the stove, which is then finally installed.

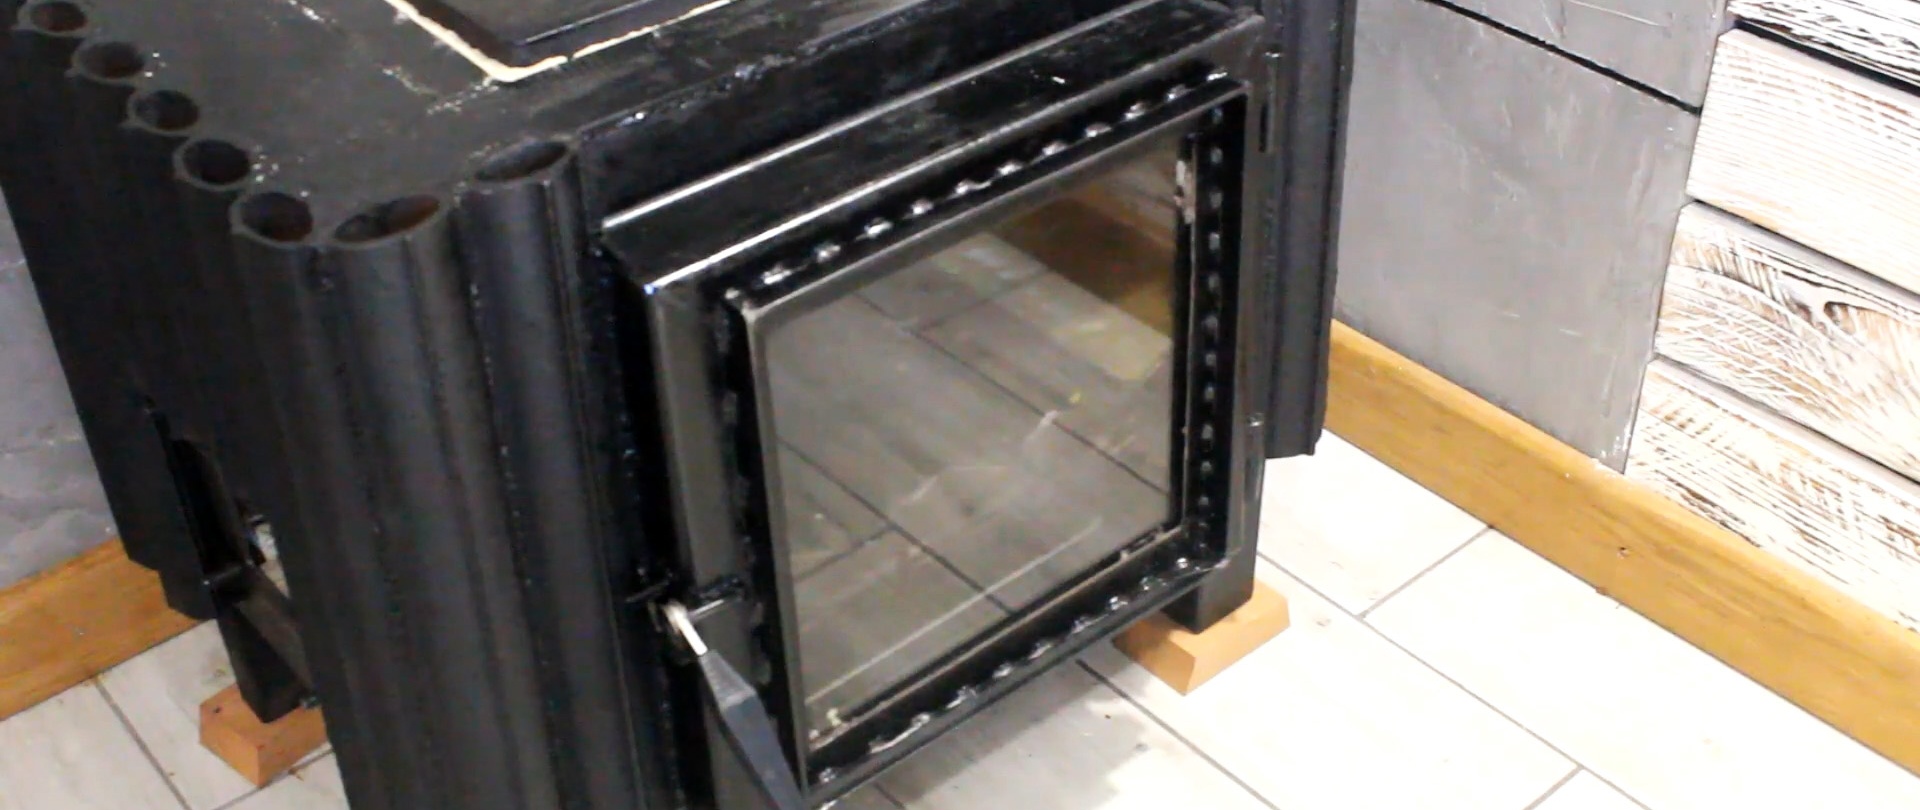
We attach the air control valve to the frame with a square hole and four bolts on the side of the stove.

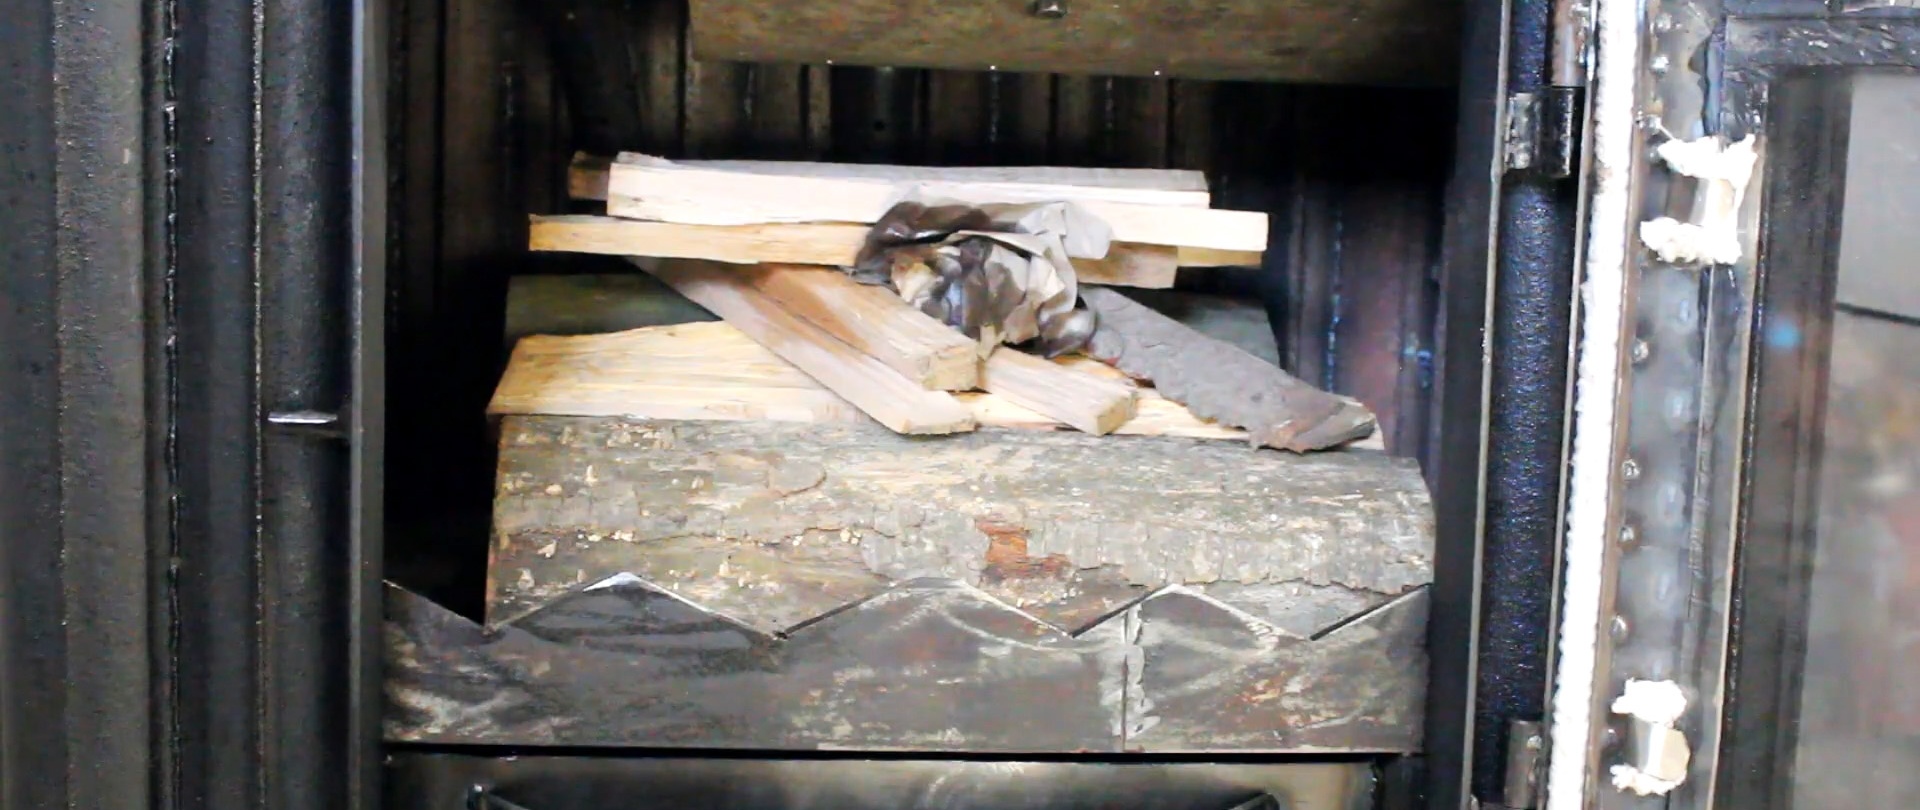
We put firewood in the firebox, light it, close the firebox door, control the flow of air into the combustion zone with a control valve and enjoy the sight of the flame, and we can also cook food on the stove.