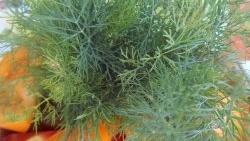
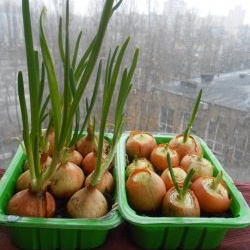
In winter, when we experience a lack of vitamins, nutritionists advise enriching our diet daily with fresh leafy greens and aromatic herbs. Bunches of parsley, arugula and watercress leaves, onions and garlic are sold in almost every supermarket and market all year round. But not every one of us thinks of growing microgreens on our own on the windowsill. But it's so simple!

The benefits and healing properties of microgreens for adults and children
Microgreens are the seedlings of any plant in the phase of cotyledon leaf formation. Such seedlings contain the entire supply of nutrition and powerful energy necessary for the further growth and development of the plant.
It is microgreens that allow you to quickly saturate the body with vitamins, minerals, microelements and other valuable compounds that participate in the biochemical processes occurring in our body every second.
According to reviews from lovers of indoor gardening, healing and at the same time very lush vegetation can be obtained in just 20 days, while avoiding the need to use soil, and therefore, with complete cleanliness on the windowsill of the kitchen or any other room.
Almost all garden crops are used for microgreens, except nightshades, whose sprouts contain bitterness. The harvest of microgreens such as radishes, cabbage, sunflowers, corn, wheat, rye, oats, watercress, alfalfa, basil, clover, sesame, beets, and flax is particularly successful.

My experience of growing green sprouts in winter and early spring
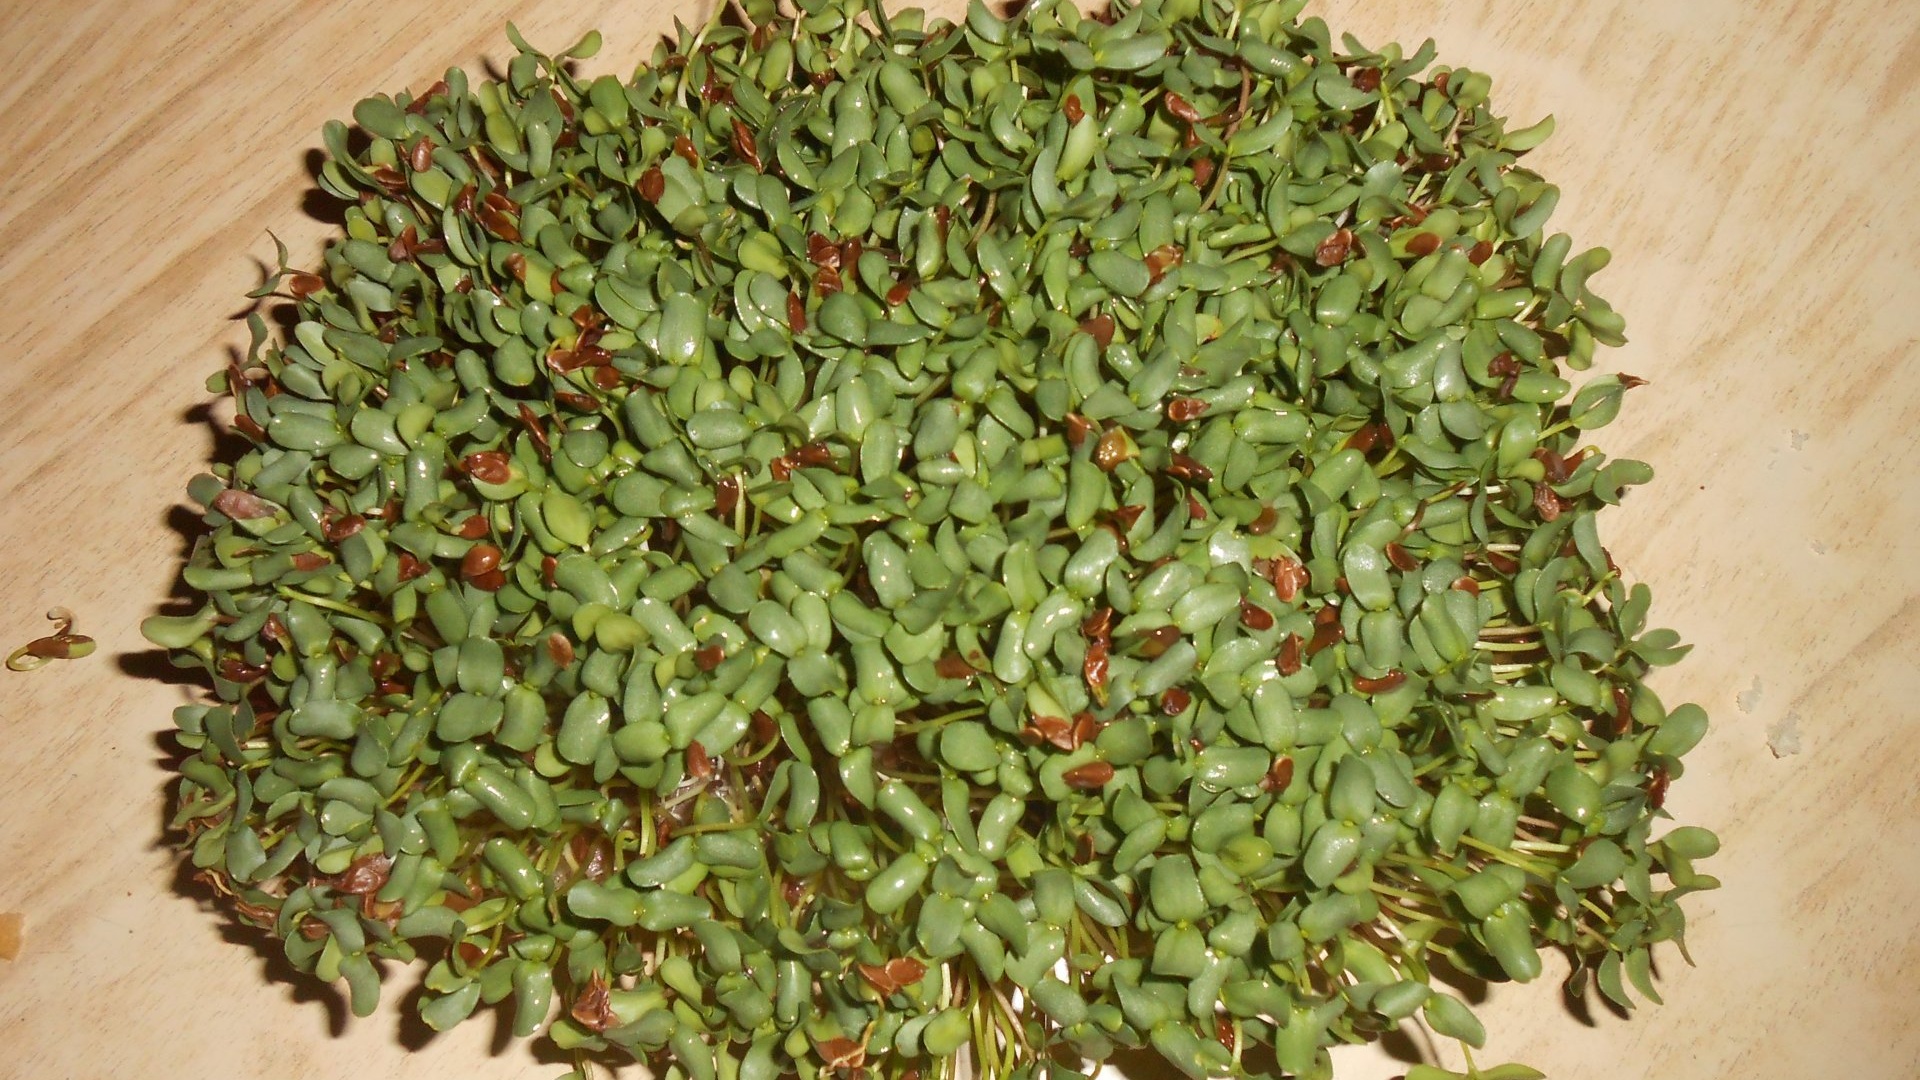
To grow for microgreens, I chose flax, the seeds of which cost literally pennies on the market, in contrast to specialized mixes for microgreens. Its sprouts have a slightly nutty flavor and are equally good in salads and on sandwiches.
In addition, flax seeds have a high germination rate, and the plants themselves germinate very quickly - literally on the third day. This allows you to count on a quick harvest of microgreens, because from the moment of planting the next batch of flax grains to the cutting of juicy seedlings, only 14-18 days pass.
And not everyone knows that flax is a plant source of polyunsaturated fatty acids (omega 3 and omega 9), which are responsible for the health of the entire cardiovascular system, liver, brain, as well as for the condition of our skin and hair. And in flax sprouts, PUFAs are present in sufficient quantities.
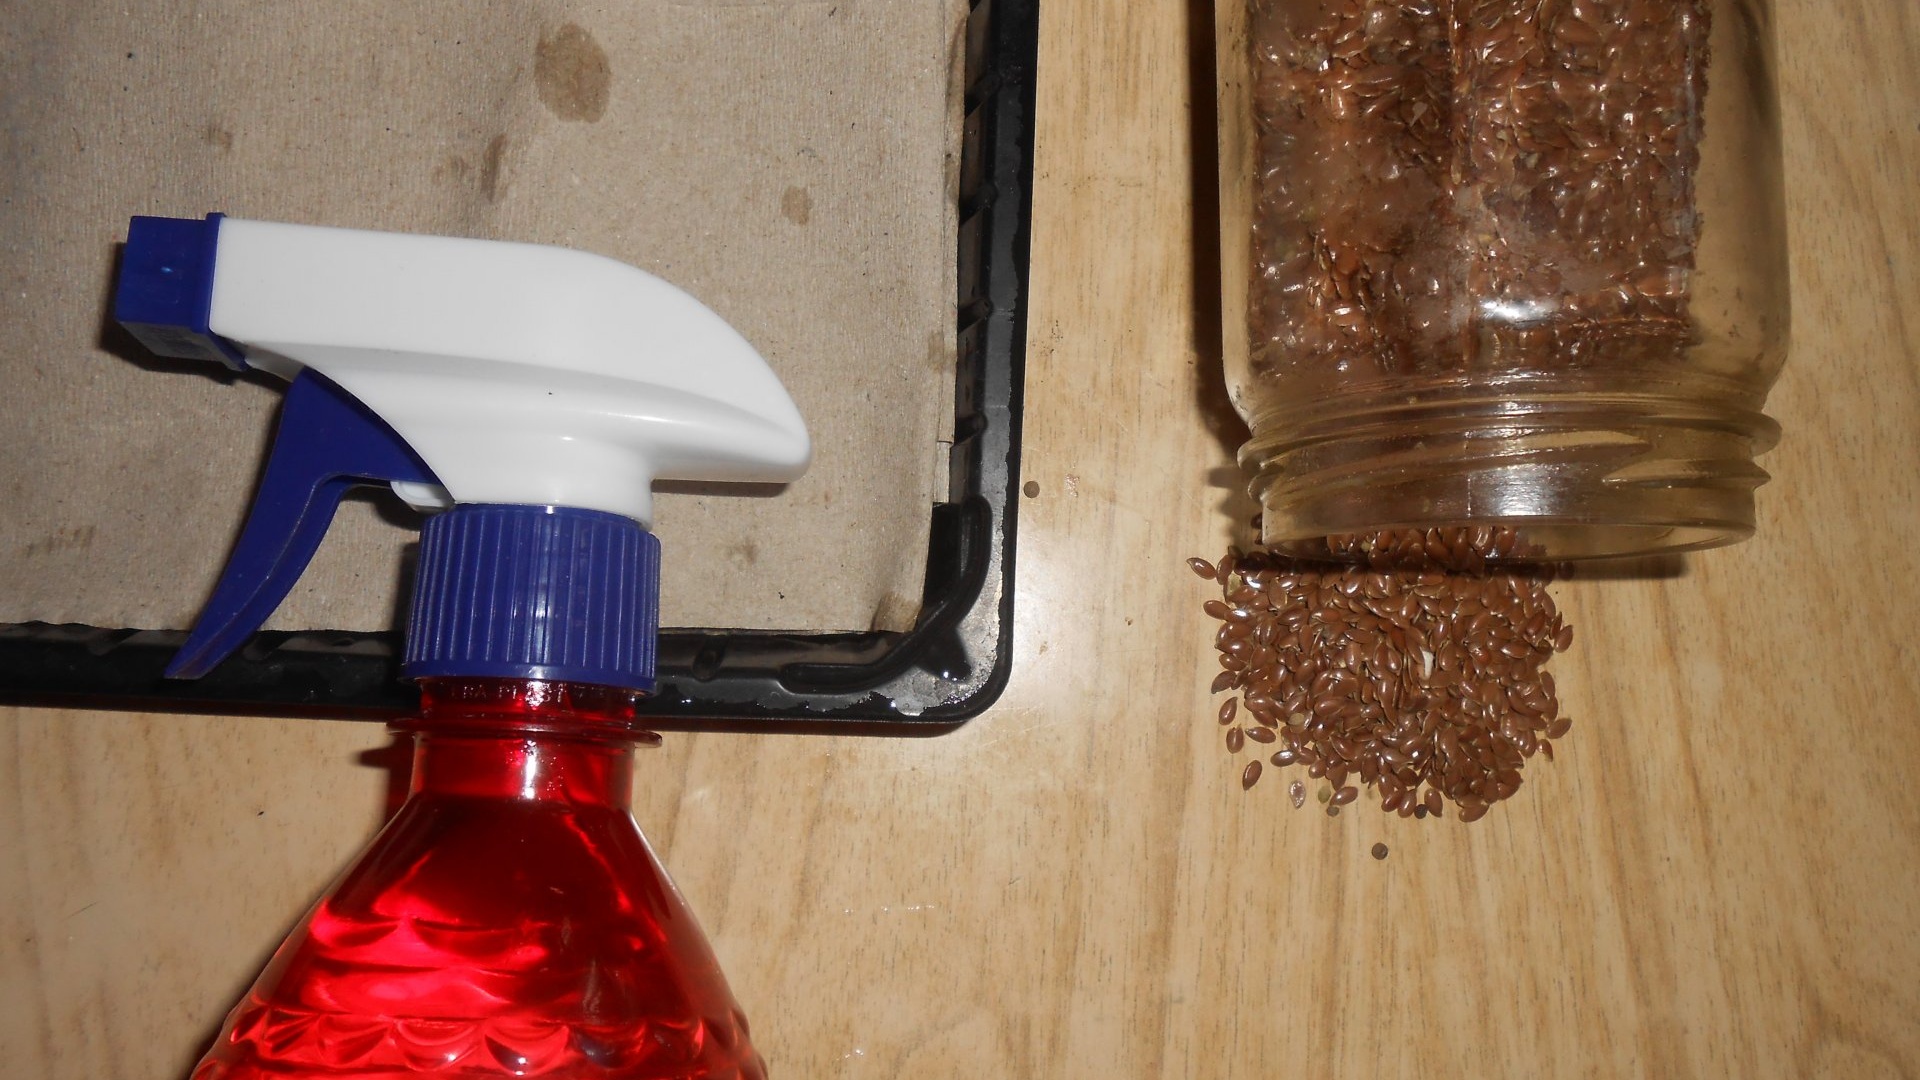
To grow flax microgreens at home, you will need the following materials and accessories:- 1. Flax seeds (when purchasing, pay attention to their freshness).
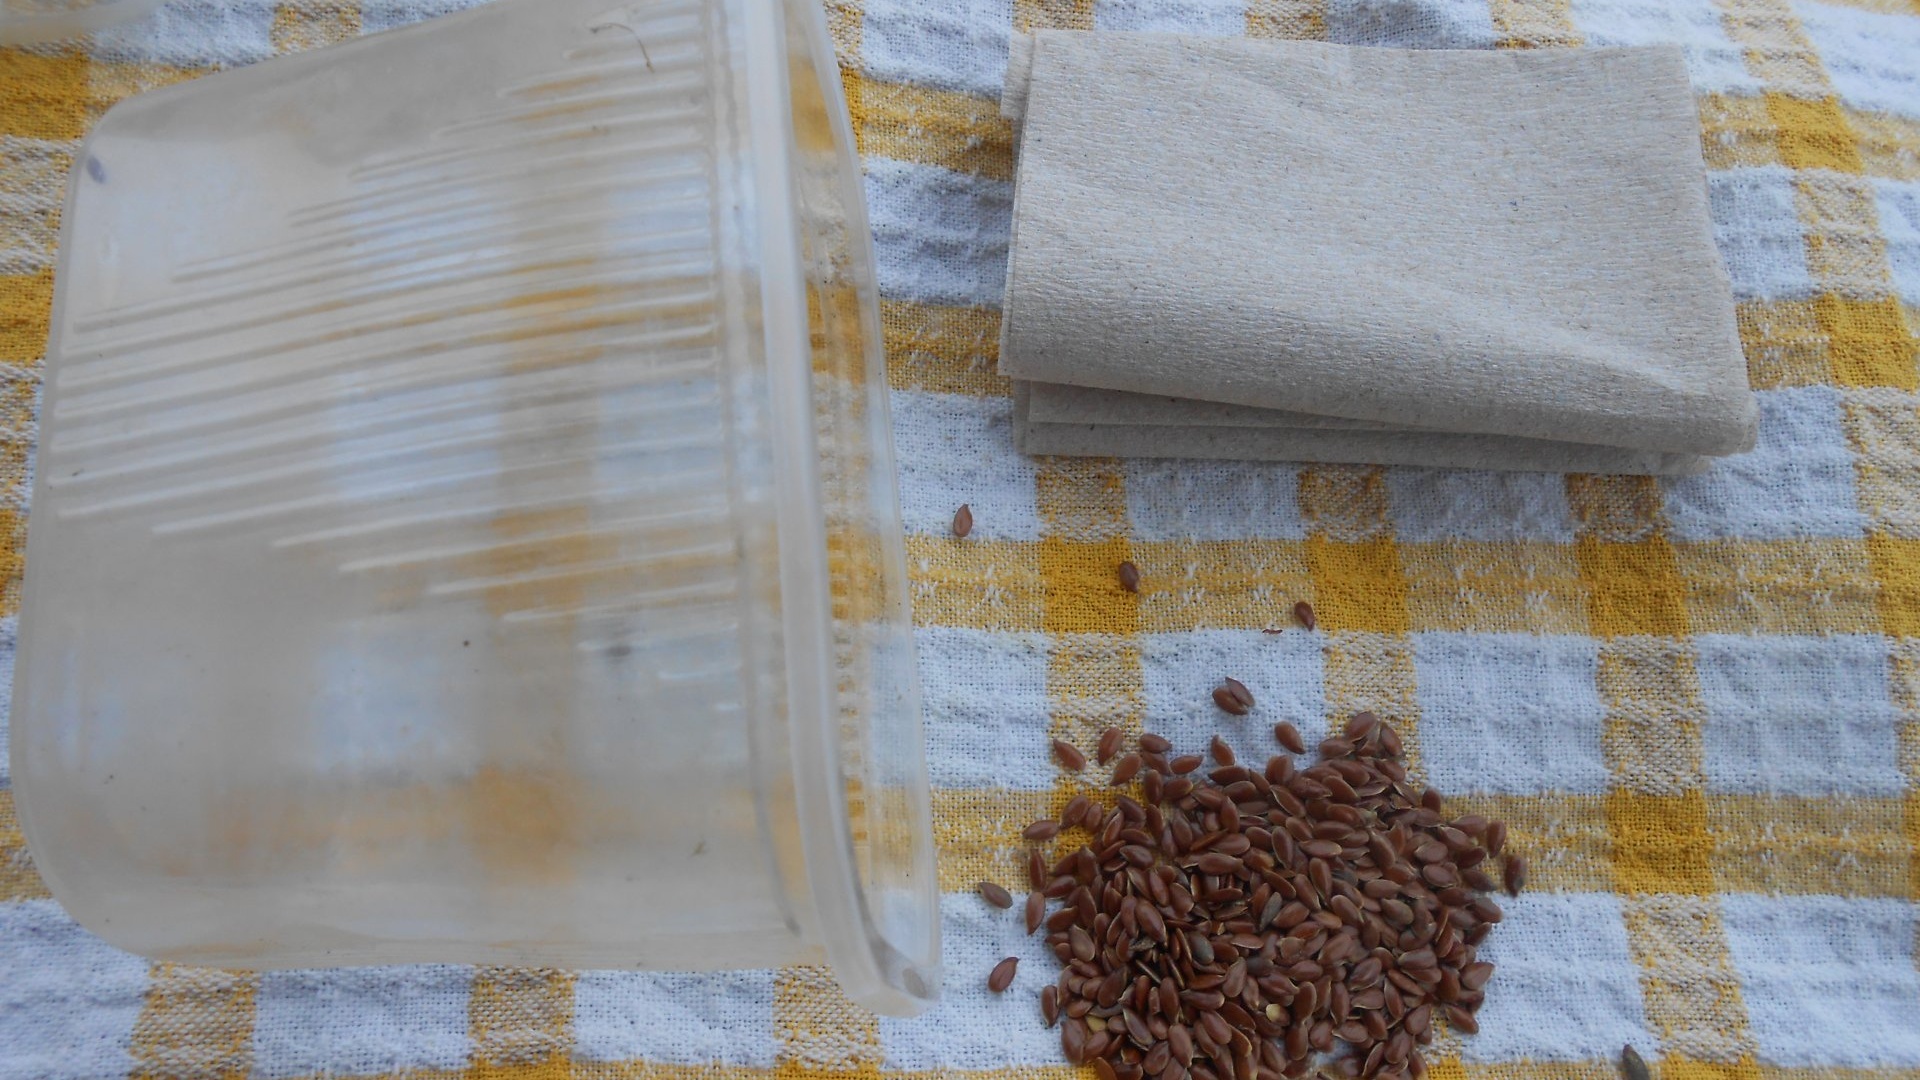
- 2. Toilet paper or napkins.
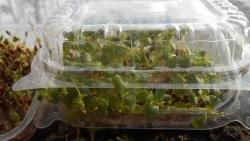
- 3. Small plastic food containers, preferably with lids.If there are no lids, the container will need to be covered with cling film or cellophane in the first days.
- 4. Hand sprayer for air humidification and plant care.
Step-by-step process for growing flax microgreens on a windowsill

It turns out that seeds germinate well not only in the soil, but also on any moist substrate. I discovered a new side of toilet paper folded in 5-6 layers. It is very easy to make a substrate from it to the size of any container.
First I tear the toilet paper off the roll and fold it to get a 3mm layer. Then I straighten it at the bottom of the planting container, trying to level the surface as much as possible with my fingertips.
Then I generously spray the paper with soft water from a spray bottle so that the layer is completely wet. I use either melt water or rain water. In this case, water should not drain when turning the container over.
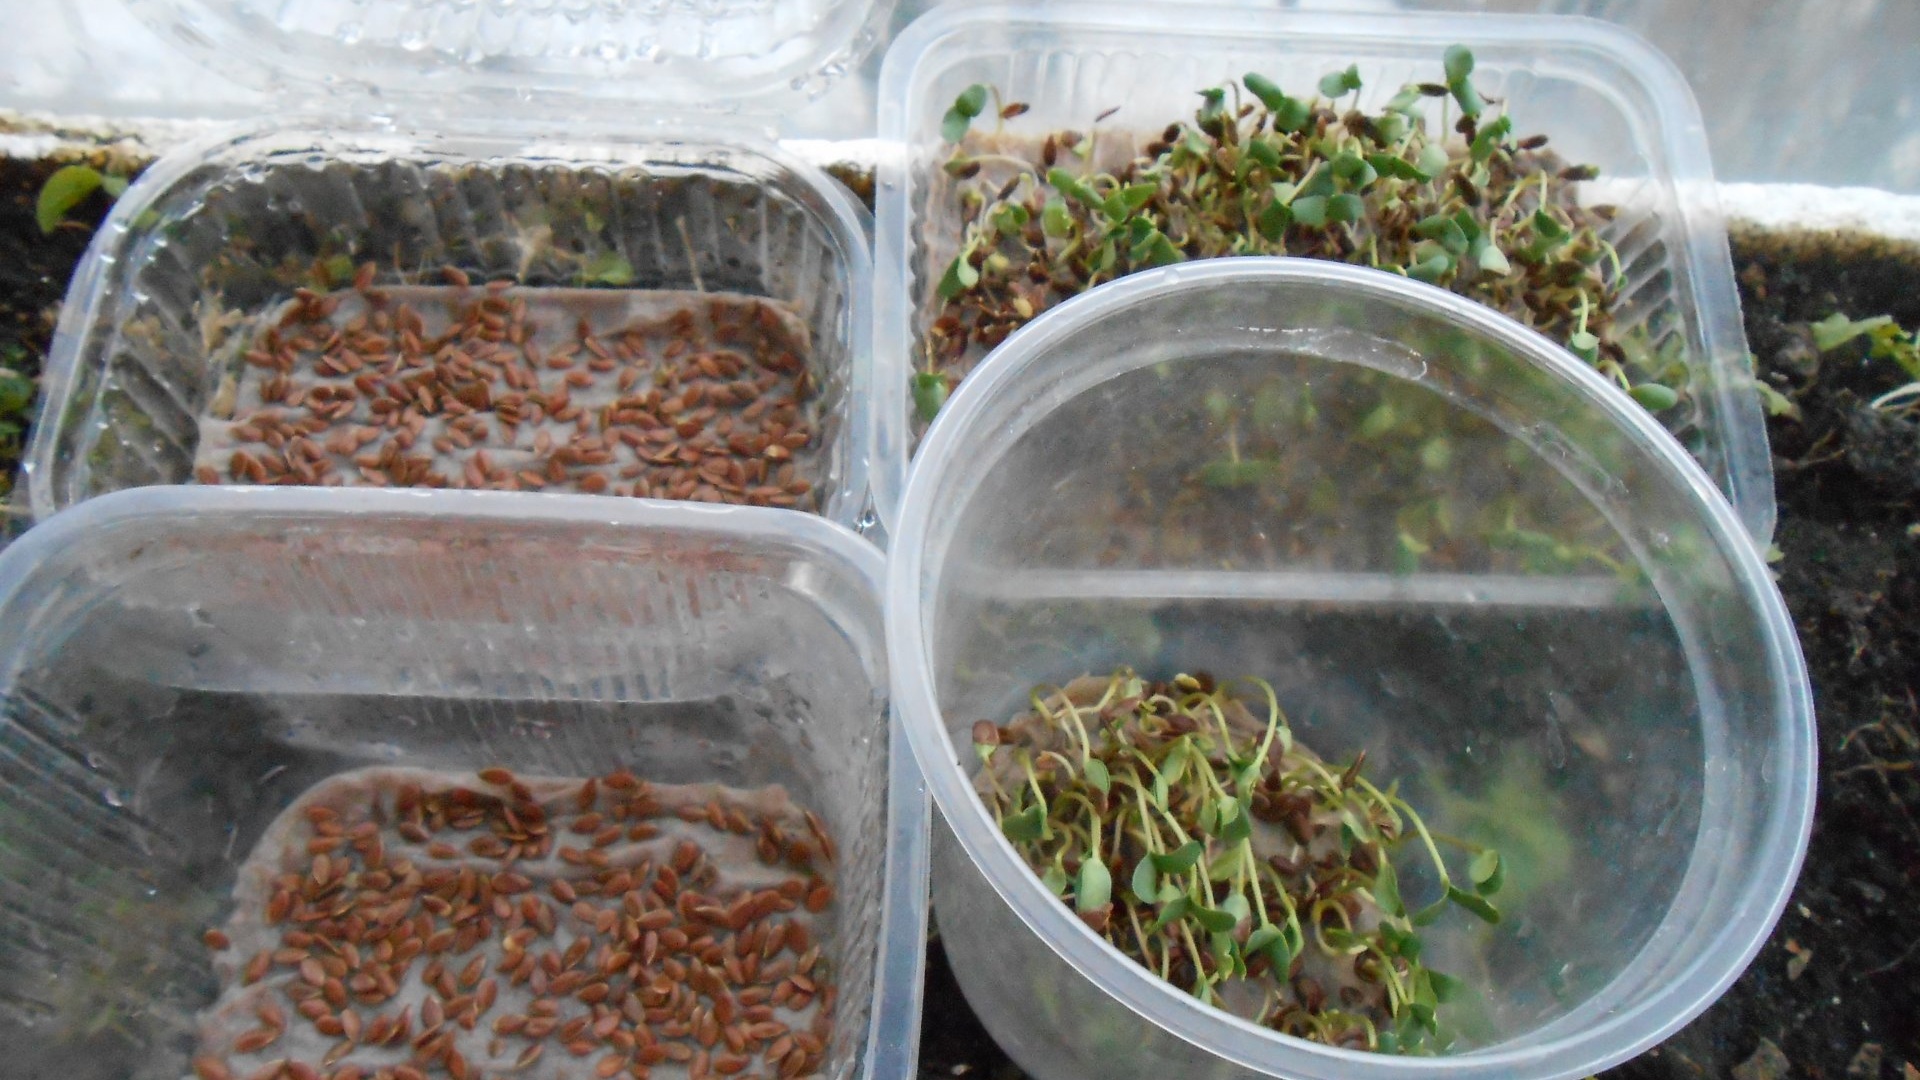
The next stage is the distribution of seeds over the surface of the improvised substrate. They are poured thickly, leaving virtually no gaps between the grains.

Next, I once again spray the mini-bed under the greenhouse with water, cover it with a lid or film and place the container in a dark and warm place, for example, on a radiator.

Once a day, I remove the cover from the microgreenhouse and ventilate the hatching seeds for 15 minutes. I remove the cover completely after the first sprouts appear, usually this happens on 2-3 days.
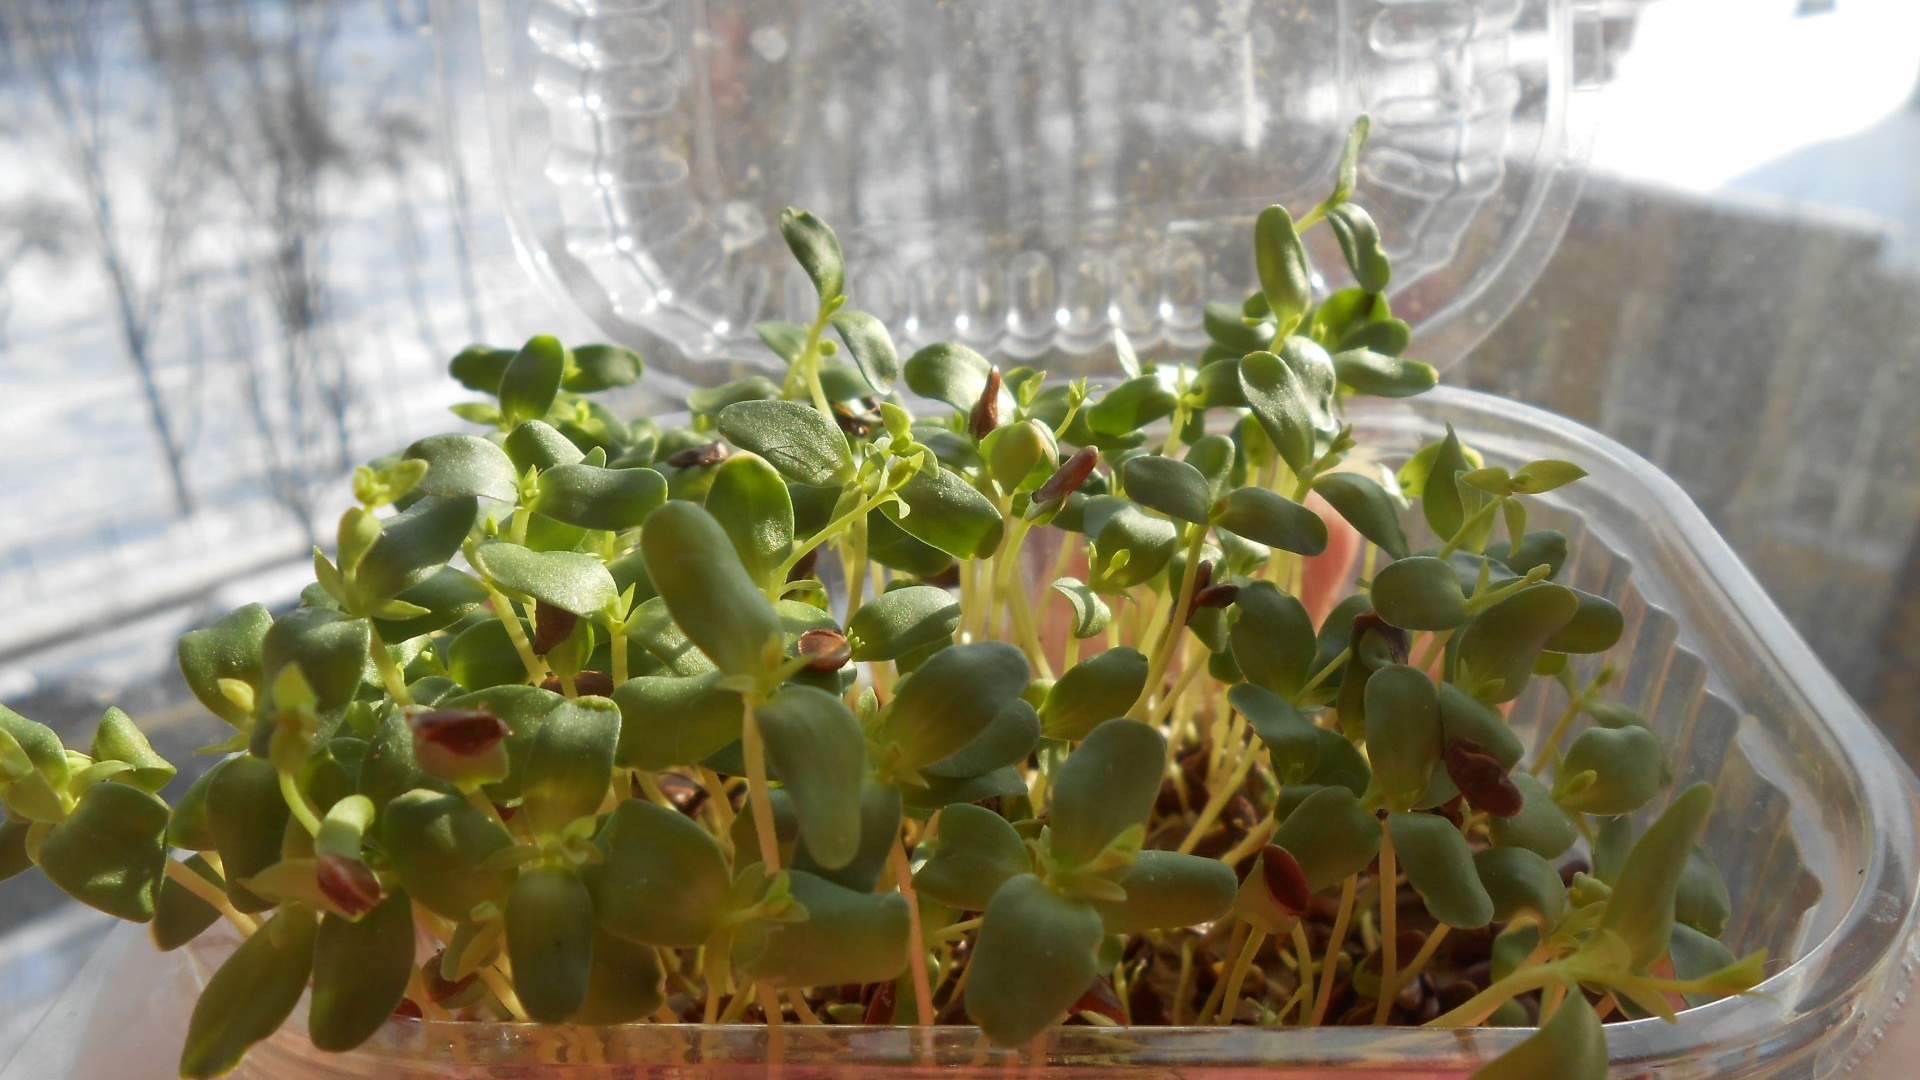
After removing the cover, I place the container with flax in a bright place on the windowsill. The temperature for optimal growth of vegetative mass is about +18 – +22 °C. Until the end of growth, I moisten the microgreens with a spray bottle 1-2 times a day.


I cut the sprouts 2-3 weeks after sowing.They usually reach 12-15 cm in height. Immediately after emptying the container, you can begin sowing the next batch.
By organizing a conveyor, you can meet your family’s needs for greens throughout the winter. To do this, you should plant microgreens every 3-4 days. The total number of landing containers is 5-8 pcs.
Result
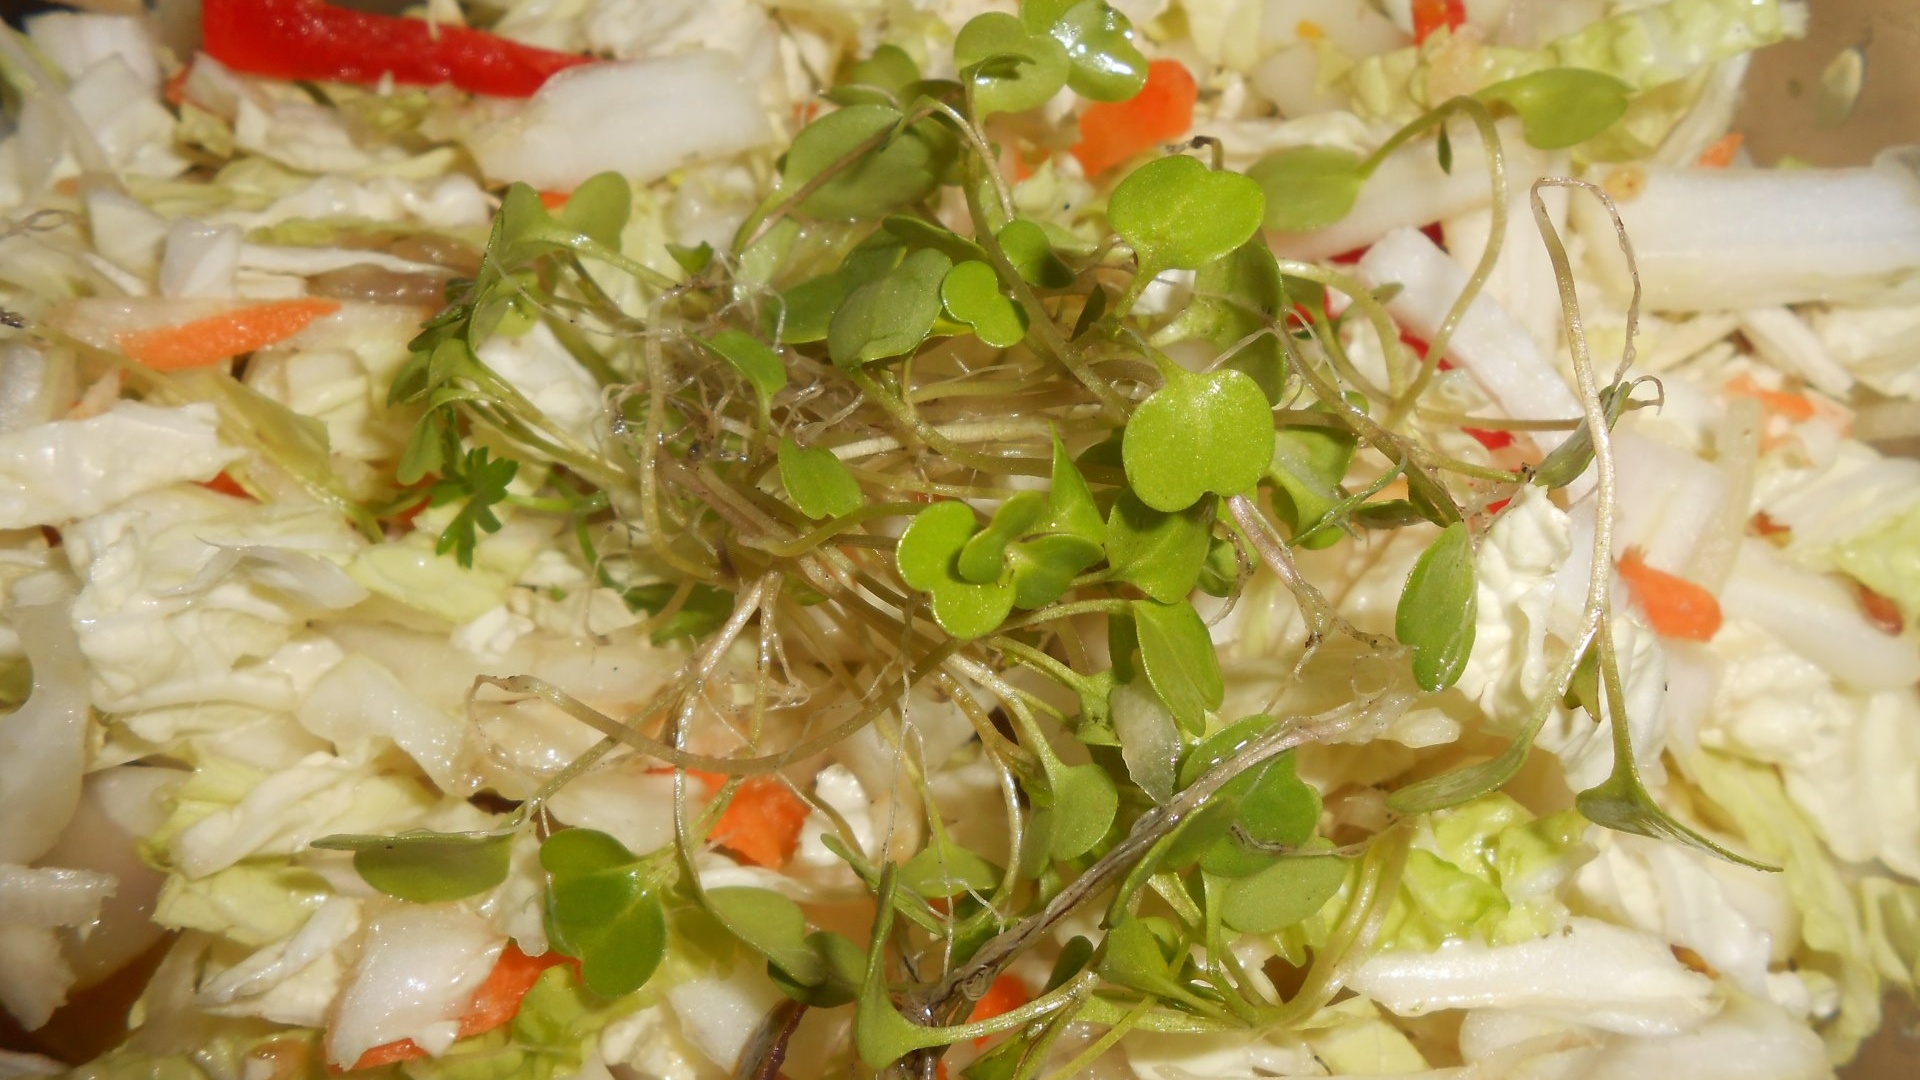
I add my own and lovingly grown microgreens to winter salads, for example, Chinese cabbage, celery and carrots.

Beautiful whitish sprouts with two round cotyledon leaves at the top look good as a decoration for cold and warm snacks, including sandwiches, cold meats and cheeses.
Try planting flax on microgreens this winter and you will be amazed at how easy and fast the seeds germinate, and how little effort it requires!