When darkness falls, you need to turn on the lights. In order not to do this manually every time, there are various circuits of twilight switches (photo relays). Today we will assemble one of these circuits directly in the housing of the LED lamp.

The disadvantages of many such developments include the presence of electromechanical relays in the design. Their contacts burn out over time, and the device begins to act up. The circuit that we will use in our design does not have this drawback - it uses a triac as a light control device.
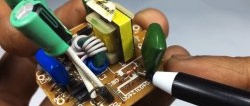
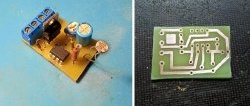
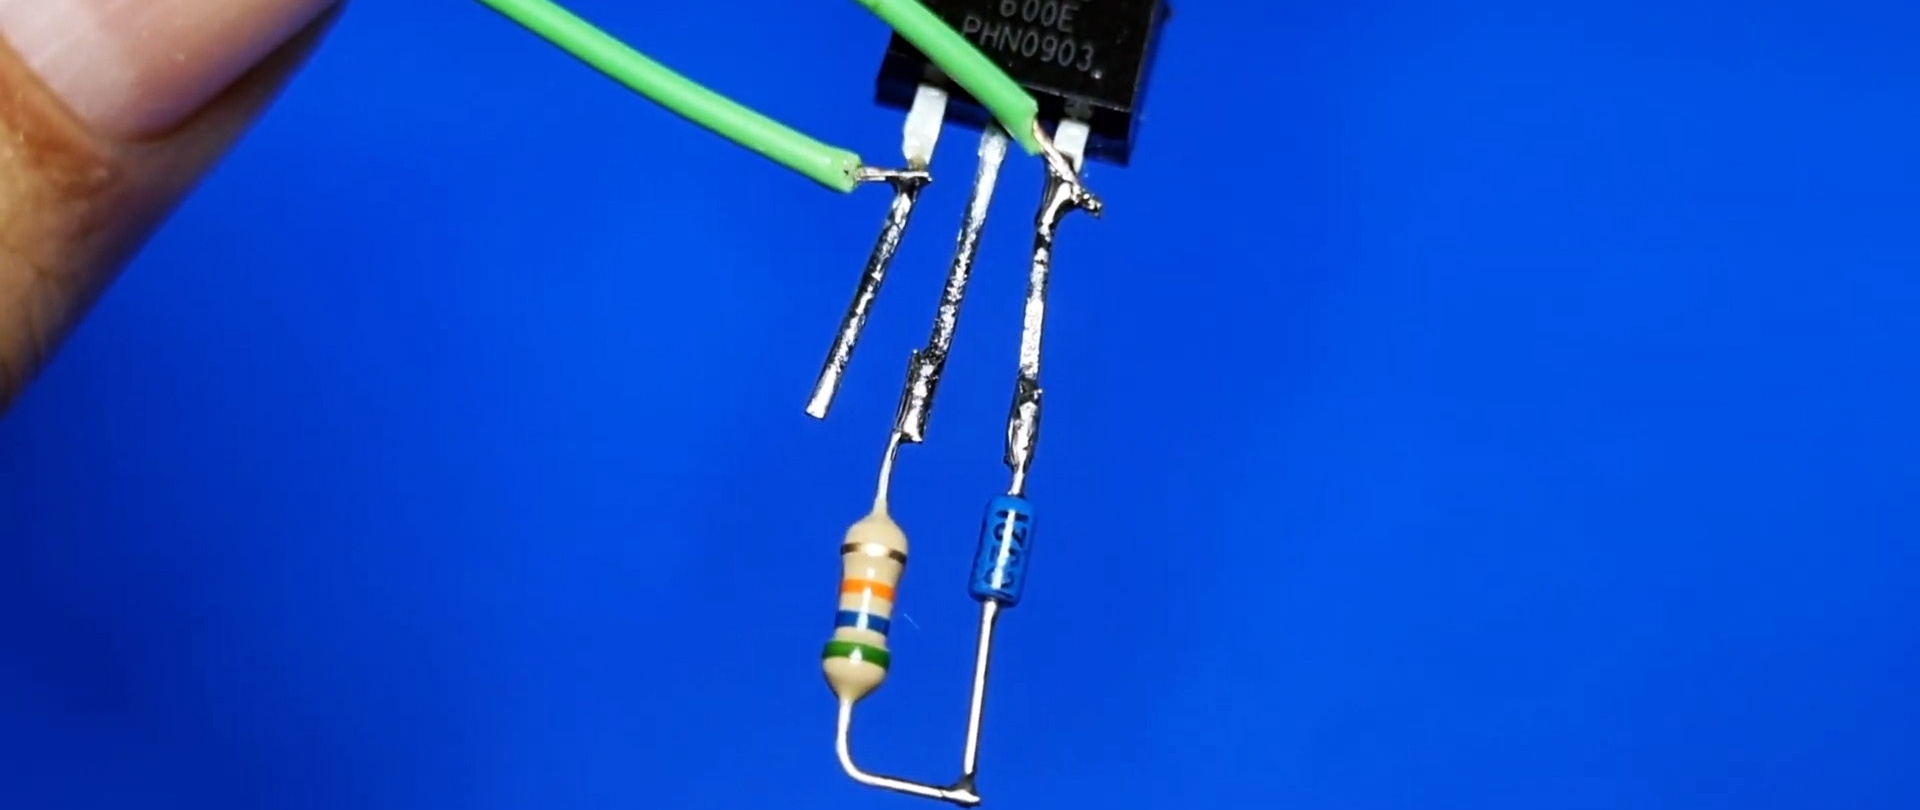
It is so simple that it does not require a printed circuit board for assembly. Consists of only 4 parts. We will mount them all with hinged installation. Moreover, we will place the assembled unit directly into the base of the LED lamp; there is enough space there for this.
Details
Our twilight switch will use the following radio components:Refinement of the LED lamp
Well, and of course, the LED lamp itself is on a standard E27 socket.

We will not draw a schematic diagram here.Anyone who wishes can easily find it on the Internet. For the rest, photos of the assembly will suffice.


Our sensitive element is a photoresistor. Its resistance changes depending on the illumination: as it decreases, the resistance of the element increases and the voltage across it increases. And vice versa.


At a certain level of illumination, the voltage across the photoresistor reaches the comparator threshold at dinistor DB3, it passes voltage to the control electrode triac, which, when opened, lights up the light. The whole working principle in one sentence.
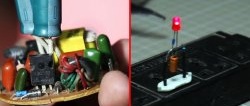
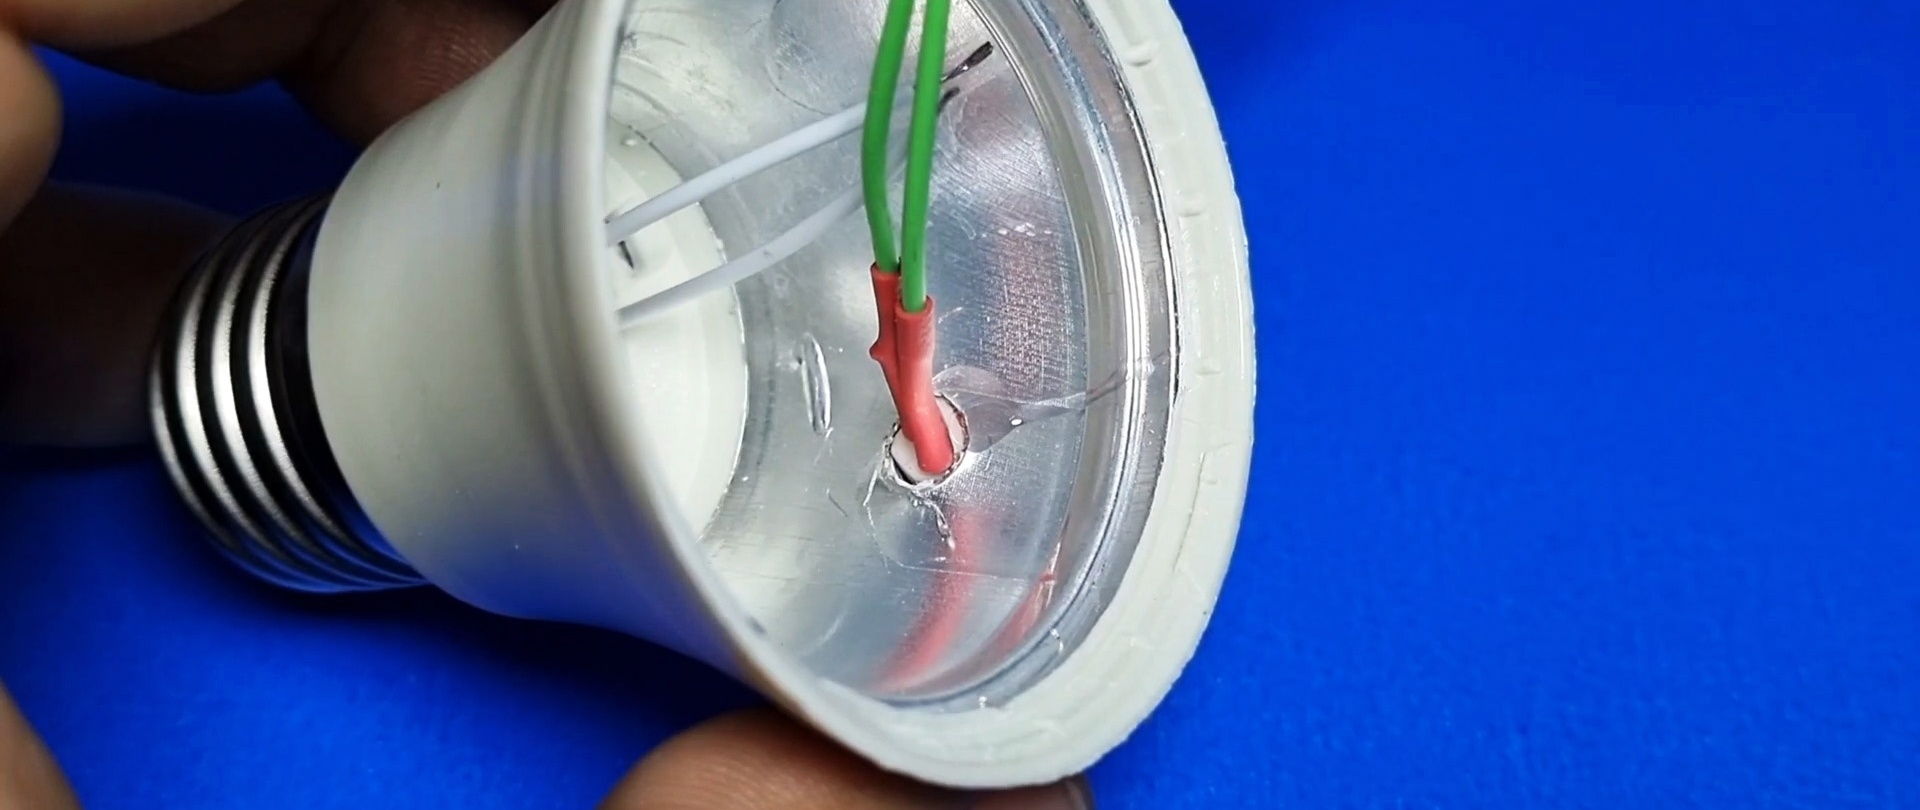
Let's disassemble the LED lamp. Its matte plastic shade can be easily removed by first cutting through the silicone sealant that holds this flask with a thin knife.

On our light bulb, the driver is located directly on the board with LEDs. And the entire internal volume of the base is empty. Which, as we said above, will allow us to place the photo relay circuit directly inside it. We remove the unnecessary connector and drill an additional hole, which will be needed for routing the wires. Let's make another hole on the side in the plastic base.

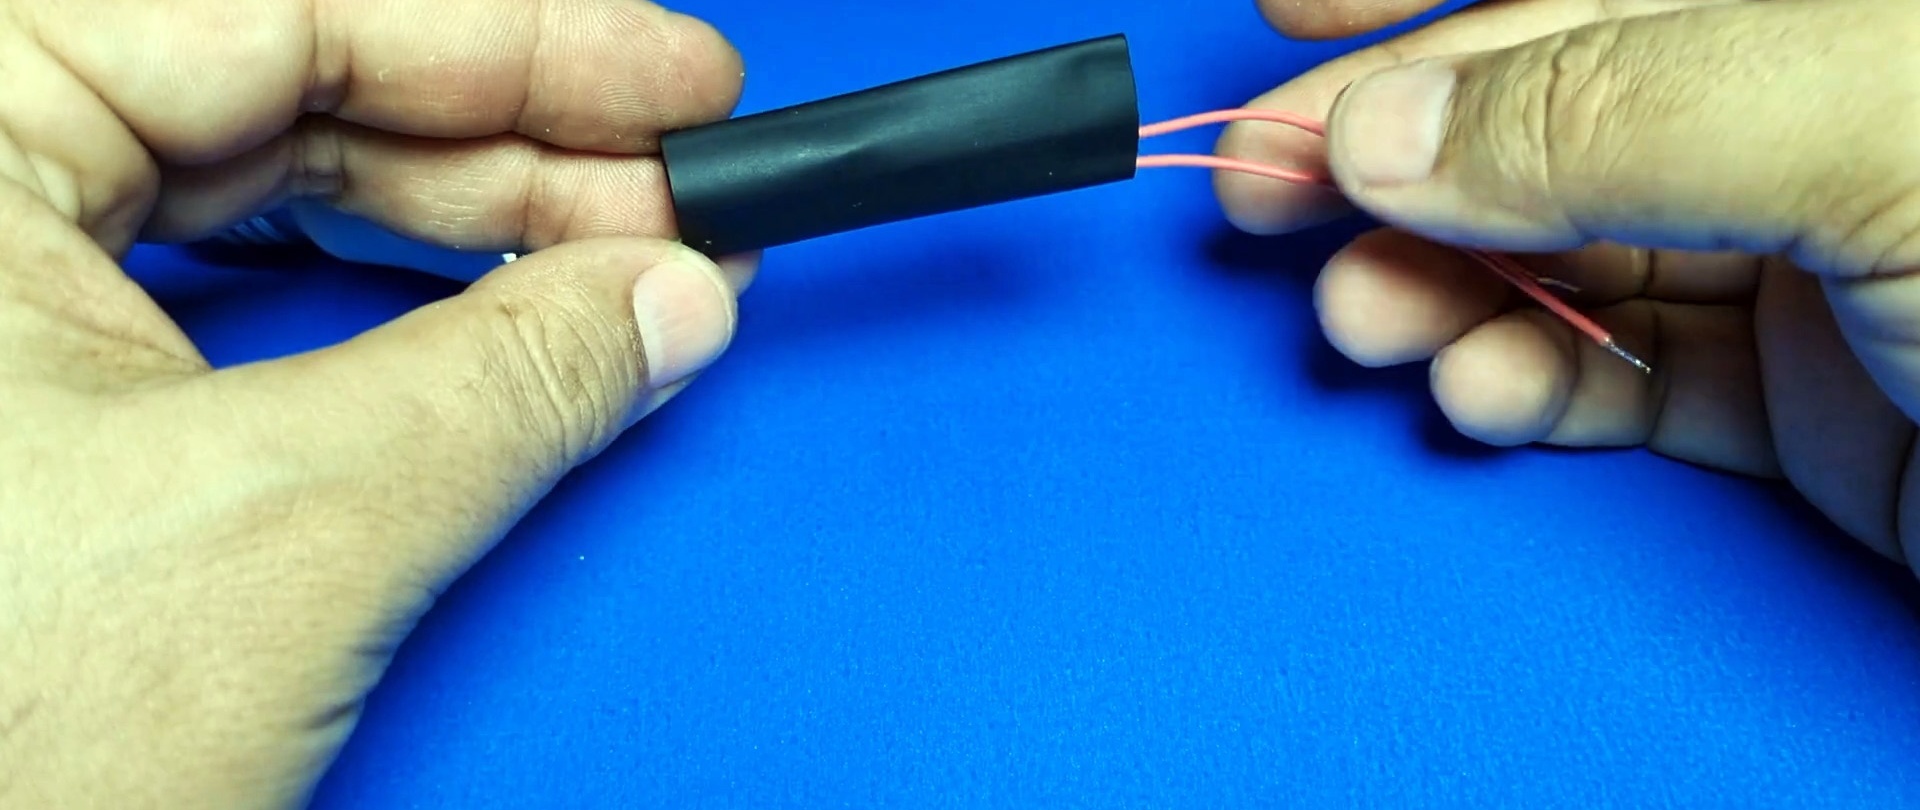
We will install a photoresistor in it using hot glue.
We solder everything, insulate it, fix the lampshade back and move on to testing.


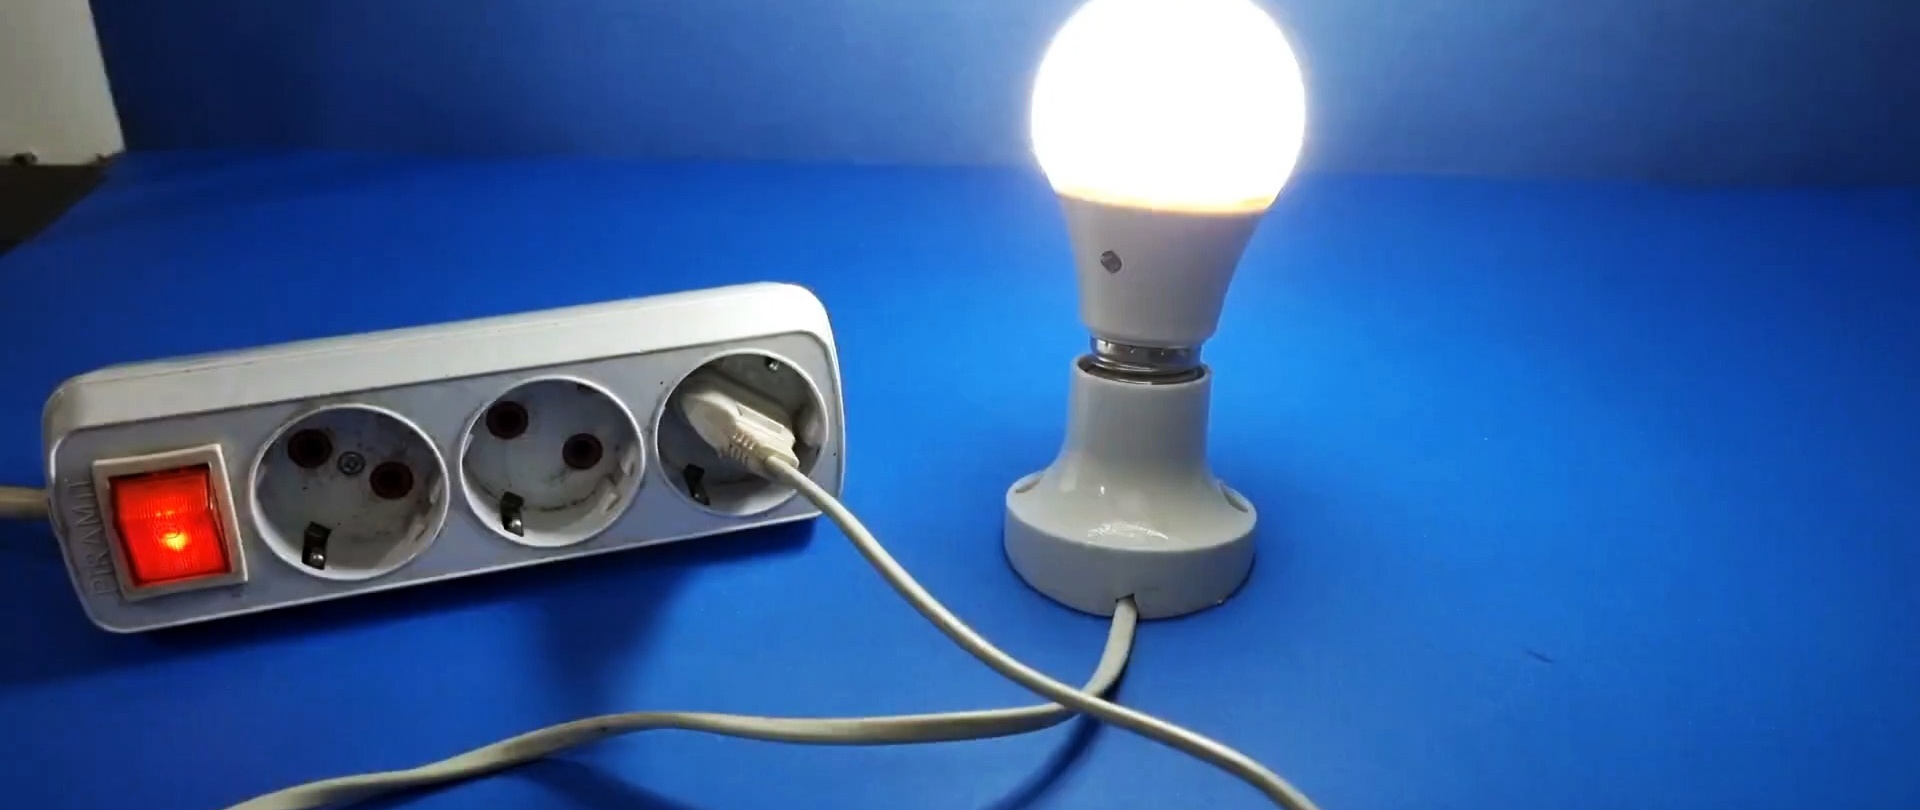
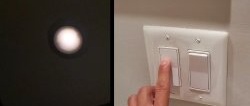
In daylight, our twilight switch must be turned off - the lamp does not light.
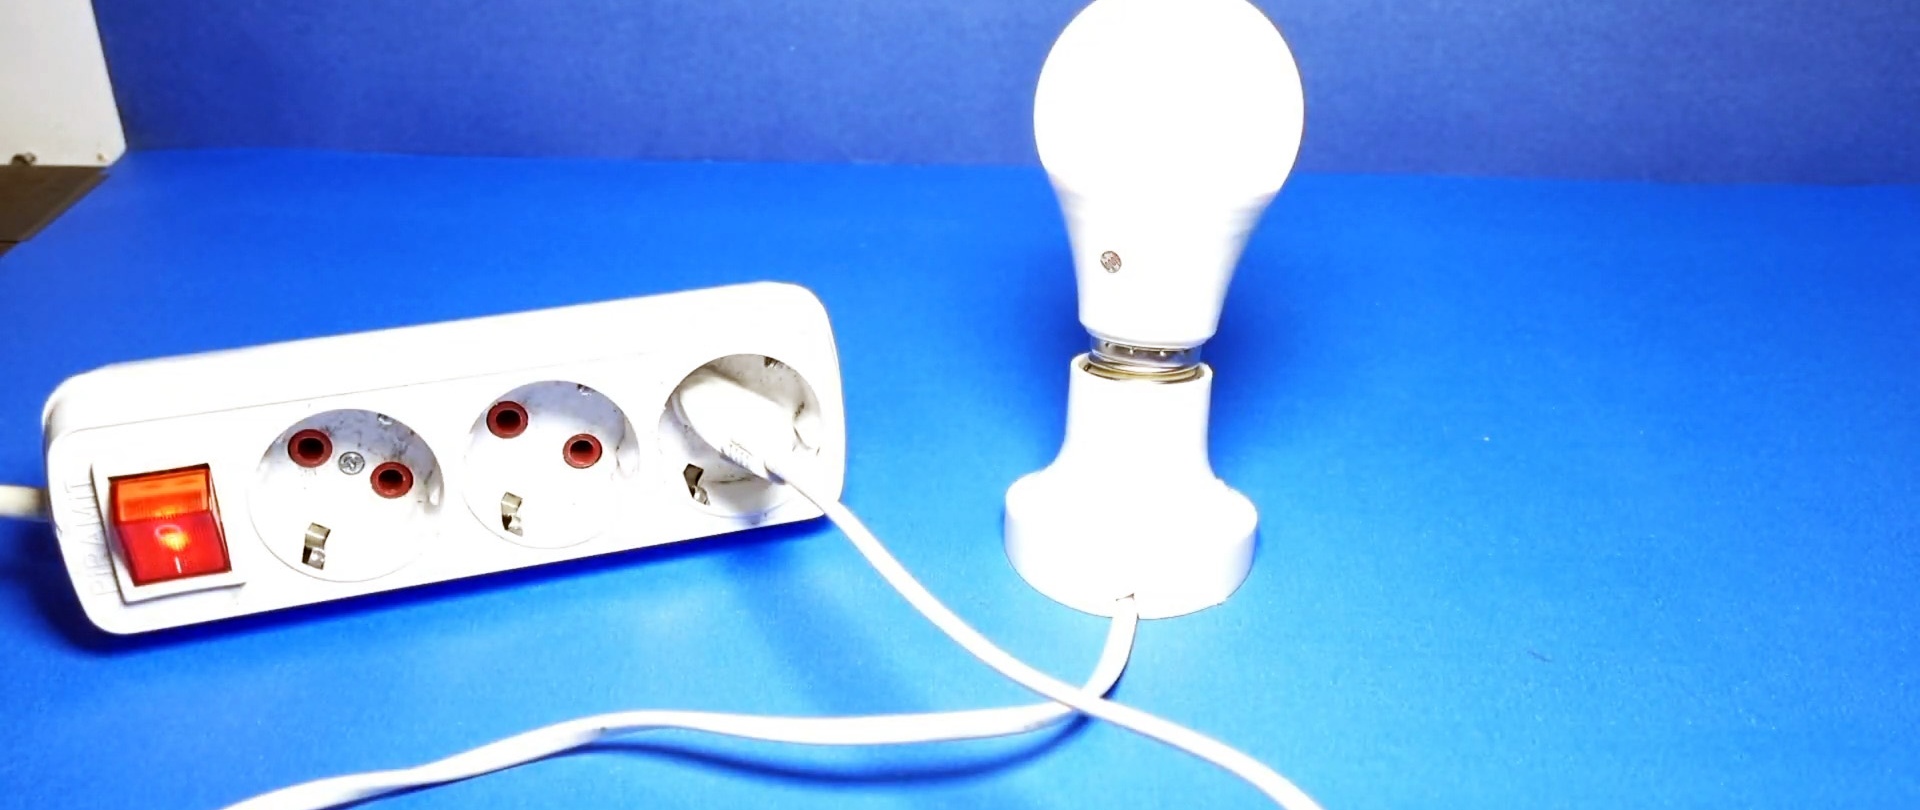
When shading photoresistor the light comes on. You can select the response threshold using constant resistorinstalled in the circuit. Or replace it with a variable. The relay should not be made too sensitive, otherwise it will start to operate due to its own illumination.