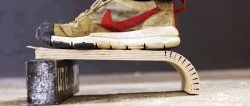
In some cases, there is a need to smoothly bend wood material (MDF, chipboard, multi-layer plywood, etc.) most often at an angle of 90 degrees to make a new one or restore a used one furniture, as well as for use in other products. You can cope with this work without much difficulty if you have universal tools and basic carpentry skills.

Will need
Materials and tools:
- strip of MDF and multilayer plywood;
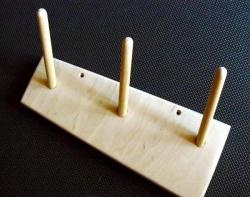
- a tool for drawing parallel lines at any angle;
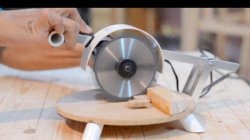
- a circular saw;
- Miter saw;
- container with water;
- clamp;
- waterproof wood glue, etc.
The process of bending strips of MDF or multi-layer plywood with your own hands
All temporary recommendations and geometric dimensions will be related to a strip of MDF with a thickness of 15 mm and multilayer plywood (7 layers) - 18 mm. For the same materials, but with a smaller or larger thickness, corrective amendments will be required.
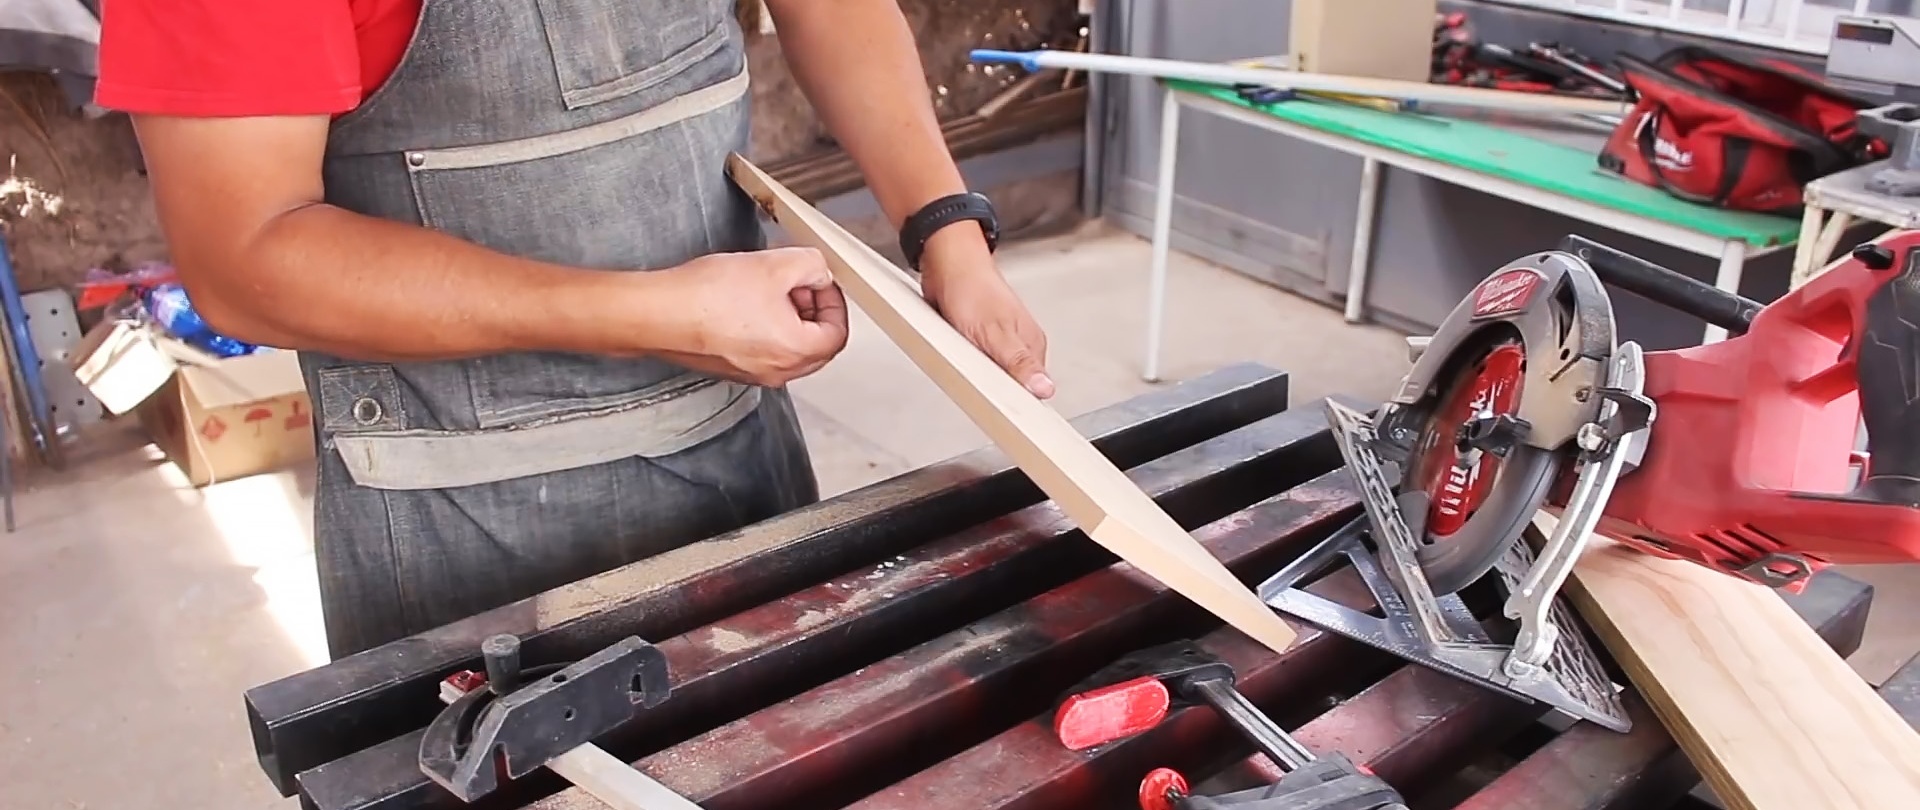
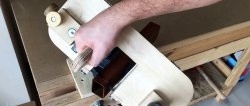
To bend our strips, we will make 9 or 10 parallel cuts across the workpieces at a distance of 10 mm from one another.

We mark them using a simple carpentry tool, which is a combination of a protractor, a movable ruler and a stop.

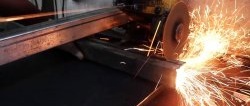
We leave an undercut in depth for an MDF plate of 3-4 mm, for multi-layer plywood - two layers or approximately 5 mm. As a working tool for such an operation, we can successfully use either a hand saw or a circular or miter saw.

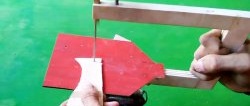
To quickly and defect-free bend strips of wood material, place them in a container of water for 10 to 15 minutes. After that, we begin bending the workpieces directly in the water, but without much fanaticism, so as not to damage the workpieces.

Then we take the half-bent strips out of the container with water and place them in clamps, which we gradually and carefully compress, achieving the required bending angle of up to 90 degrees.


If we feel a threat to the integrity of the plates in the process of bending deformation, then we place them again in a container with water and, after some exposure, we continue the deformation in an aqueous environment.

As the bending angle increases, the slots on the inside begin to narrow, and at this moment, to ensure the safety of the bend after removing the clamp, they can be glued with waterproof wood glue. The holding of the workpieces in the clamps should be several hours.