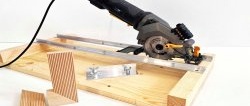
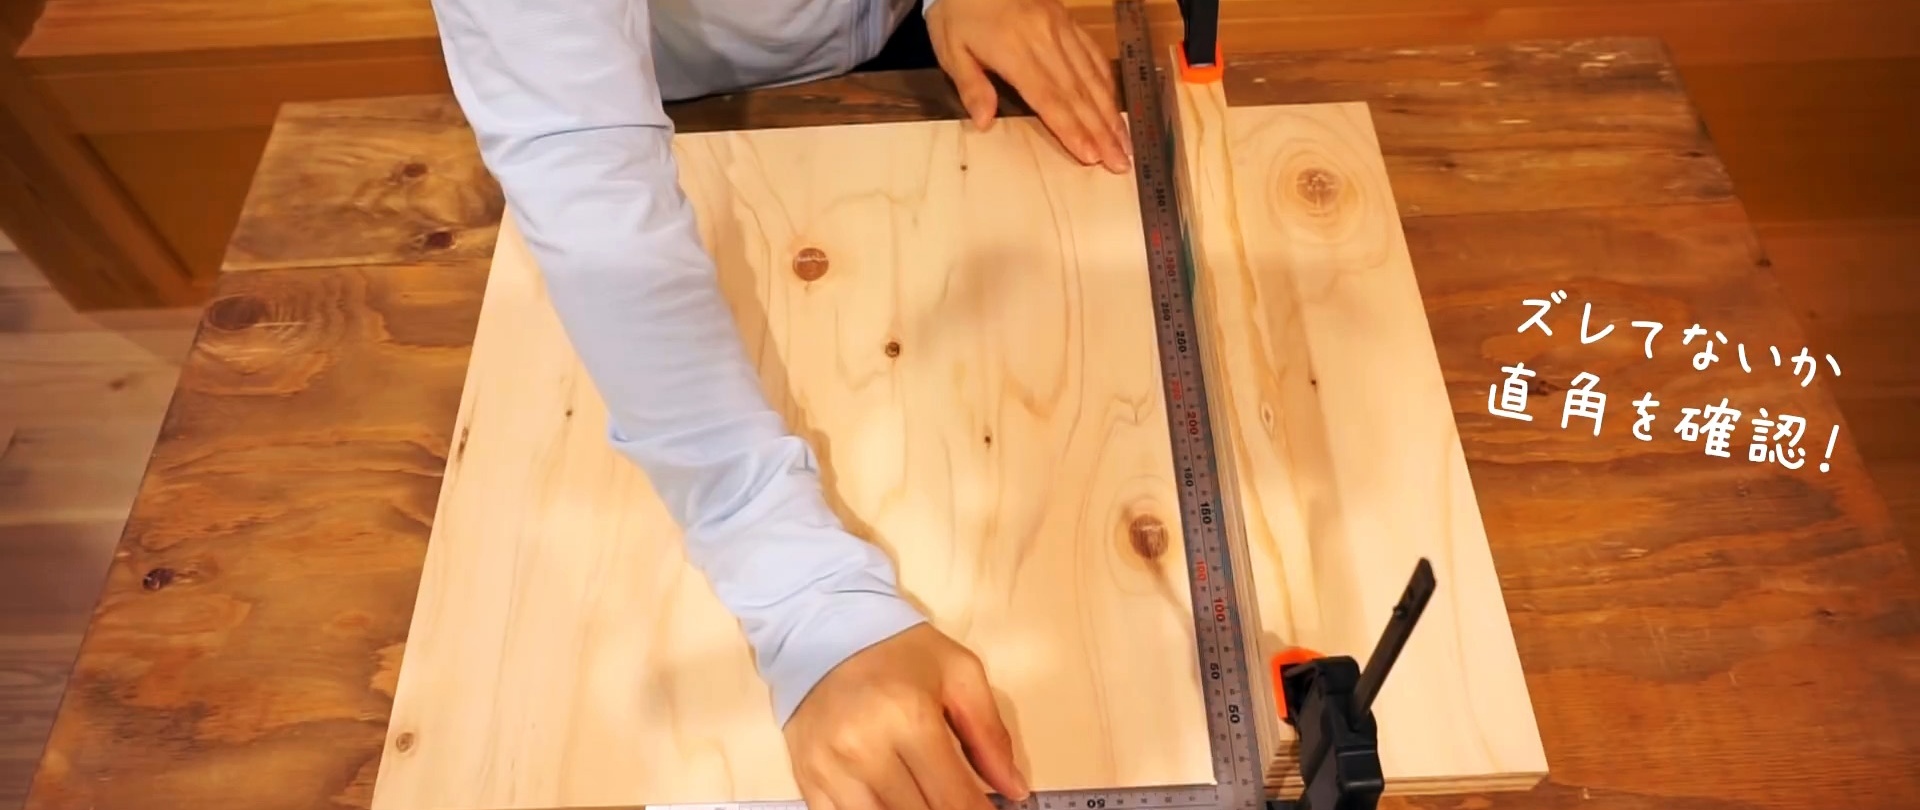
The performance of a circular saw due to lengthy settings, including marking, when cutting at 90 or 45 degrees, drops significantly. If you have a homemade, not very complicated device, these operations will be much faster and easier.

Will need
Materials:- laminated veneer lumber;
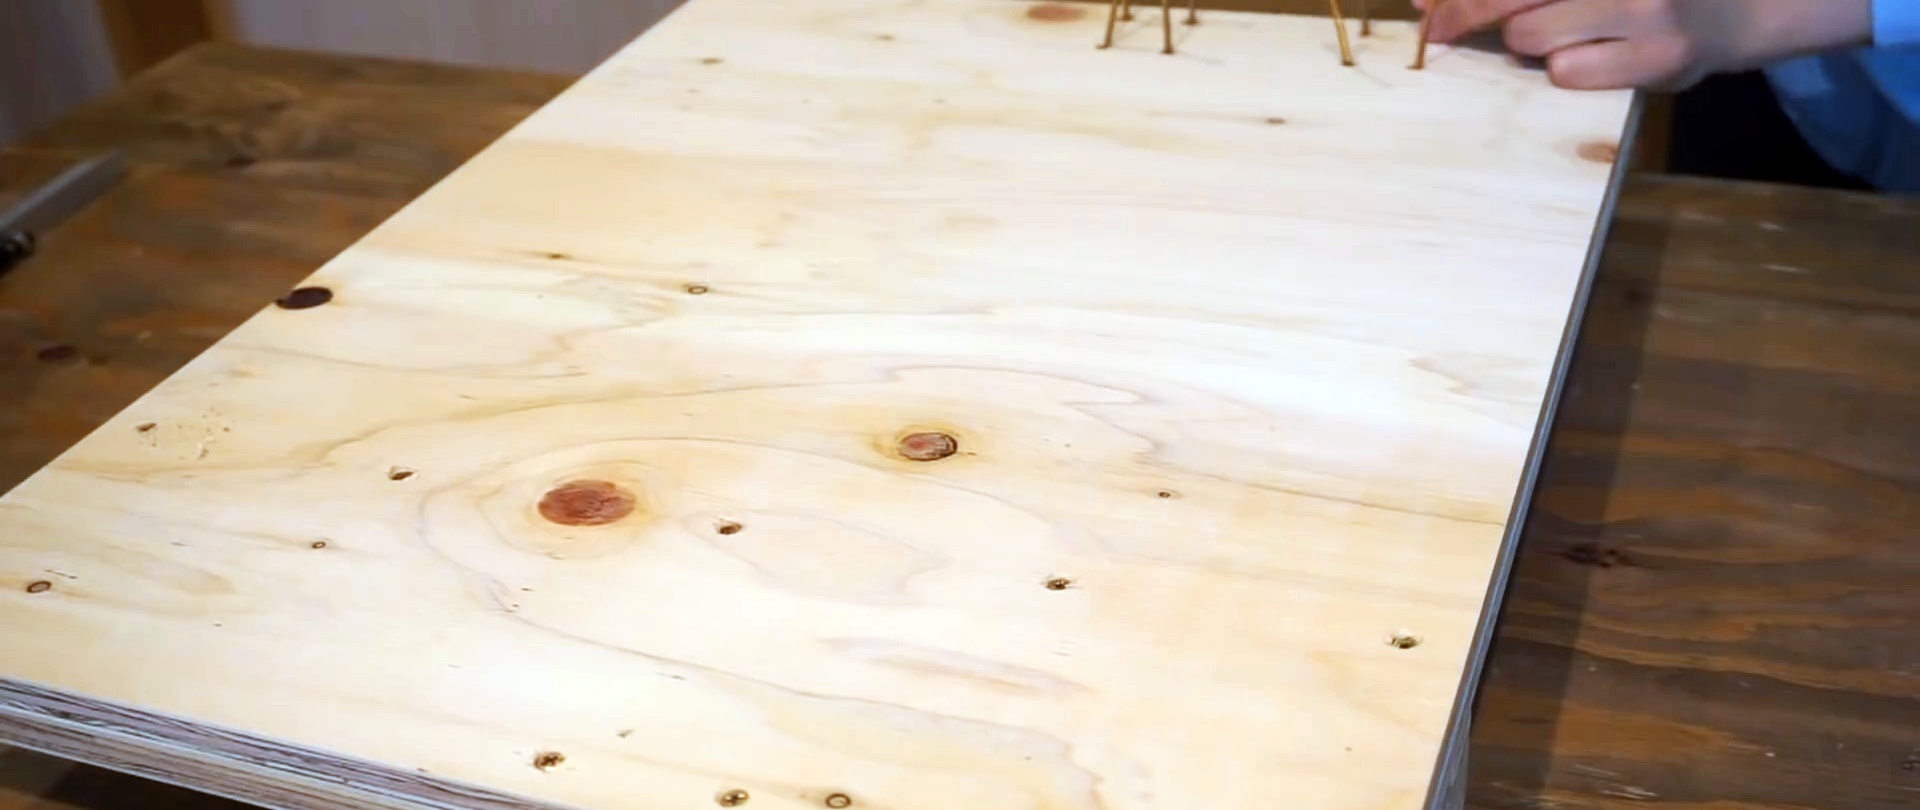
- multilayer plywood 400×500 mm;
- aluminum corner 1.5×10×25 mm;
- aluminum strip 3×25 mm;
- glue for wood and metal;
- screws are different;
- lubricant for sliding surfaces;
- threaded bushings for wood;
- wing bolts, washers and nuts;
- adhesive measuring tape.
The manufacturing process of a circular saw attachment
We use laminated veneer lumber with a width of 25 and 45 mm. The base of the device will be made of multi-layer plywood 400×500 mm. Other combinations of sizes are possible.

We form blocks from laminated veneer lumber of the same height for all elements.
According to the markings, we install a beam 400 mm long with glue across the base closer to one edge.
On the edge of the far side of the base from the 400 mm beam, we install two 45x55 mm beams closer to one of the sides of the 500 mm base with a gap between them and, orienting the long sides transversely to the 400 mm beam.

On the other side of the 400 mm beam, along the edge of the 400 mm side of the base, we fasten a 123 × 25 mm beam symmetrically to two 45 × 55 mm elements.
After the glue has hardened, we turn the base 180 degrees and, according to the markings, fasten all the timber elements on the front side with screws.
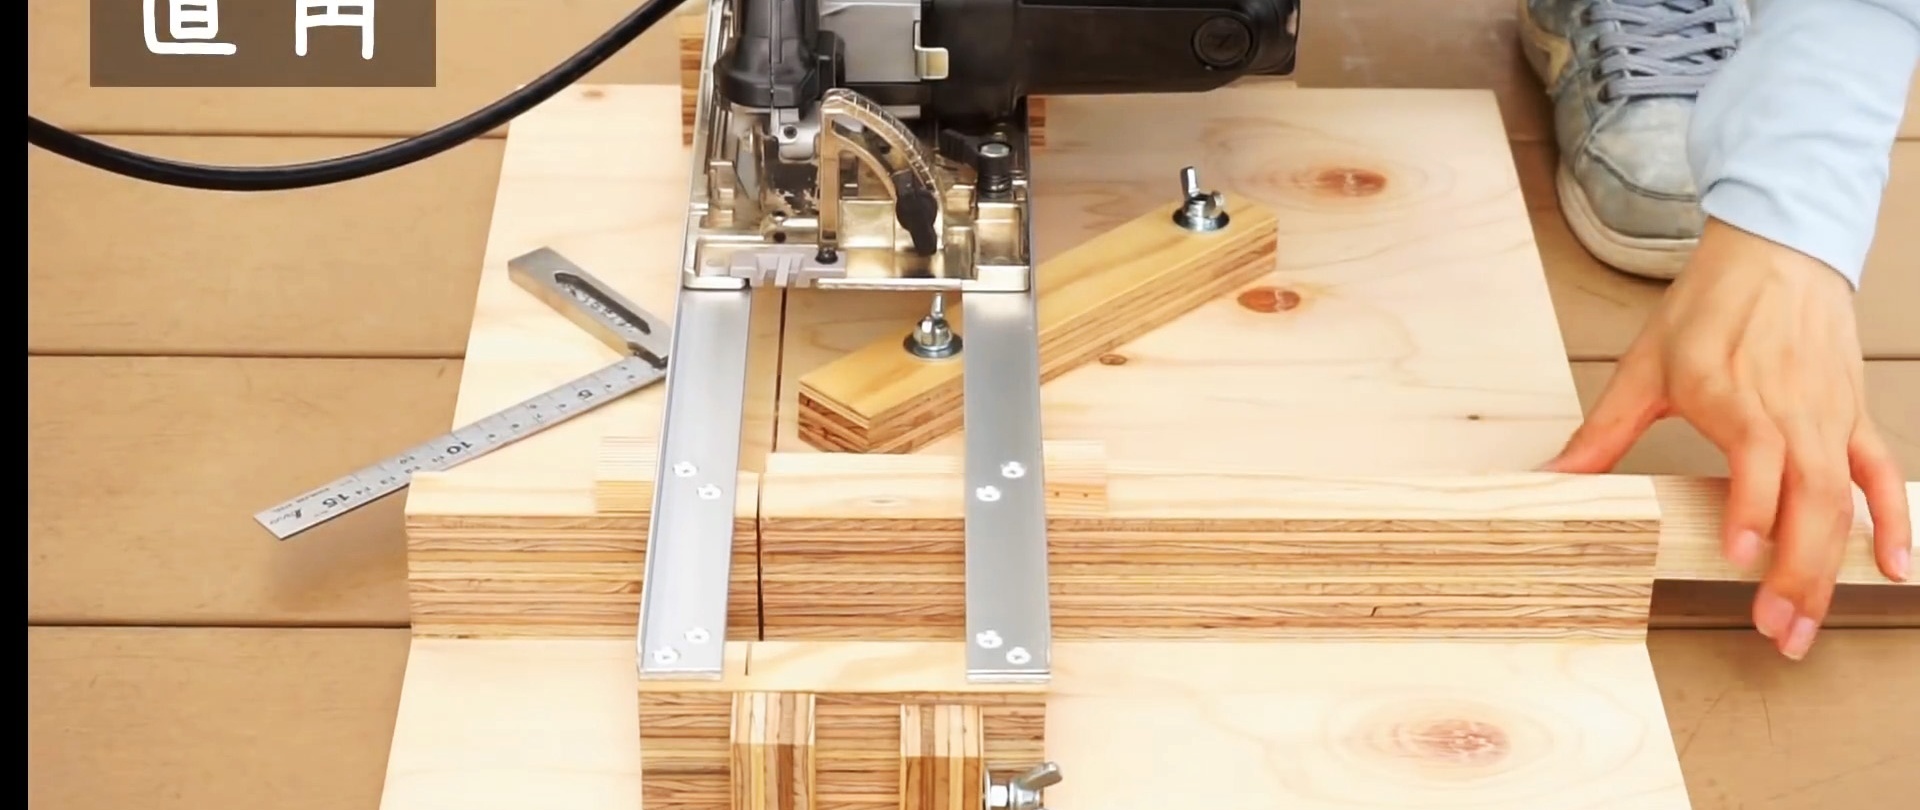
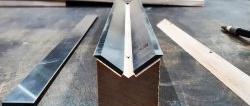
To the base of an aluminum corner 1.5×10×25 mm we glue an aluminum strip 3×25 mm with metal glue and compress it with clamps.
We lay aluminum corners with strips along the 500 mm sides of the base on timber supports so that their ends rest on the outer corners of the 123x25 mm beam and do not extend beyond its dimensions.
According to the markings, we drill holes in the aluminum guides above all the timber supports with drilling from the front side.

To fix the guides on the supports, apply adhesive tape, compress with clamps and first secure one of them with screws.
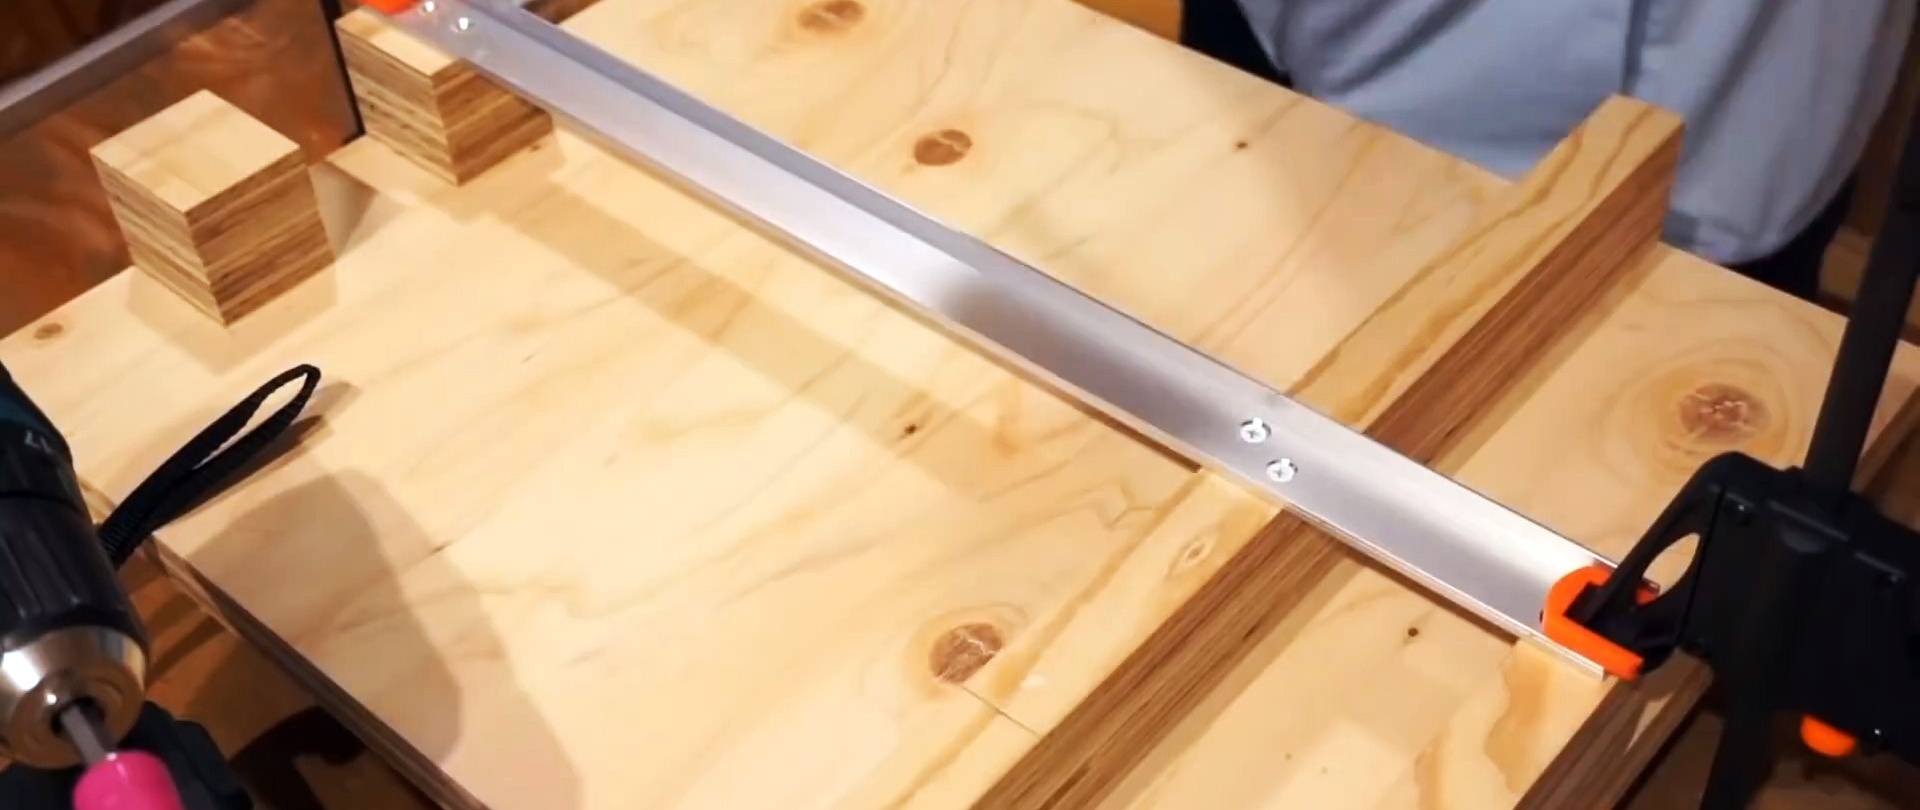
We try on the sole of the circular saw, install the second guide and also fasten it with screws.

To ensure easy sliding of the circular saw sole along the guides, apply lubricant for metal surfaces to them.
Having checked the verticality of the saw blade, we make a through cut at the base, cutting through the 400 mm beam, and also cut into the timber support at the edge of the base, but do not completely cut the section of the base from the 400 mm beam to the 123x25 mm beam.
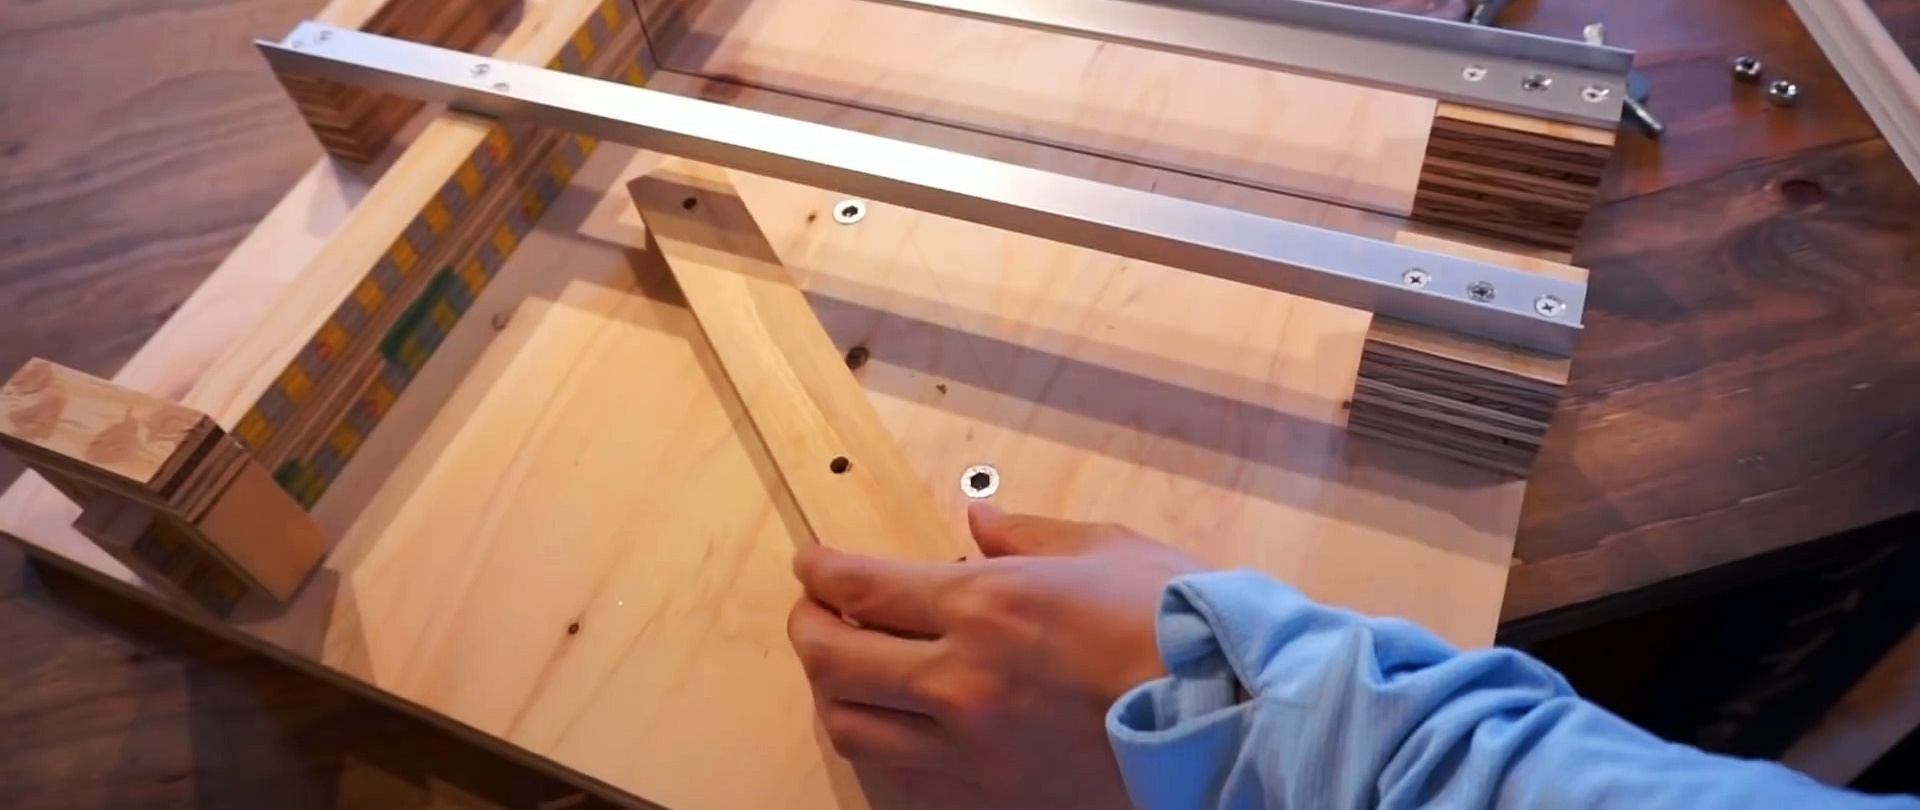
We screw a threaded bushing for wood M6×13 mm flush into the beam with the hole. We assemble a U-shaped unit from it and two other elements, and the beam with the bushing should be one of the legs of this unit.
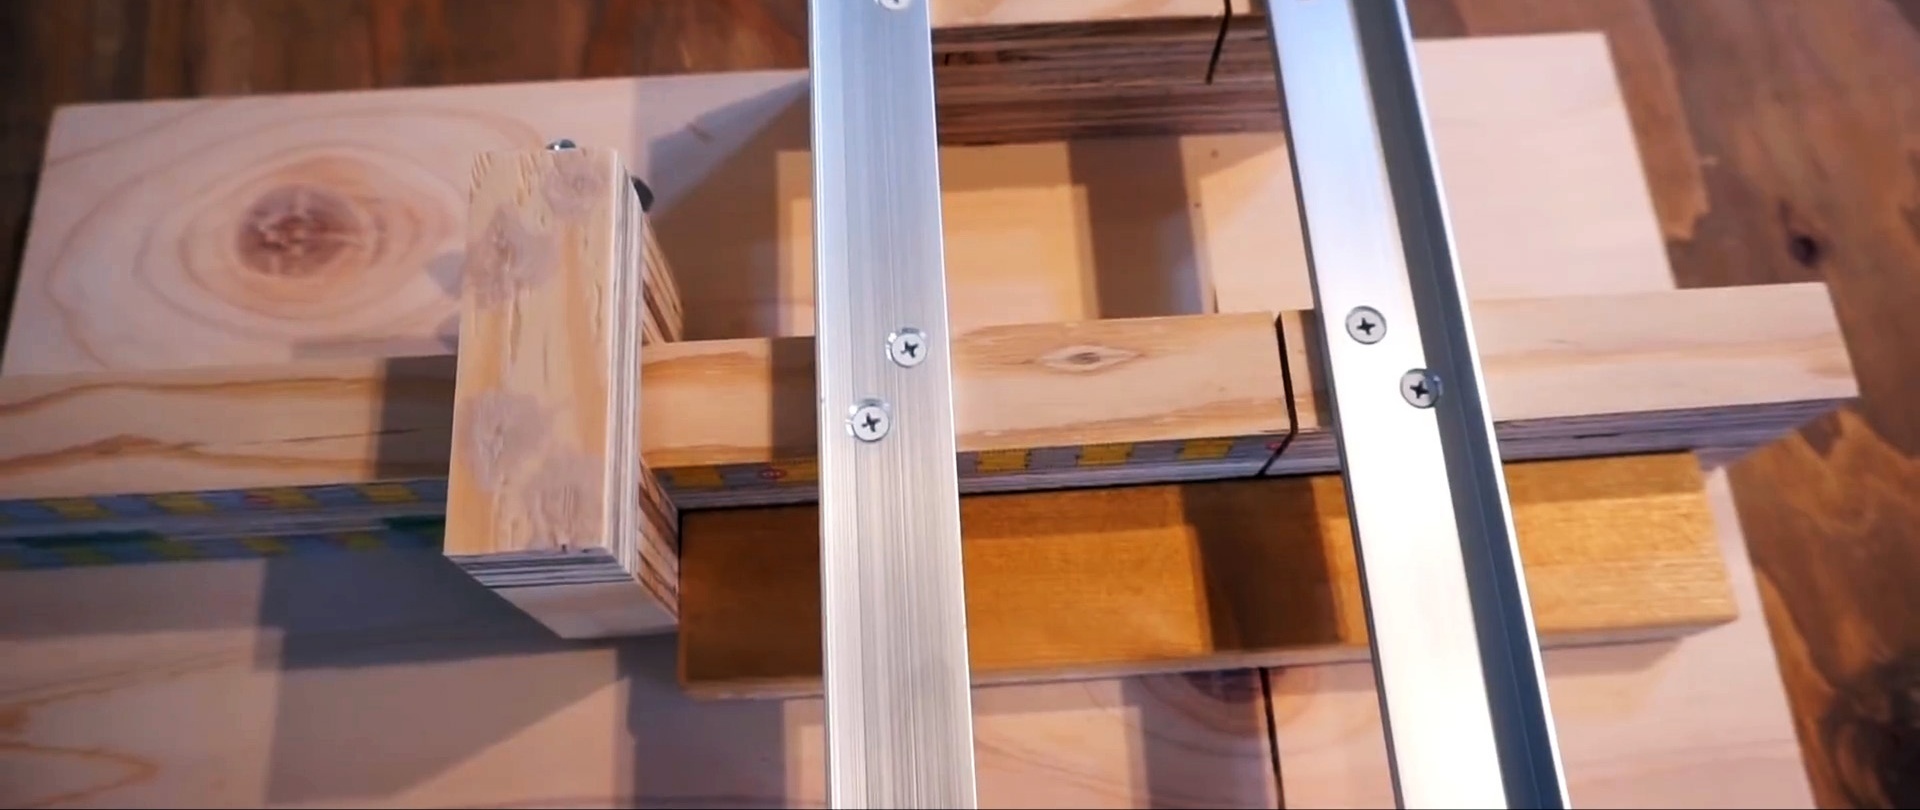
Screw the nut onto the wing bolt until it stops and screw it into the bushing. We install the U-shaped unit with legs on a 400 mm beam with the ability to move and fix it in the right place, determined by measuring tapes glued to the inside of the 400 mm beam.
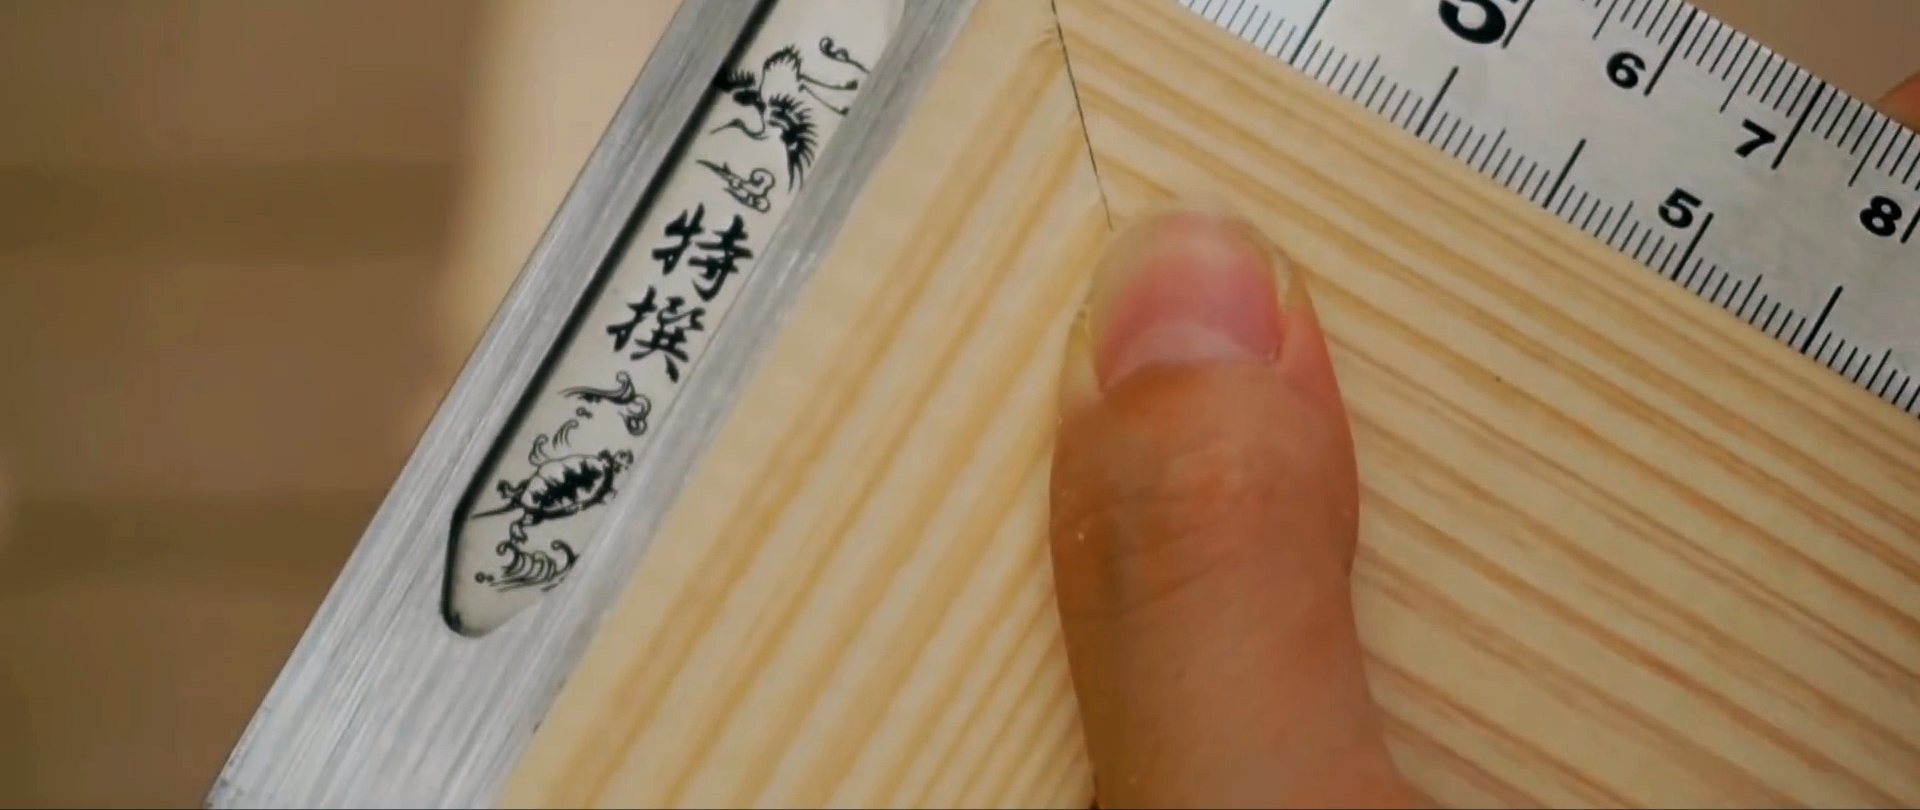
We draw a line at 45 degrees to the cut at the base, ensuring the processing of workpieces of a certain width.
Using the holes in the stop as a template, we drill mating holes in the base into which we screw threaded bushings. We attach a stop-limiter to them using washers and wing bolts for cutting workpieces at an angle of 45 degrees.

We screw wooden planks to the end of the 500 mm side of the base, which, when installed vertically, extend beyond the bottom of the base.
To prevent lateral displacement of the guides, we glue wooden stops on the outside.

We install the device on a level place and use wooden planks at the end of the base to fix it.

Now, without markings, we can easily make cuts at 45 and 90 degrees or efficiently prepare many workpieces of one size.