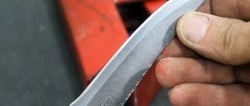
When the knives of a jointing machine become dull, the quality of processing and productivity drops. Only an experienced craftsman can sharpen such knives correctly, since the sharpening angle must be maintained along the entire length. But if you make a device from sandpaper and MDF sheets, then even a beginner can perform high-quality sharpening.
Will need
Materials:- melamine sheets 18 mm thick;
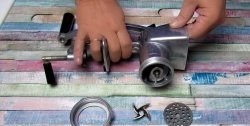
- emery machine;
- bolts, washers, nuts, screws;
- aluminum channel;
- wing nuts;
- steel strip and angle;
- threaded bushings for wood;
- steel handle;
- knives for jointing machine, etc.
High-quality drills on AliExpress at a discount - http://alii.pub/5zwmxz
The process of manufacturing a device for sharpening knives of a jointer
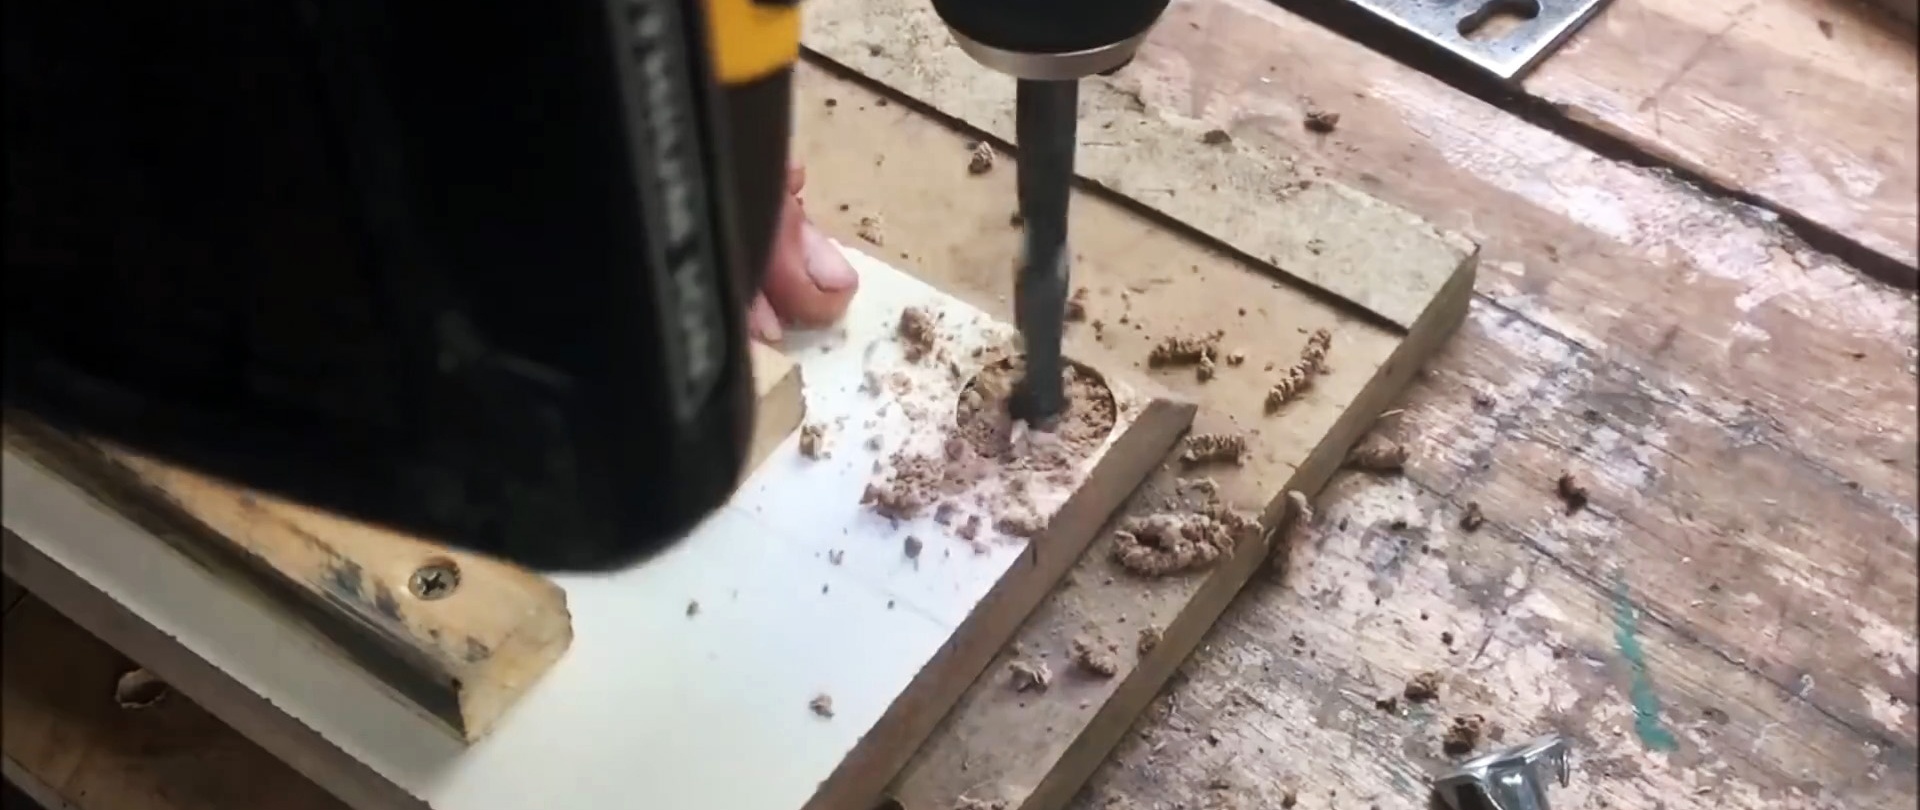
We cut out a rectangle from the sheet for mechanical emery and drill a couple of holes in it opposite the fastening perforations of the emery. We drill blind large holes of diameter, and small ones in the center.
We insert bolts with washers from the side of the blind drillings, onto which, on the other side, we lower the base of the sandpaper and tighten it with nuts.

Place the sandpaper and base on a large rectangular sheet in the center, aligning the back edge of the base with the long side of the large sheet.
We place two plates on the glue close to the base. Having adjusted the right angle between the plates and the base, we secure them with screws.
We place the same ones on the plates, shifted inward by 1/3 of the width and screw them to the bottom with screws. We insert the base under the sandpaper into the resulting grooves and make sure that it moves freely in them.

From the sheet we cut out 4 triangles with angles of 90, 45 and 45 degrees. Glue them perpendicular to the long side of the large sheet with the hypotenuses facing out. We strengthen it with screws from the bottom of a large sheet.
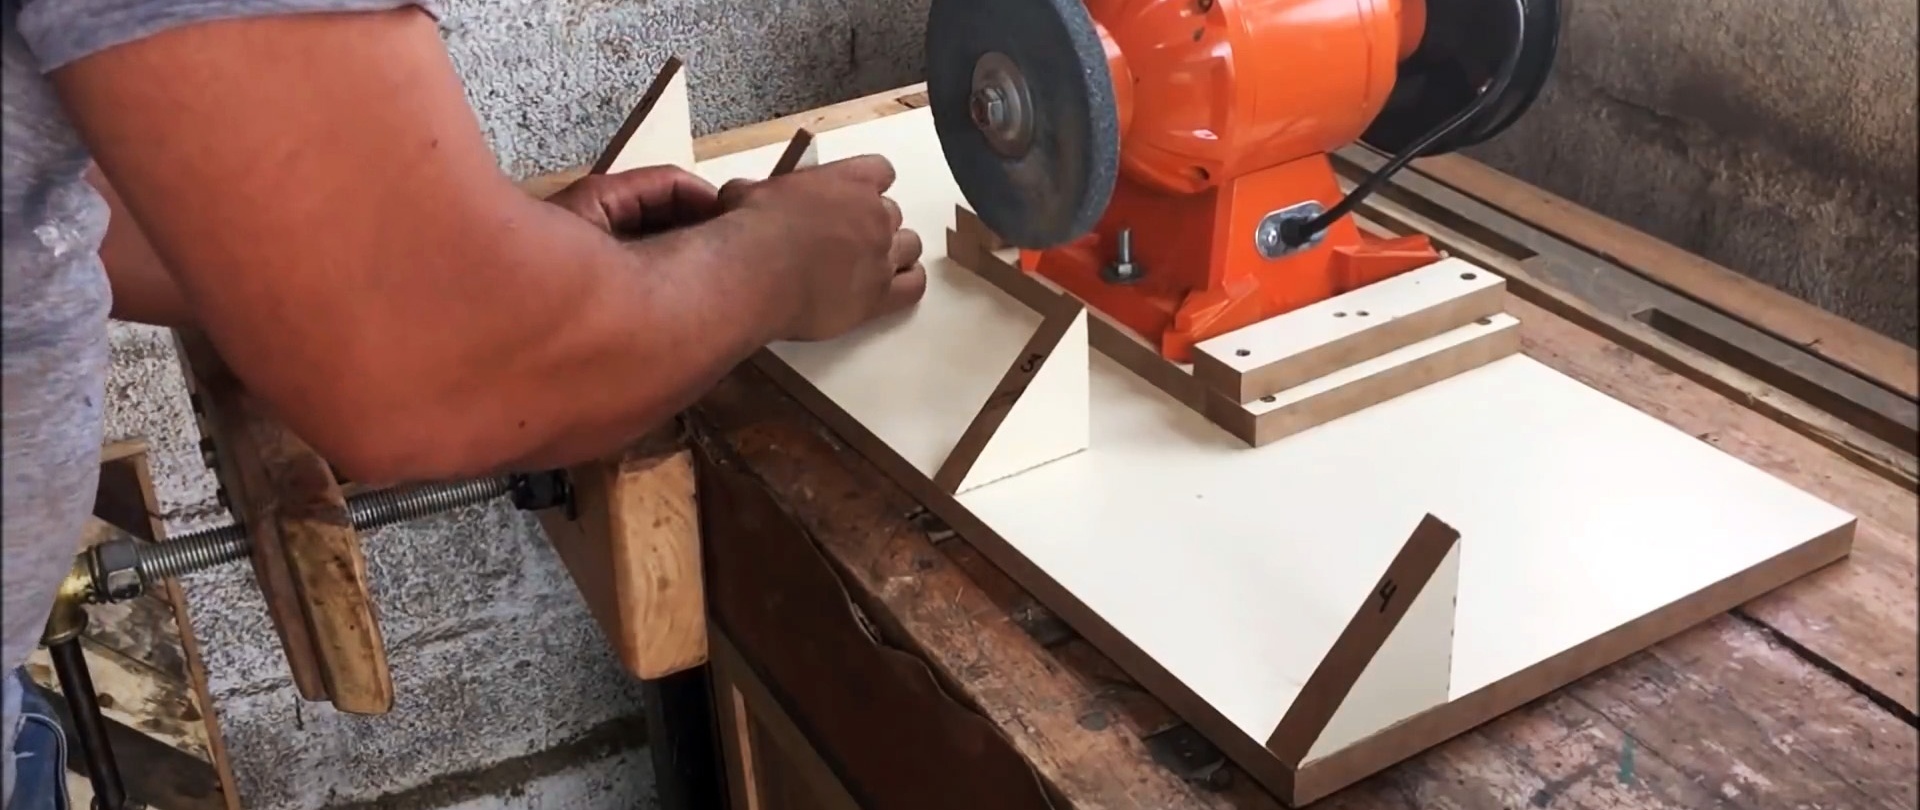
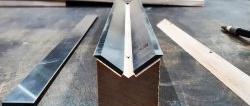
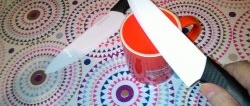
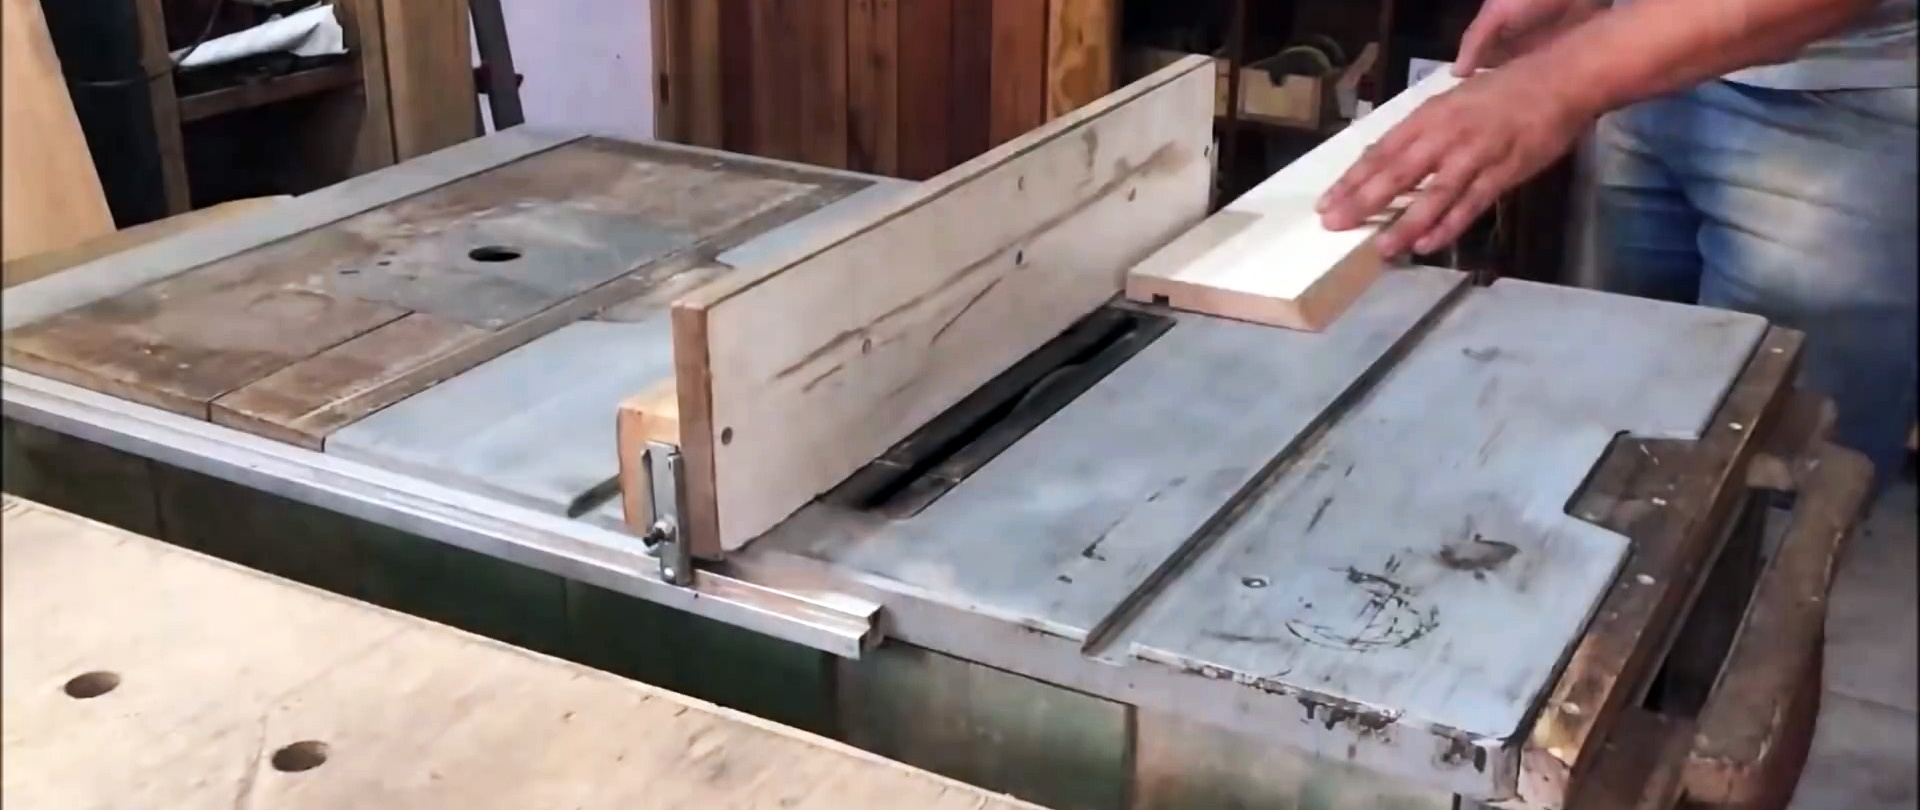
We cut one side of the long board at 45 degrees using a circular saw.
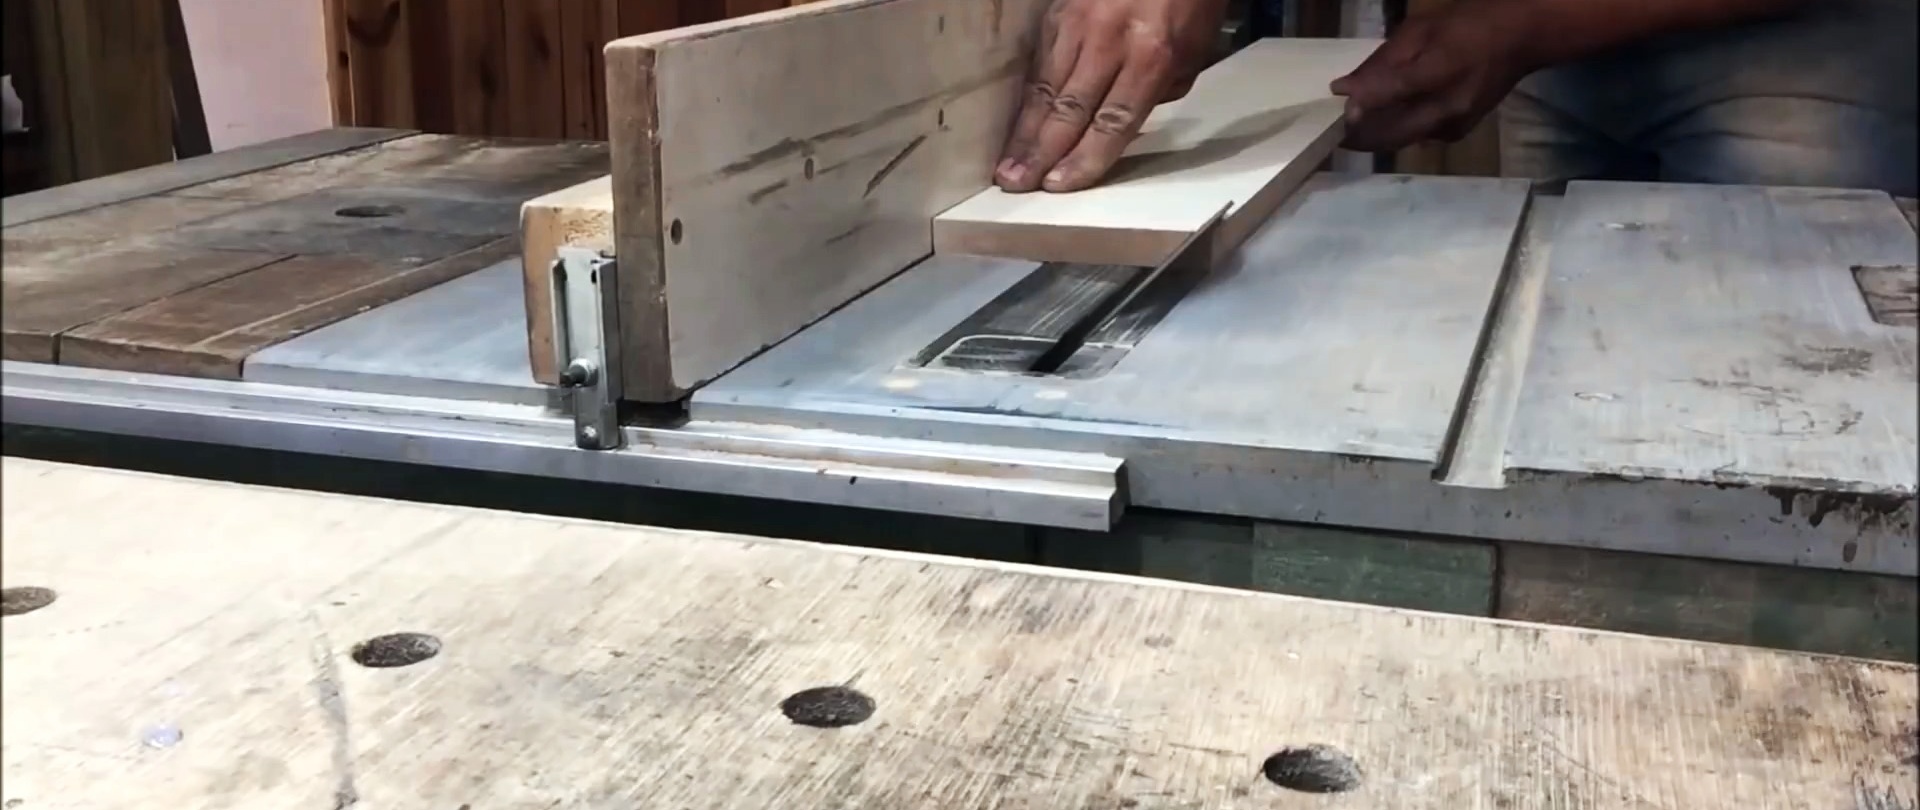
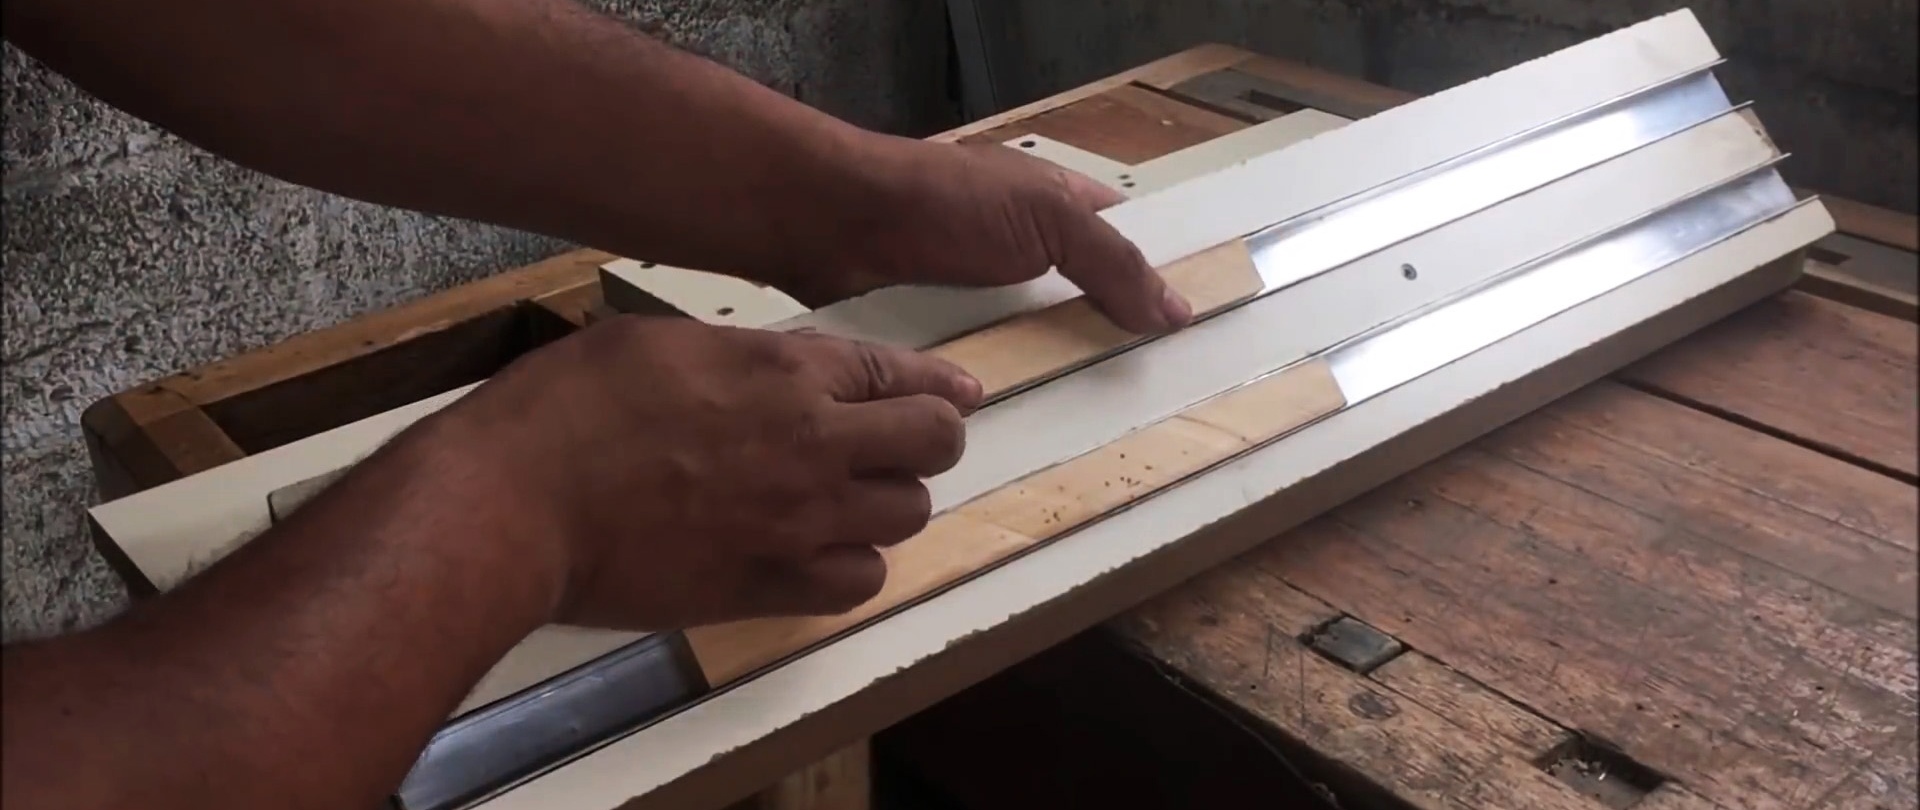
On the wide side we make two parallel longitudinal grooves with a cross-section corresponding to the aluminum channels.

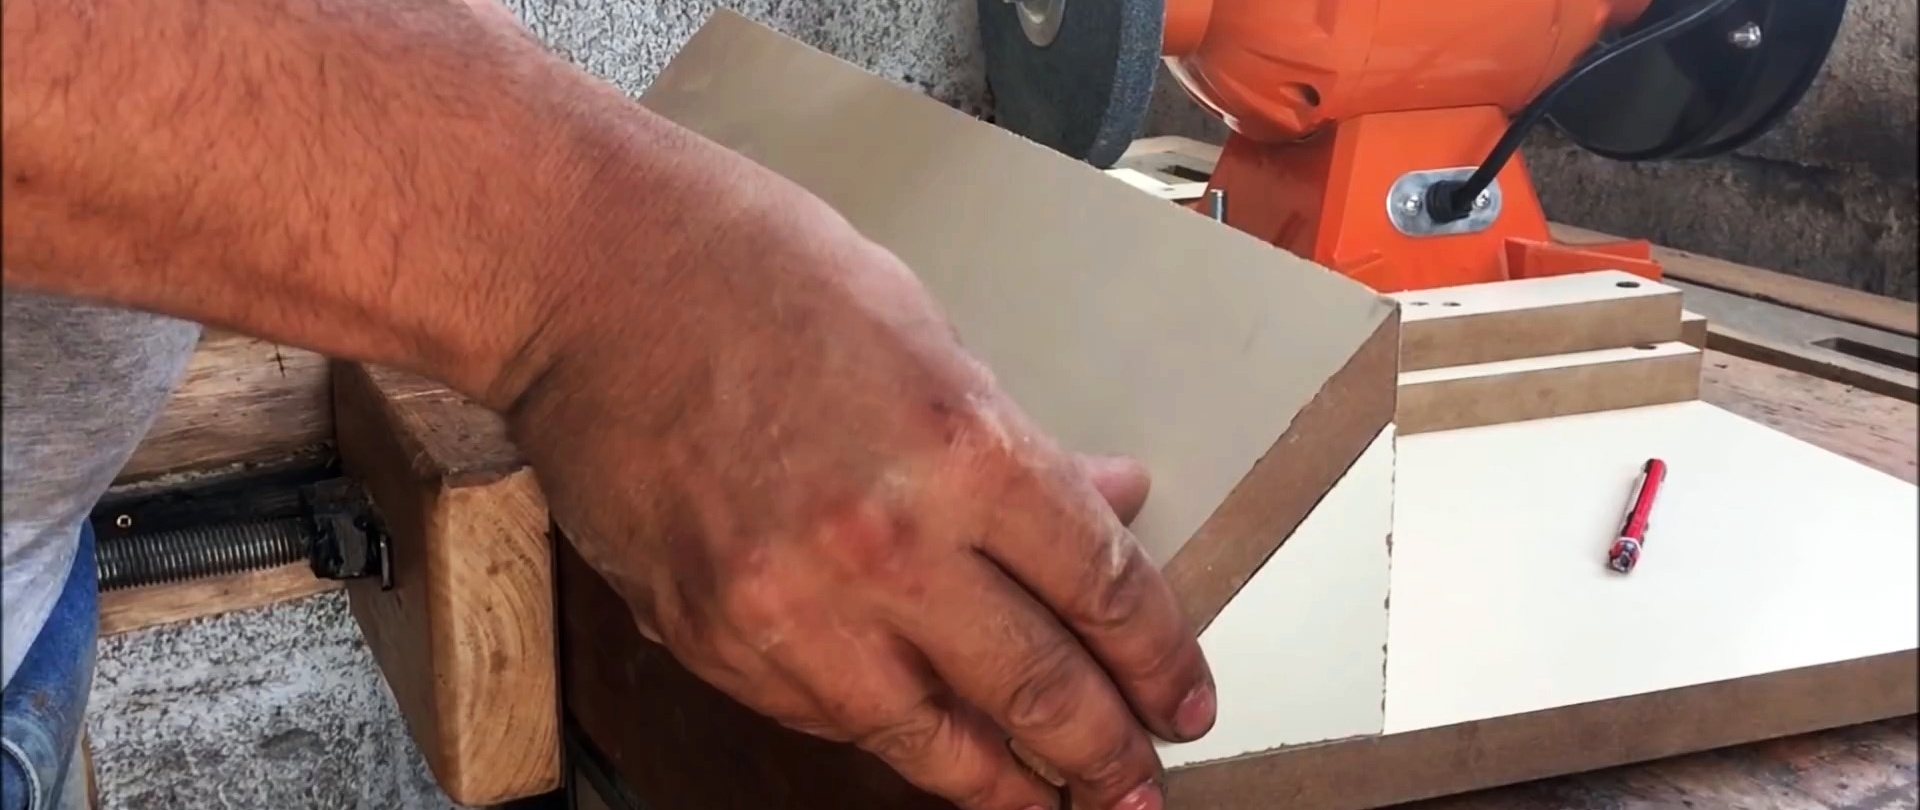
We lay a board with an edge at 45 degrees on the triangles so that the edge is one piece with the vertical legs, and fasten them with screws to the triangles.
We “sit” the aluminum channels on the glue in the grooves of the board, compress them with clamps and leave them until the glue hardens.
We measure the width and height of the aluminum channels to adjust the circular disk and cut out two bars to move along the channels.
We fix the bars with screws longitudinally to the board with a 45 degree edge. We rub the bars with wax or paraffin for better glide in the channels.


We lay the board in blocks in the channels, and combine the cut with the cut of the bottom board.
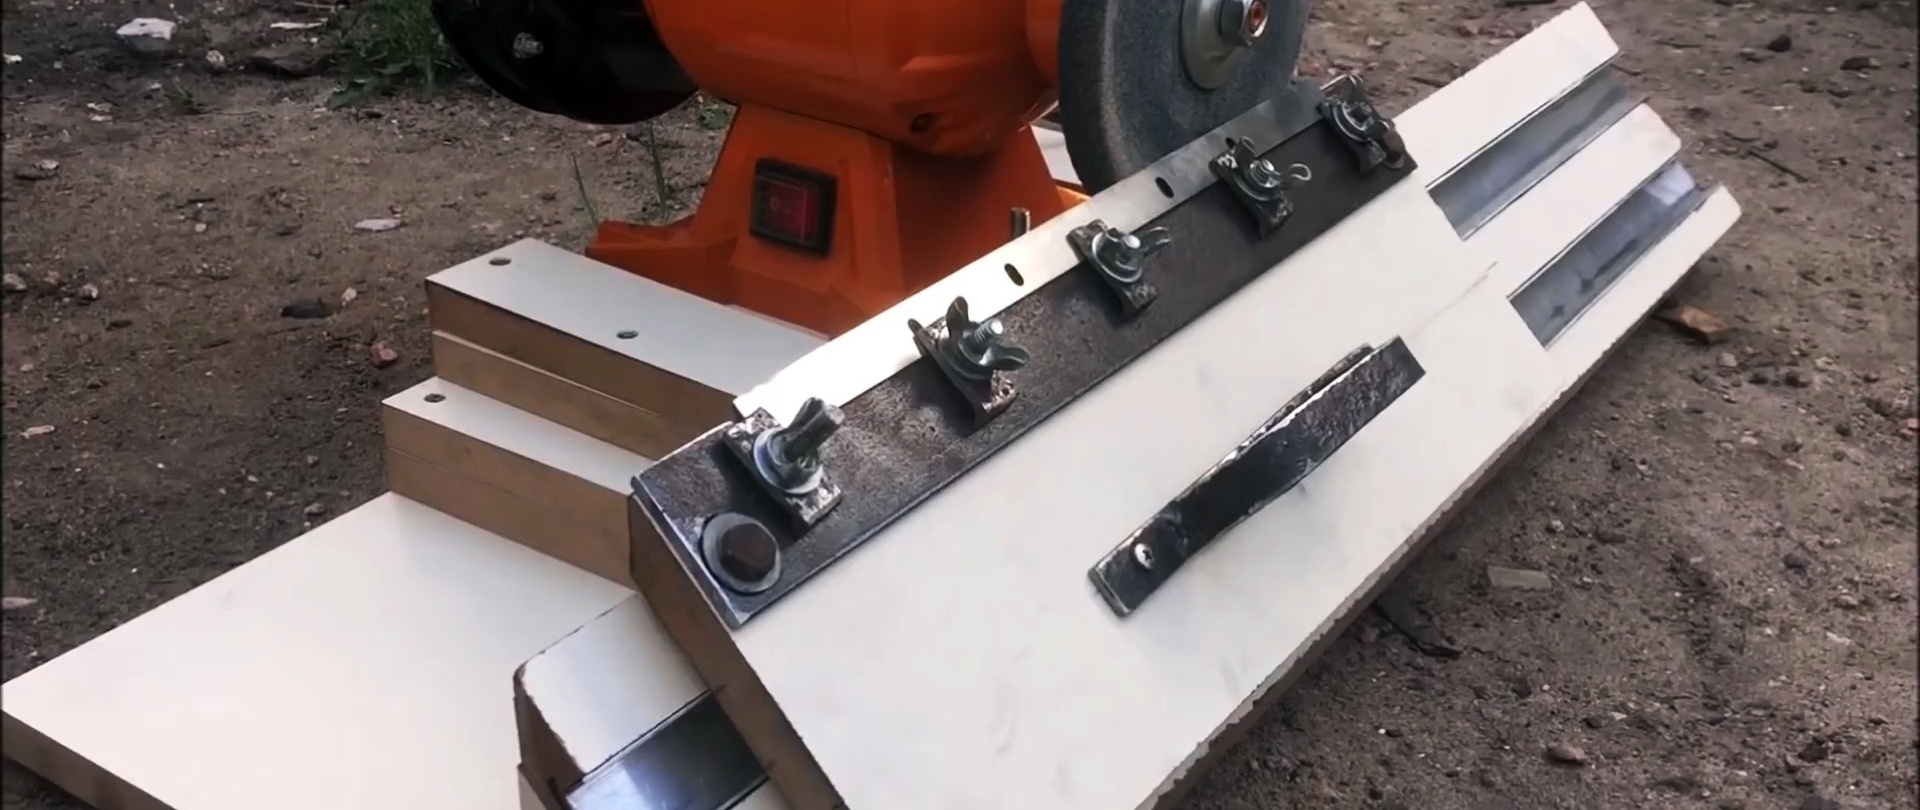
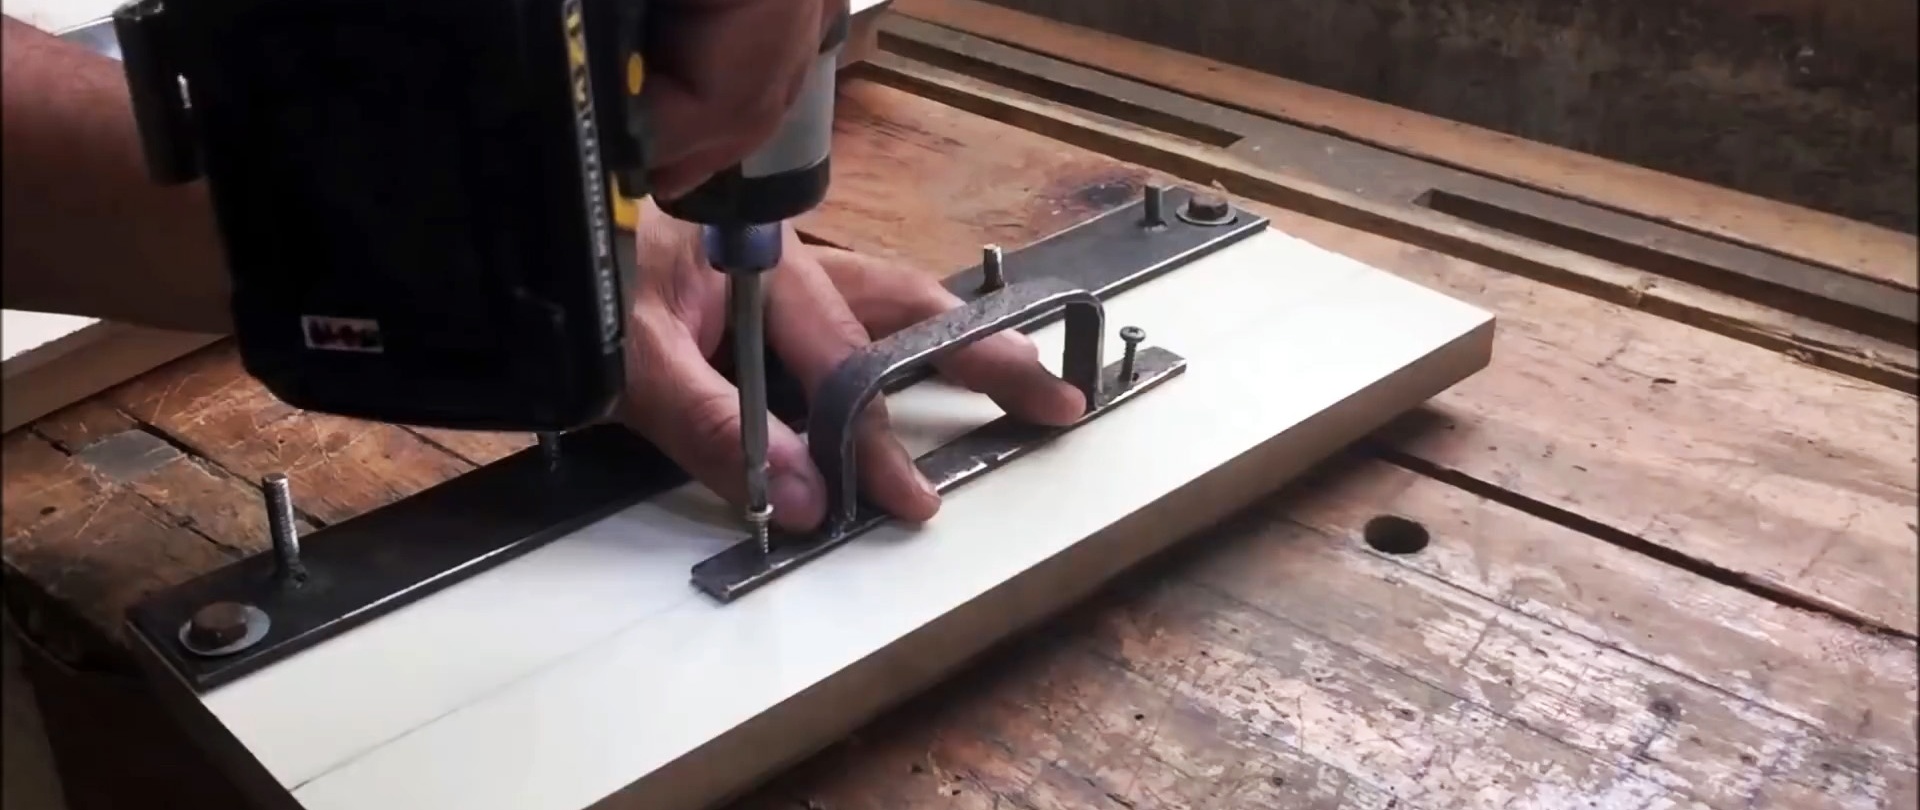
In the steel strip we make 2 holes along the edges and 5 holes along the length with a slight offset from the center.
We insert 5 bolts into the holes of the strip and weld them. We put washers on the bolt rods and screw on the wing nuts.

In a board with bars along the long side, we drill sockets with through holes and hammer in threaded bushings. We bolt a steel strip with bolts to them.
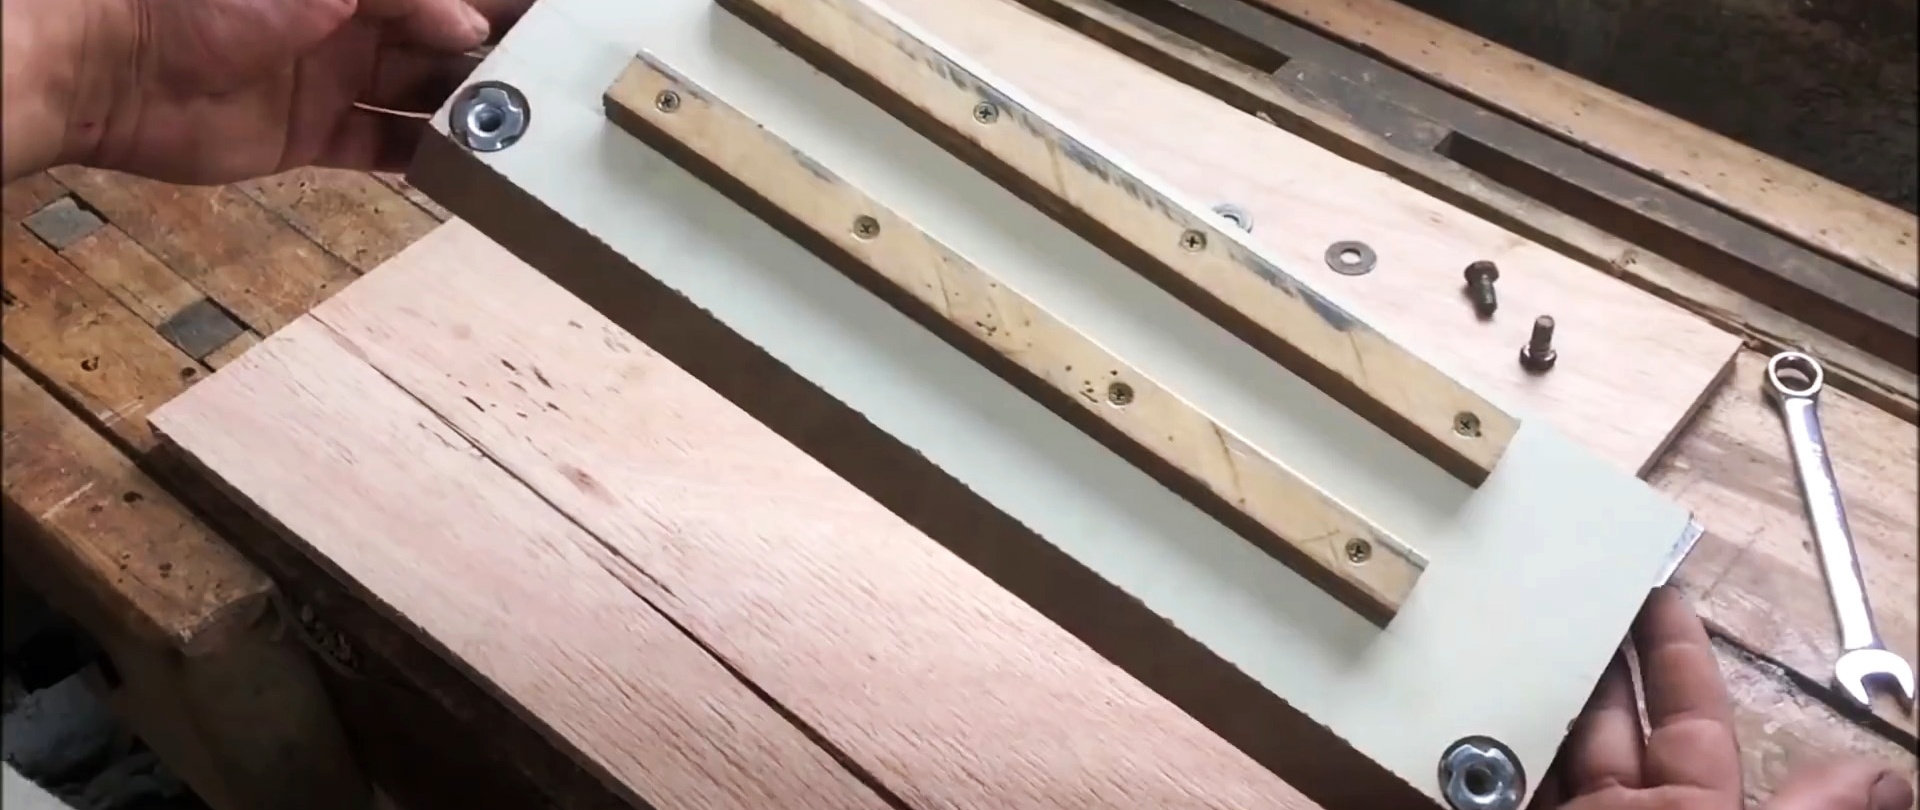
We fasten the steel handle parallel to the strip with screws. We again install the board with the bars into the guide channels.
We make elements from a steel corner - narrow strips with a hole in the center from a shelf with a small grip on another shelf.
We put these elements on the bolt rods with their “noses” down, then washers and screw on the wing nuts.

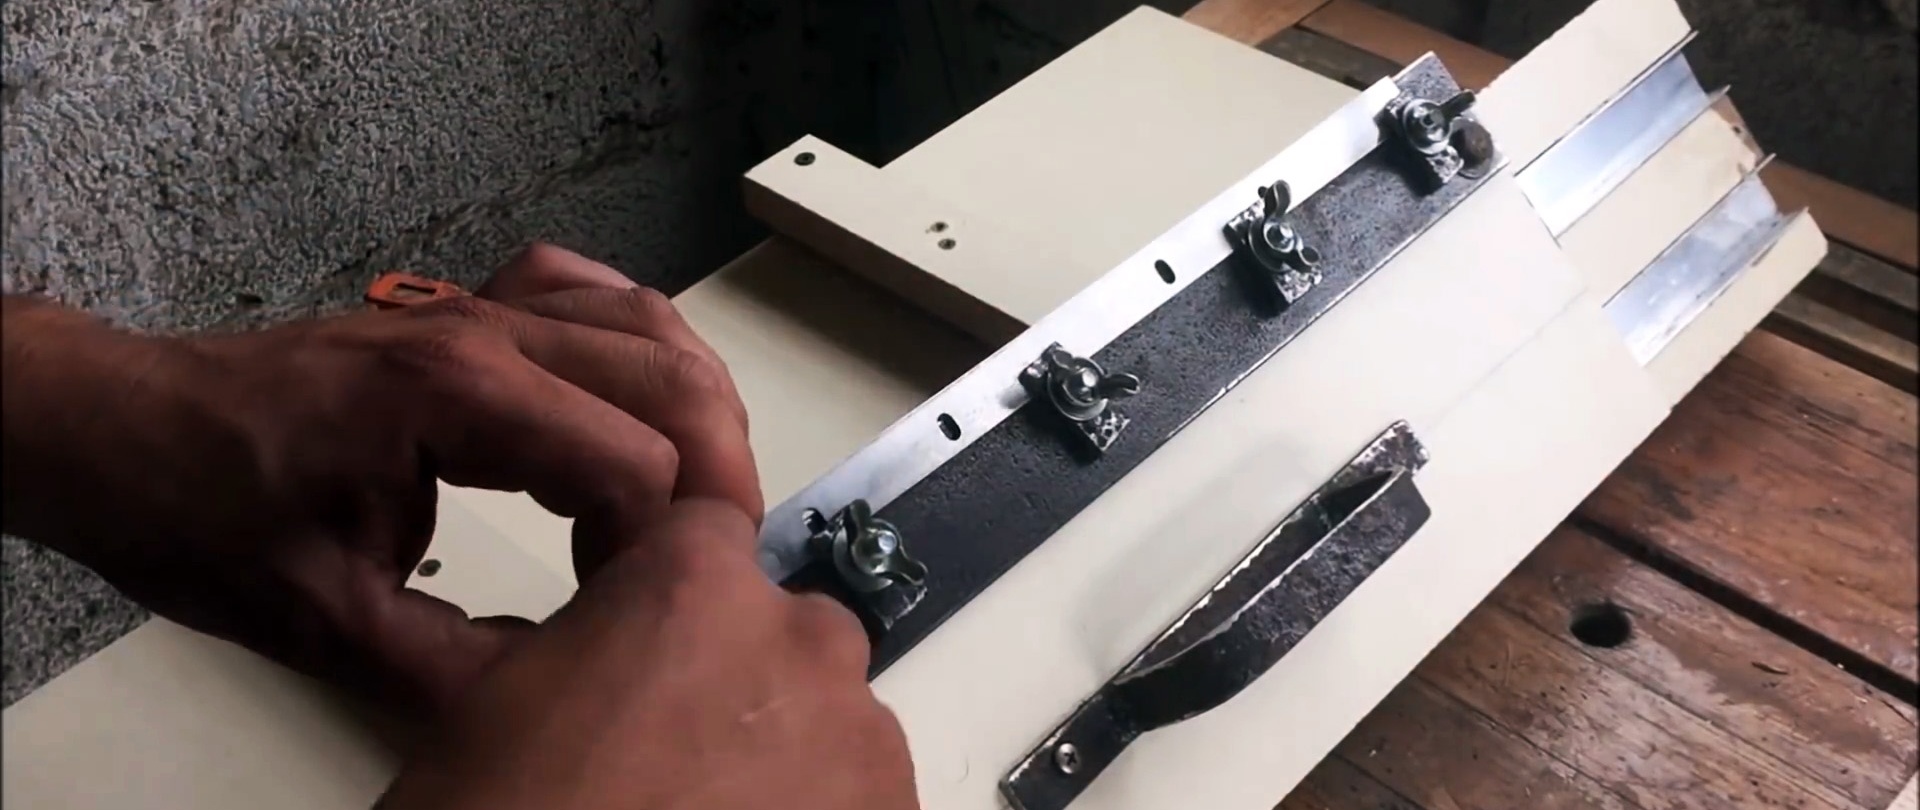
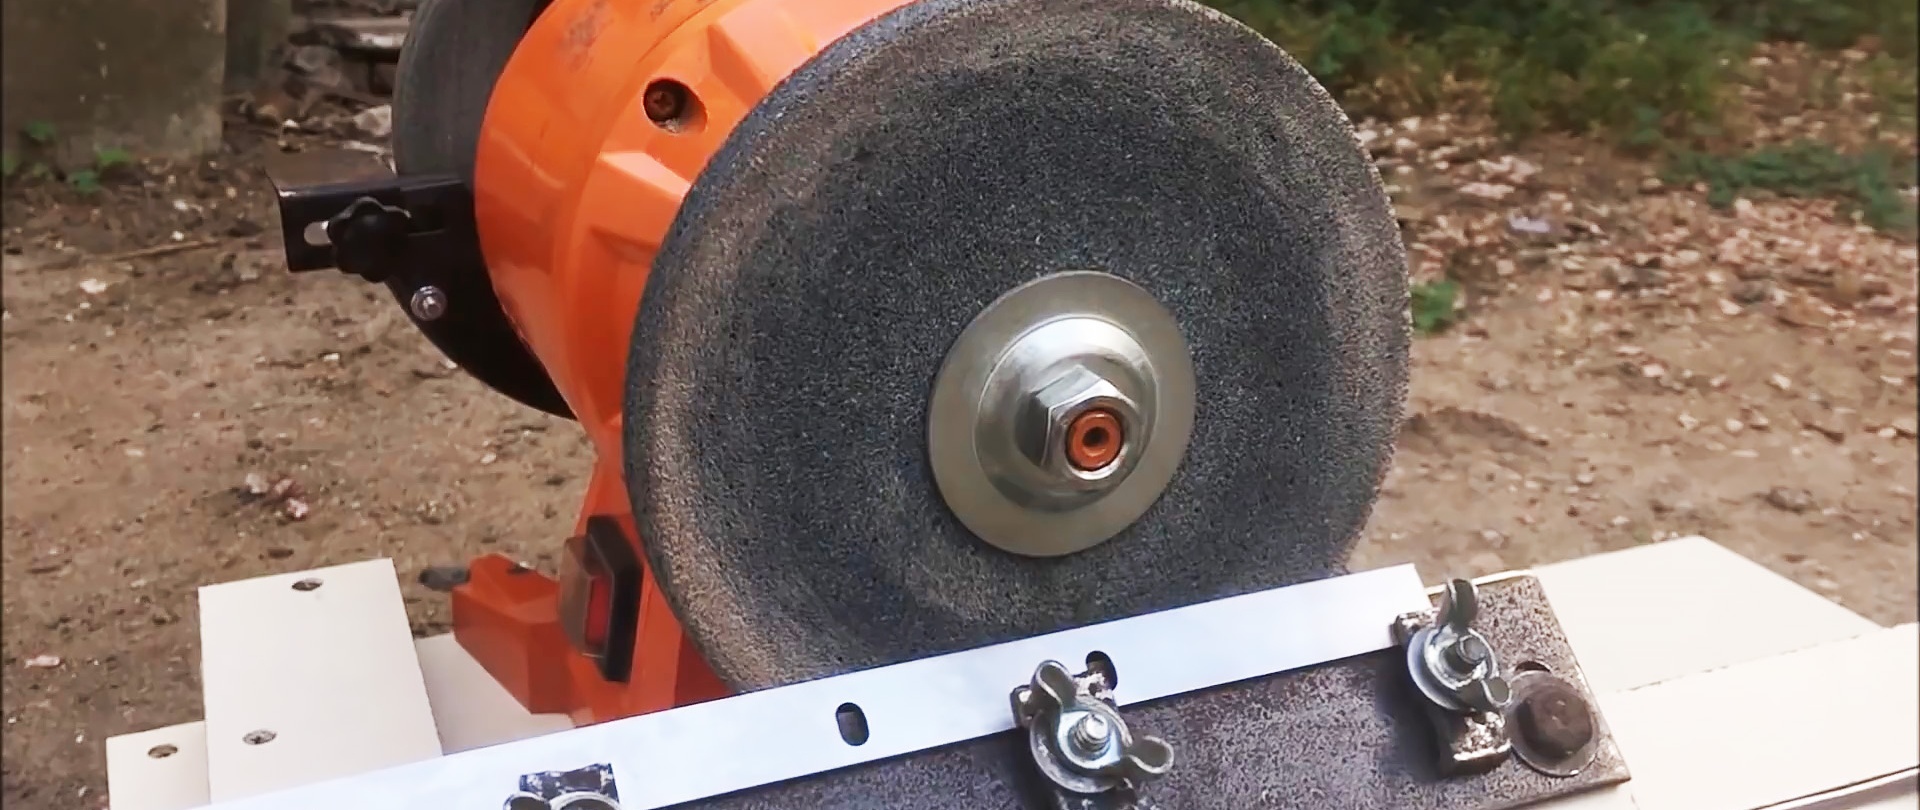
We secure the knife with stops and wing nuts, ensuring parallelism with the edge of the board. The sharpening angle is set automatically by the design of the device.

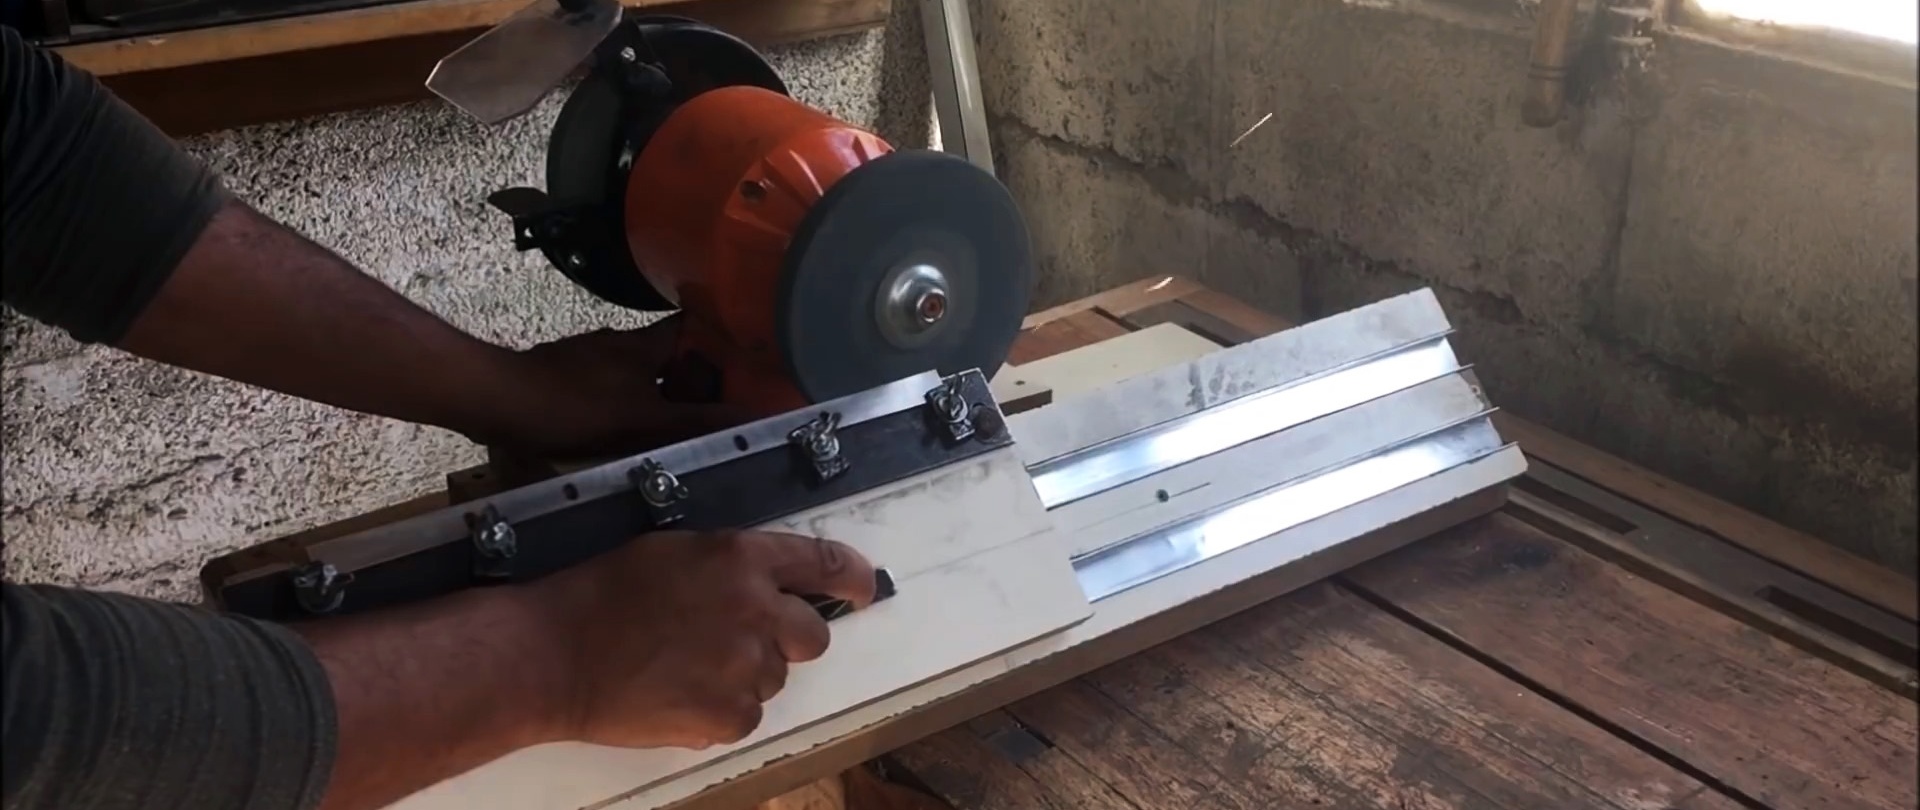
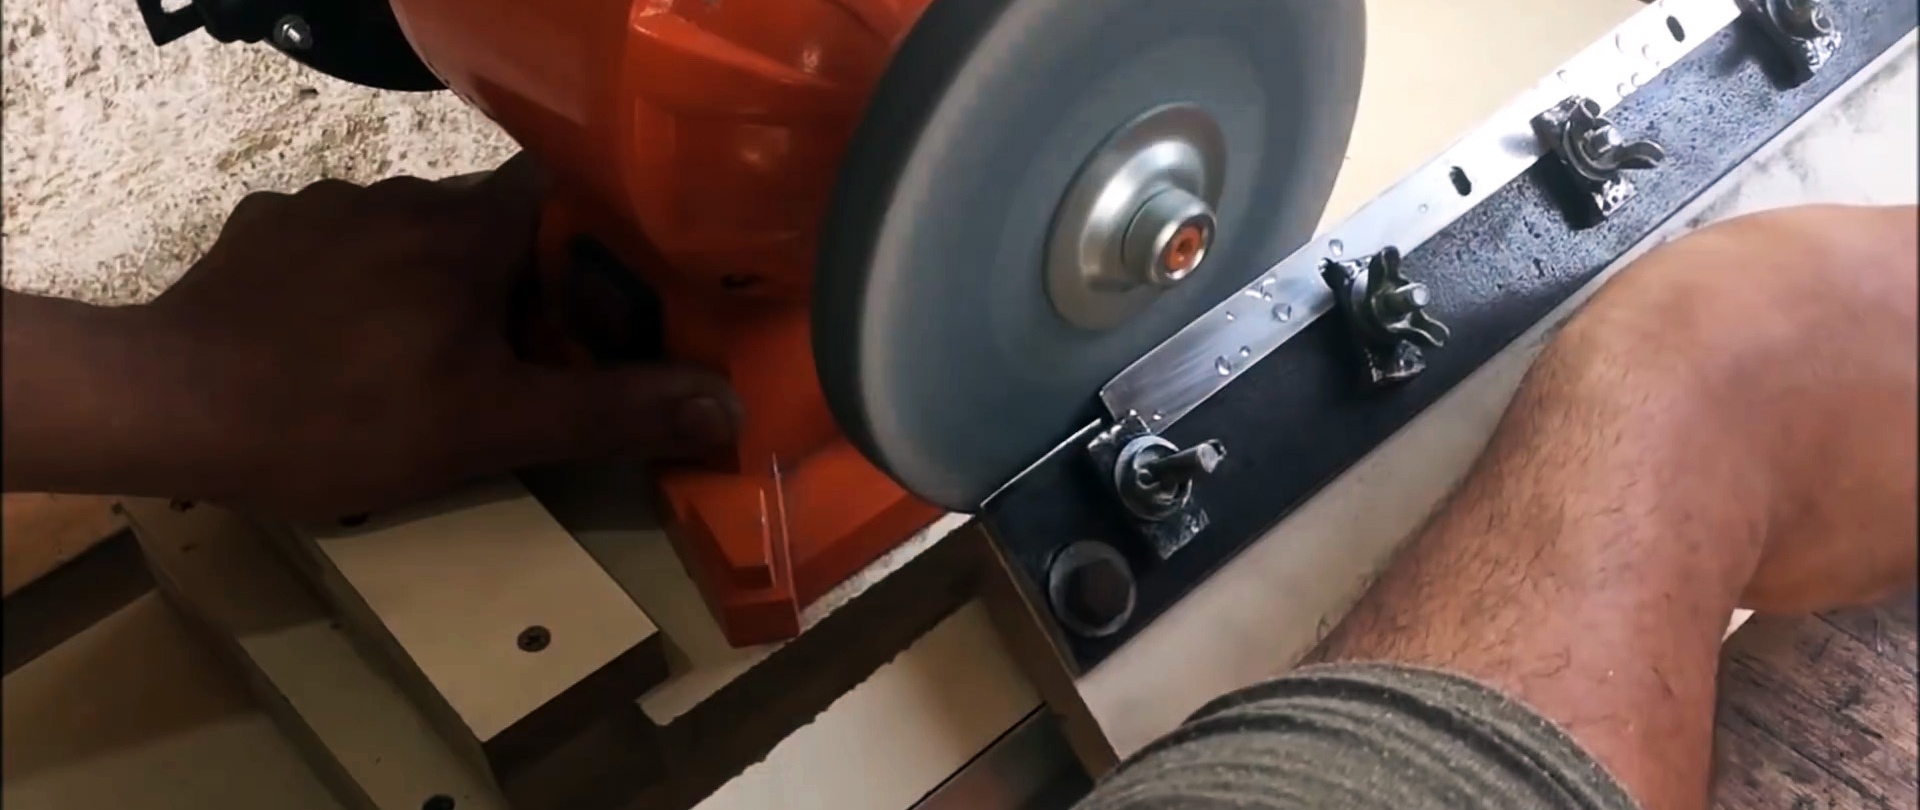
Sharpening is simple: turn on the emery, move the knife left and right and press the emery against the knife as you sharpen it.
To remove burrs and bends, grind the back of the knife with “wet” sandpaper.

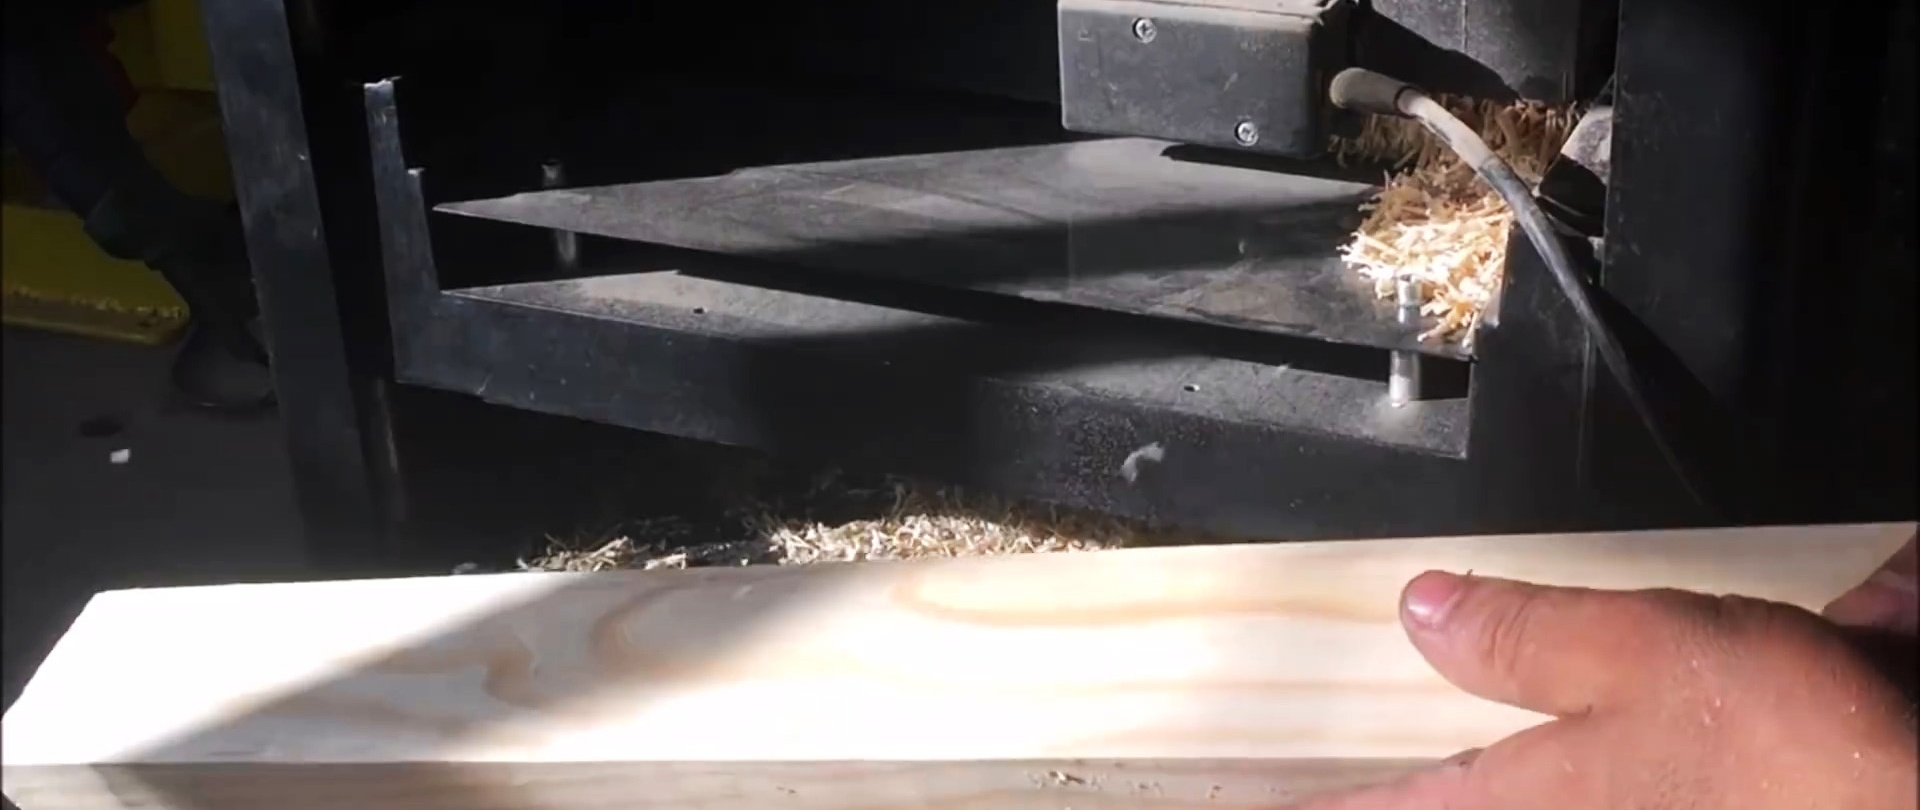
By installing the sharpened knives on the jointing machine, we are convinced of the quality of their sharpening when processing workpieces.