Some aluminum alloys from which various parts are made are prone to brittle fracture. In this case, if excessive force is applied to the product, a rather impressive piece may break off from it. It seems that restoring a part after such a breakdown is impossible. But if you use special electrodes for surfacing aluminum, the parts can be given a second life. To do this, it is enough to have basic welding skills.

Will need
Materials and tools:
- aluminum pulley with damaged hub;
- a piece of round stainless steel pipe;
- electrodes for aluminum welding - http://alii.pub/5nyy46
- metal brush;
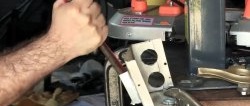
- welding equipment;
- grinder and drill.
The process of restoring an aluminum part by welding with aluminum electrodes
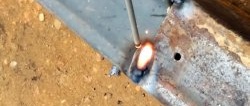
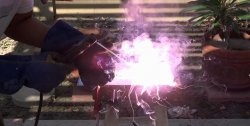
For such restoration, patch or patch welding technology is used. In this case, electrodes designed for welding steel or cast iron products are not suitable. Aluminum electrodes are required.
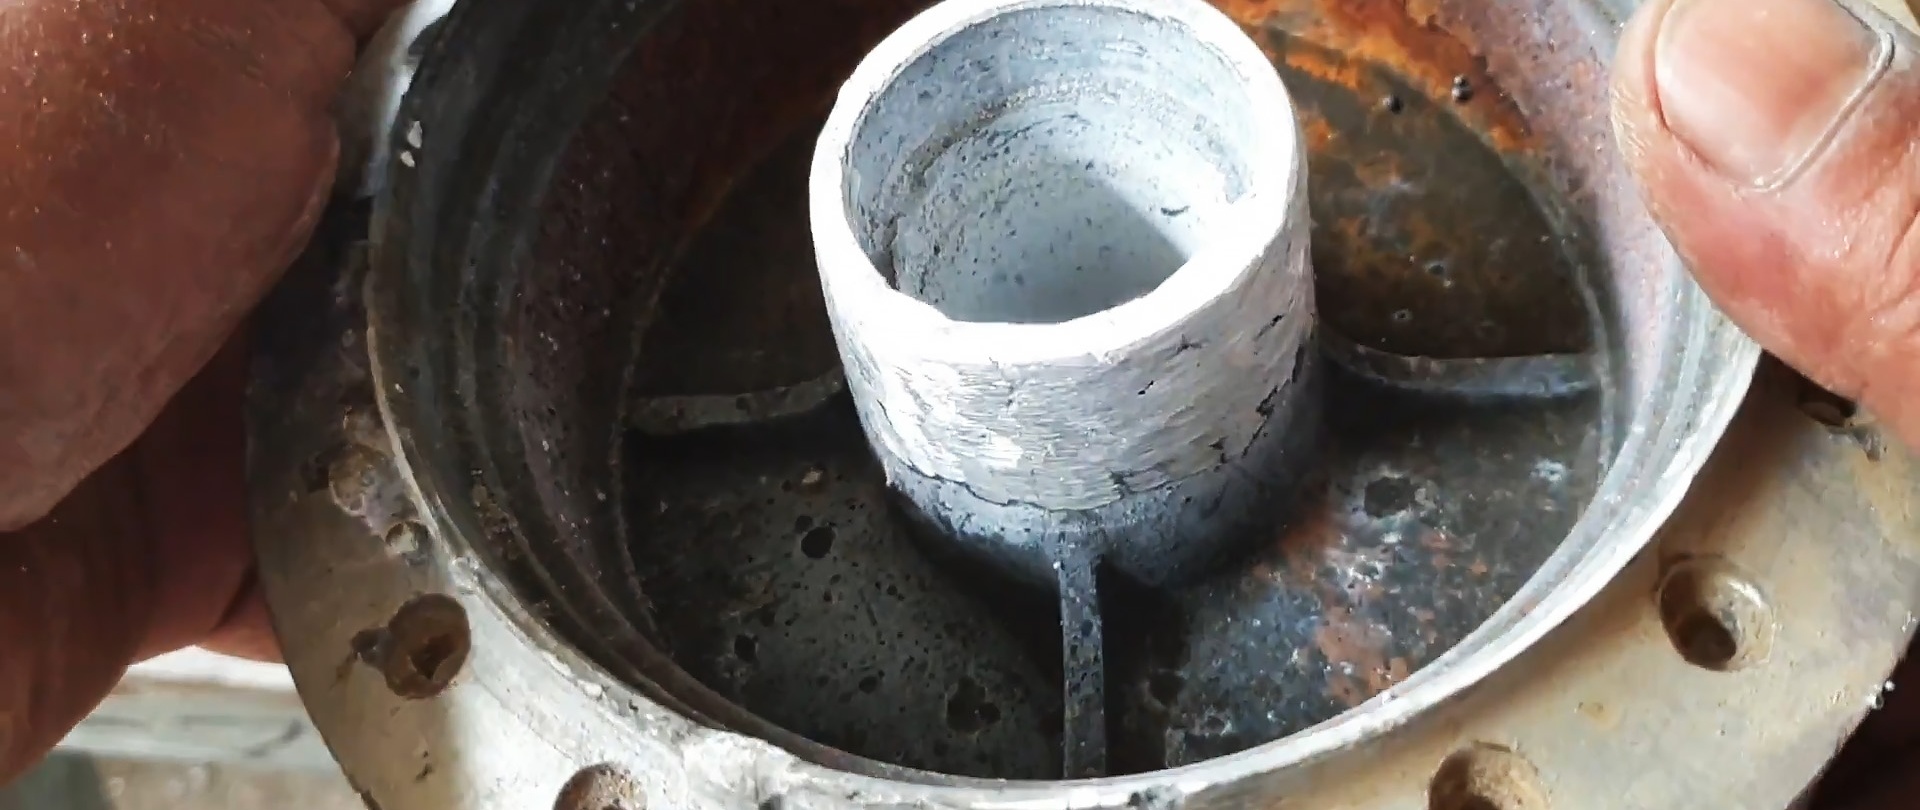
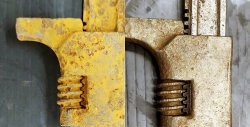
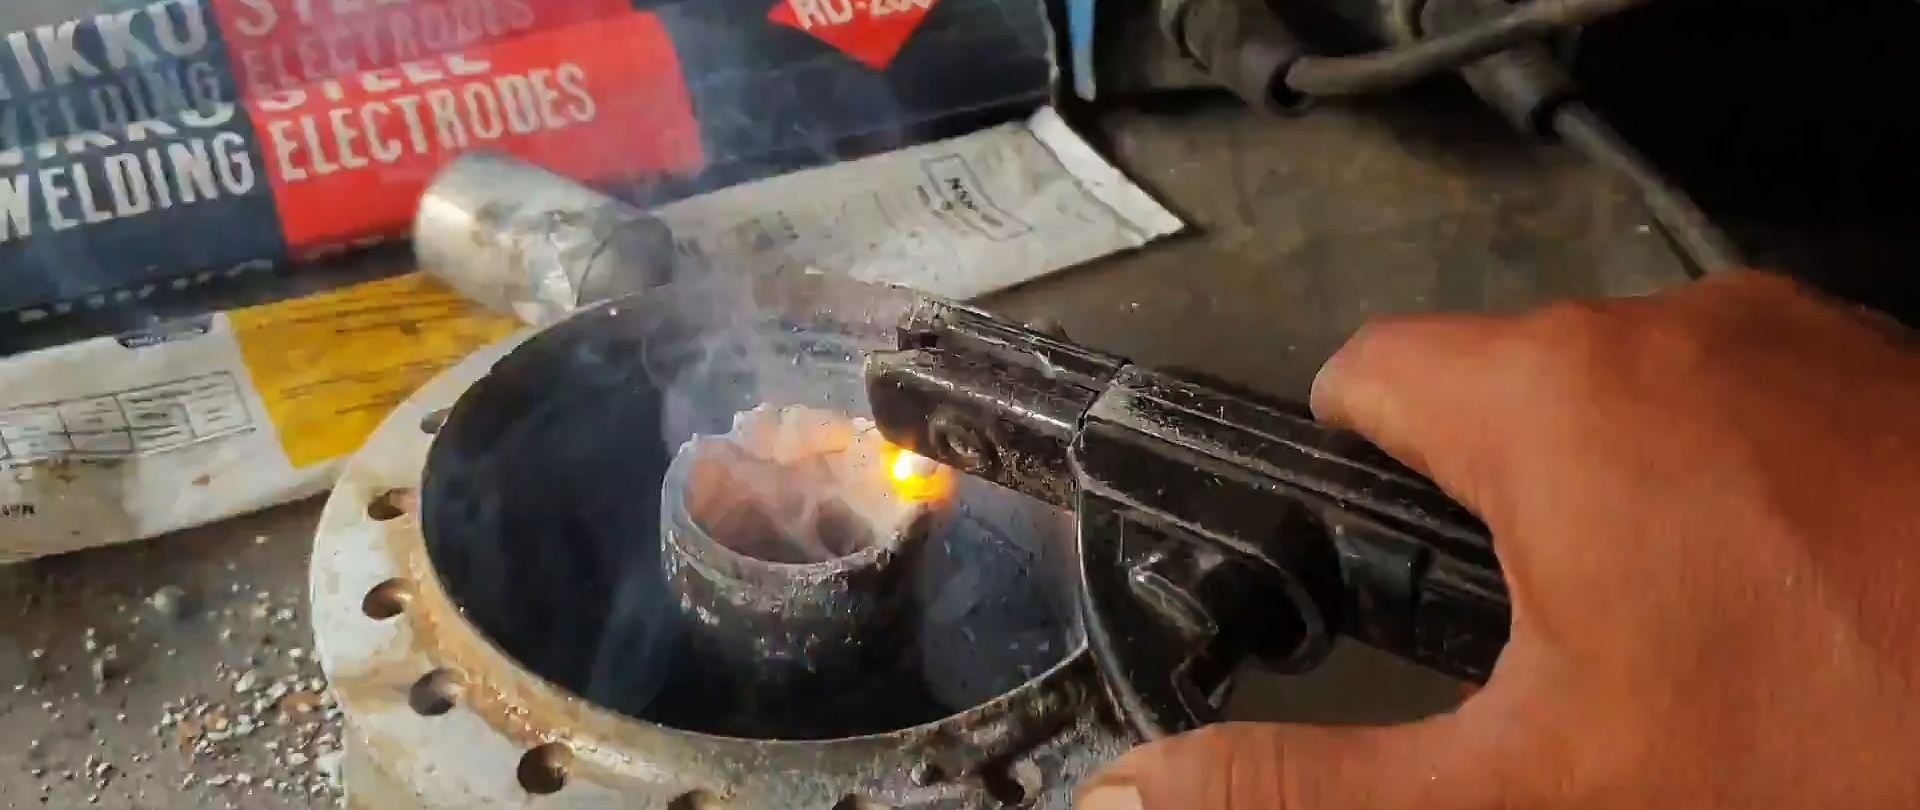
We are restoring a pulley made of aluminum alloy, from the hub of which, for one reason or another, a rather large broken piece flew off.To do this, insert a short piece of stainless steel pipe into the hub from the damaged side, the outer diameter of which coincides with the diameter of the hub.
We begin preparations to restore the damaged aluminum pulley. We clean the contour on the hub left after the broken piece with a metal brush to remove dust, dirt and the oxidized layer.
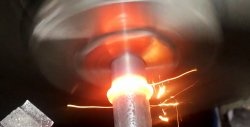
We put aside electrodes for steel and cast iron and use only electrodes for aluminum. We begin to weld the damaged section of the hub layer by layer, using a stainless steel pipe as an internal form-building surface.


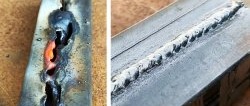
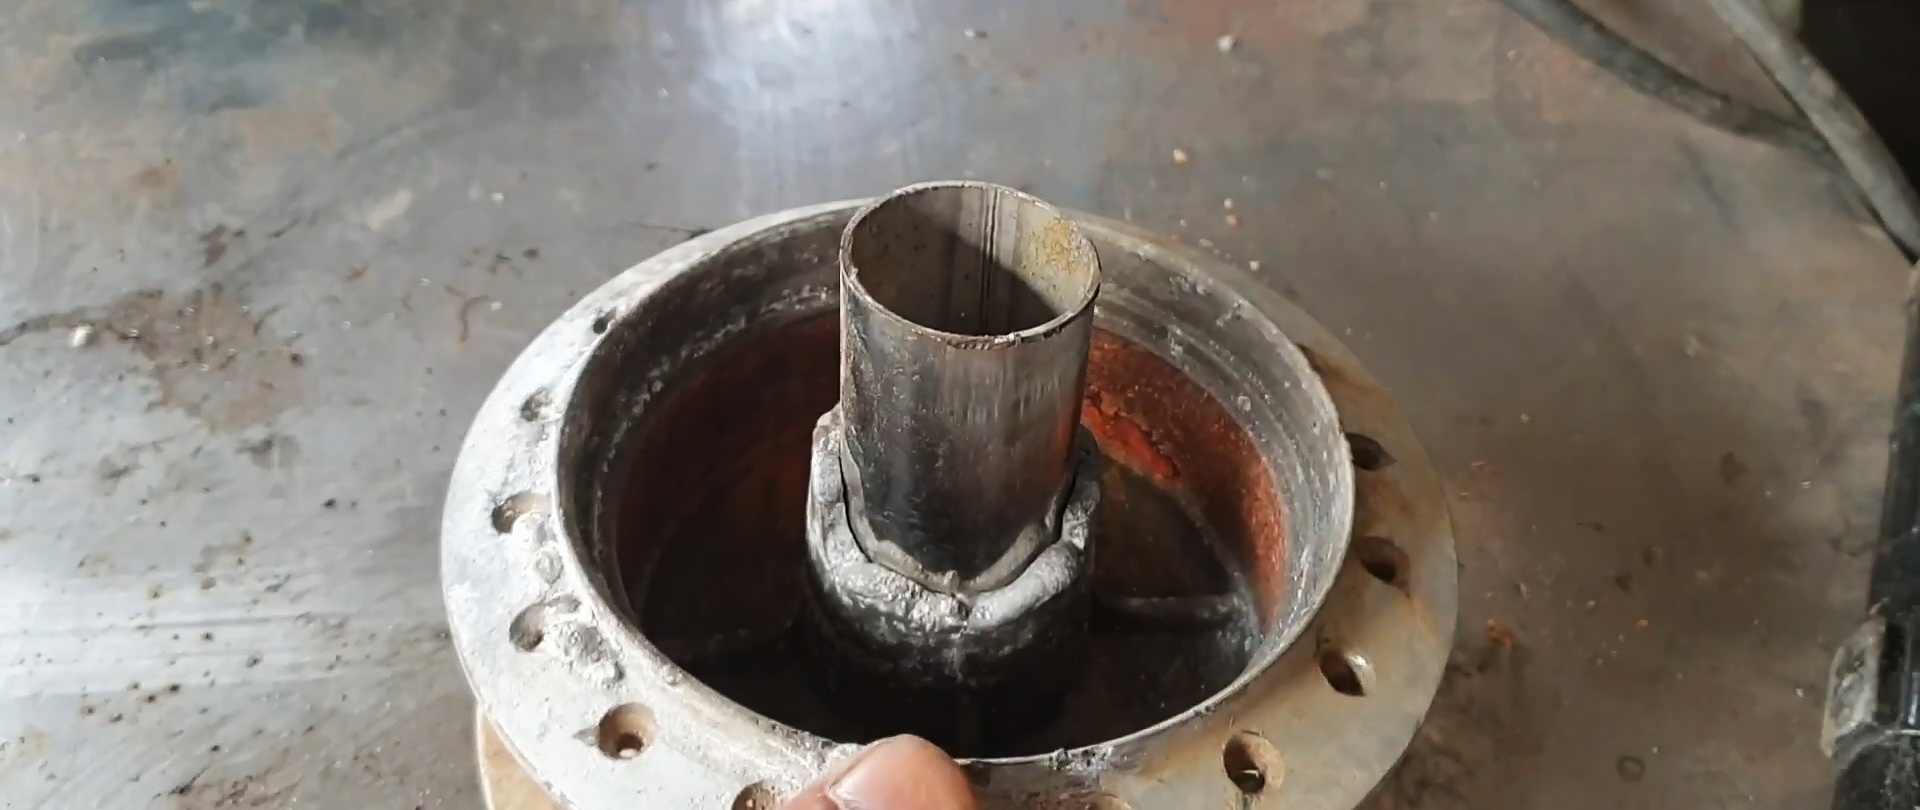
After partial welding of the recess, remove the section of stainless steel pipe. This is easy because liquid aluminum is not welded to stainless steel, and with a smooth surface. Then we continue surfacing until the damaged area is completely welded and the surfacing reaches a level slightly higher than entire sections of the hub end.

Using a grinder on the outside and a drill on the inside, we remove excess surfacing so that the remaining deposited aluminum in internal and external diameter, height, and wall thickness is identical to the corresponding dimensions of the undamaged part of the hub.
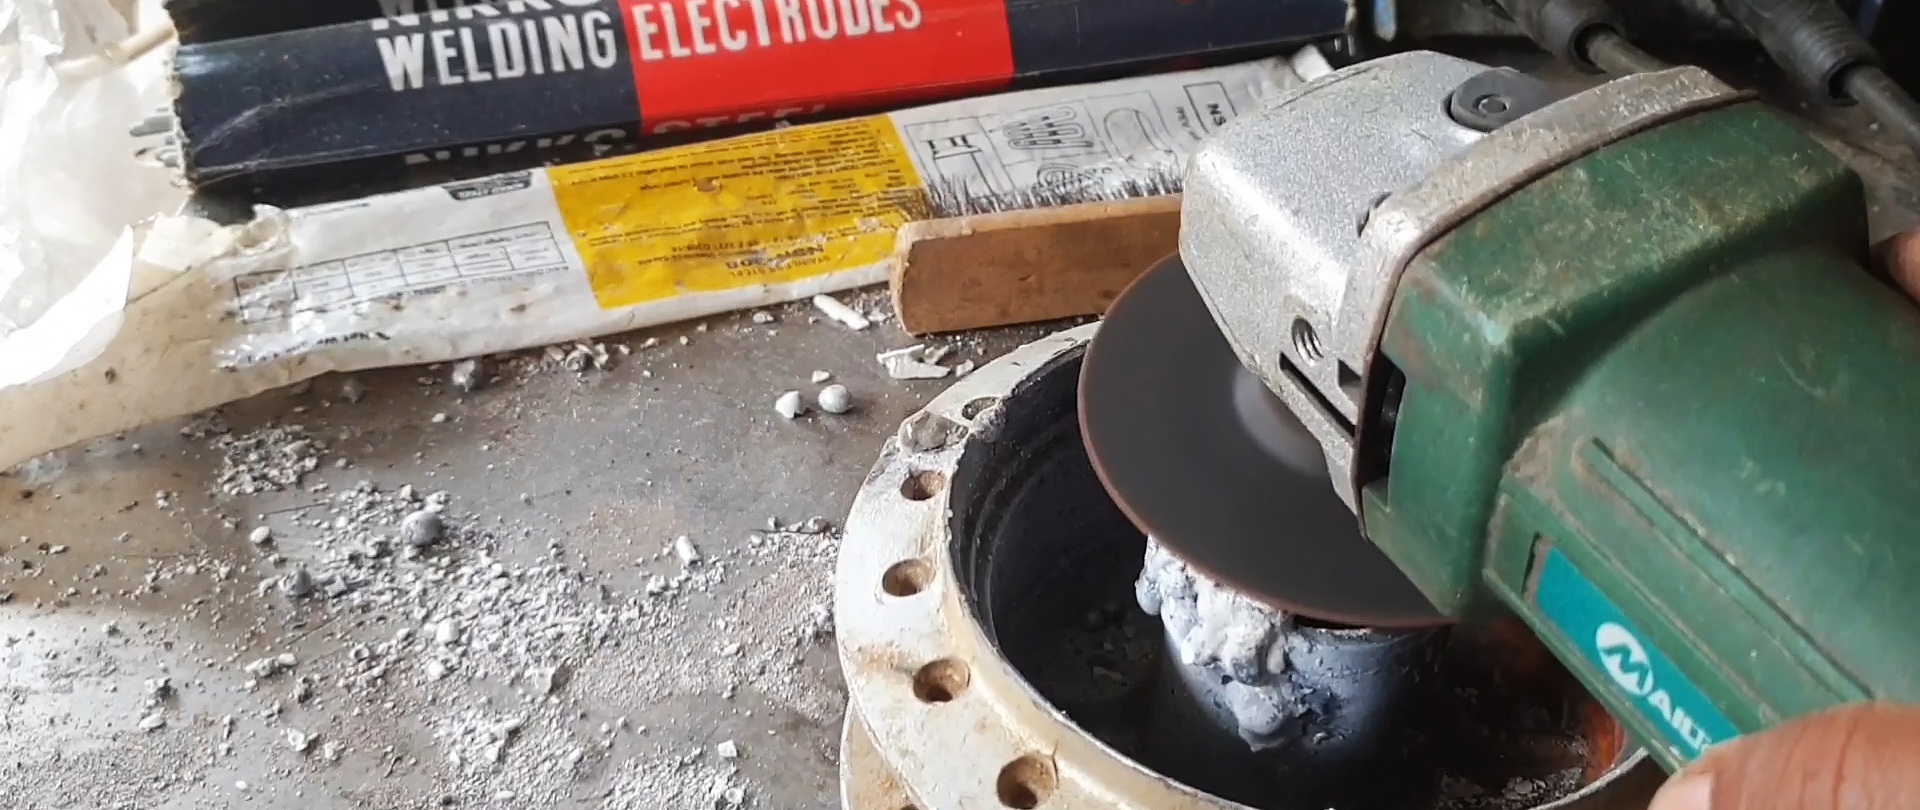


The aluminum part has been completely restored. Next, of course, you need to machine the seat for the bearing on a lathe.