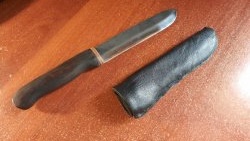
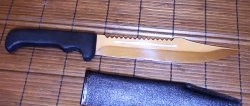
Any knife must be stored correctly. The sheath is a high-quality and convenient option for the blade. You can store a knife in them and carry it with you, this is especially true for those who often go outdoors or use a knife, for example, in production. Any craftsman can make high-quality sheaths at home.
We will need:
- Leather (vegetable tanned saddle cloth 3-3.5 mm thick).
- Thread (waxed, silk or nylon).
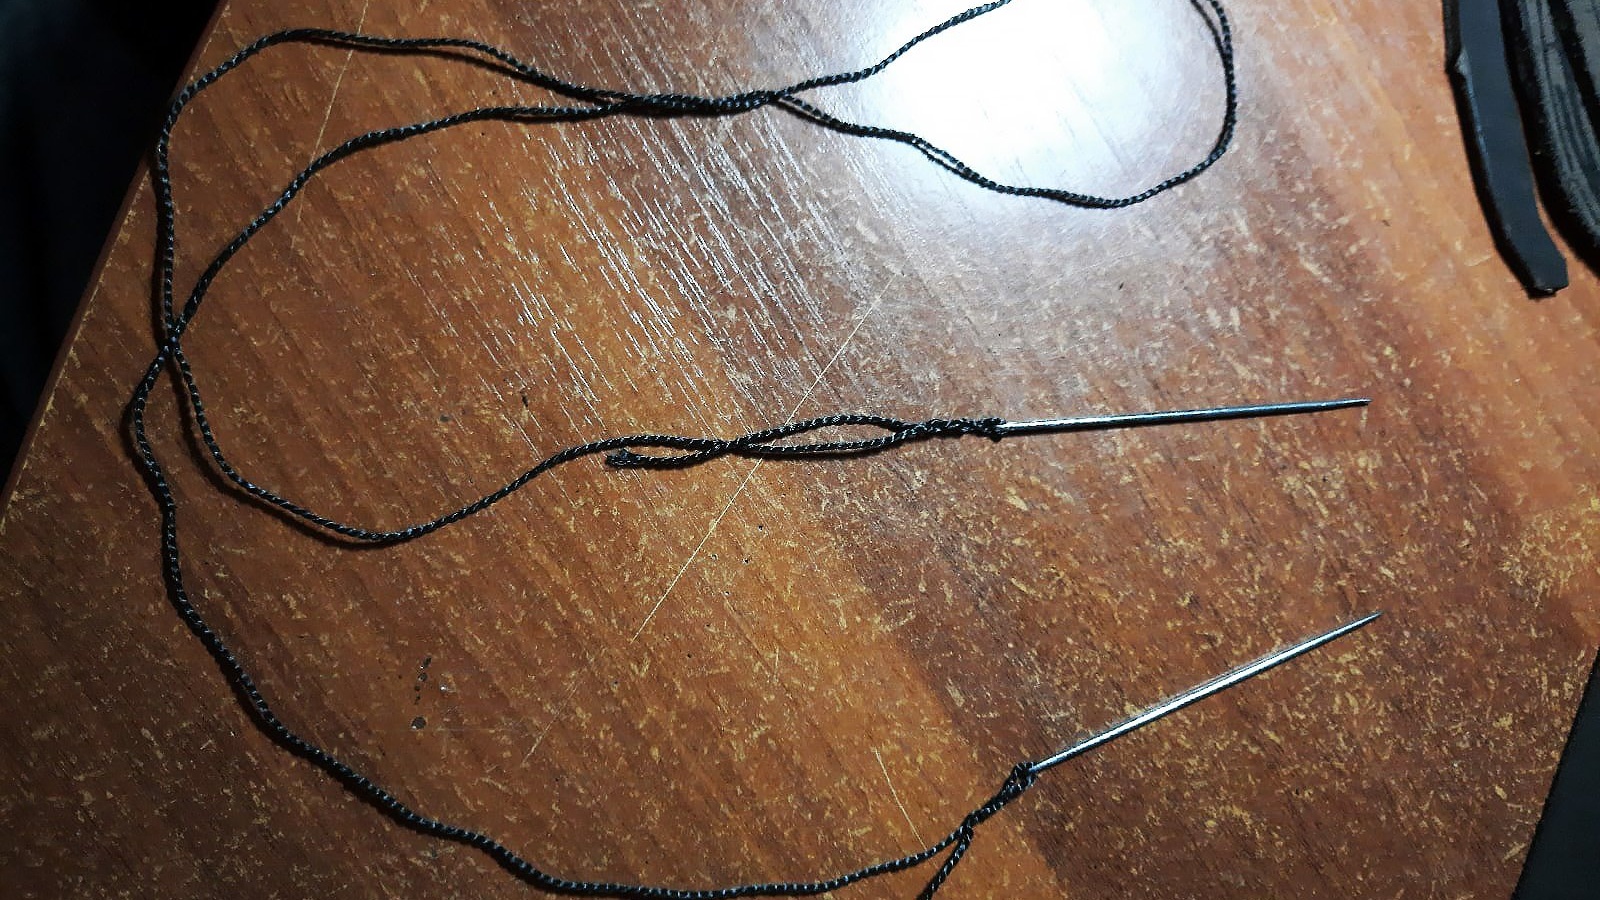
- Two needles (large, popularly called “Gypsy”).
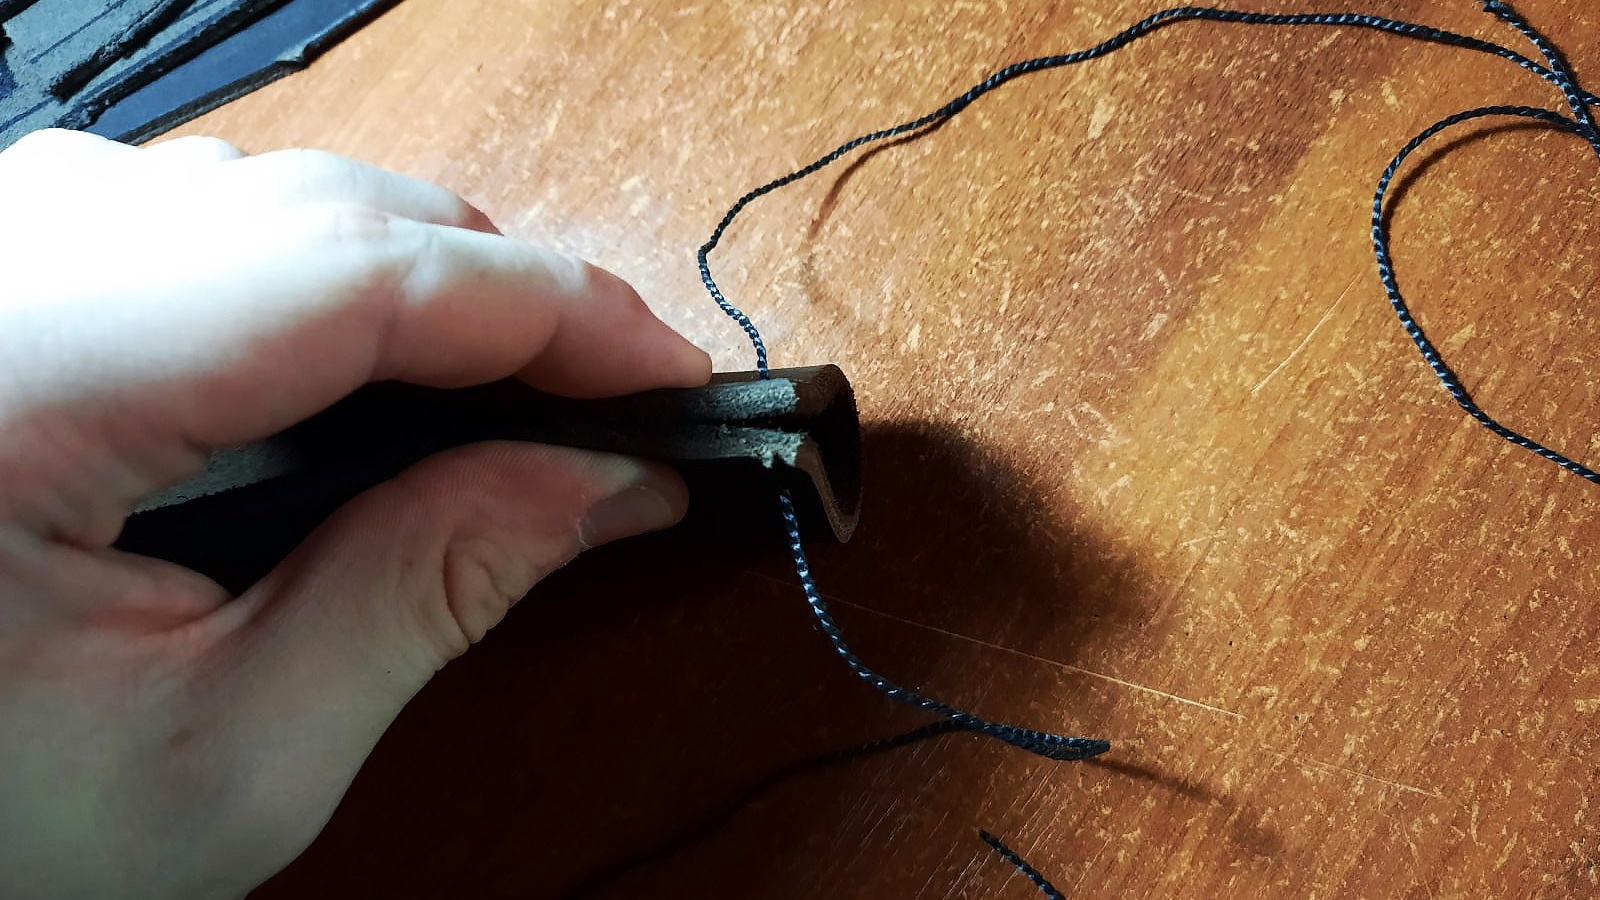
- Awl (you can use a drill or a drill).
- Button screw (can be removed from the belt).
Working with leather
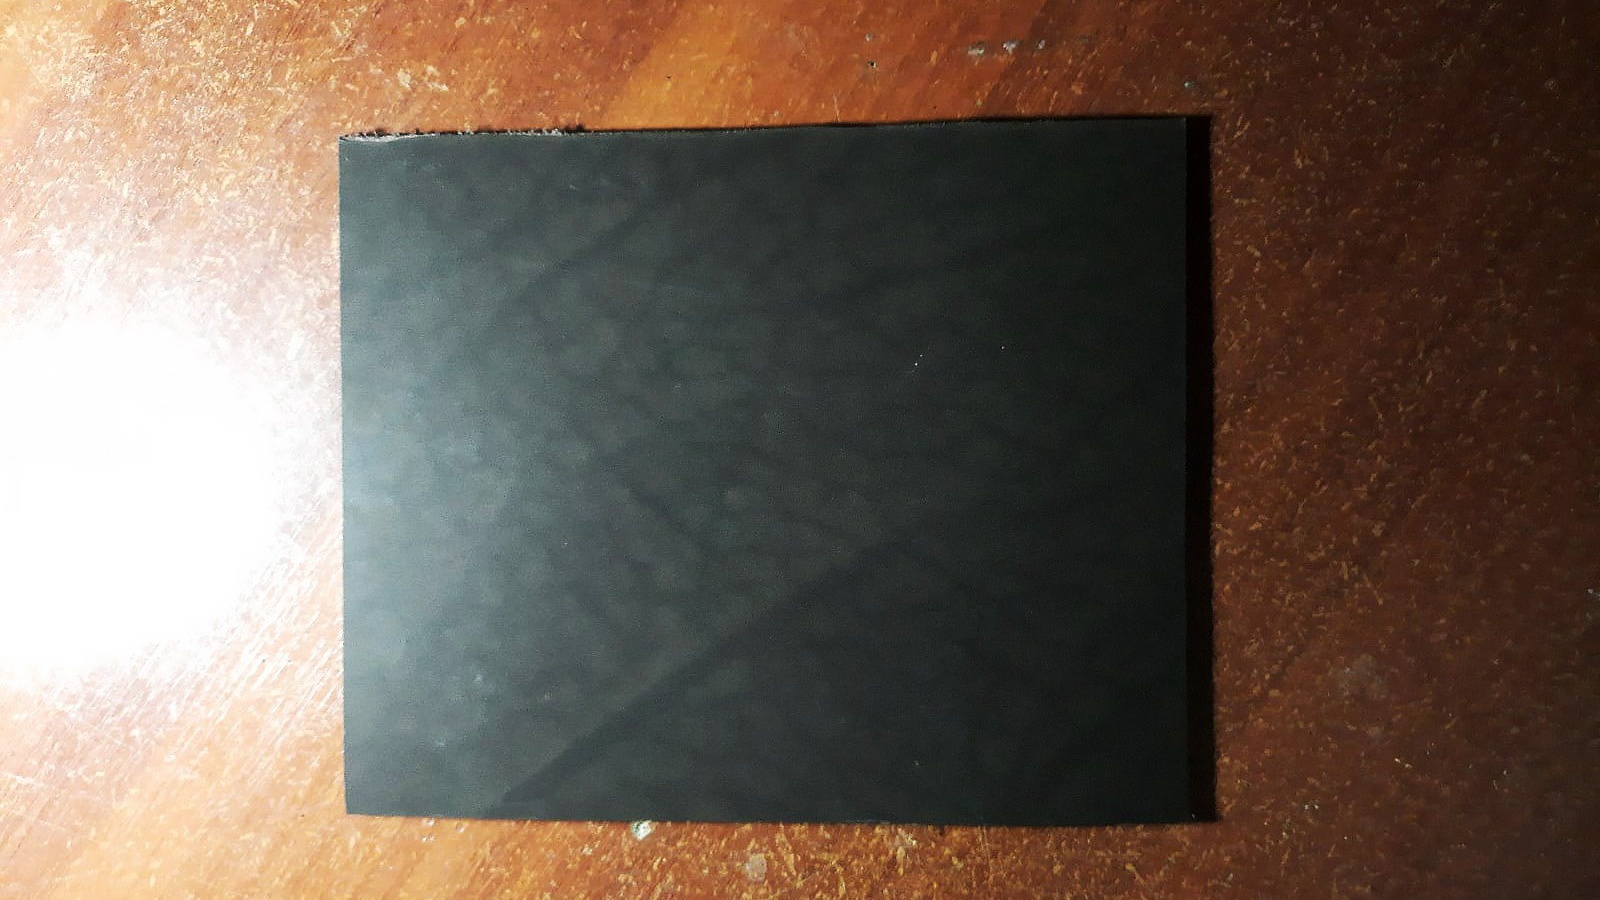
The main thing we need is, of course, leather. I bought a piece of leather from Wildberries, the size of an A4 sheet. This sheet was enough for me to make three knife covers.
Next, we wrap the leather around the knife to understand which piece we need and cut off the required amount. You can take a sheet of paper and first cut out a “sheath” from paper to understand how much leather is needed, and cut out the leather itself using a paper stencil, but with an indent of approximately 1 cm, since leather is much thicker than paper, i.e. more skin will be needed.
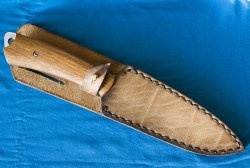
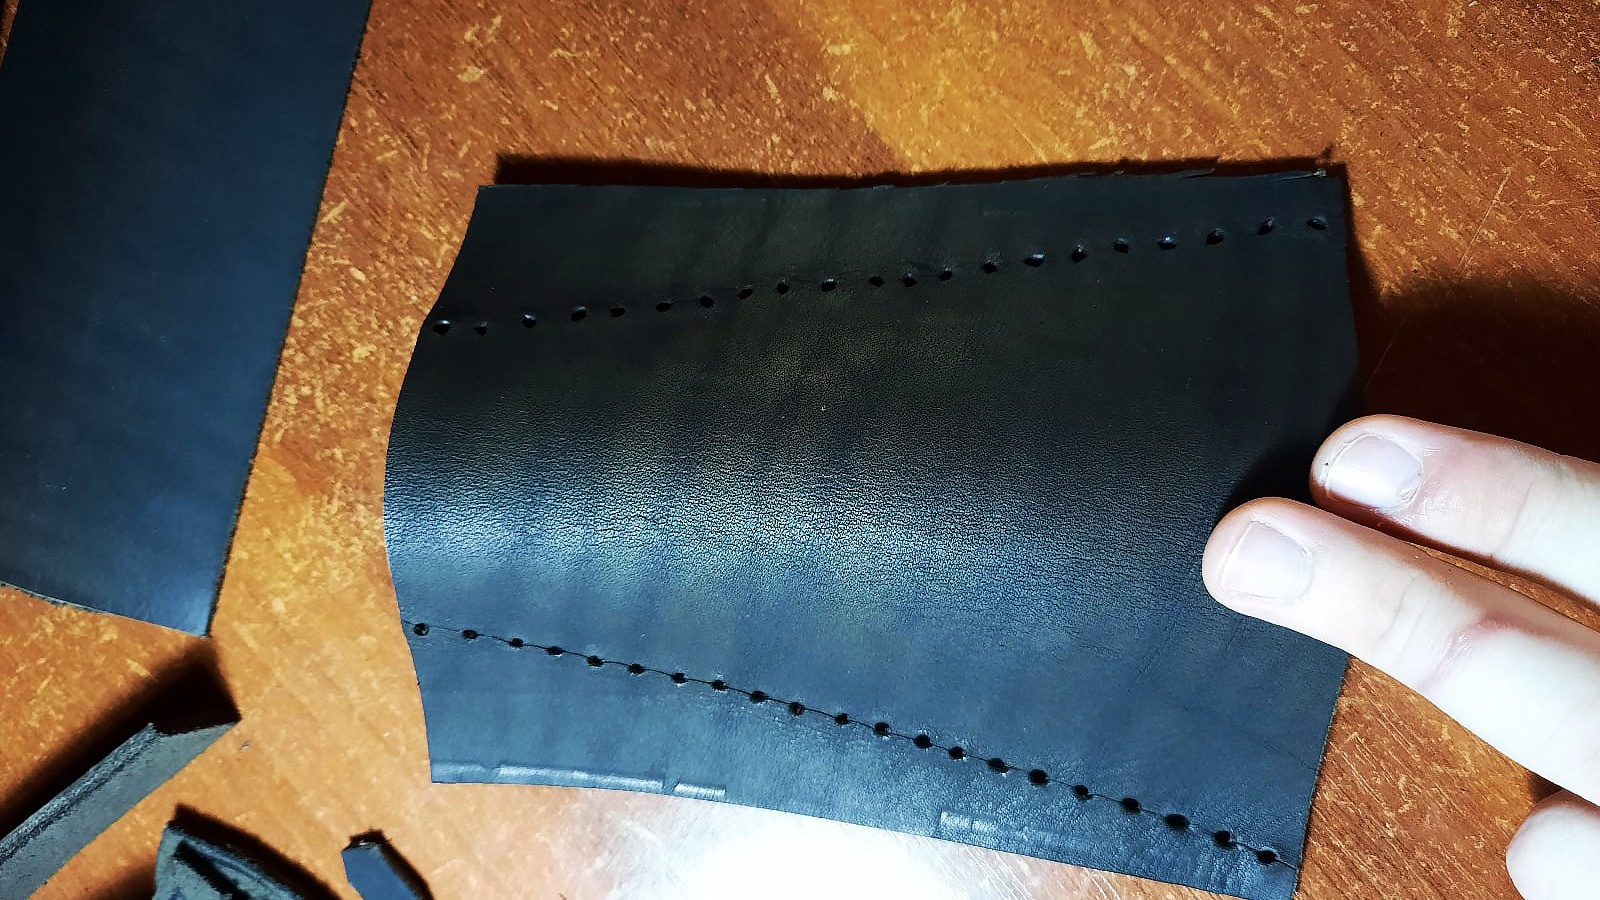
Next, we will draw lines along the leather at each edge with an indent of half a centimeter from the edge of the workpiece; along these lines we will stitch the sheath.Along this line you need to punch holes for the needle. You can't just sew leather like fabric. I made the holes with an awl, but you can drill each one with a 2-3 mm drill.
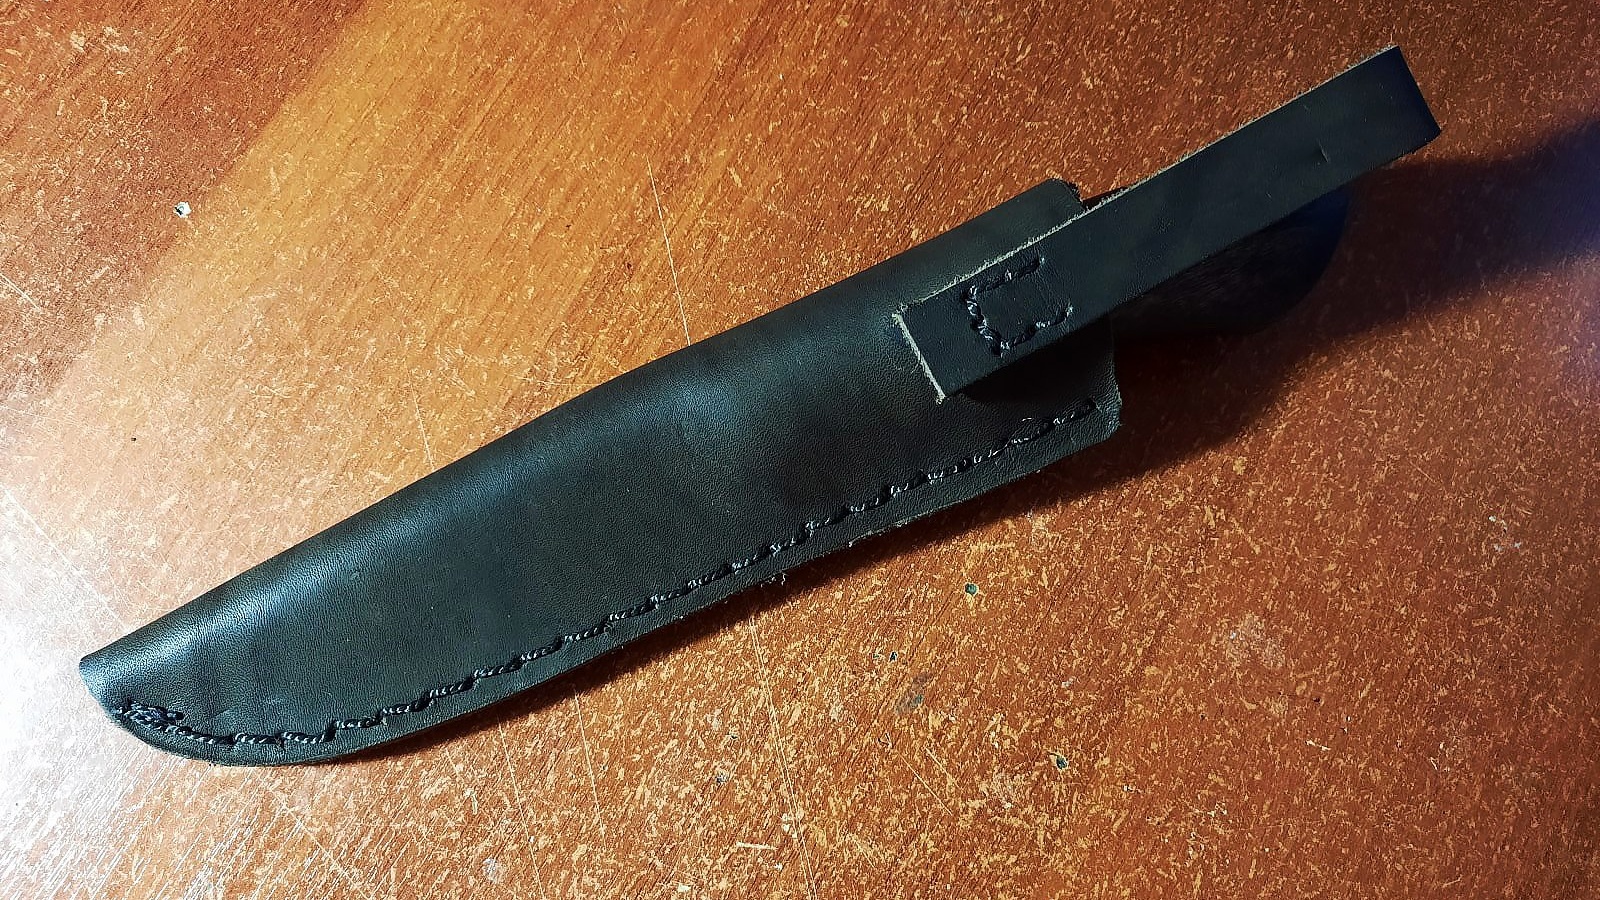
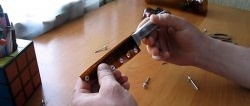
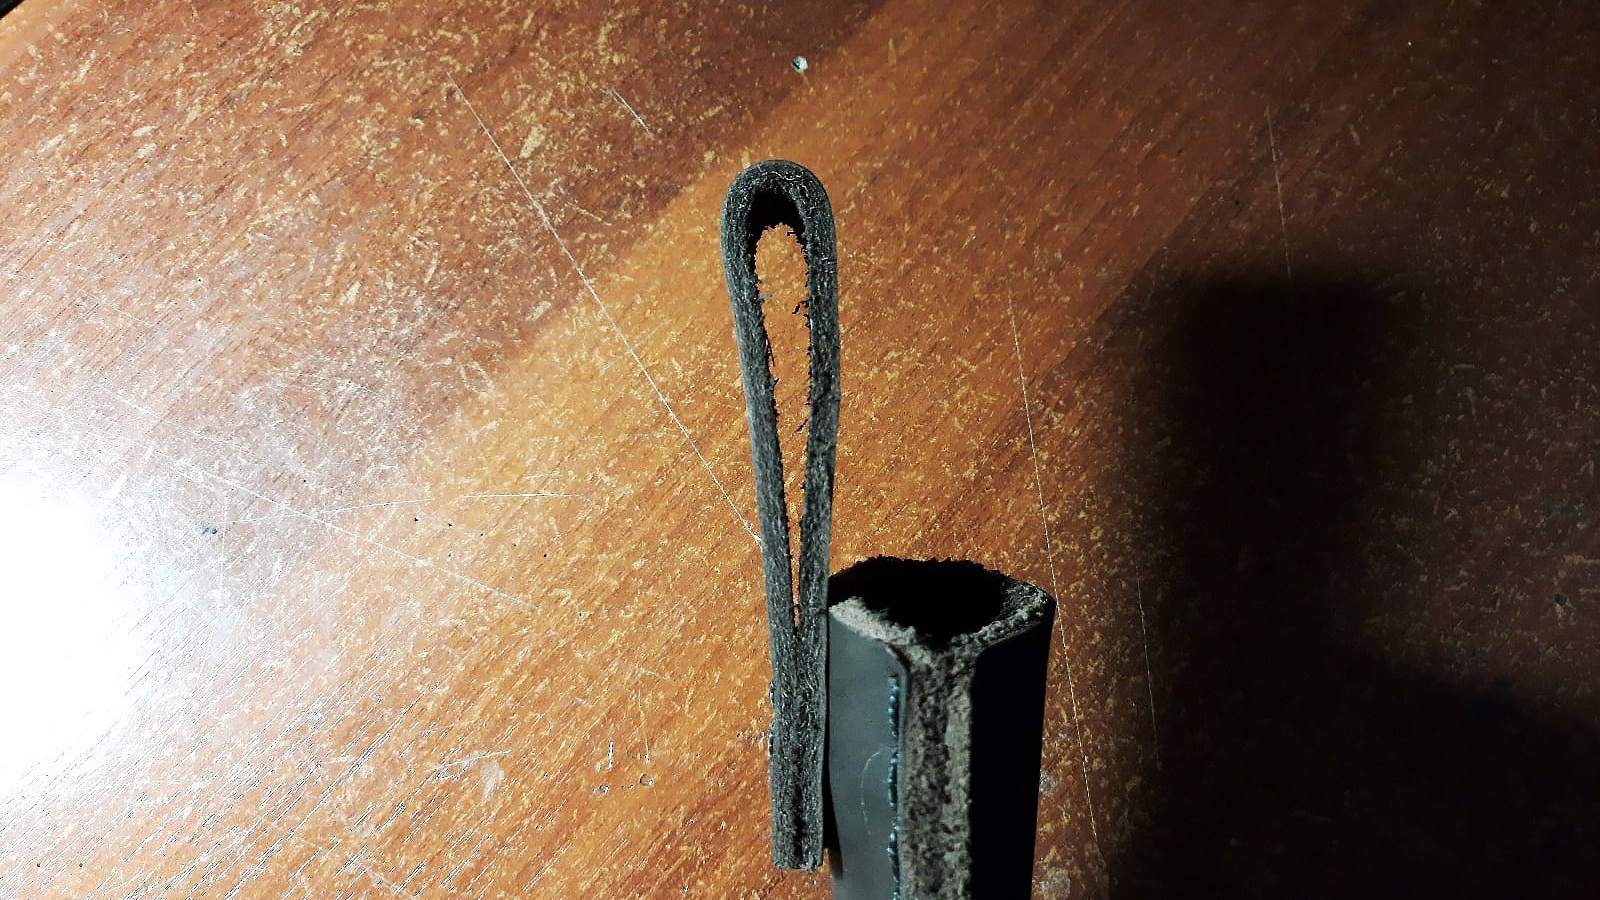
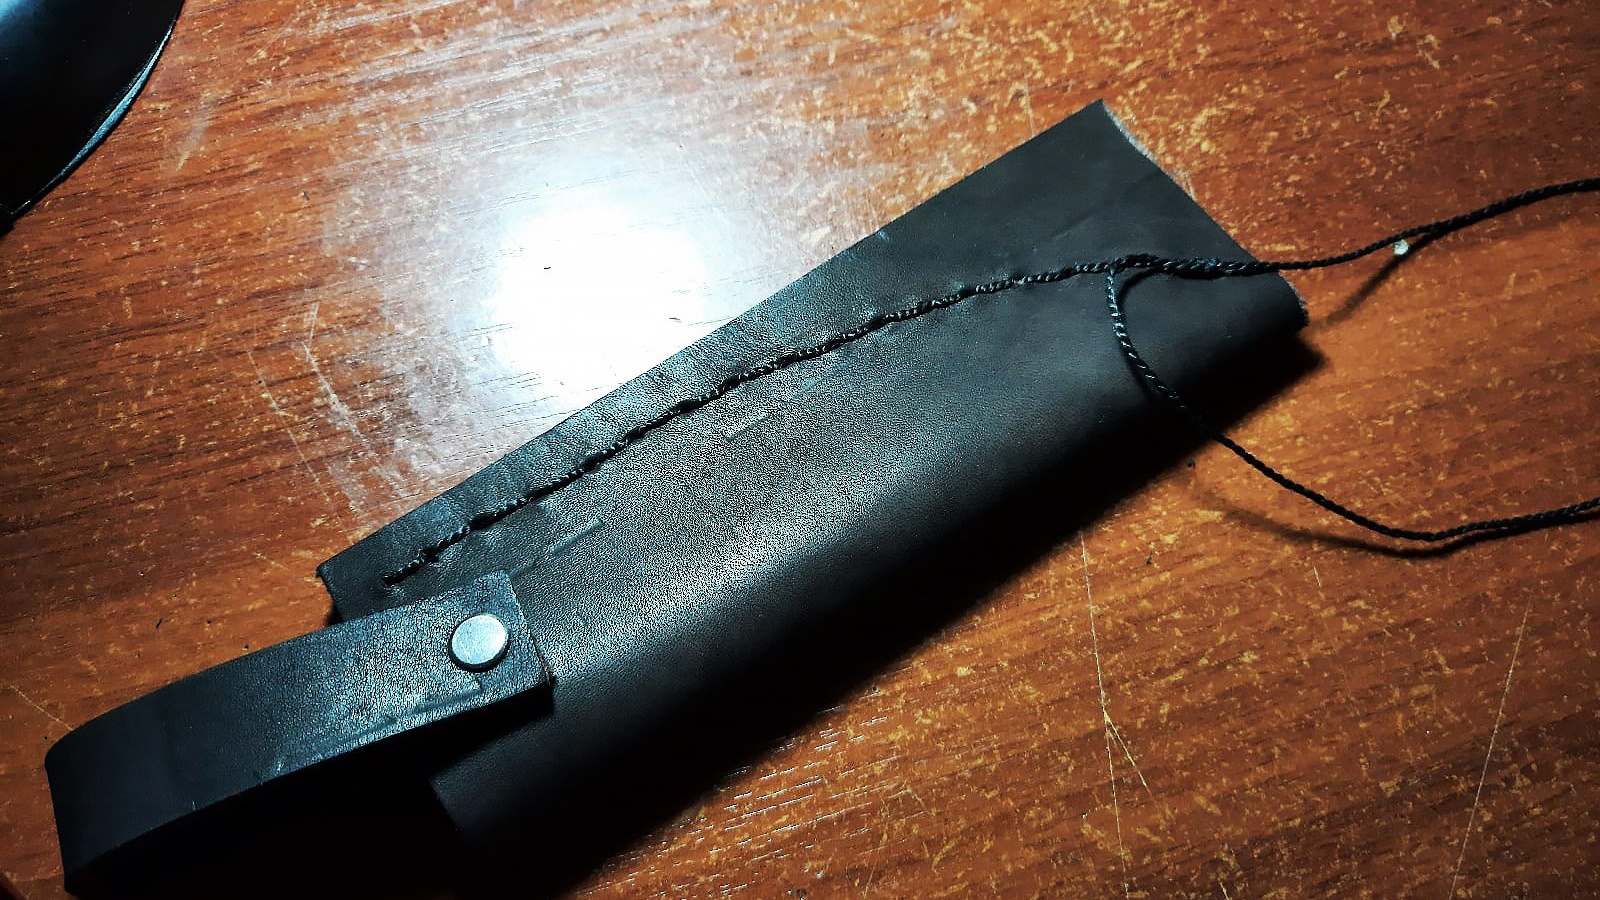
Next, I recommend adding an eyelet to the sheath through which you can hang the sheath on your belt. I skipped this step the first time, so attaching an eyelet when the sheath is already sewn is not very convenient. Let's get on with it now.
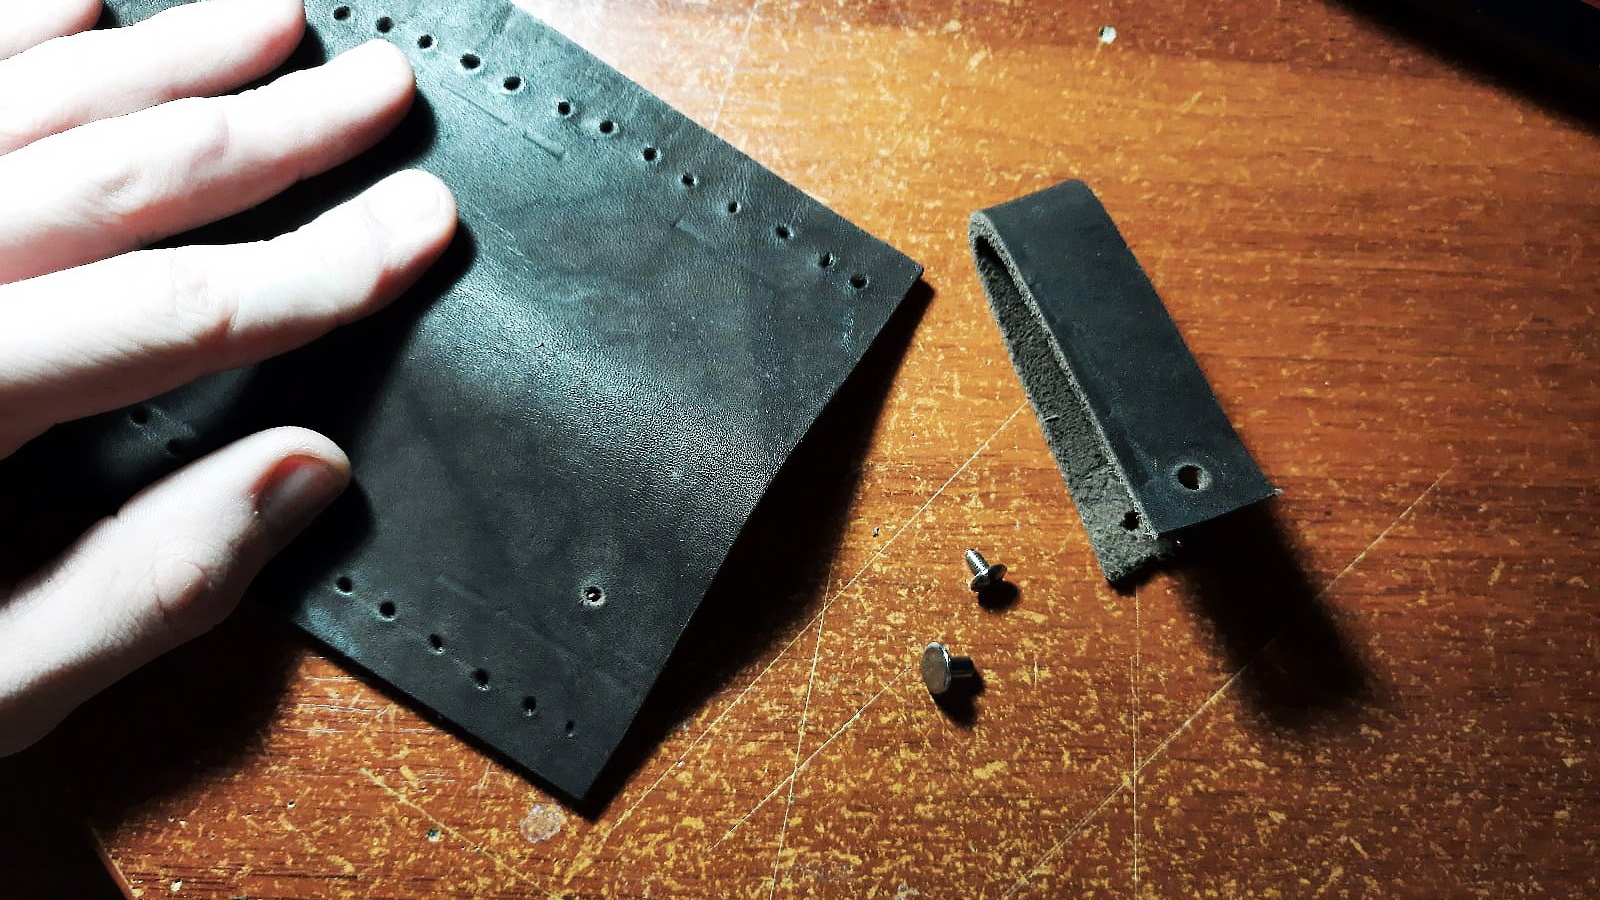
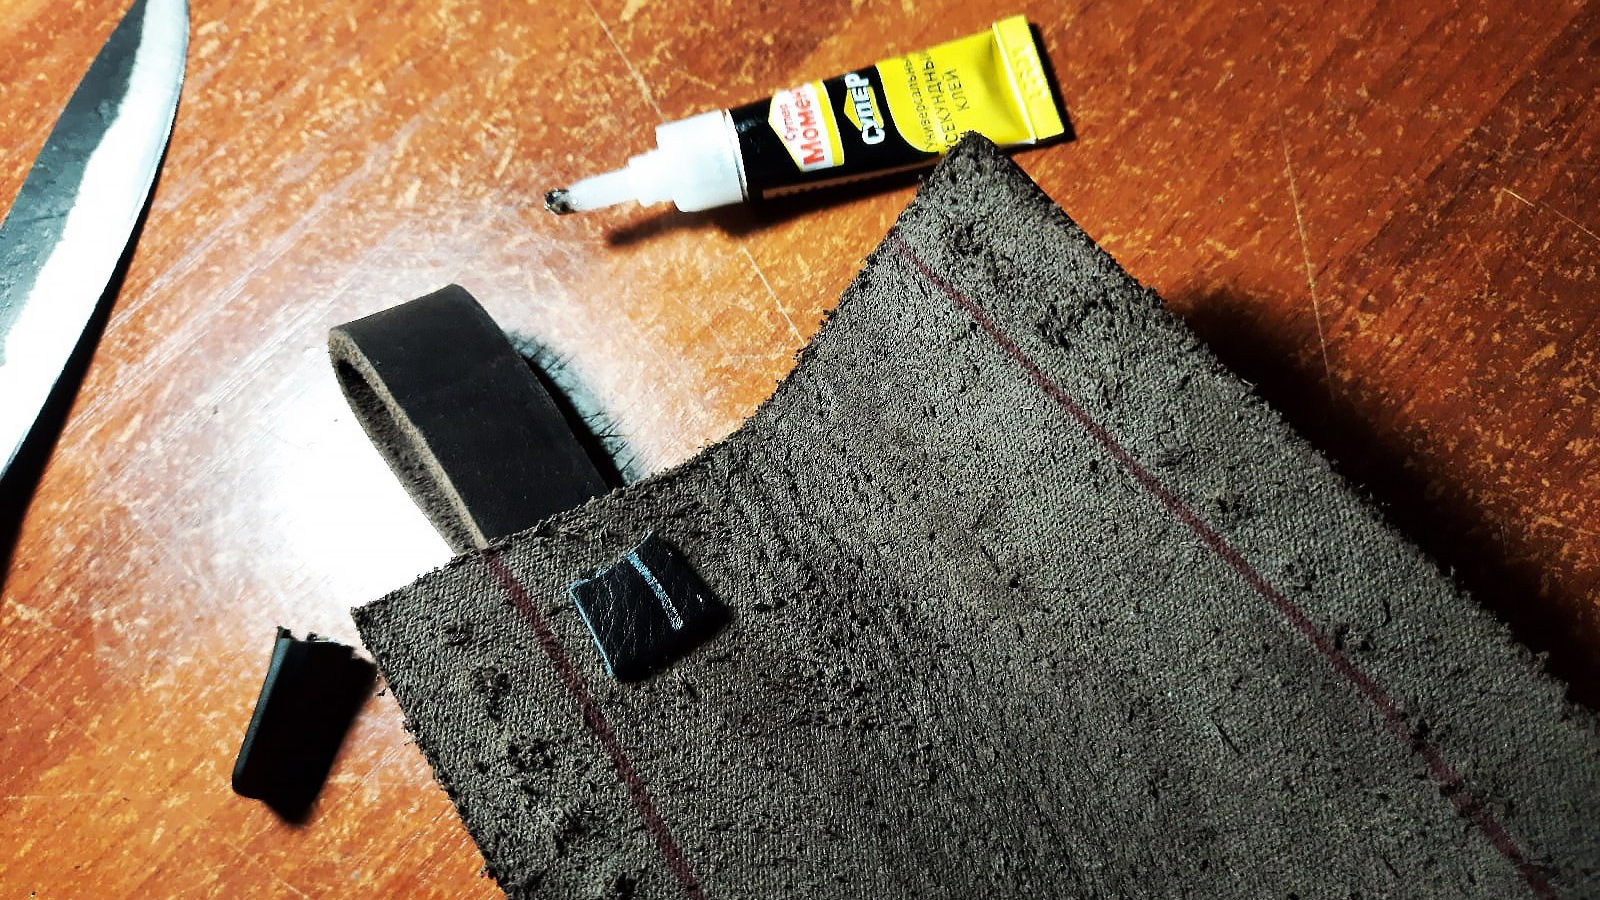
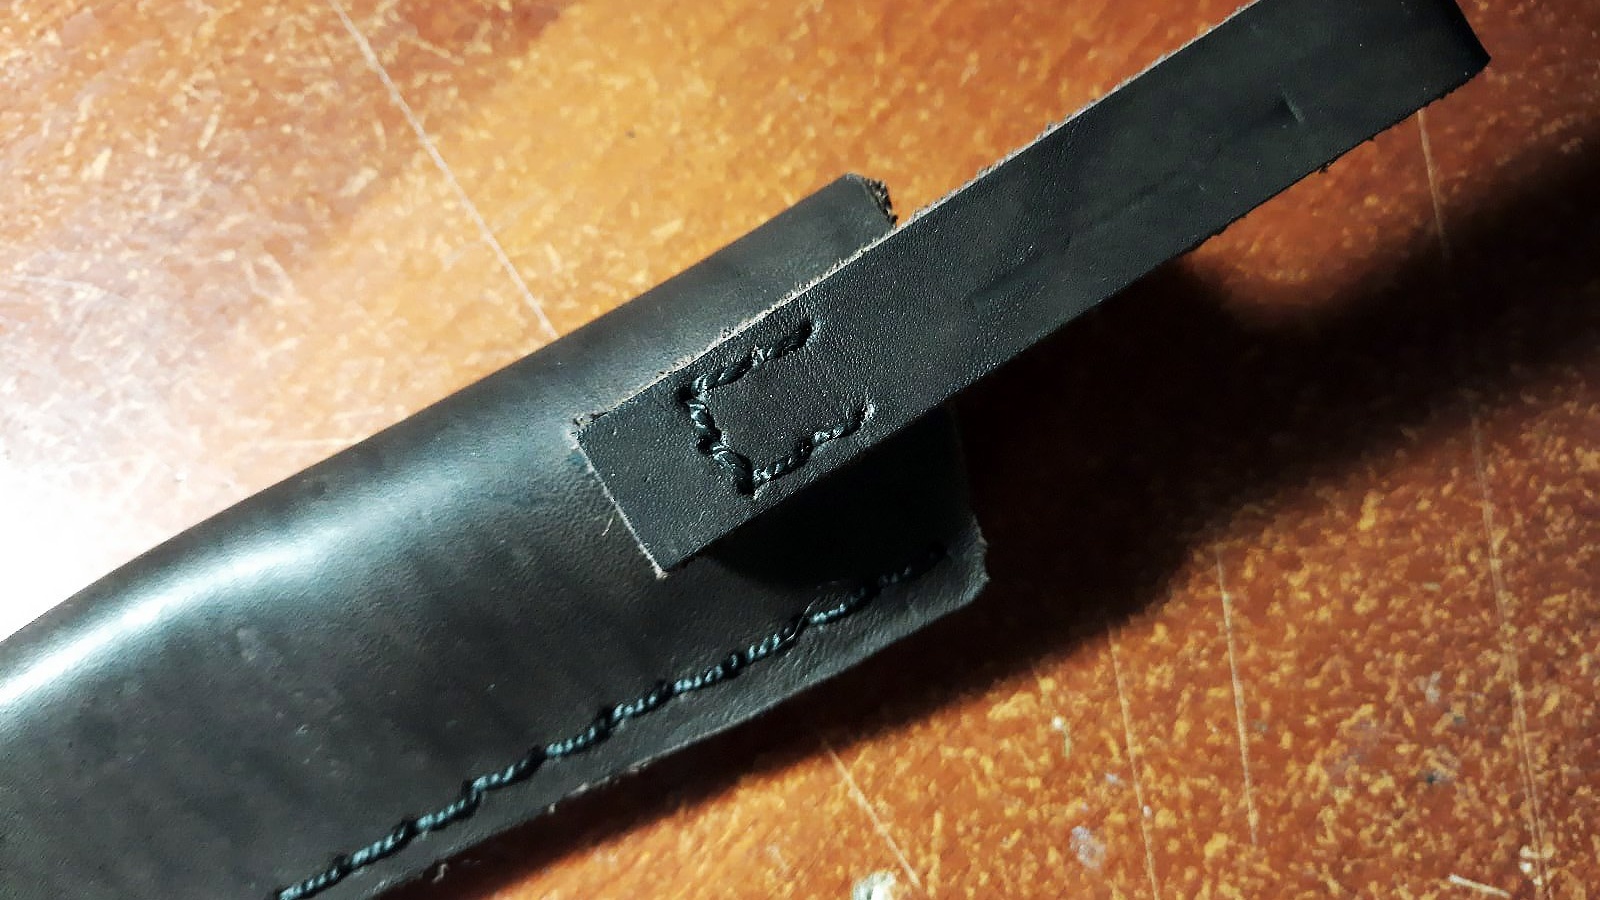
I cut a strip of leather for the lug, folded it in half and punched holes for the bolt in the sheath and in the lug itself. I removed the bolt from the old belt; this bolt secured the belt to the buckle.
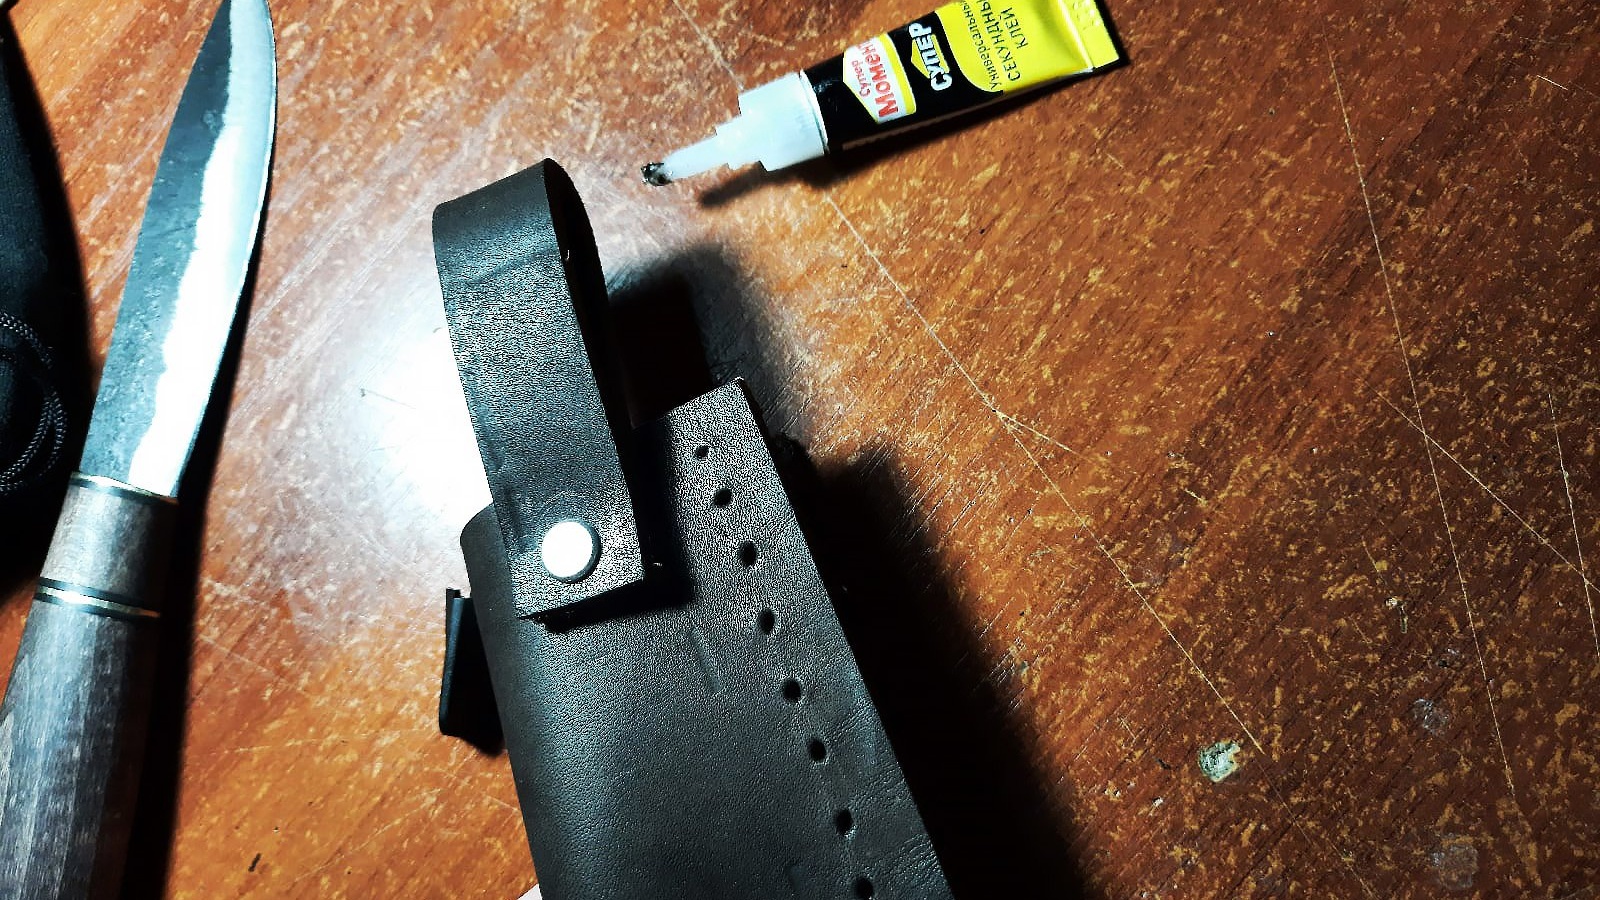
Well, then we just use a bolt to connect the eyelet to the sheath. Also, on the future inner side of the sheath, I deepened the bolt, the thickness of the leather allows it, and just in case I glued a piece of thin leather. This is necessary so that the knife handle does not scratch on the bolt.
Another option for attaching the lug to the sheath is to simply sew everything together.
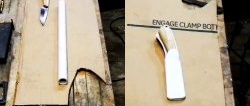
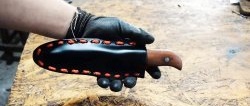
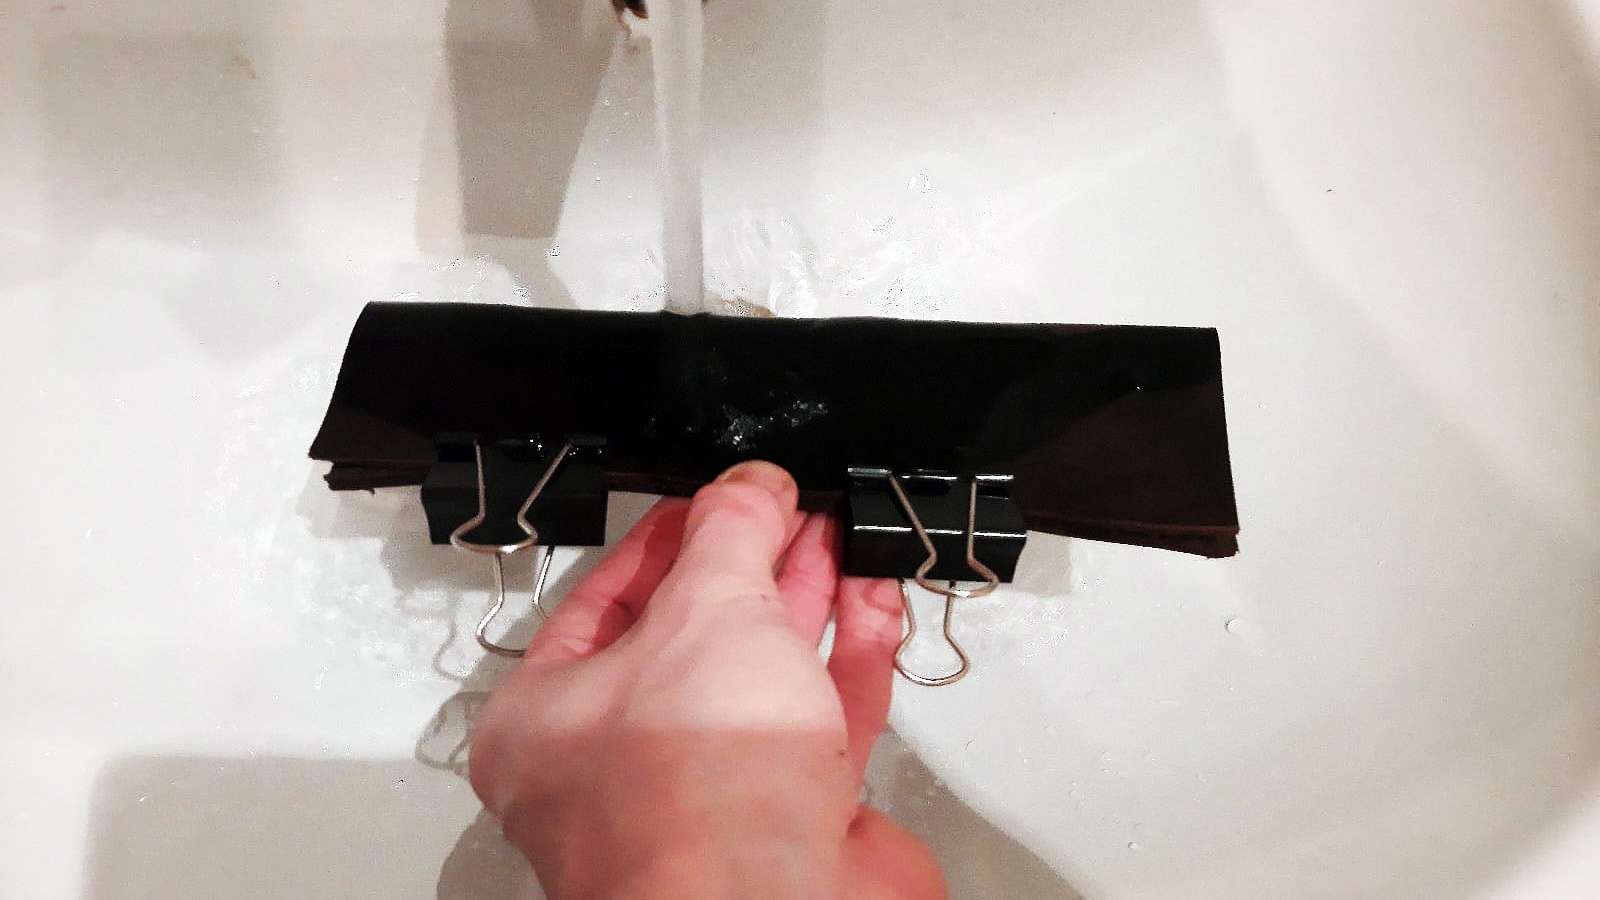
Well, the last stage before sewing. Let's shape our sheath. The hot water will make the leather soft, so I clipped the leather in half with paper clips and placed it under a hot water tap. The leather will dry and remain folded in half without clothespins.
The scabbard can also be given a more complex shape. You can wrap the knife in cling film and wrap the softened skin directly around the knife.
Sewing a scabbard
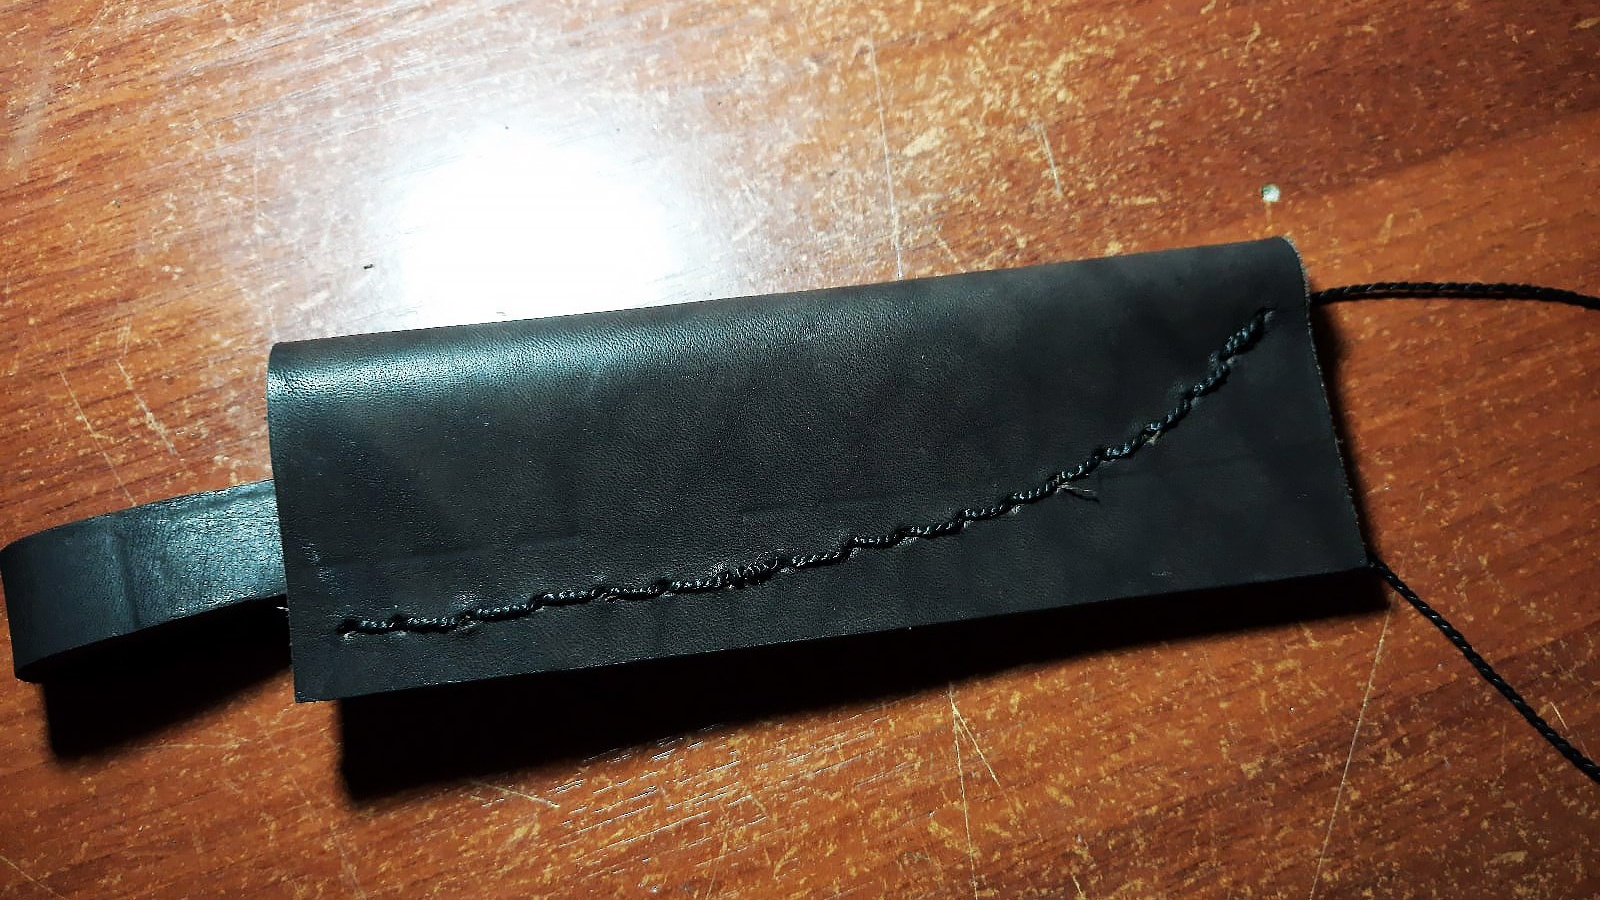
Well, now it’s time to stitch the sheath. We will sew along the pre-made holes using a saddle stitch. For this we need two needles and a strong thread. I cut the thread approximately two to three times longer than the length of the seam.
We tie needles to the two ends of the thread.
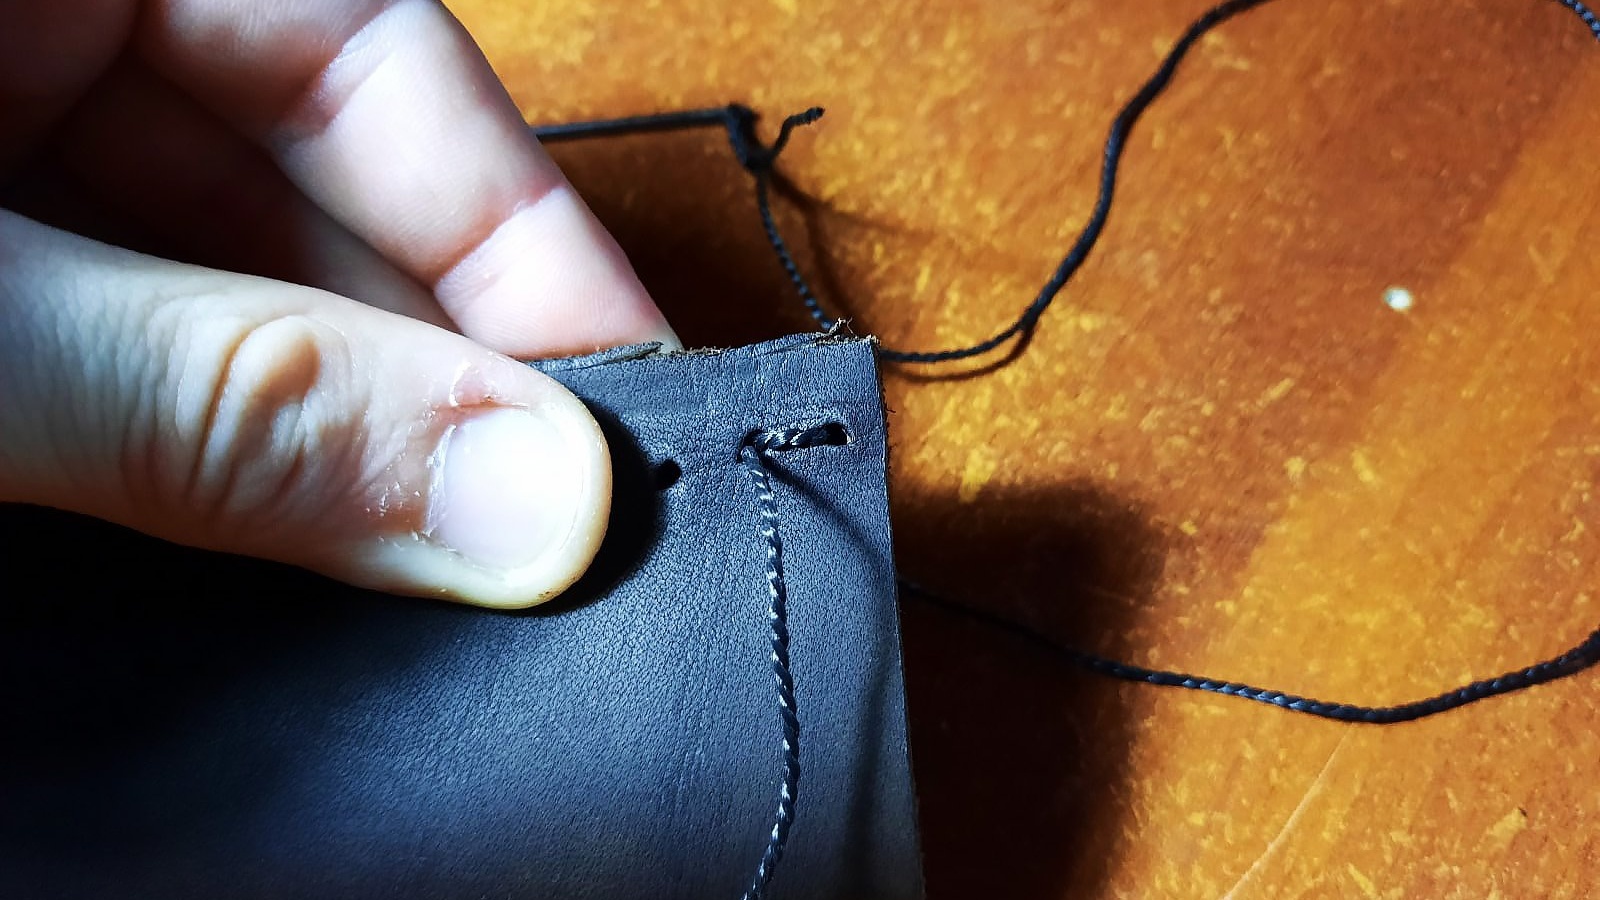
Now we thread the thread into the outer hole and pull the needle so that the middle of the thread is at the level of this hole.
And then we sew each hole on both sides. That is, we put a needle through the hole and tightened the thread, and through the same hole we thread a second needle and tighten the thread.
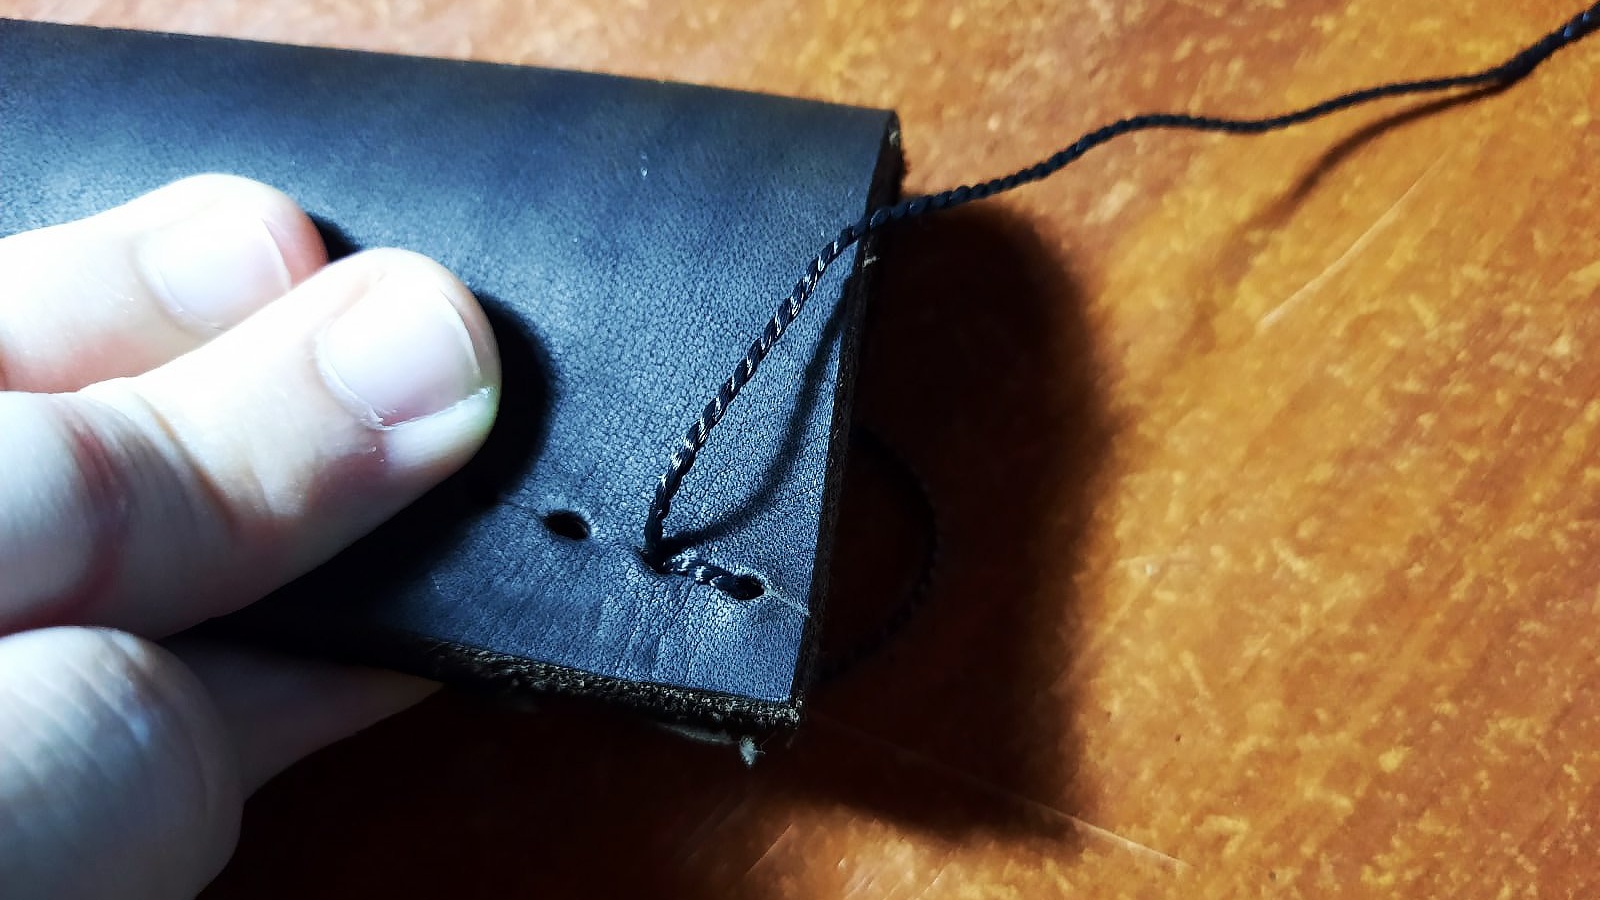
In this way we sew the sheath along the entire length. In general, if you only have one large needle, you can sew it first on one side and then on the other.
When we have finished sewing, we thread any of the needles into the penultimate hole, so that the threads are on one side in the adjacent holes and simply tie them together, cut off the excess and burn the ends of the thread.
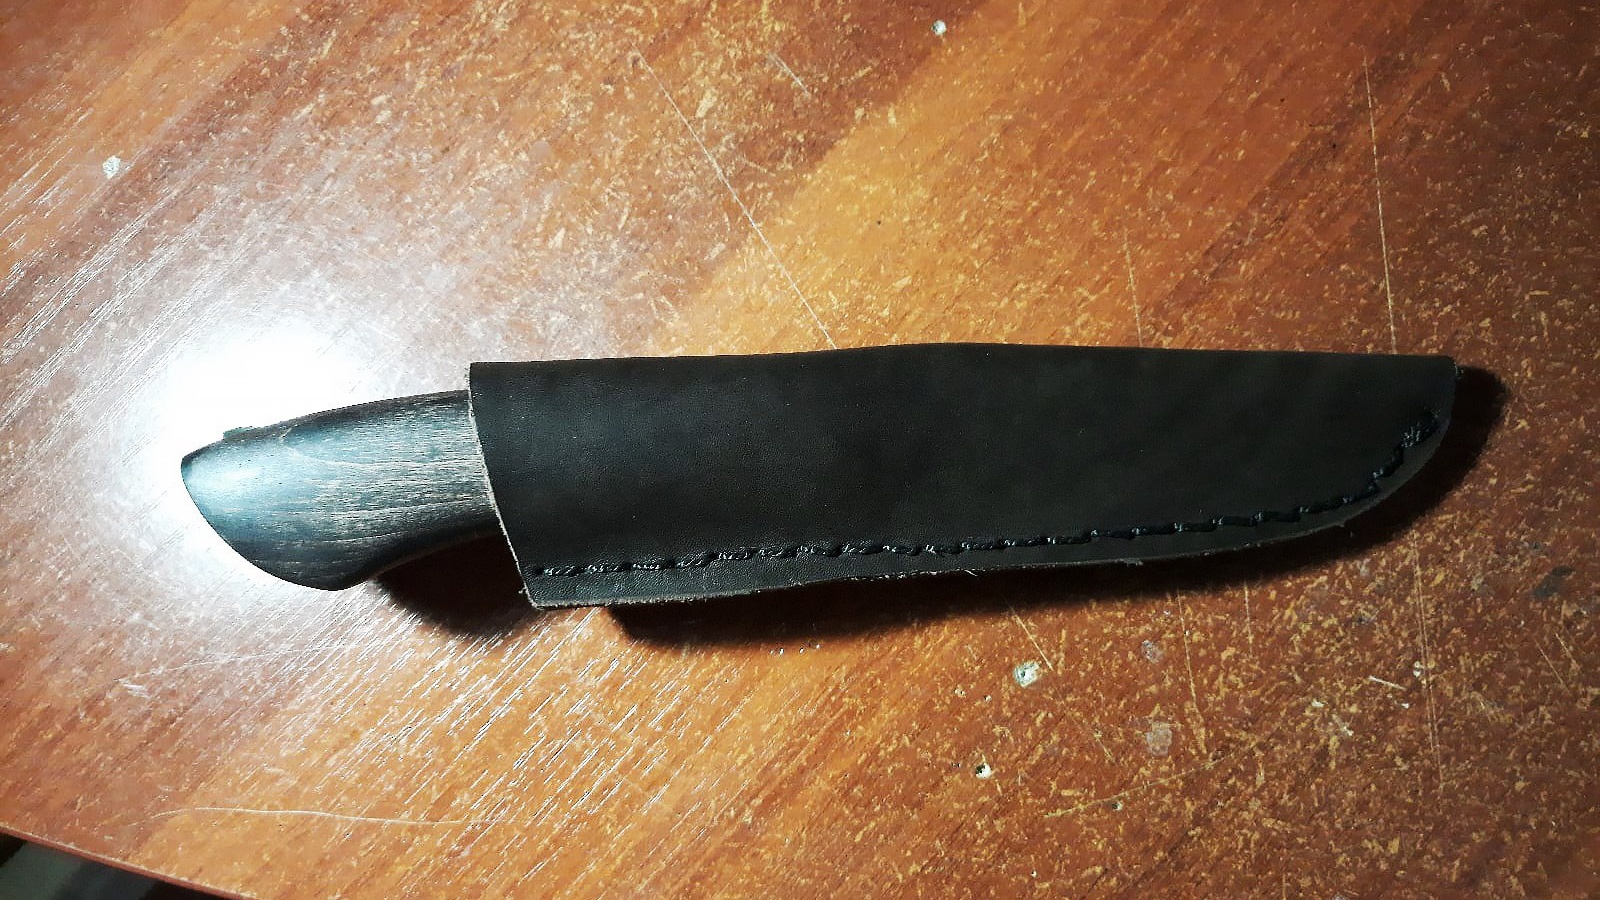
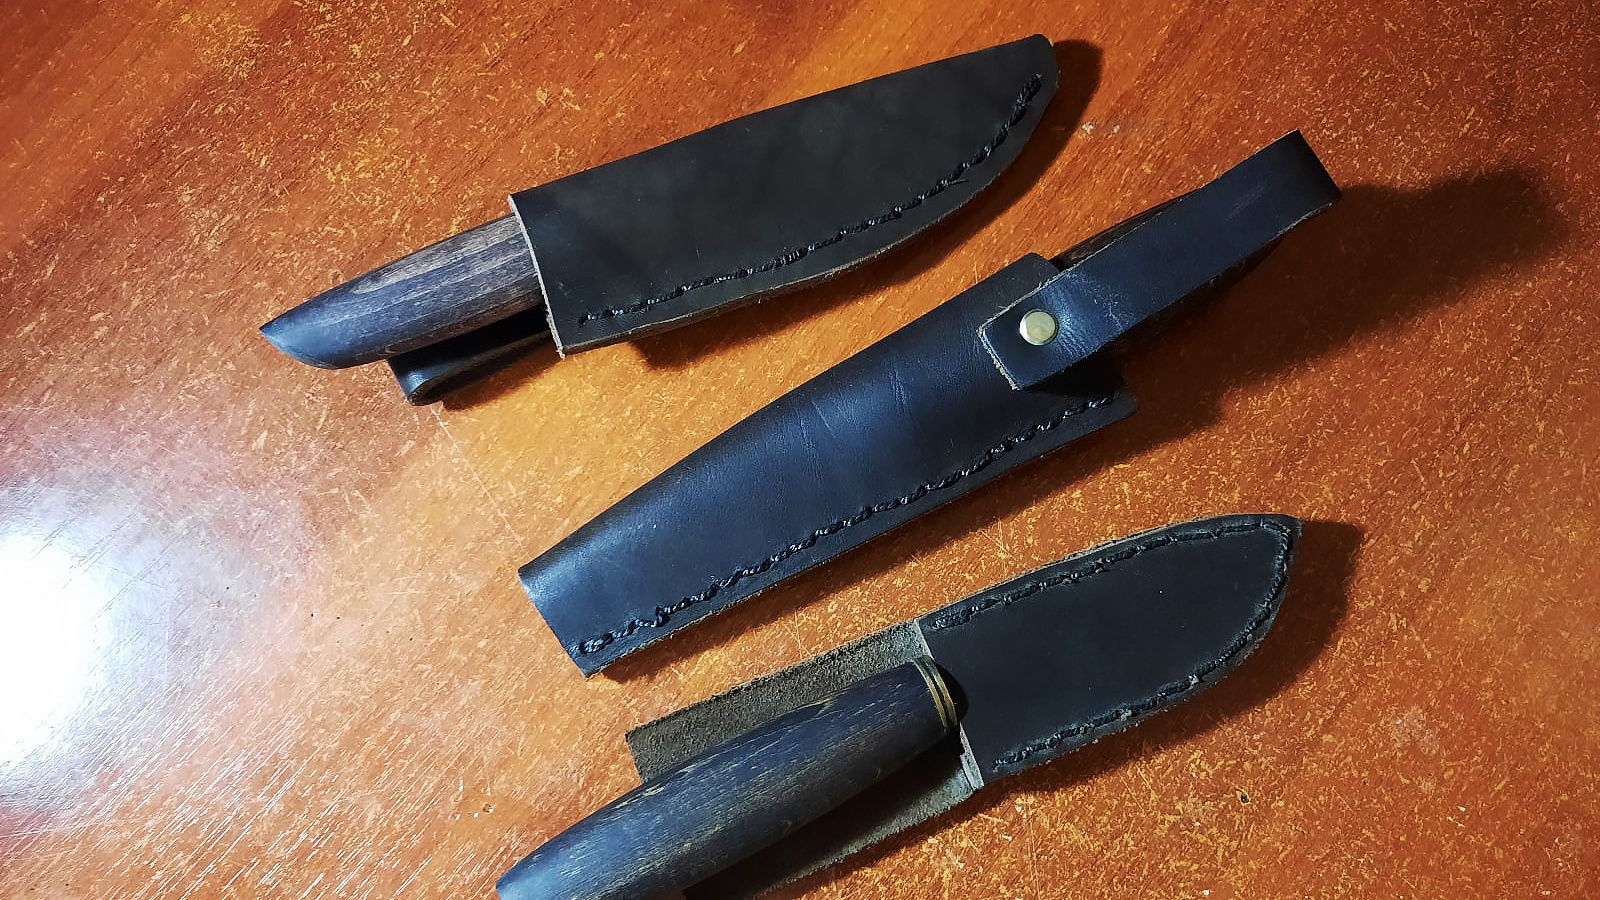
This way you can easily sew a reliable and high-quality sheath for any knife. Good luck to everyone who decides to repeat this for their blade!