An electromechanical hacksaw allows you to cut workpieces even more accurately than a miter saw with a broach. It is simply irreplaceable for certain particularly important jobs, as it leaves a thin, even, string-like cut. You can make an electromechanical hacksaw with your own hands from profile pipes, a car hub and an electric motor.

Materials:
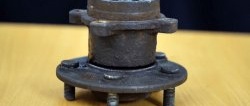
- Car wheel hub;
- brake disk;
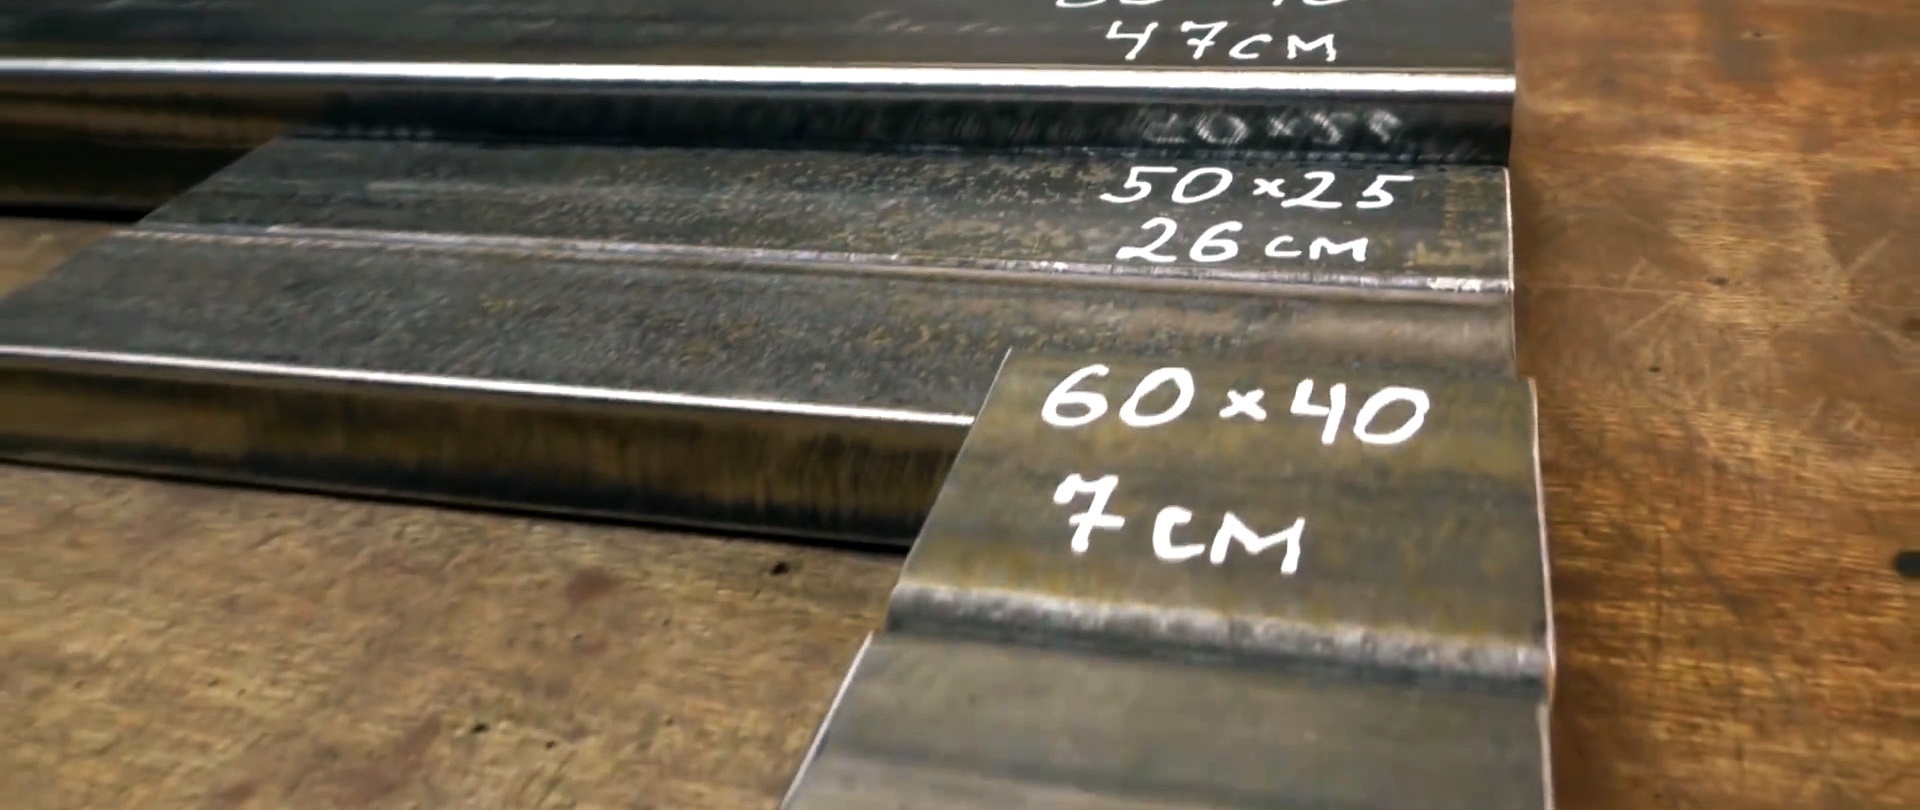
- profile pipes 80x40, 50x25, 60x40 mm;
- 1/2 inch pipe;
- square 12x12 mm;;
- bearings – 13 pcs.;
- bolts, nuts, washers;
- steel round timber 10 mm;
- corner 50x50 mm;
- electric motor with pulley;
- drive belt;
- switch.
Long-lasting discs for angle grinders on AliExpress at a discount - http://alii.pub/61bjly

Saw manufacturing process
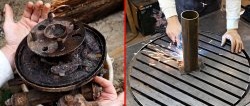
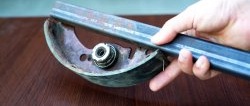
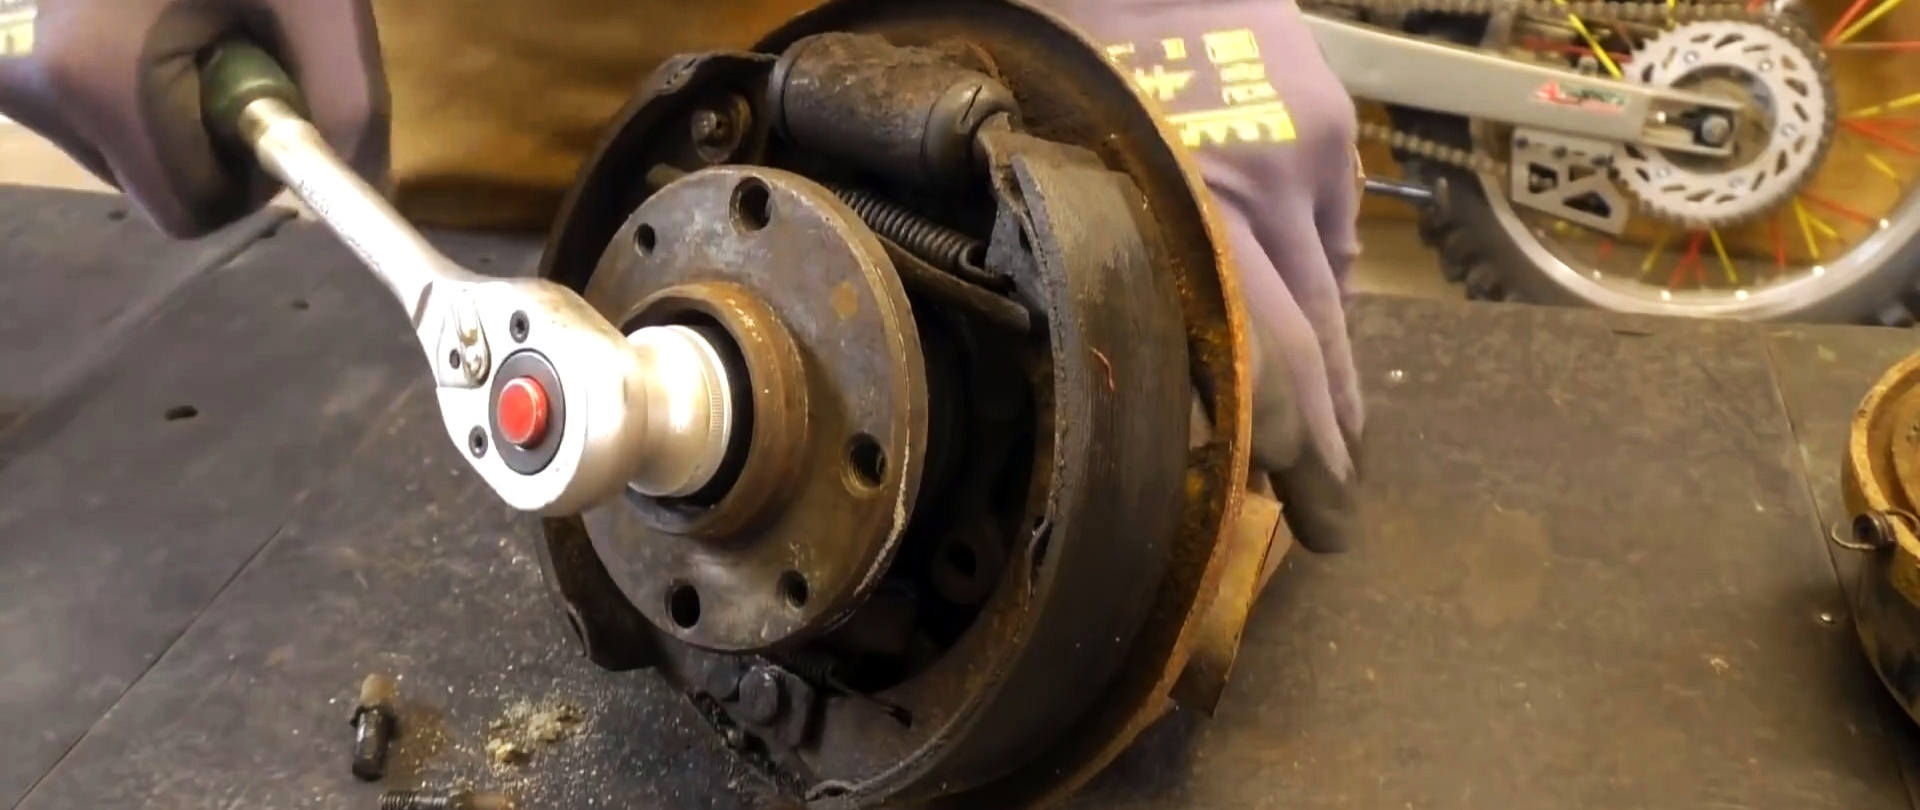
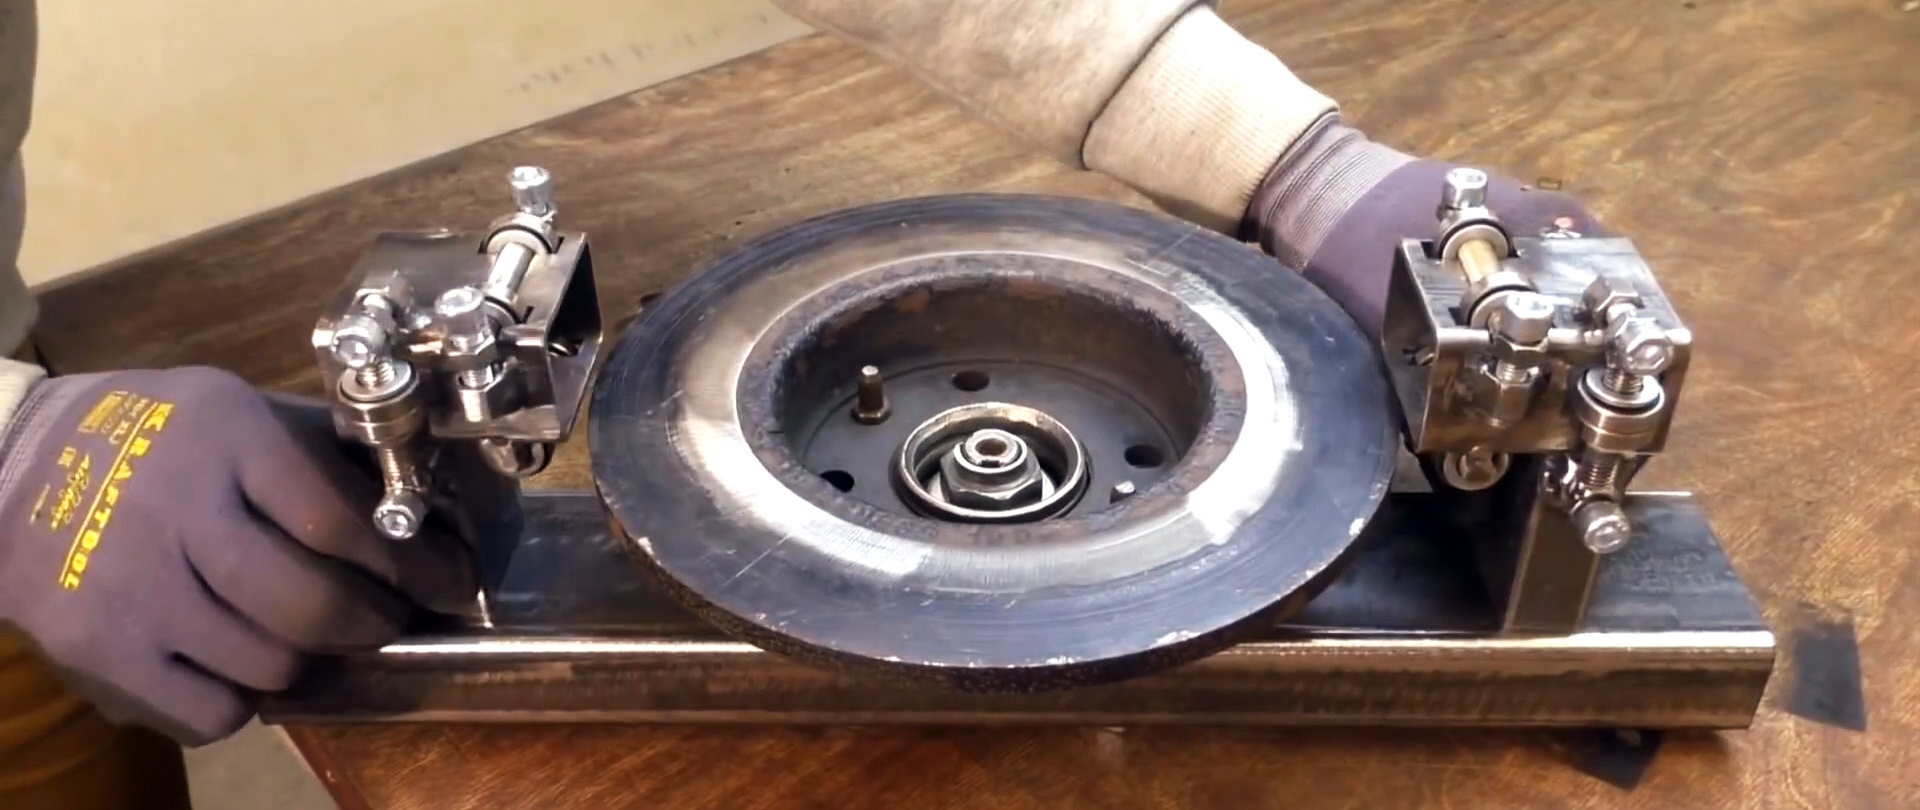
First you need to disassemble and clean the hub.
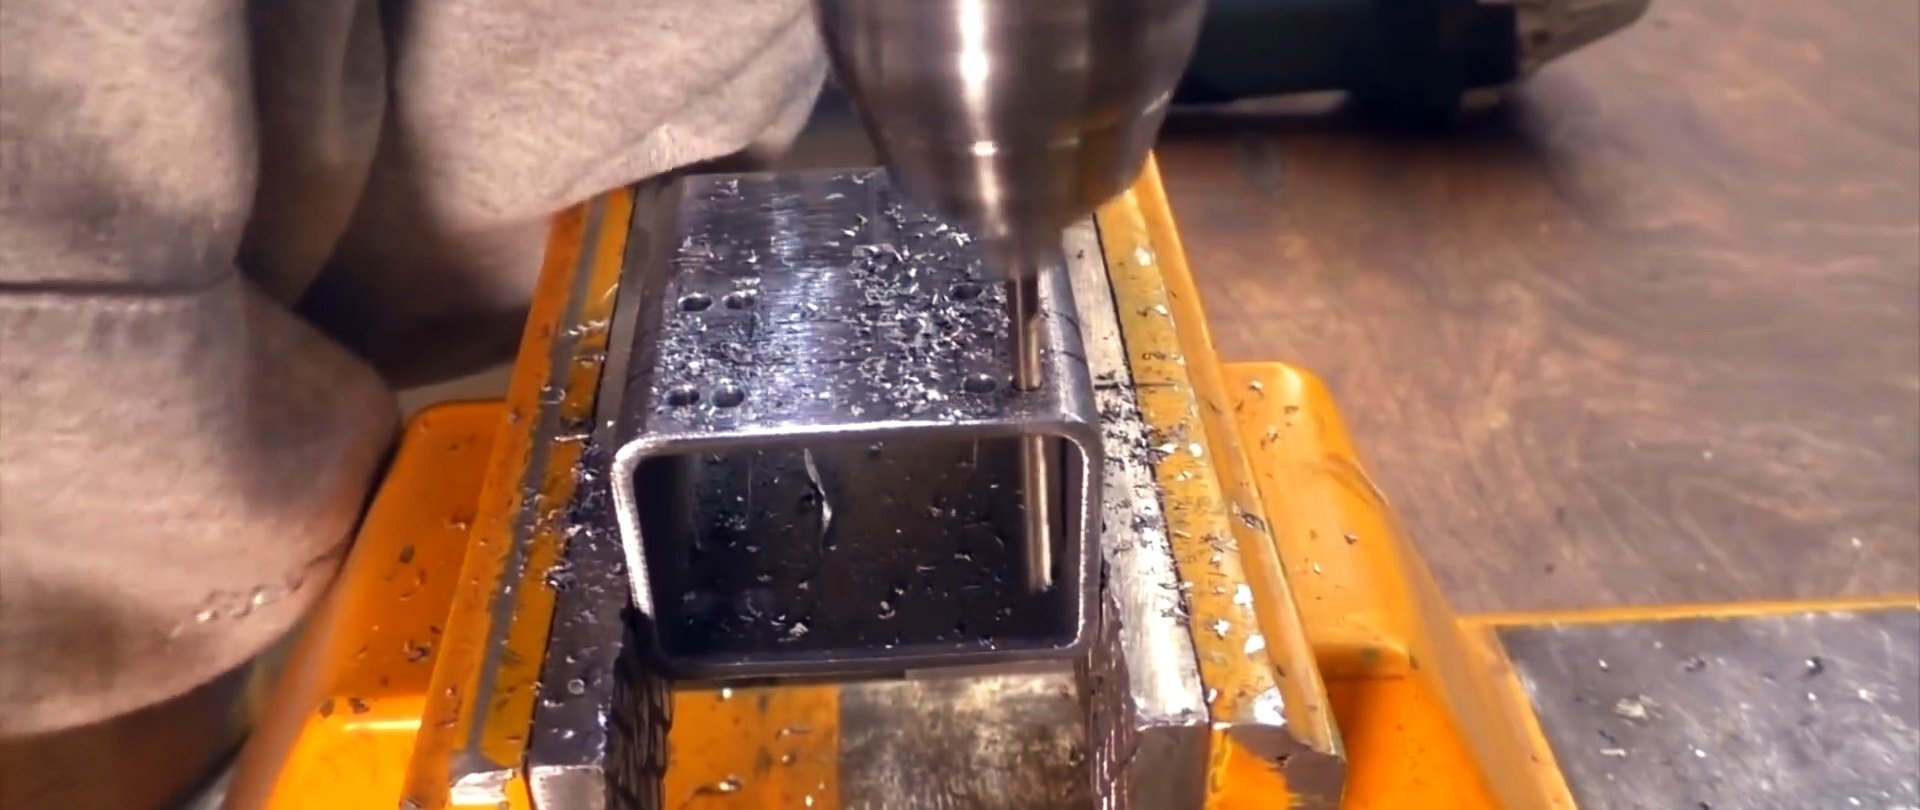
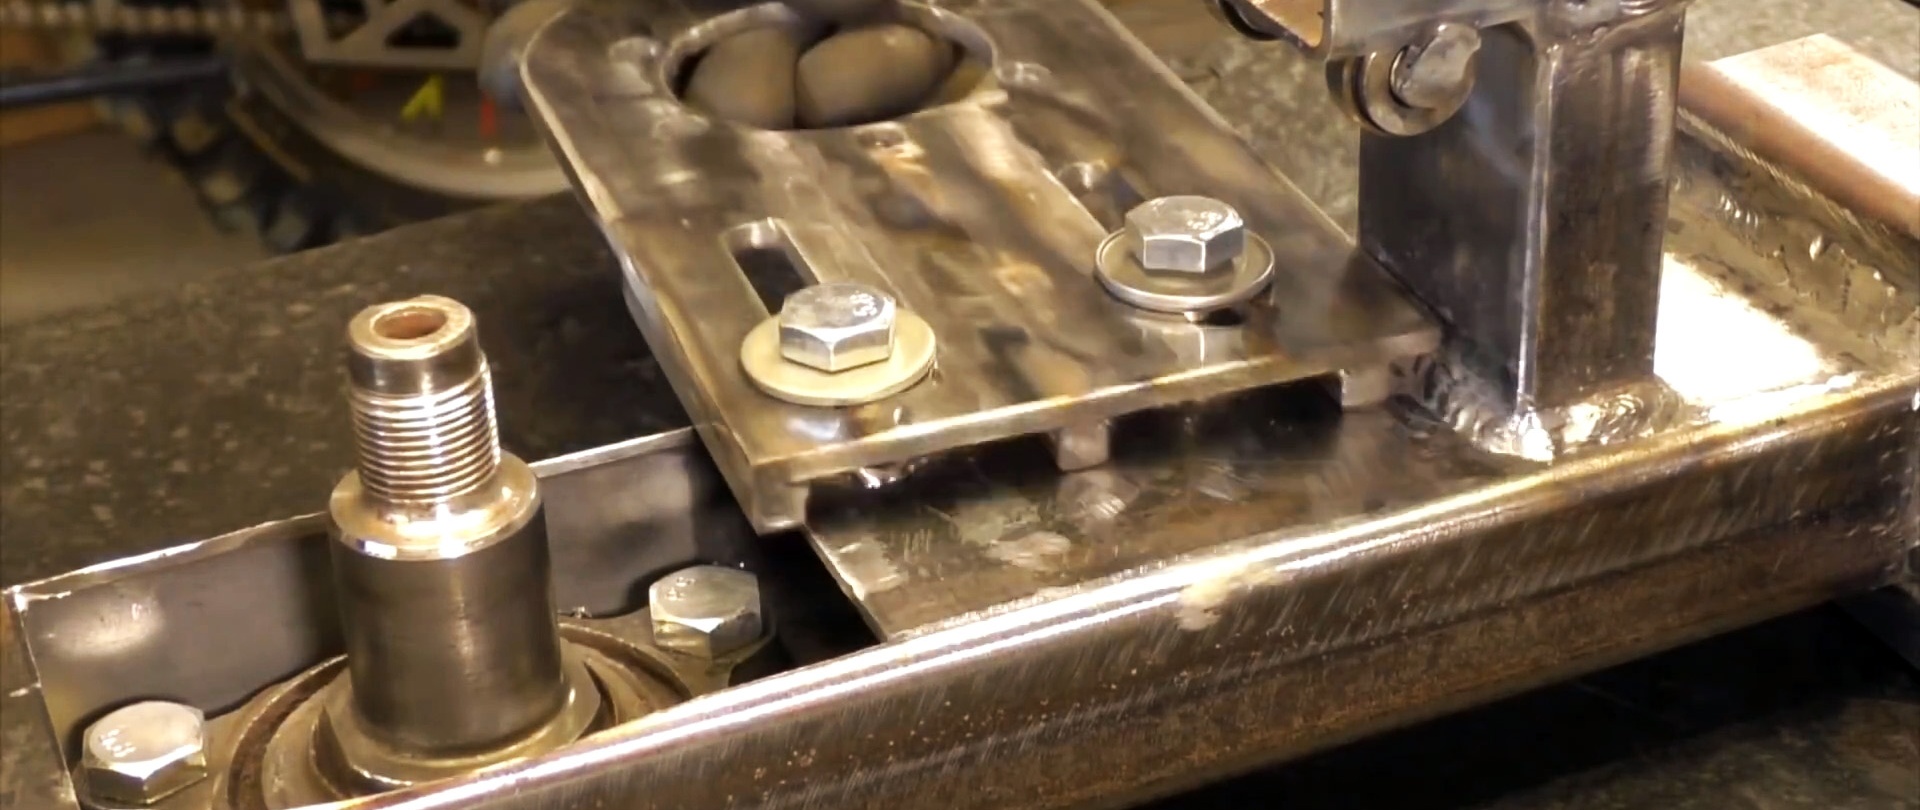
Next, screw the brake disc to the hub. Then we take a section of a profile pipe 80x40 mm, 47 cm long, and cut off its wall in the center. Next, we drill the part and bolt the hub to it.

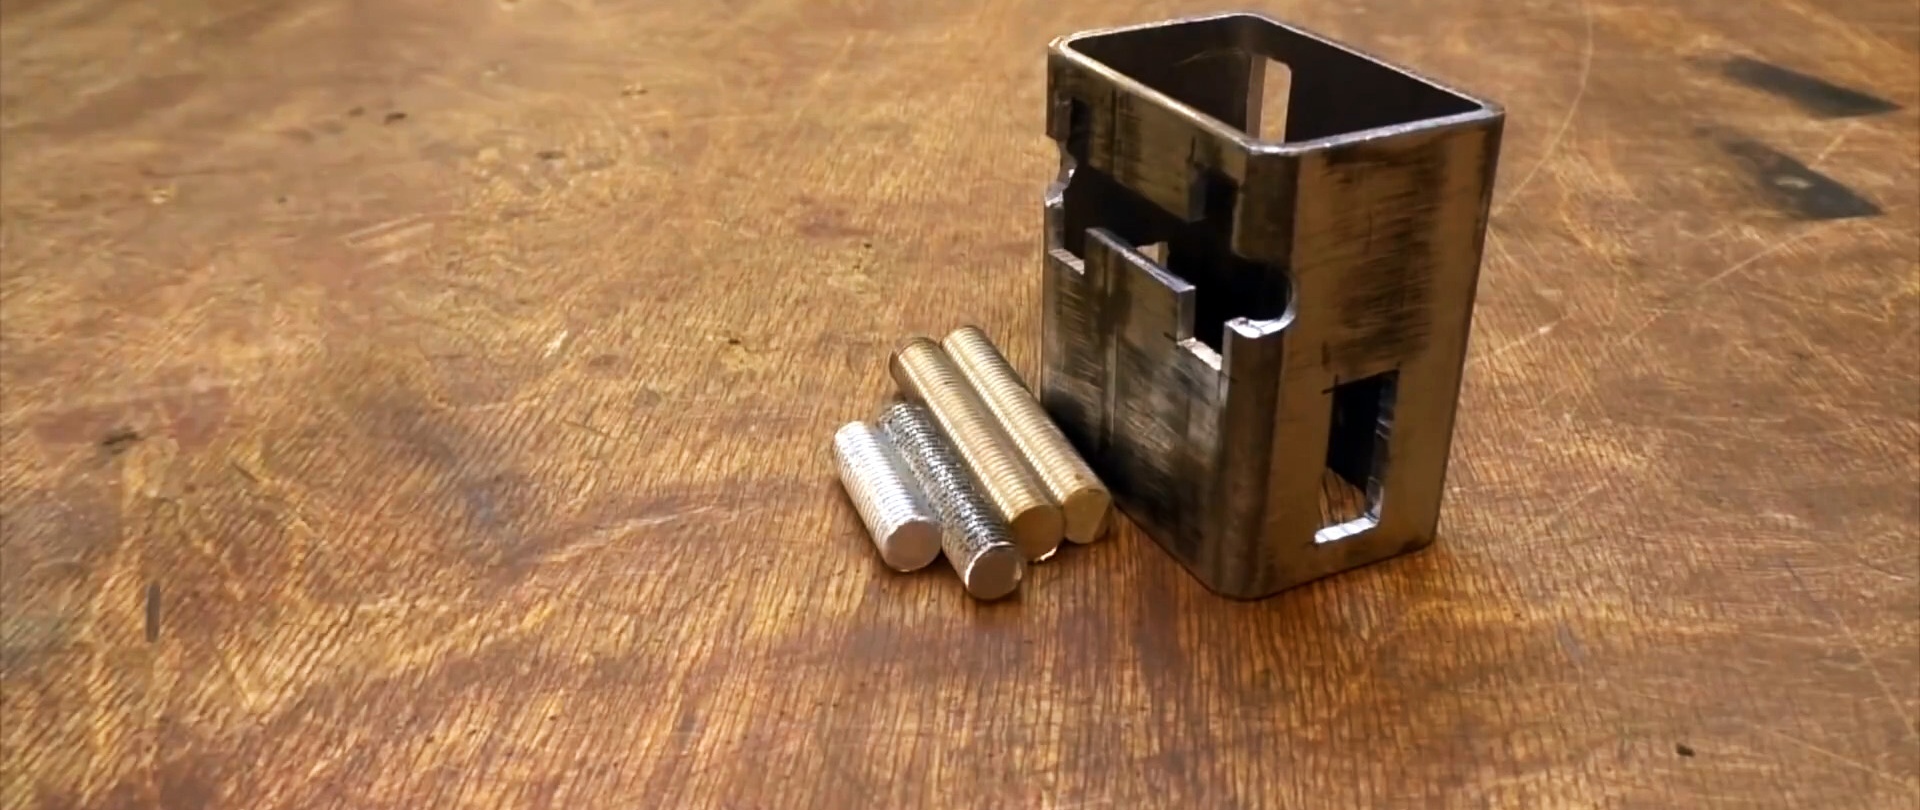
Now we take two blanks from a 60x40 mm pipe, 7 cm long. You need to cut grooves in them, as in the photo.
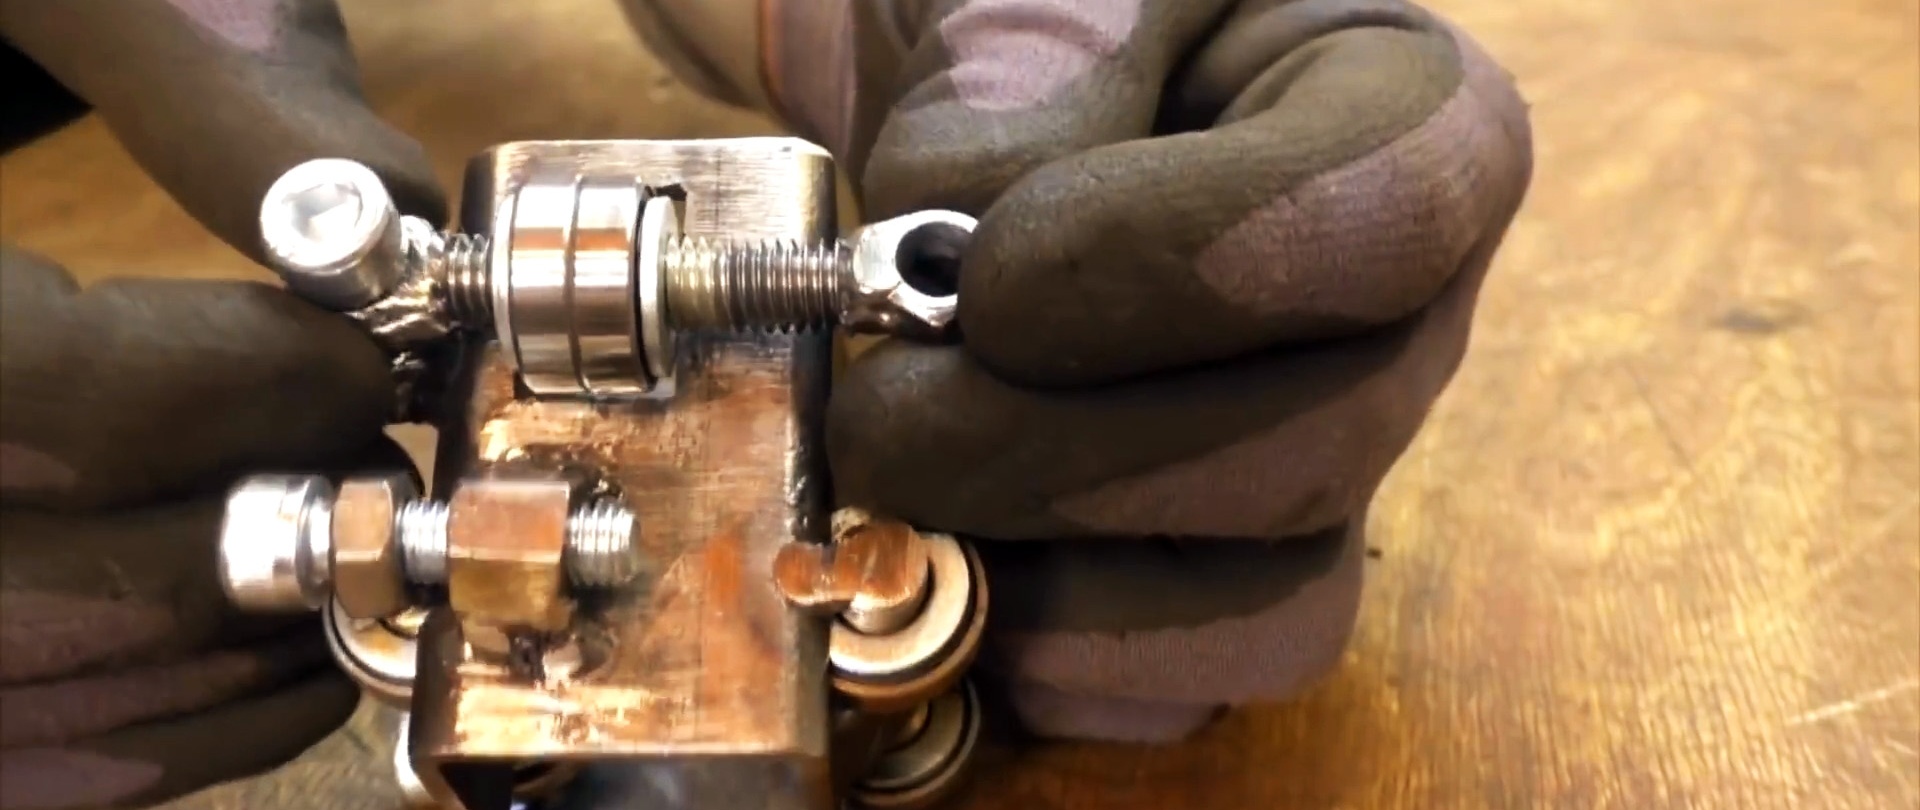
Bolts with bearings and washers are welded to the workpieces. Please note that some bearings on the carriages are adjustable.
Next, pipe sections 25x50, 7 cm long, are welded to the carriages.
Welding electrodes for general purposes on AliExpress at a discount - http://alii.pub/606j2h


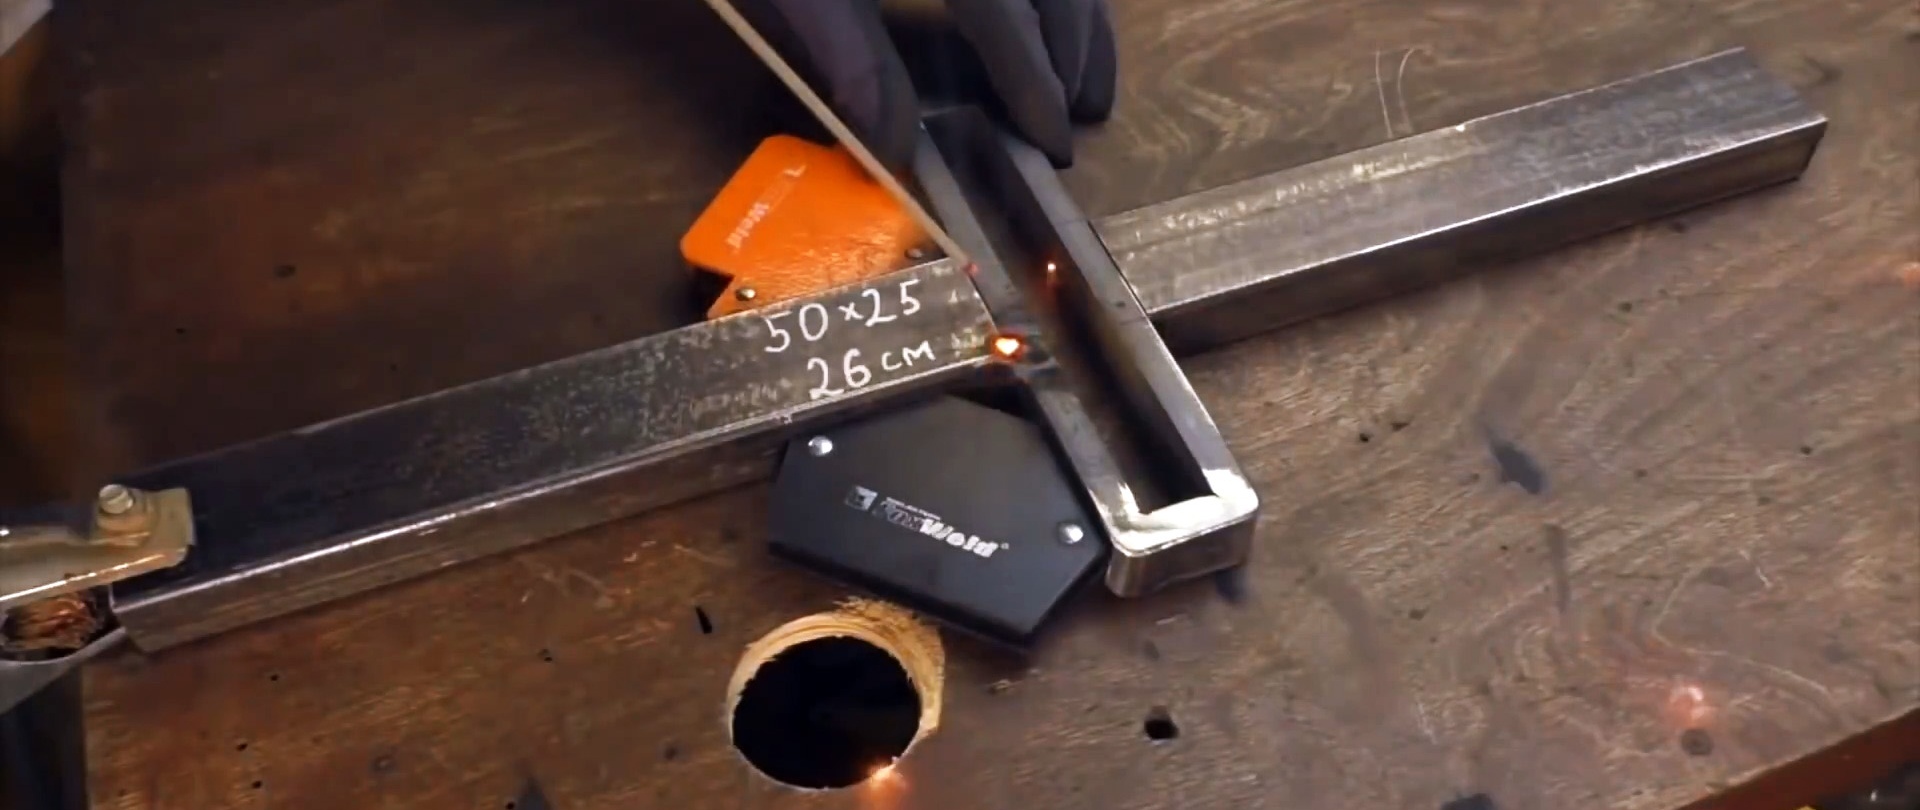
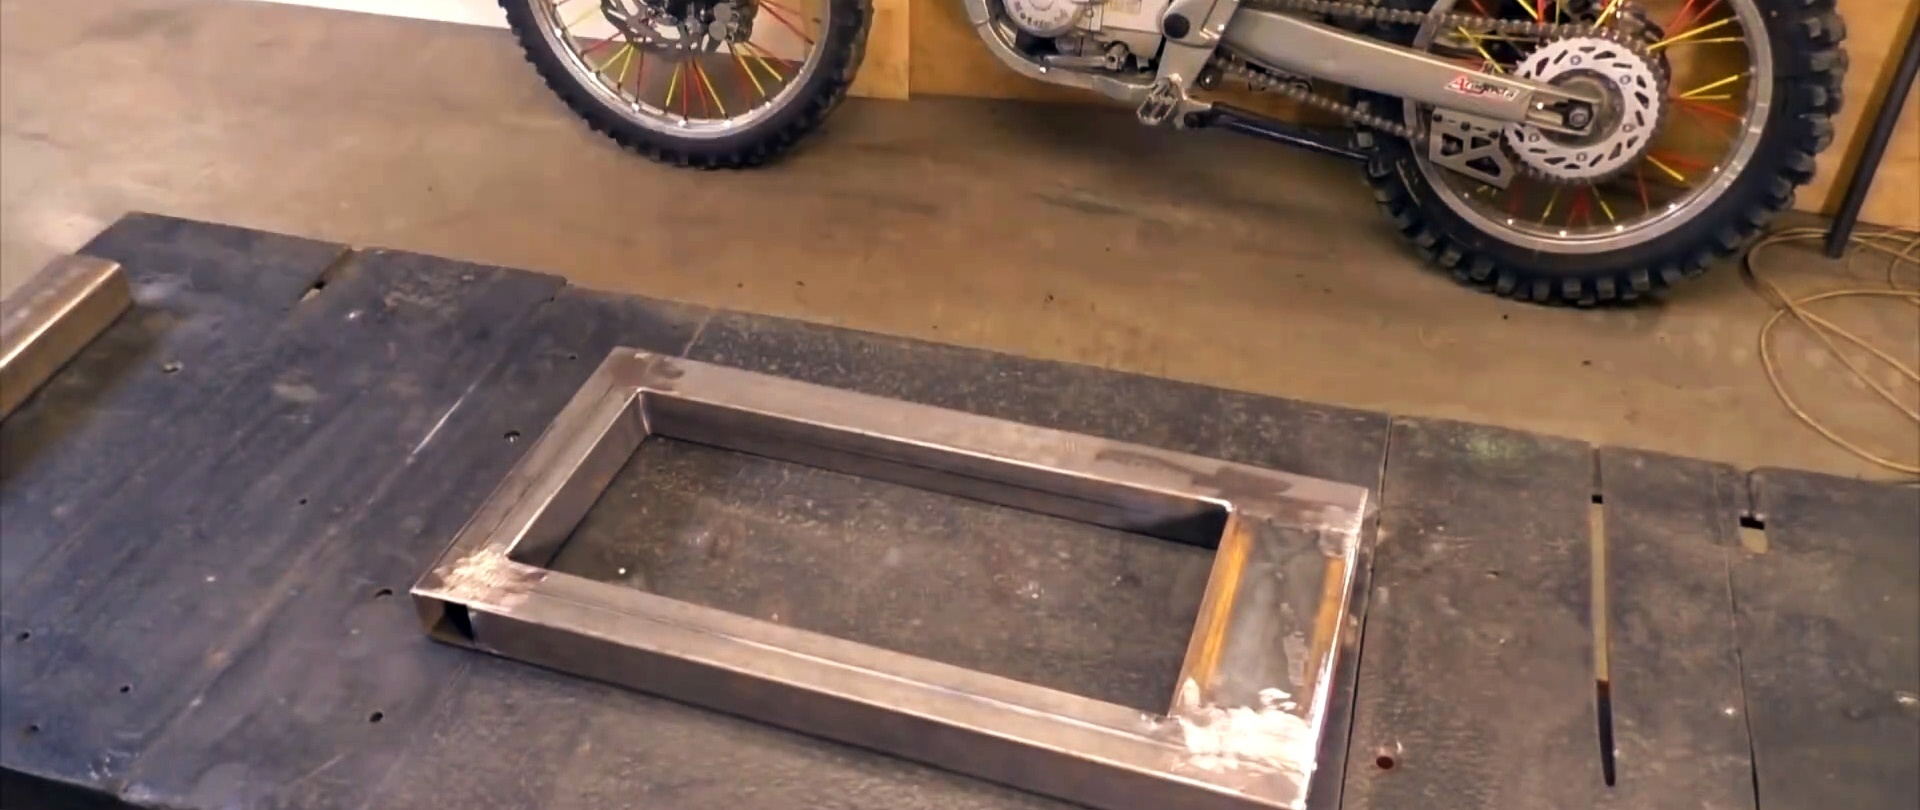
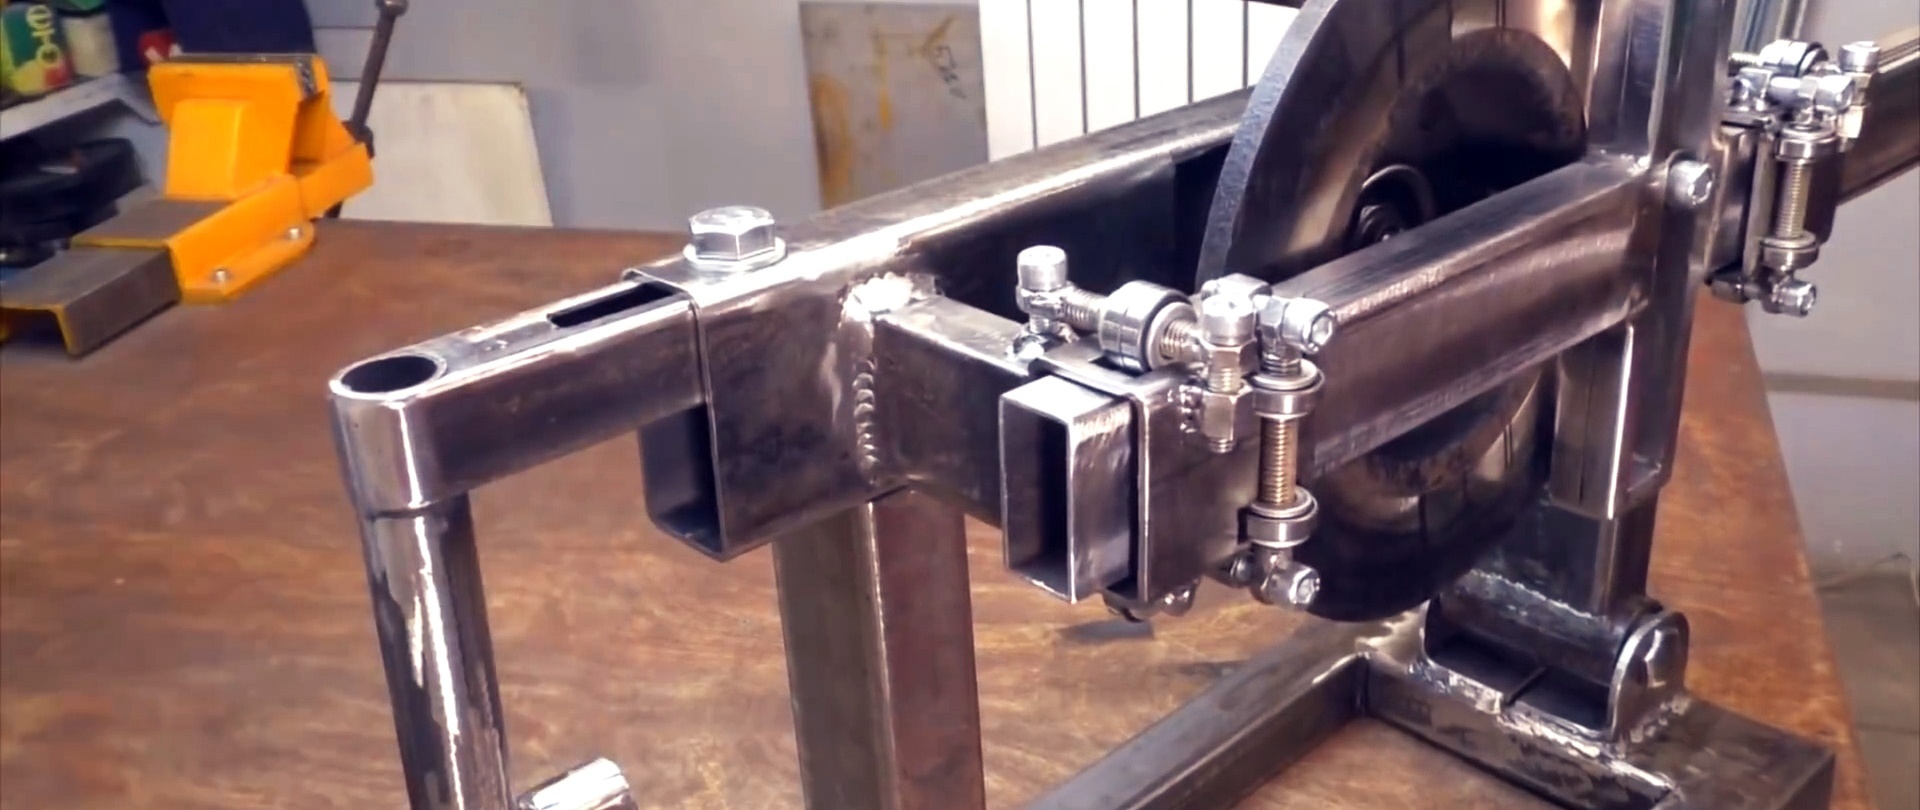
Two blanks 22 cm long and two 2.2 cm long are cut out of a 12x12 mm square. A frame is welded from them. Pipes 50x25 mm, 26 cm long, are welded to it.

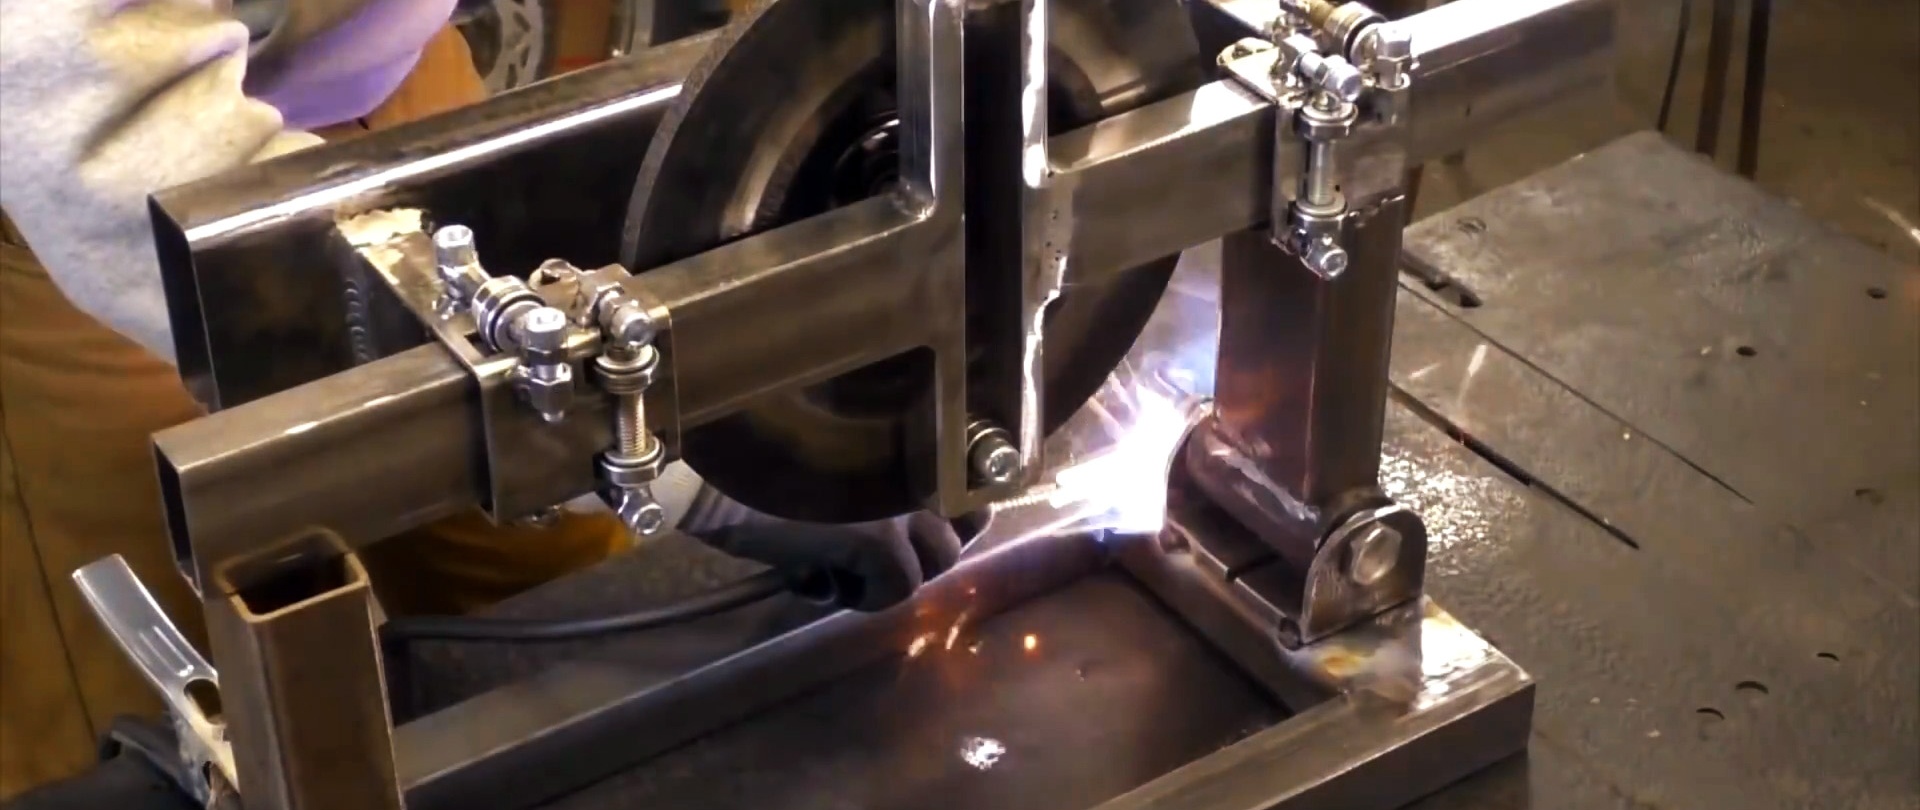
Next, the carriages with racks are placed on a base with a hub, and the last part with a frame is installed in them. Now we adjust and weld the workpieces.

After this, you need to screw a bolt with bearings into the brake disc so that it clings to the part with the frame when rotating. As a result, the mechanism will convert the rotation of the hub from the engine into the translational movement of the rod.

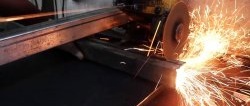
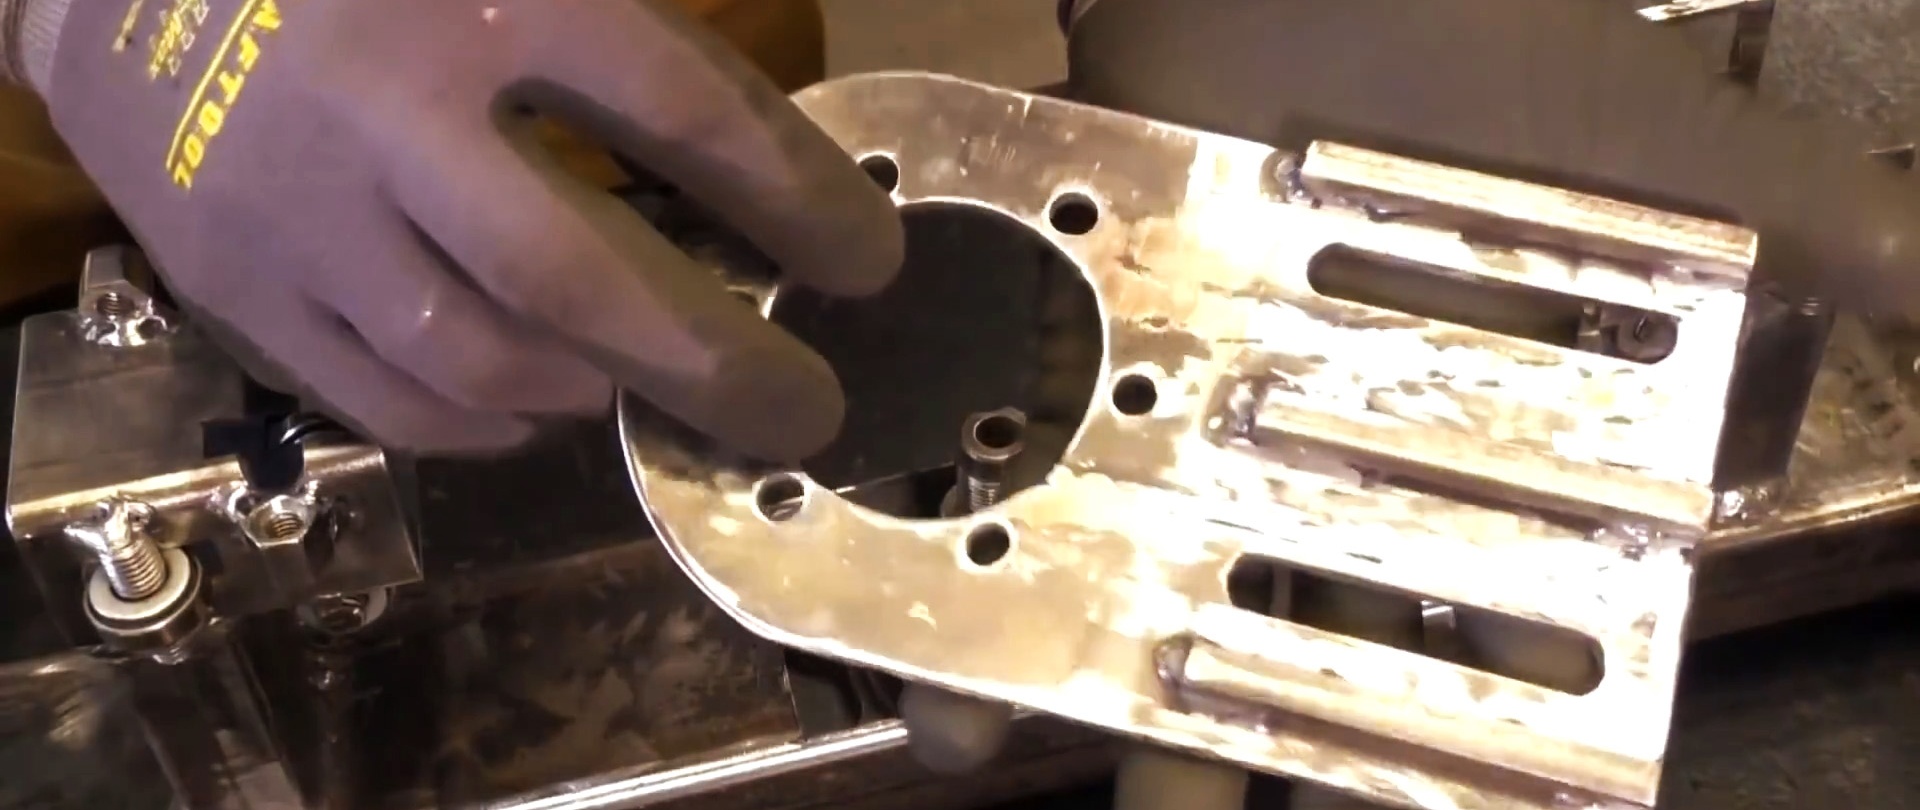
Next you need to work on the swing arm. From two corners we make lugs onto which a drum made of pipes with pressed-in bearings is attached. To connect them you will need to make a finger. A piece of pipe 80x40 mm is welded to the drum.


The resulting forging is welded with its edge to the pipe at right angles to the base of the mechanism. Then the frame is welded and welded to the lugs. It is important that it is parallel to the rest of the frame. Opposite the lever we weld a stand of the same length.
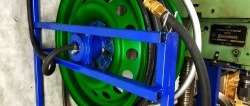
Next, you need to remove the hub, and near it, screw an engine mount made of sheet steel and a square onto the pipe. With its help, you can install an electric motor and tension the drive belt between its pulley and the hub.

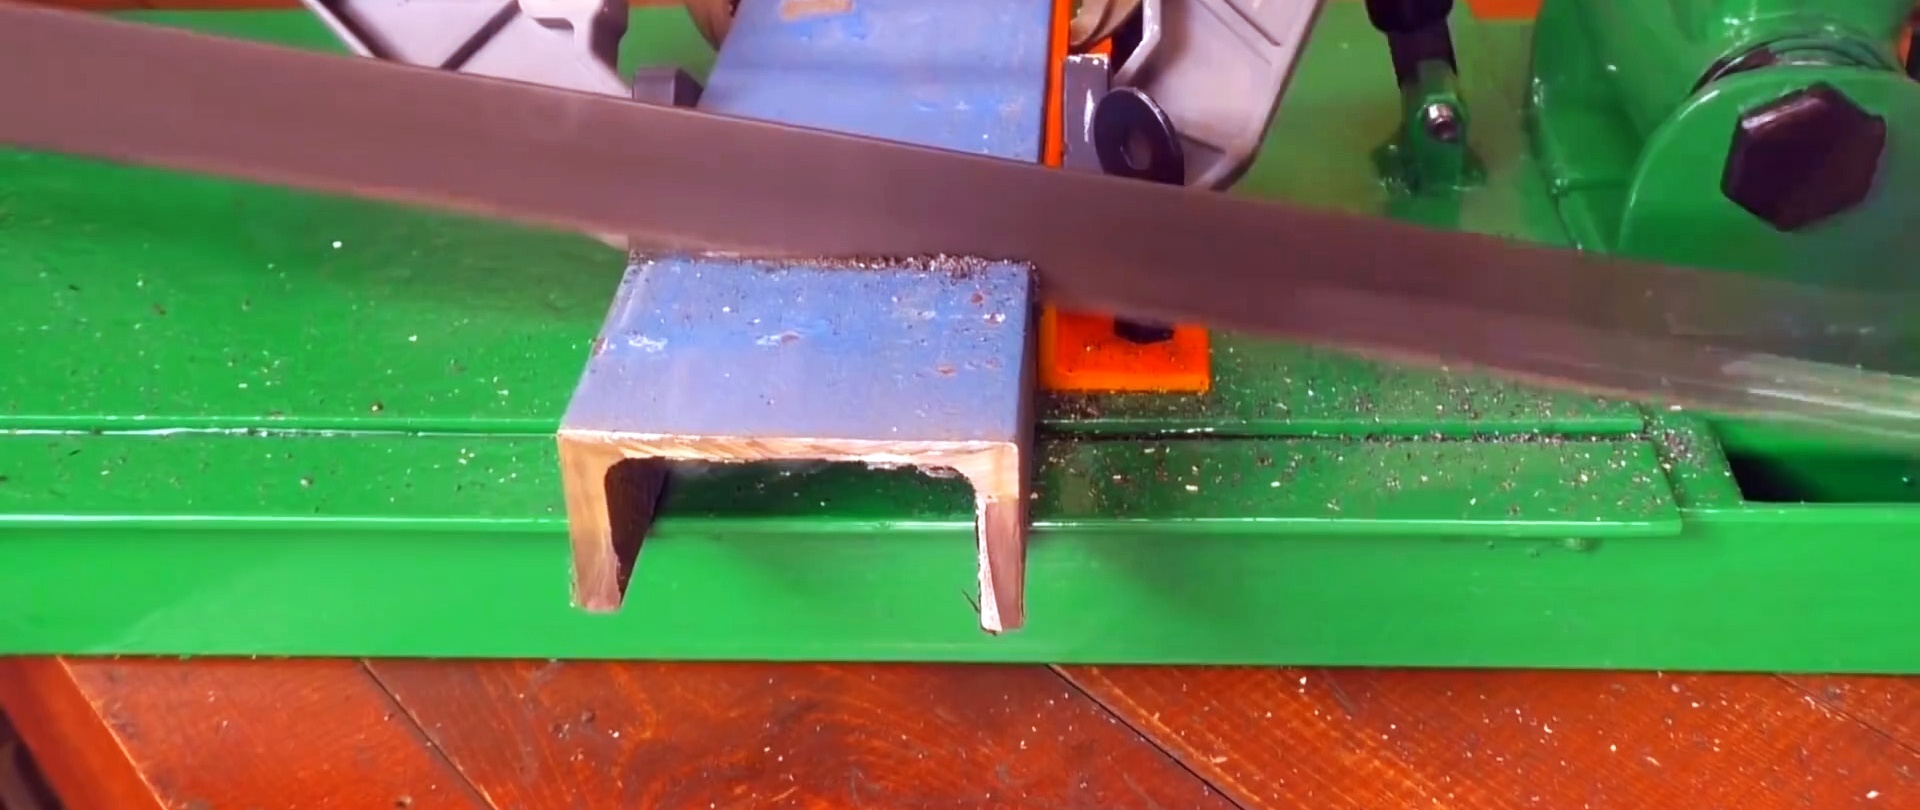
Next, you need to weld a handle for the saw from a regular round and profile pipe. It is placed in the hub mounting pipe. There is a groove on it for adjustment. Sheet steel is welded onto the frame to form a work table.
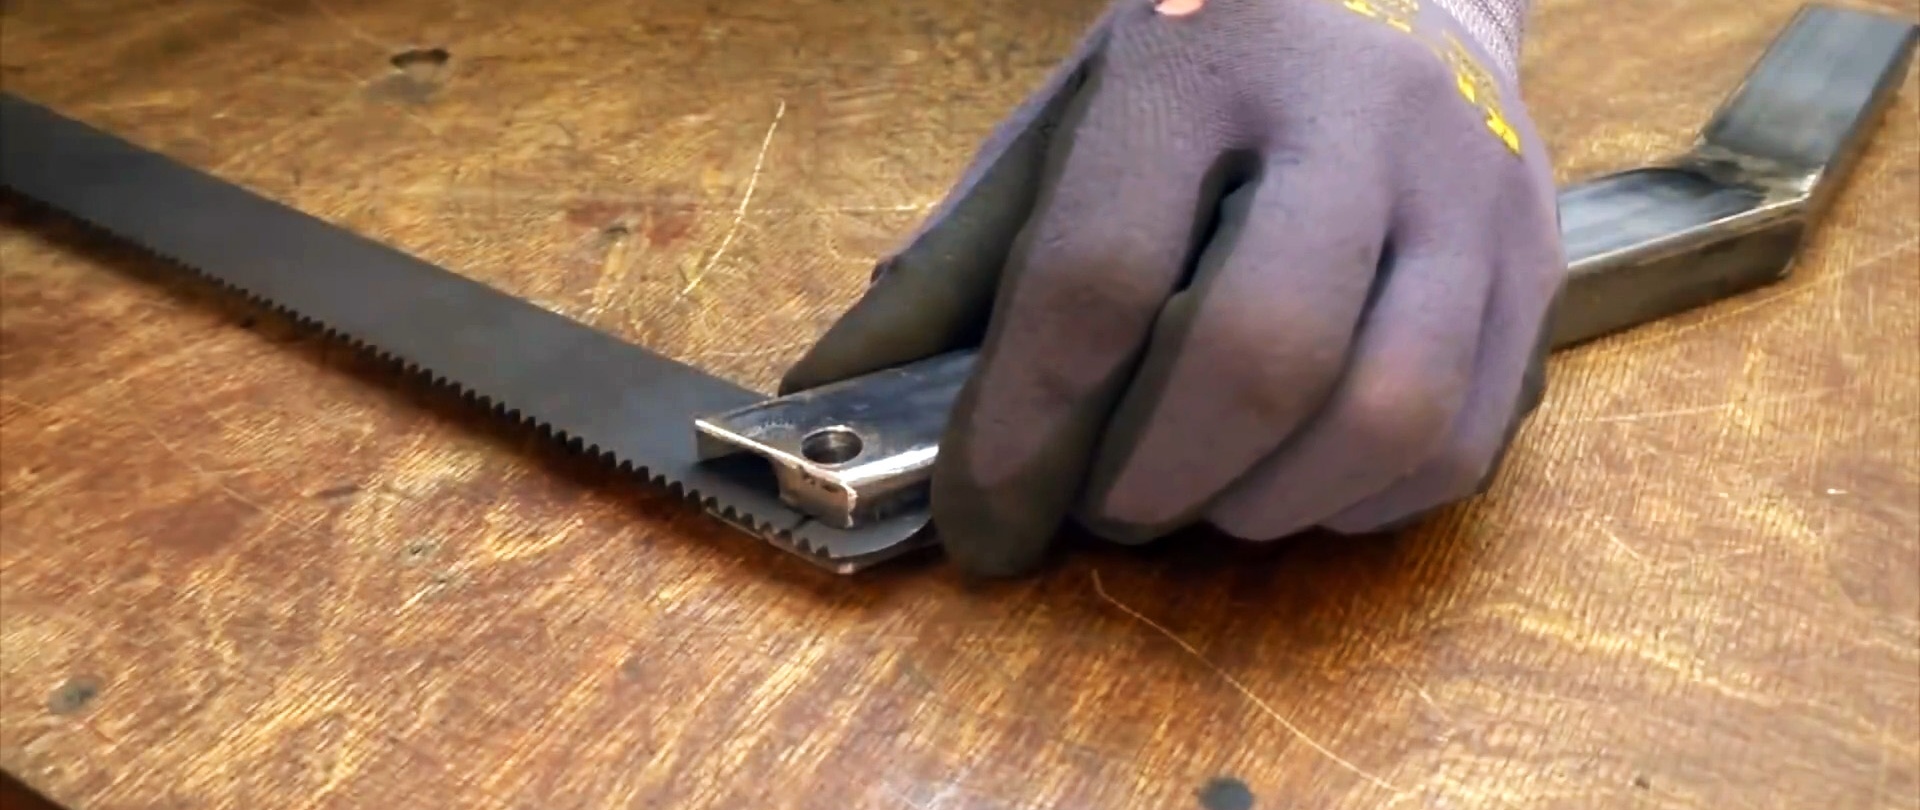
A saw blade mounting frame with a shank and a tension screw is welded onto the movable rod. Here we simply repeat the design of a regular hacksaw for metal.


Next, install a gas lift between the sole and the upper frame. Well, we screw the stop to the sole to place the workpieces strictly perpendicular to the canvas.
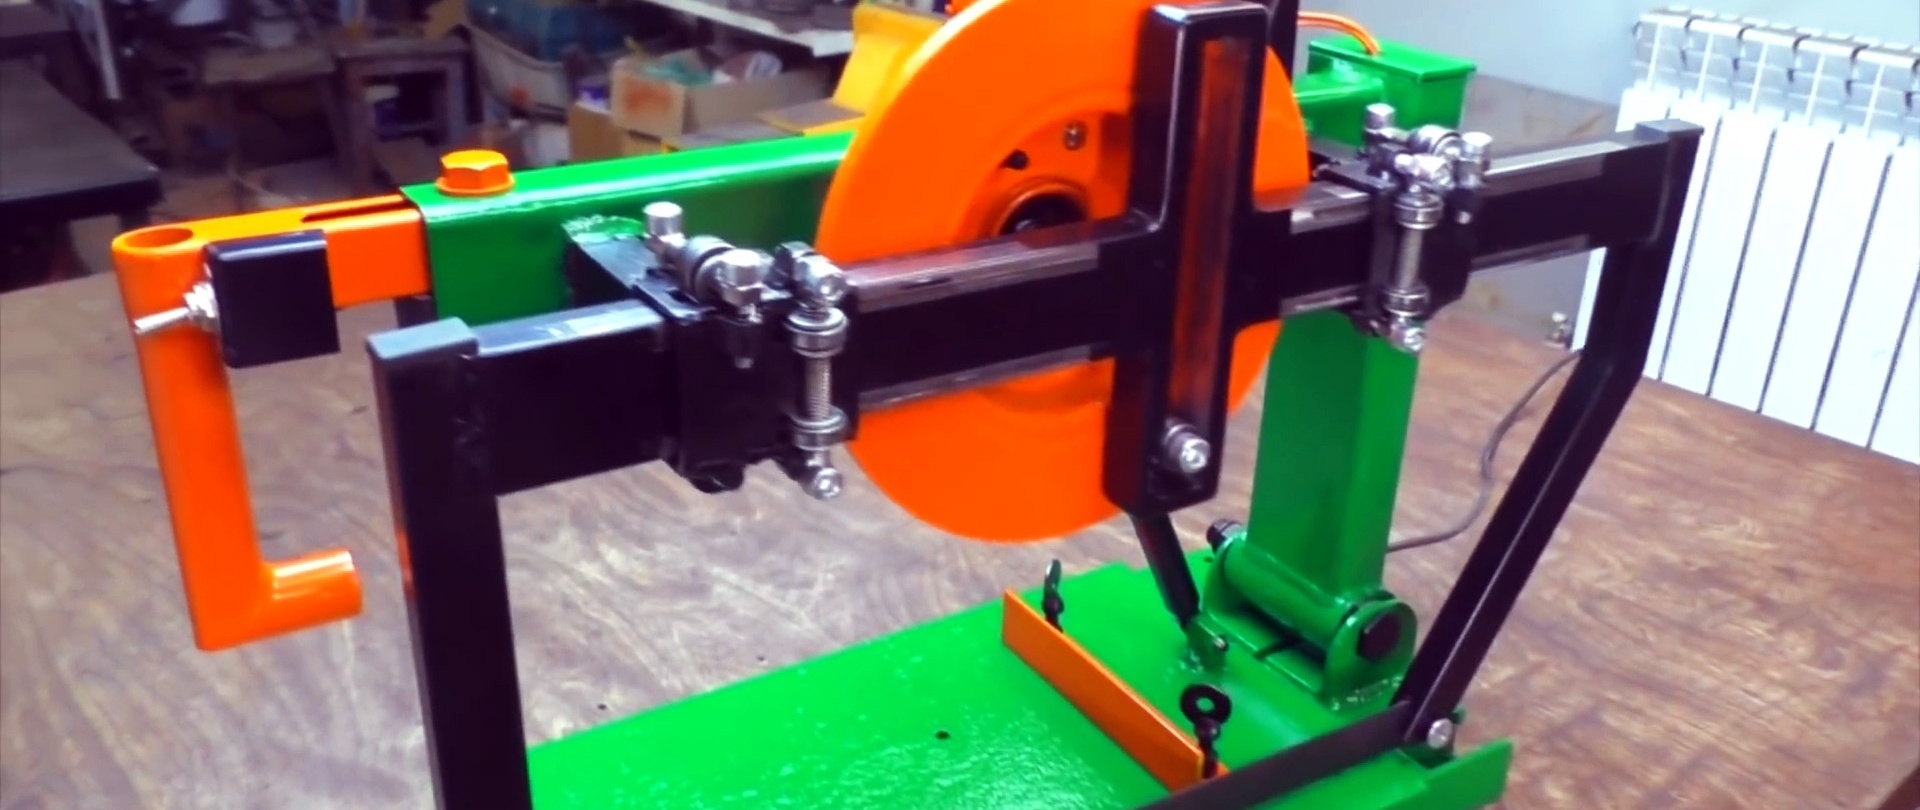
Please note that the pipe in the corner of the sole will need to be trimmed so that it does not interfere with the movement of the blade when lifting. The saw itself should even crash slightly into the table in the lower position. In this case, the blade will be able to completely cut the workpieces.
Finally, the parts are painted. The switch can be placed directly into the handle. The resulting saw allows you to cut wood, steel and other materials smoothly and accurately.