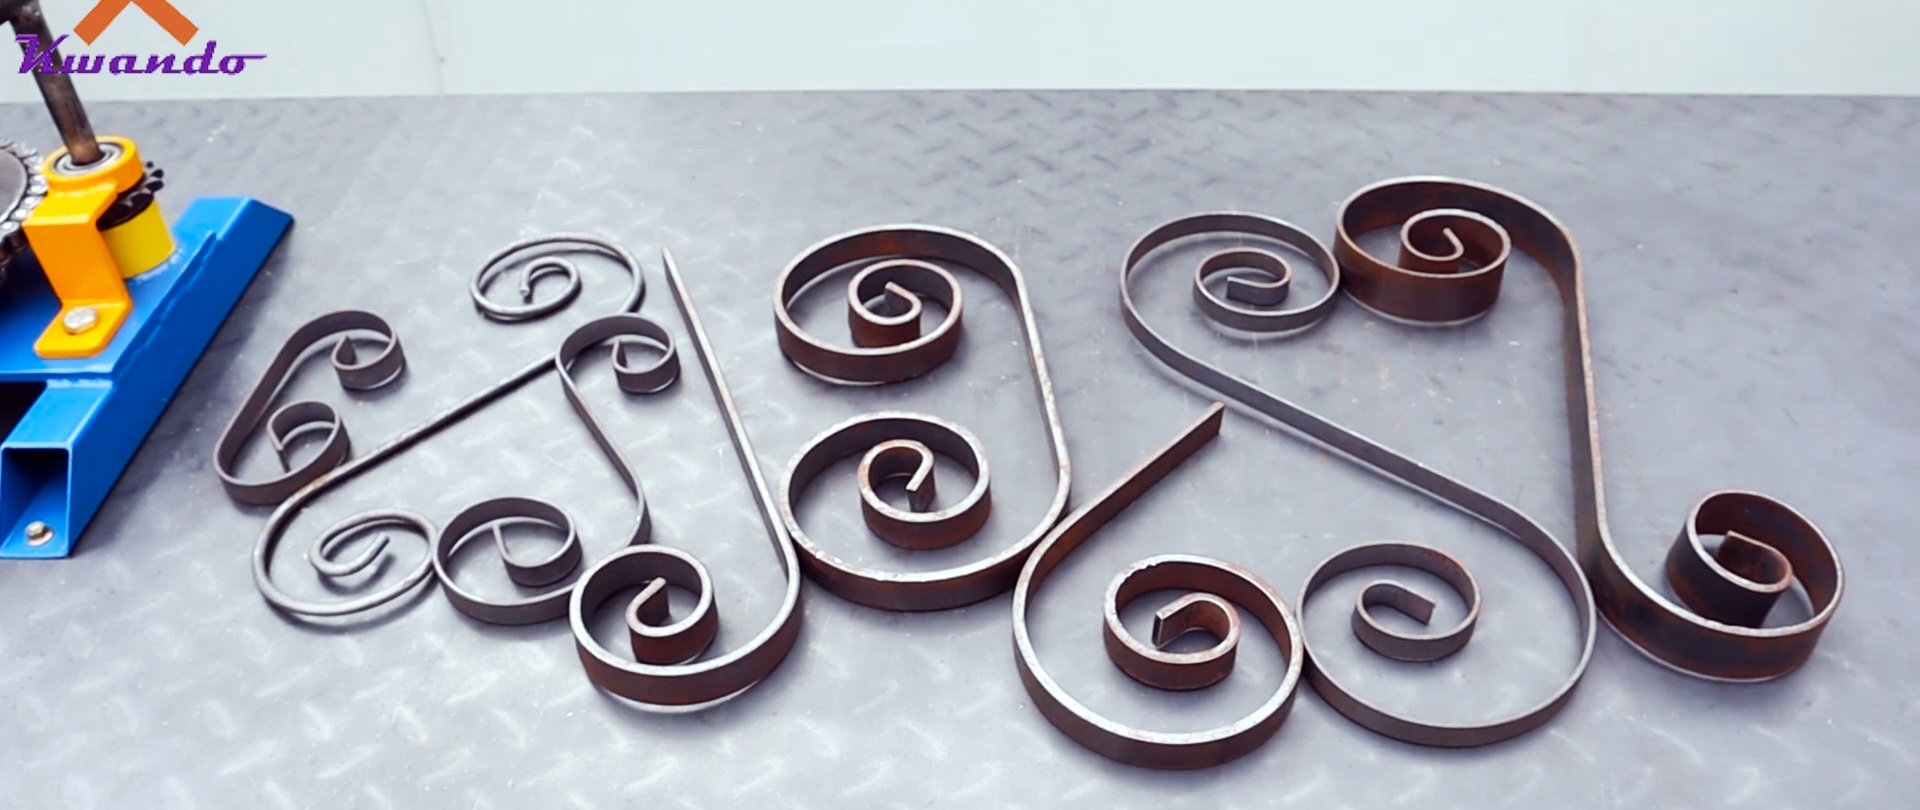
Decorative elements of cold forging are quite expensive in relation to the material that is spent on their production. Therefore, if you do them yourself, the savings are significant. But to bend such decor, you need a machine that the average person doesn’t have. If you have a free weekend, you can assemble it from available parts.

Materials:
- Steel plate 10, 20 mm;
- corner 50 mm;
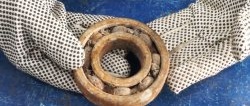
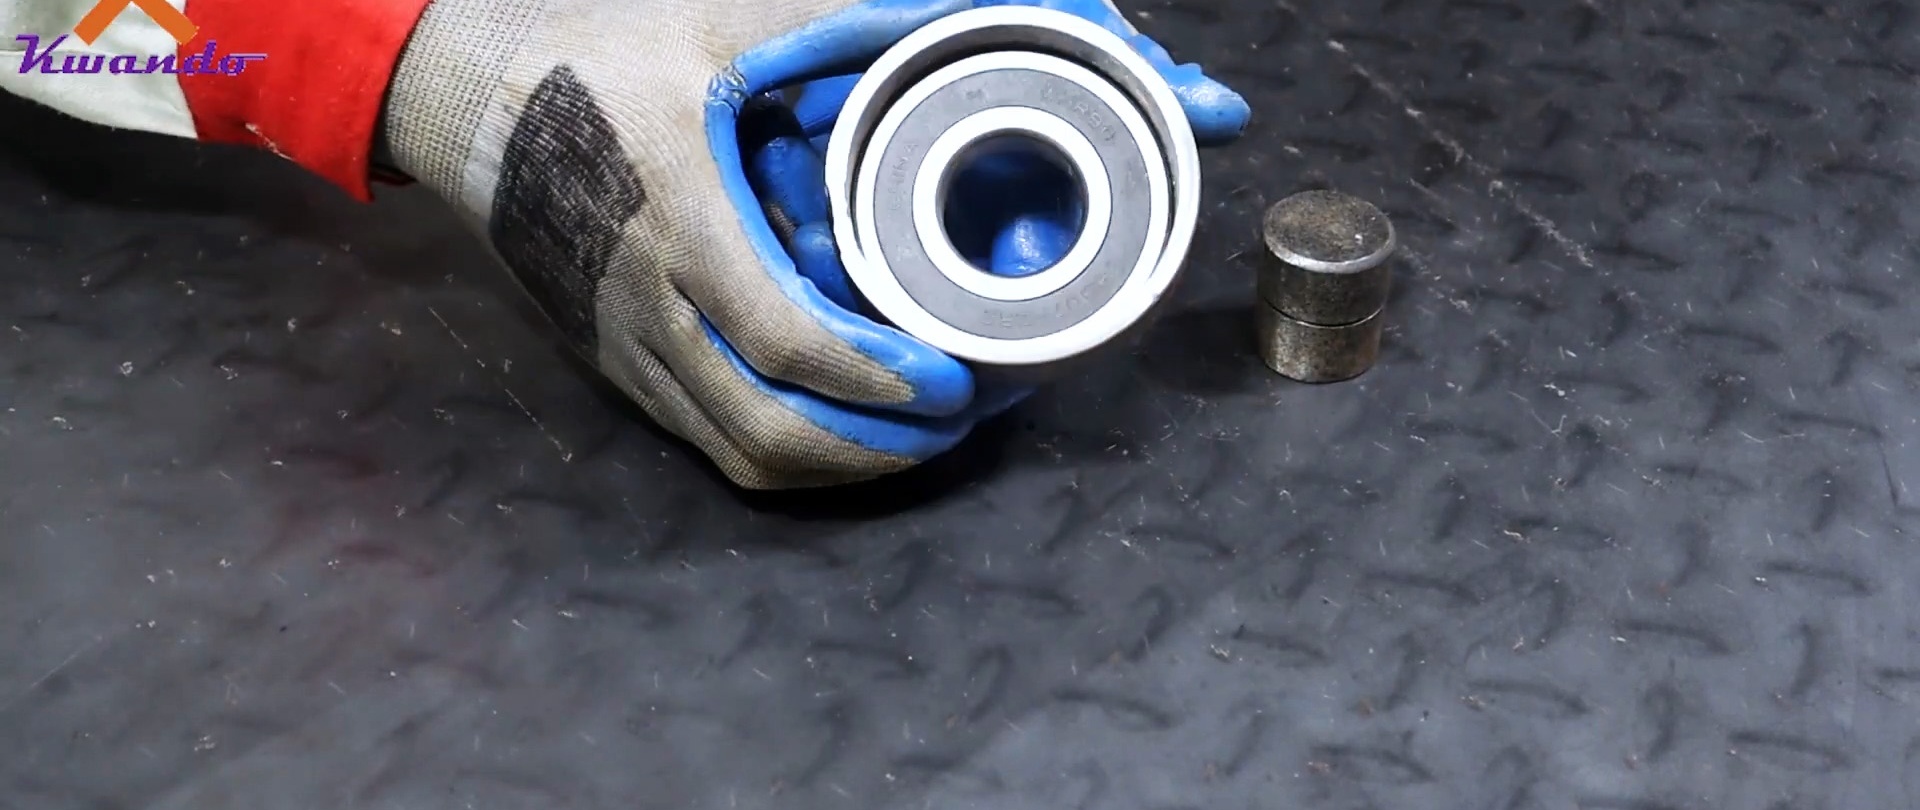
- bearings of different diameters;
- pipes 50, 70 mm;
- profile pipes 50, 40 mm;
- roller chain;
- star;
- steel round timber 20 mm, 70 mm;
- stud M16-M20.
High-quality and durable drills on AliExpress at a discount - http://alii.pub/5zwmxz
Machine manufacturing process
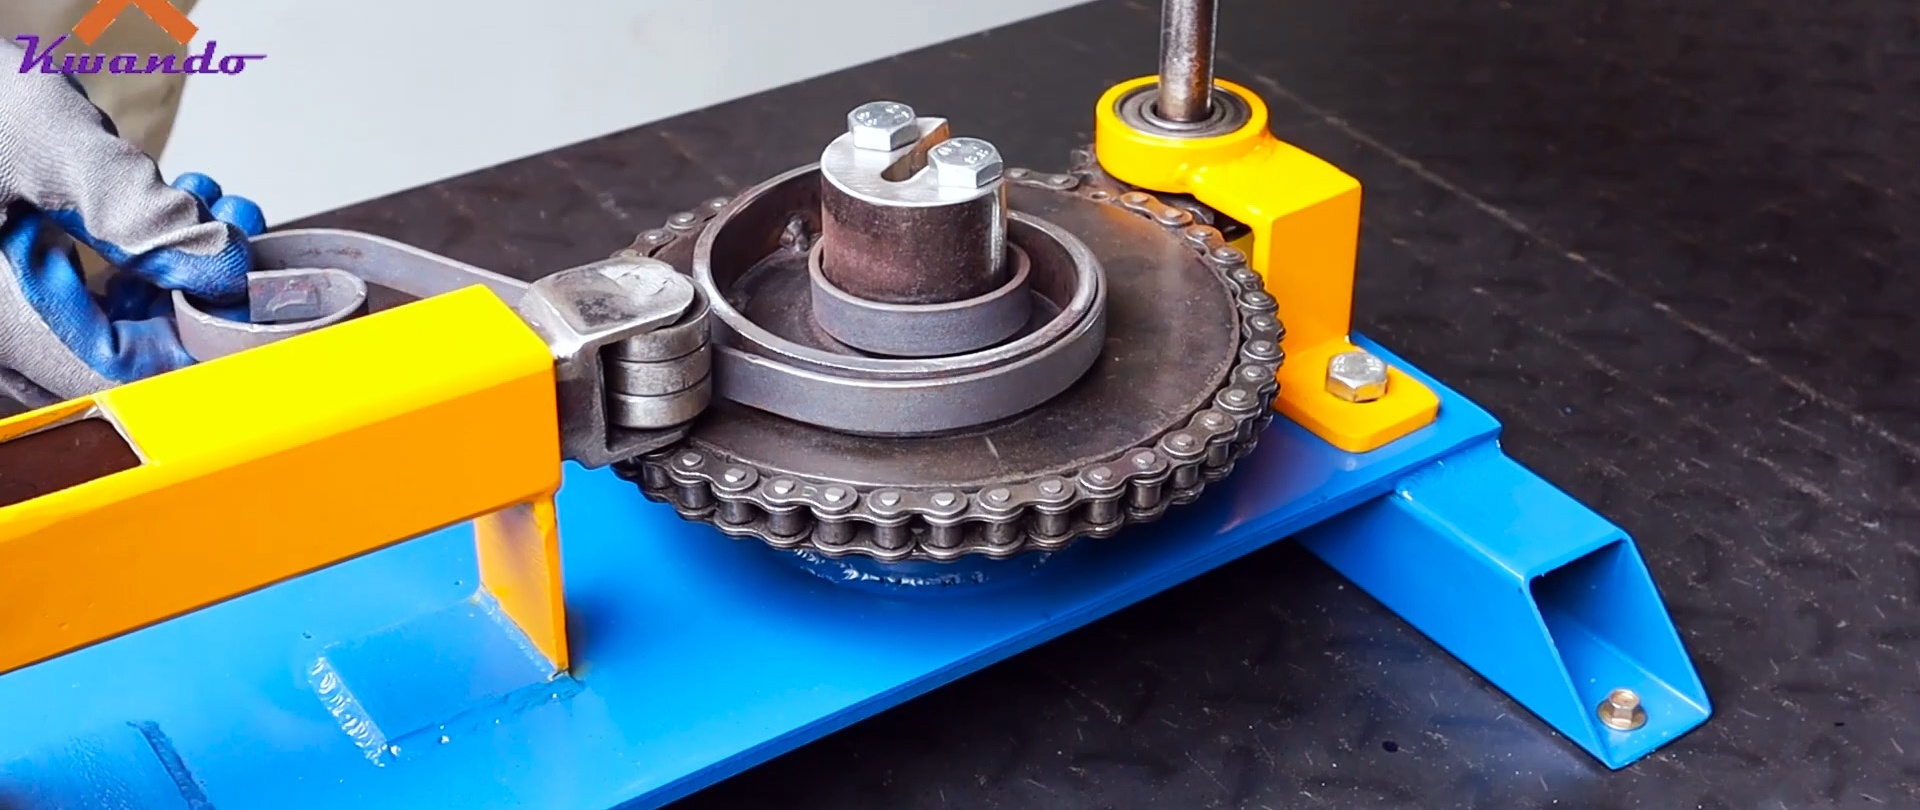
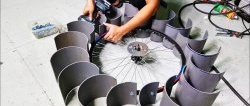
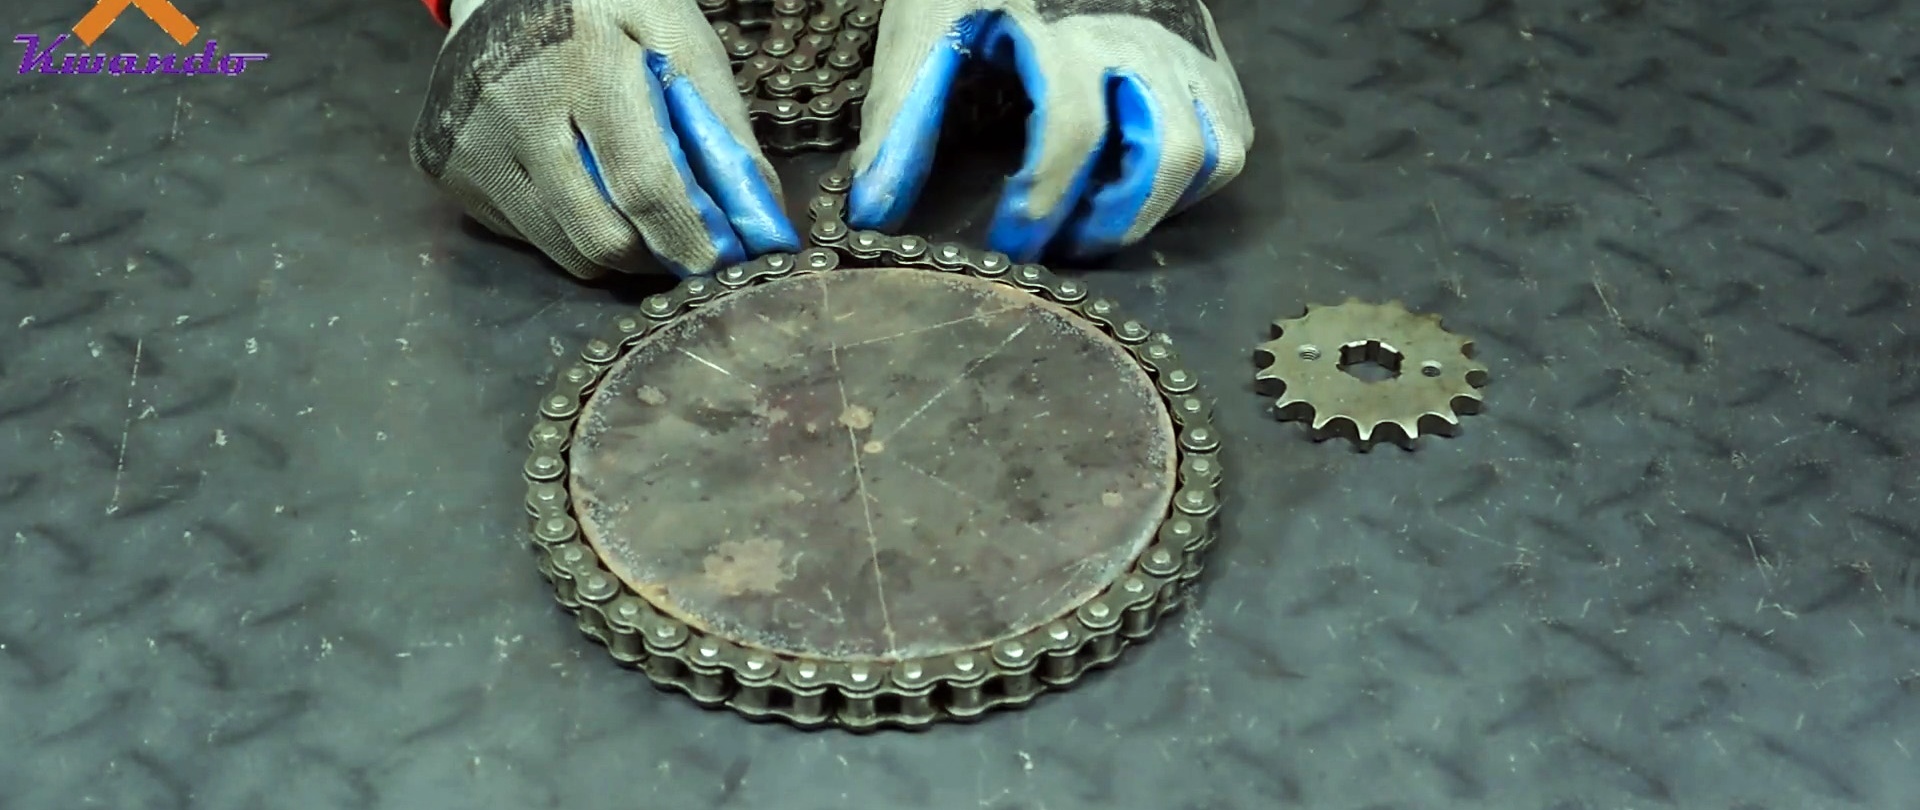
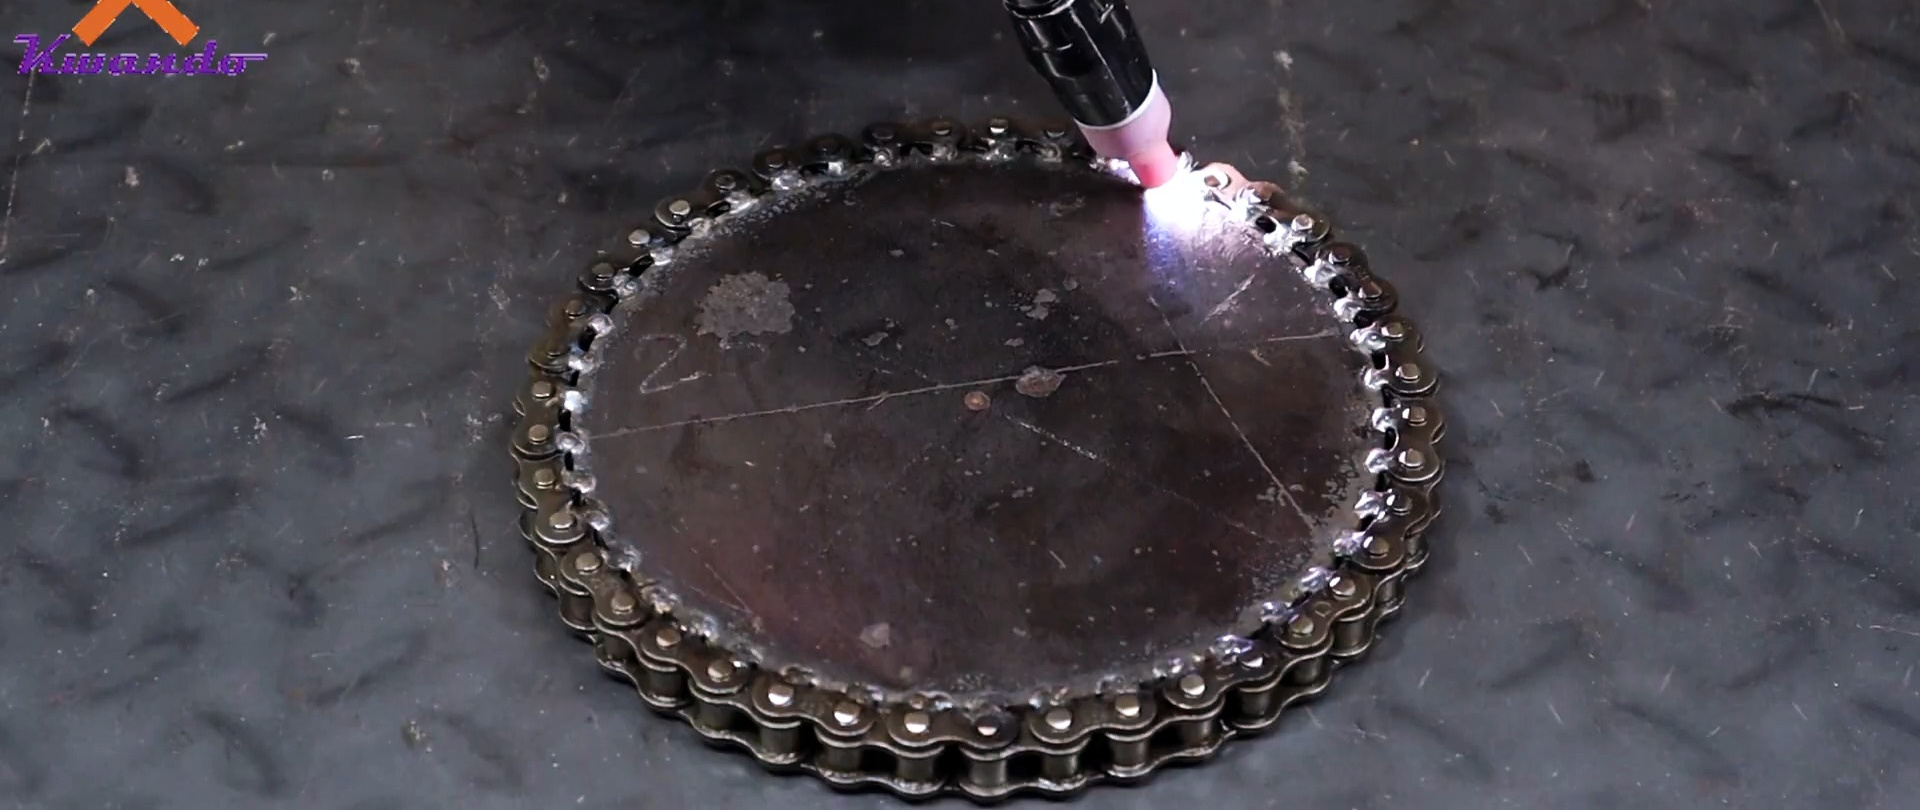
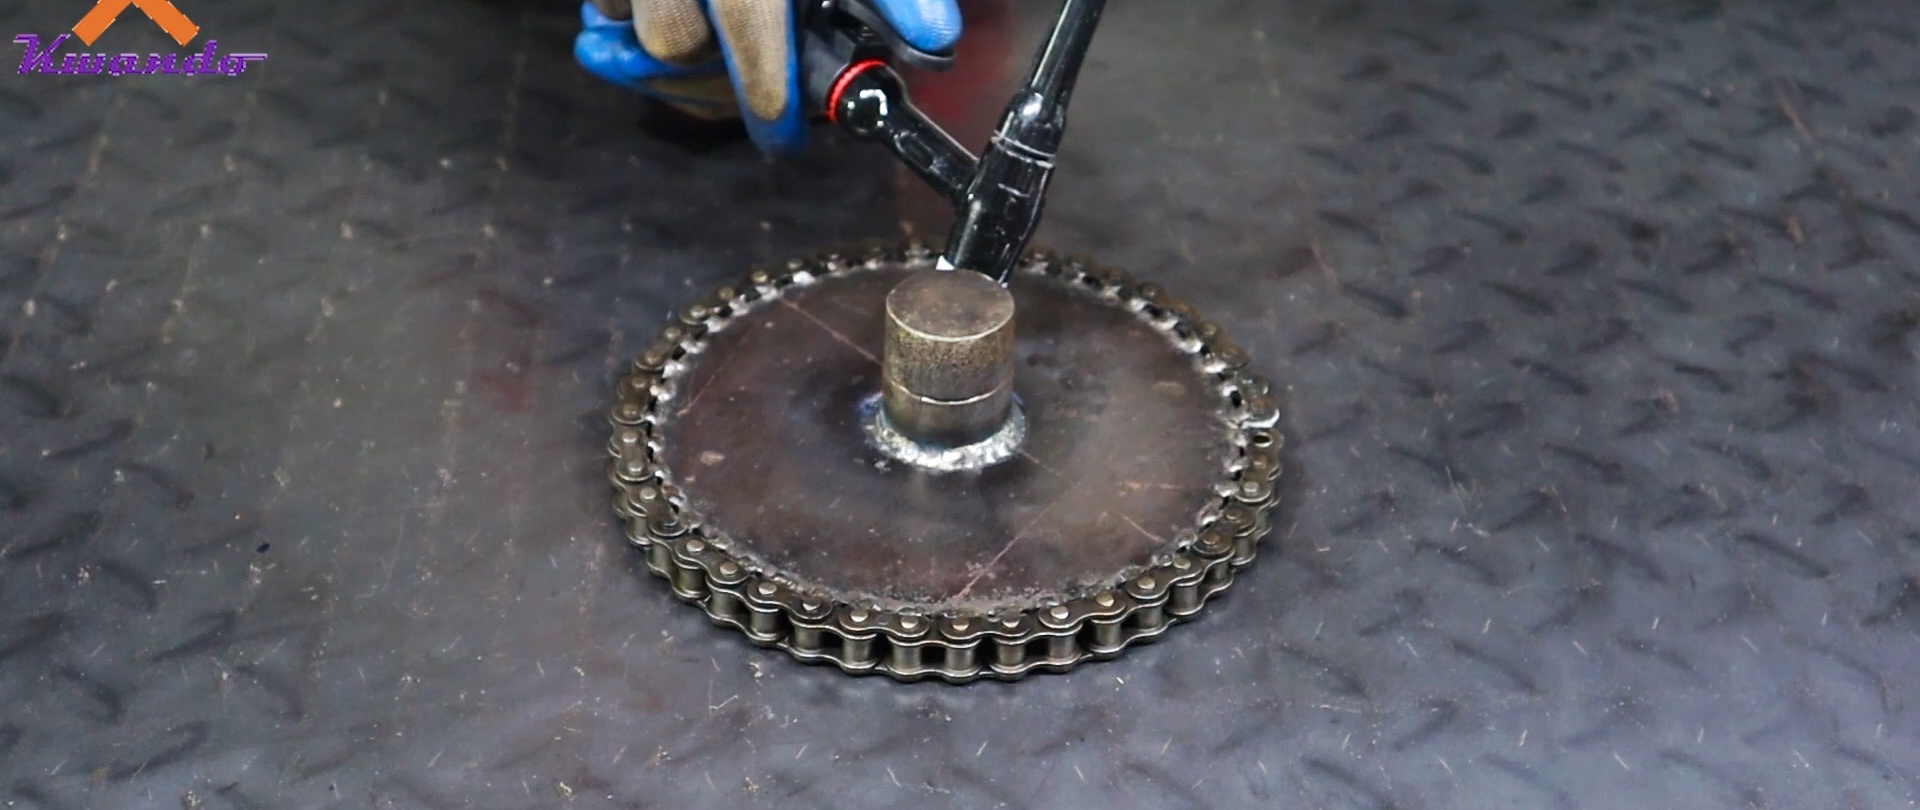
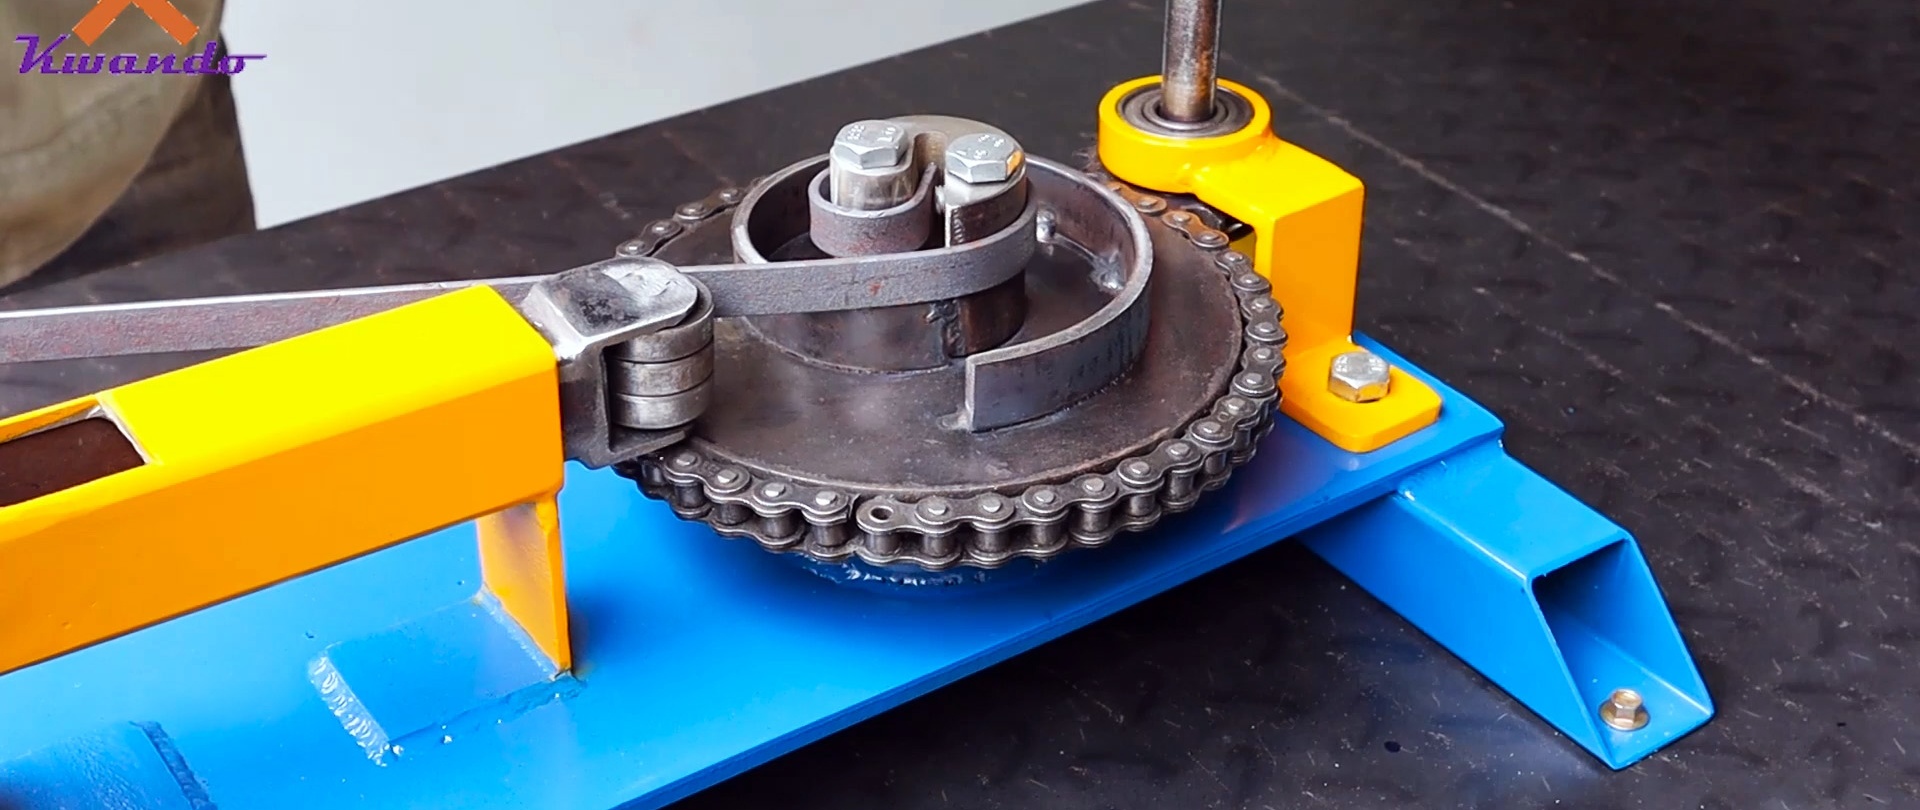
We cut out a disk from a thick steel plate. Then we wind a roller chain around it and weld it.
After this, we weld a section of shaft into the center of the disk to fit the bearing.
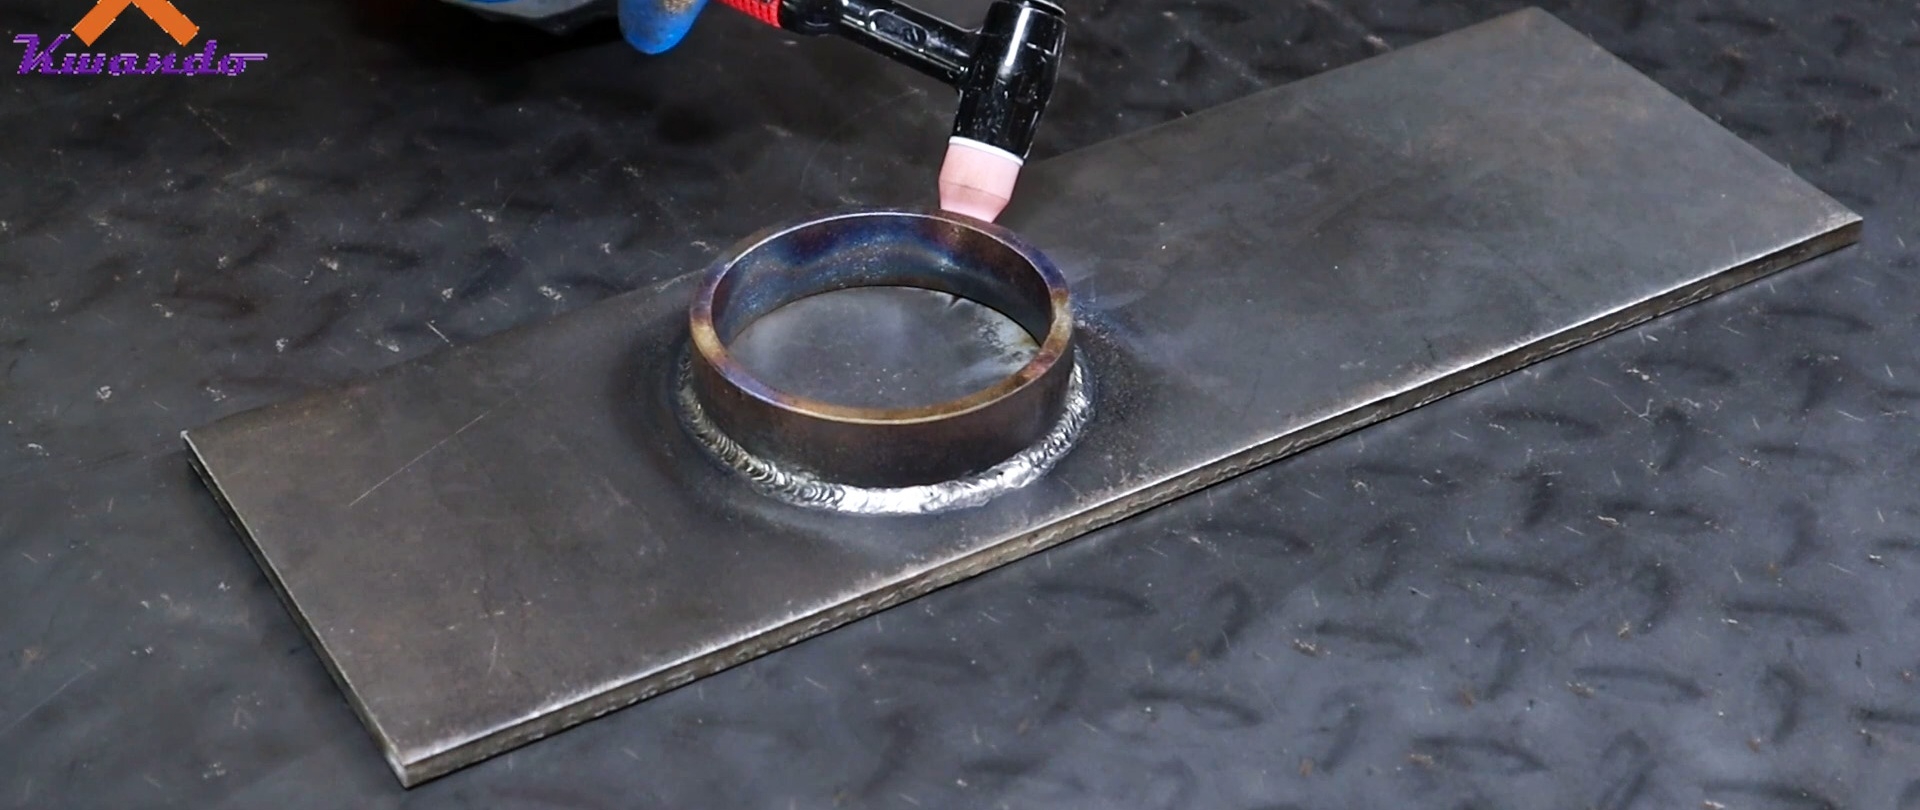
Now we need to work on the machine bed. It is made from thick sheet steel. A pipe ring is welded onto the frame into which the bearing will be seated.
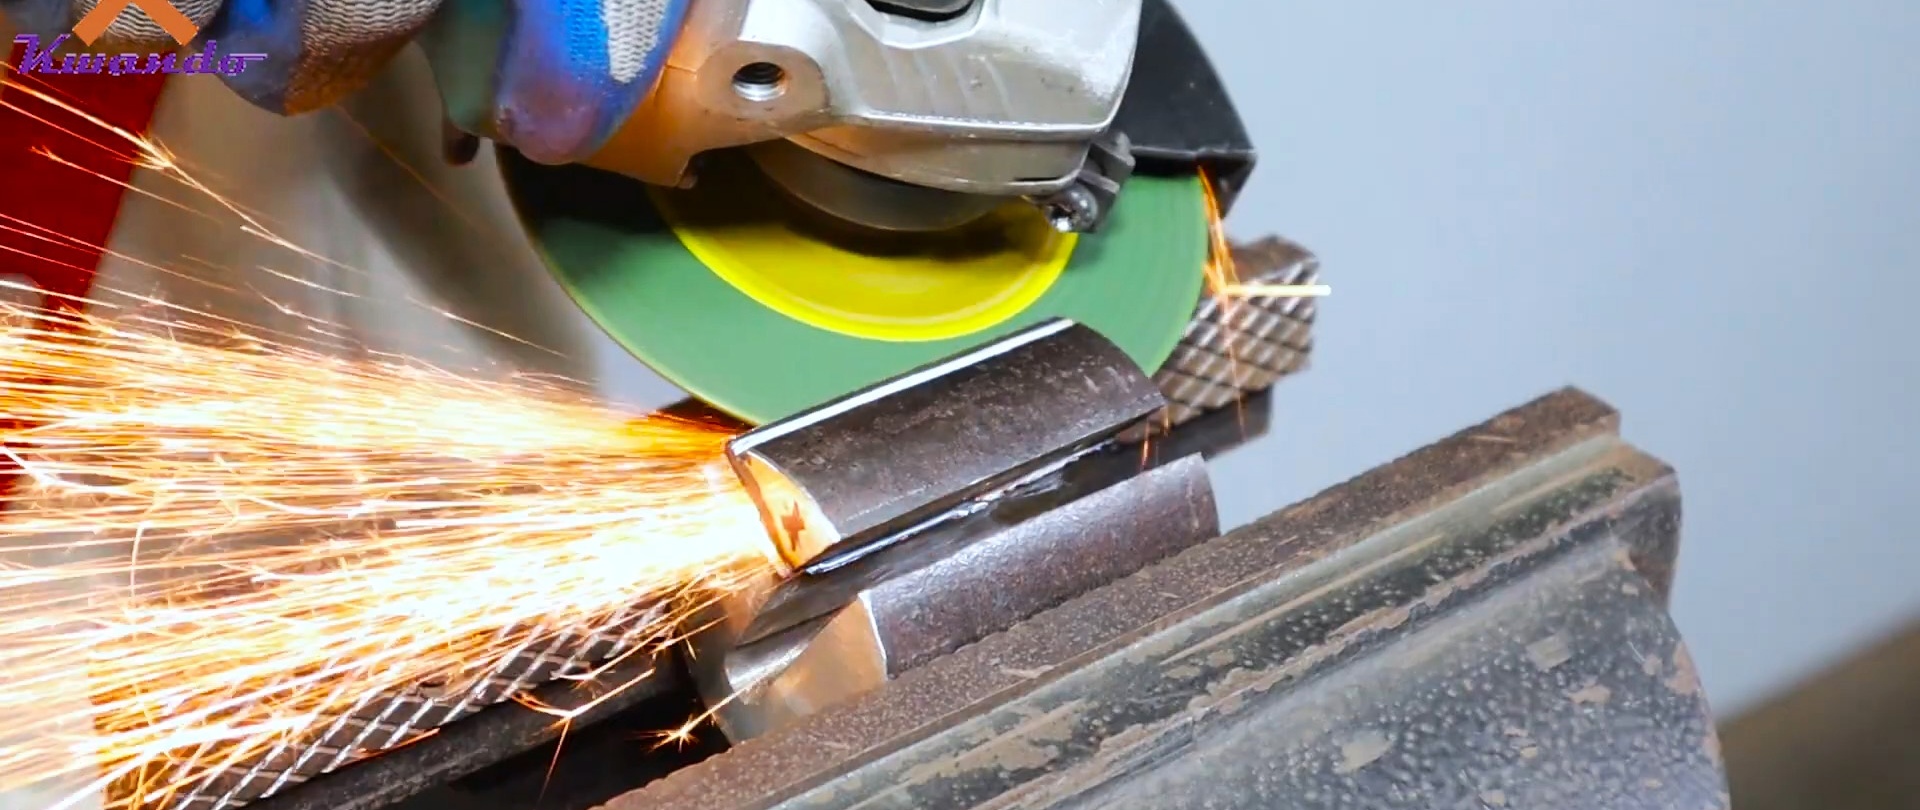
Long-lasting discs for angle grinders on AliExpress at a discount - http://alii.pub/61bjly
Two profile pipes with holes at the edges are welded transversely to the base for further fastening to the table. Thus, the disk with the shaft can be installed in a bearing pressed into the frame ring.

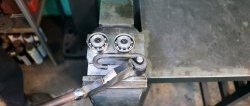
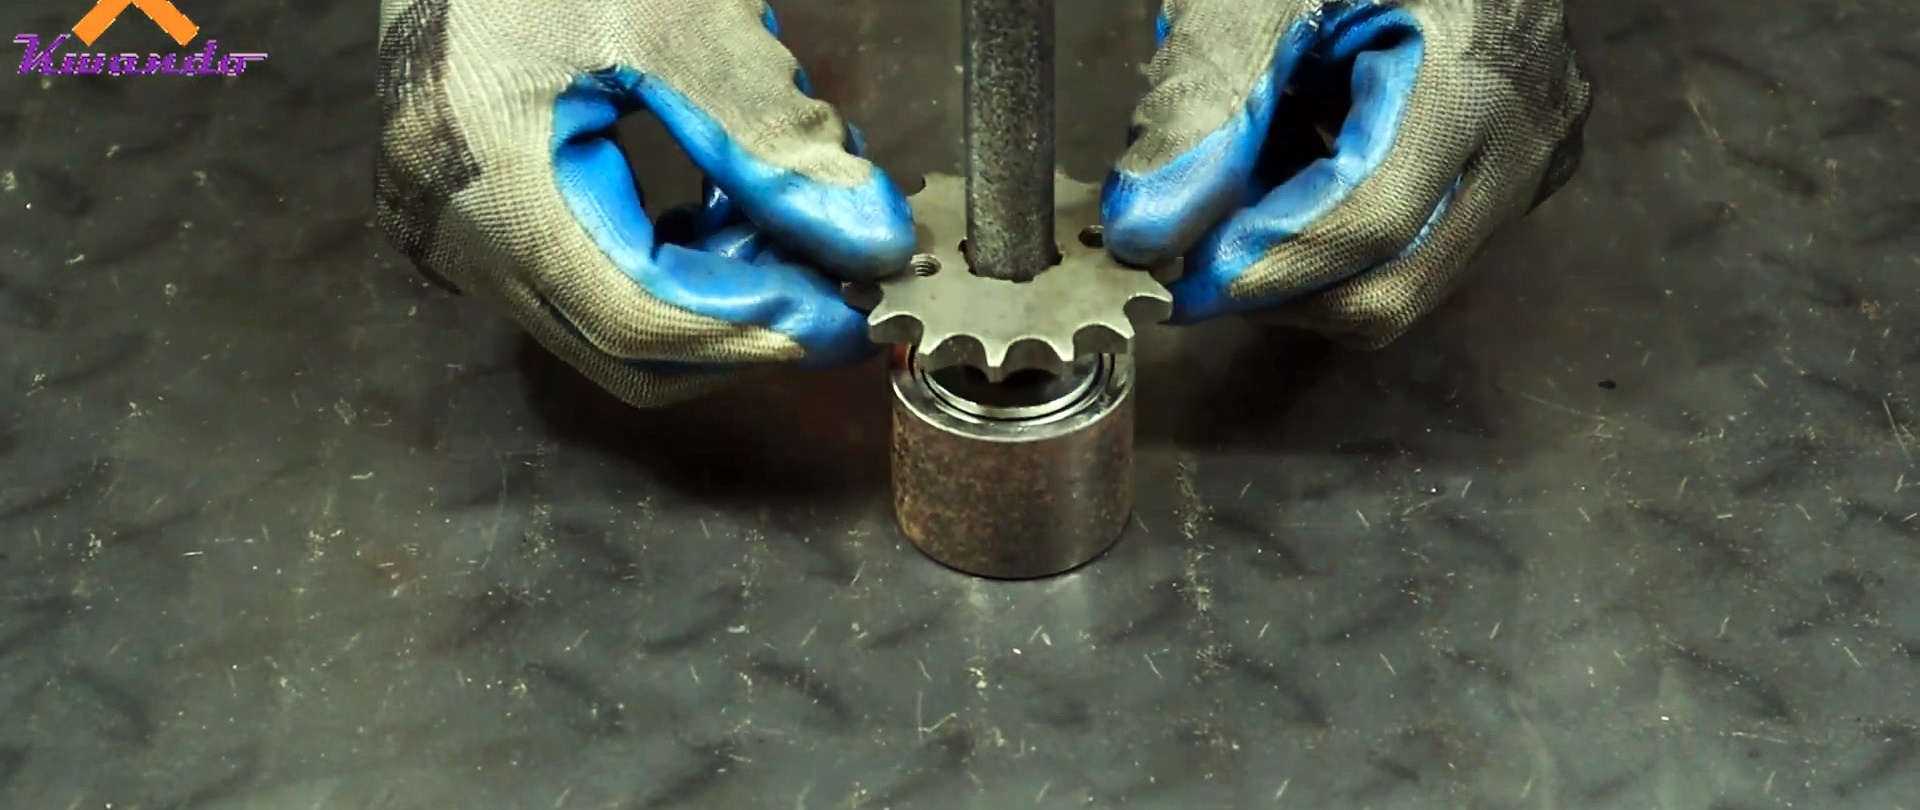
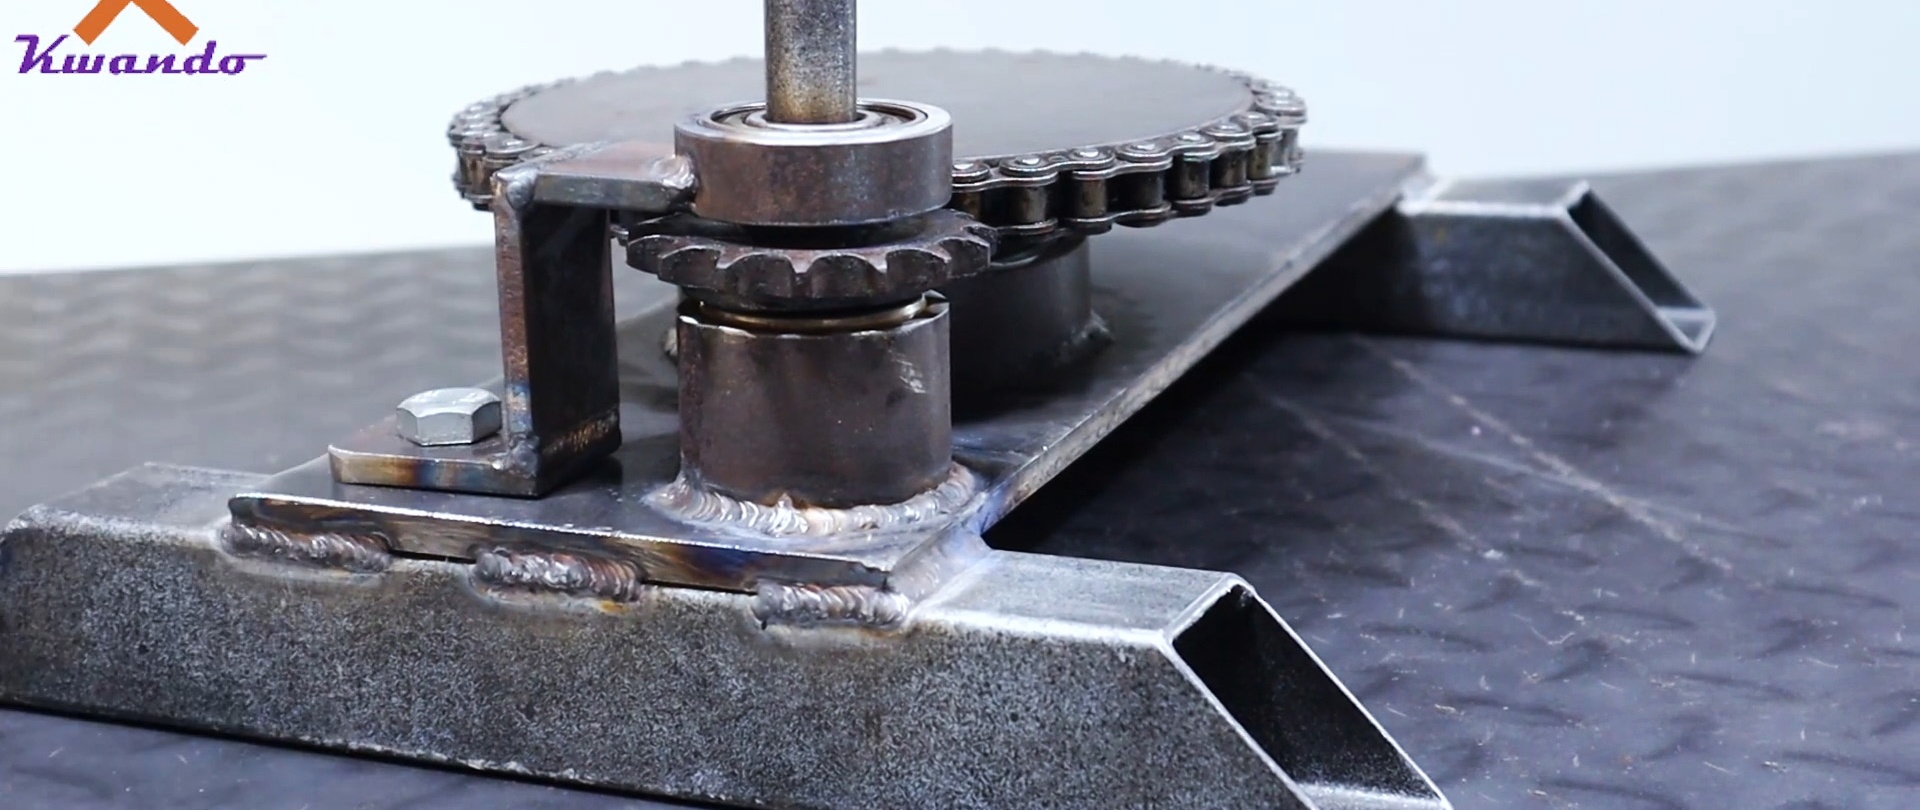
Now we take a piece of pipe with a diameter of 40-50 mm and press three bearings into it. We insert a shaft into them, to which the sprocket is welded. This design is set so that the sprocket engages with the rollers on the disk.

After this, the assembly must be welded to the frame.

To prevent the sprocket from rising up under load, you should weld a bent bracket with a pipe ring at the end into which the bearing is pressed. The result is a clamp placed on the shaft with an asterisk.

The bracket itself is screwed to the frame.
Next you need to deal with the push roller. To attach it to the frame, two pieces of angle are welded.

Next, we take a piece of profile pipe and use it to make a roller pusher guide with a cut-out wall, as shown in the example. On the side of the cutout, a plug with a hole for a bolt is welded to the guide.

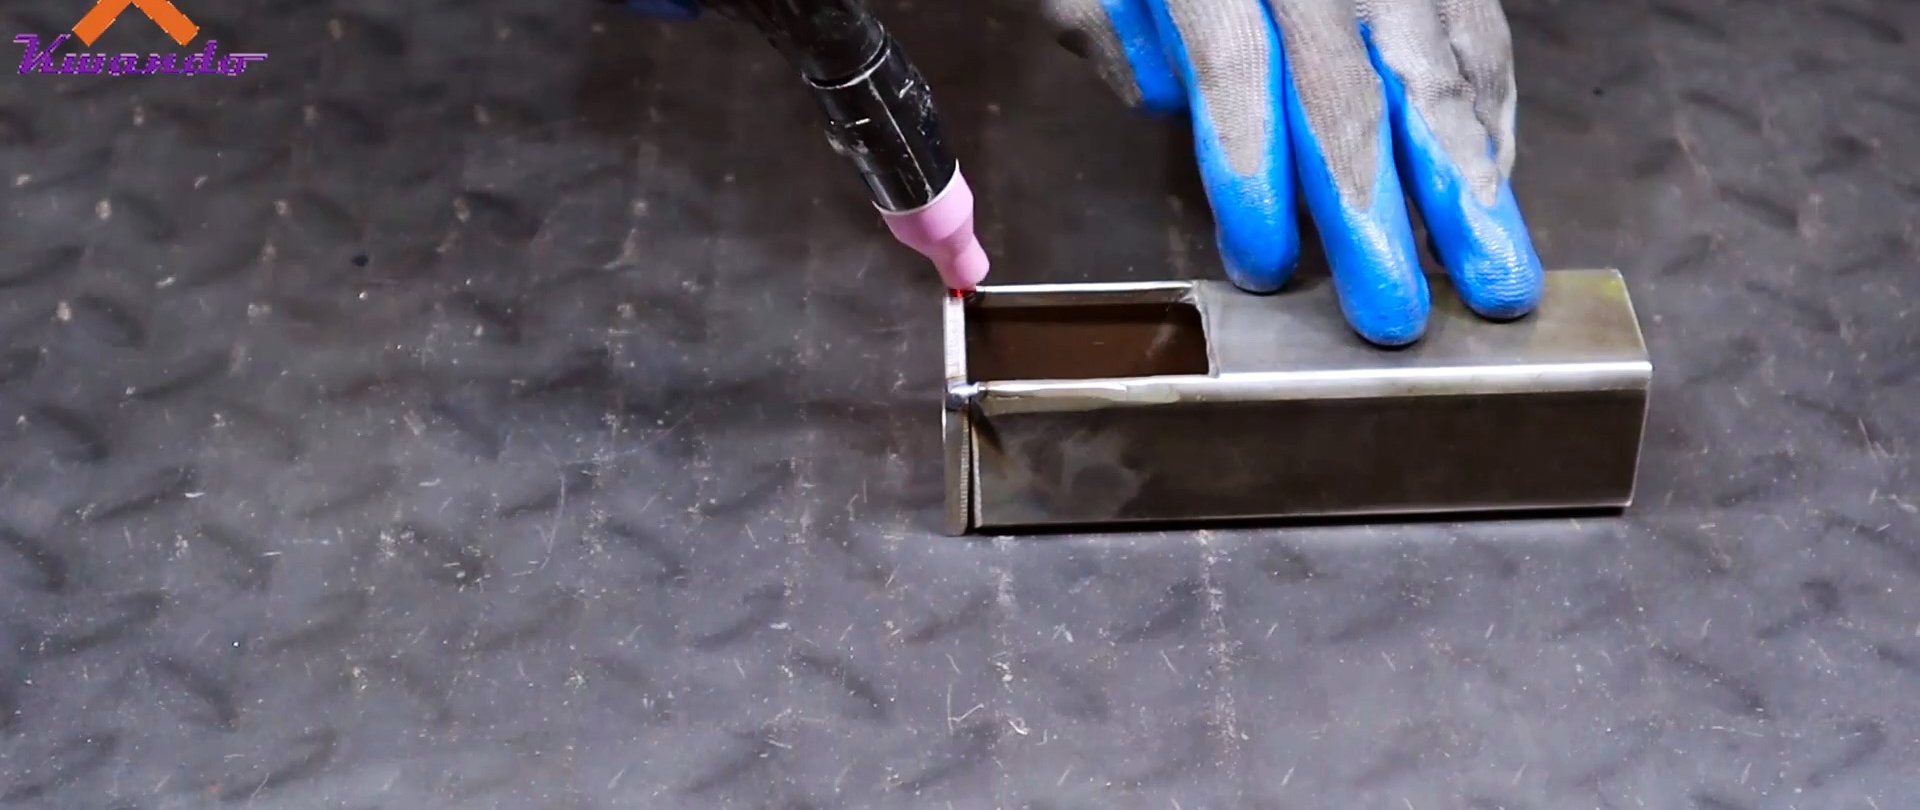
Two eyes are made from the strip, with the help of which a roller of three bearings is assembled.

This unit is welded to a pusher made of a profile pipe, which can fit into a previously made guide.
Next, we take a stud with a powerful thread and attach a plug for the pusher to its end with nuts. In order for the pin to rotate, the hole in the plug is made slightly larger than its diameter. The end nut is welded. This way, the pin won't fall out when wrapping.
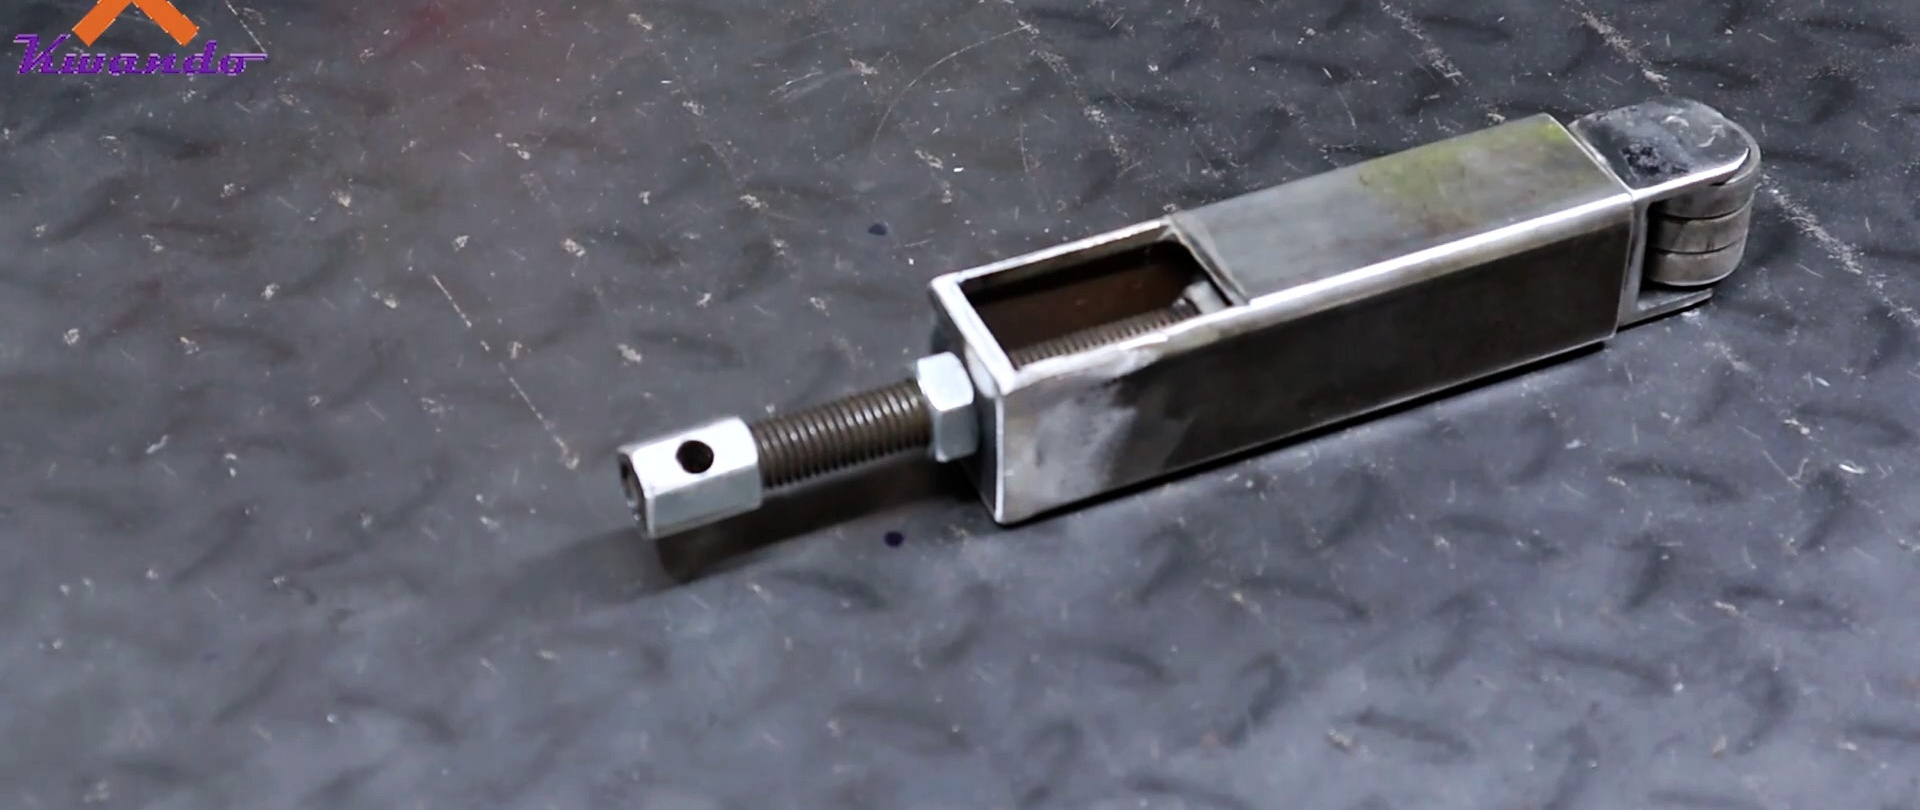
After this, the plug is welded into the pusher with the roller. The pin with pusher and roller is placed in the guide. We screw the nut onto the first one and weld it to the guide plug.Now, when the mechanism rotates, the roller can move out. A handle is made from an elongated nut on the edge of the stud. Just screw it on and drill a through hole. Then we insert the handle into it.

The finished mechanism is welded onto the racks from the corner. We check all the gaps so that the roller does not rub against the disc with the chain.
A gripper for the strip is cut out of a cylindrical blank.

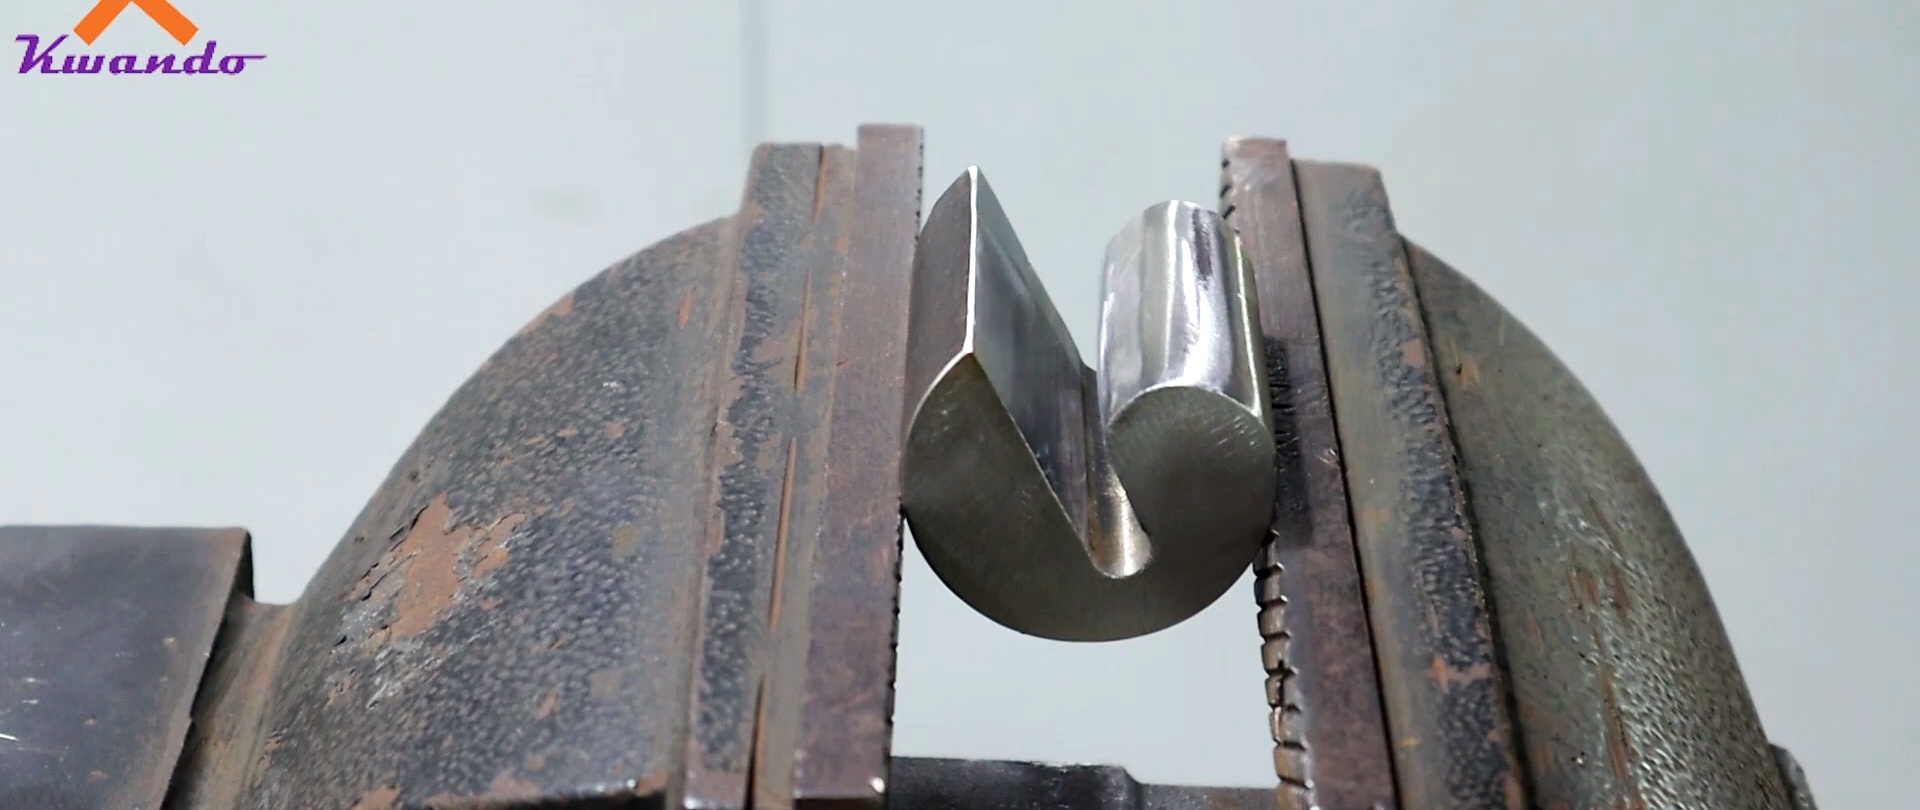
A pair of longitudinal and a pair of transverse holes are made in it. In the latter, threads are cut for the strip clamps.

The gripper is screwed into the center of the machine disk.

A narrow spiral of a thick strip is welded around it.
Welding electrodes for general purposes on AliExpress at a discount - http://alii.pub/606j2h

You also need to weld the handle onto the sprocket shaft.

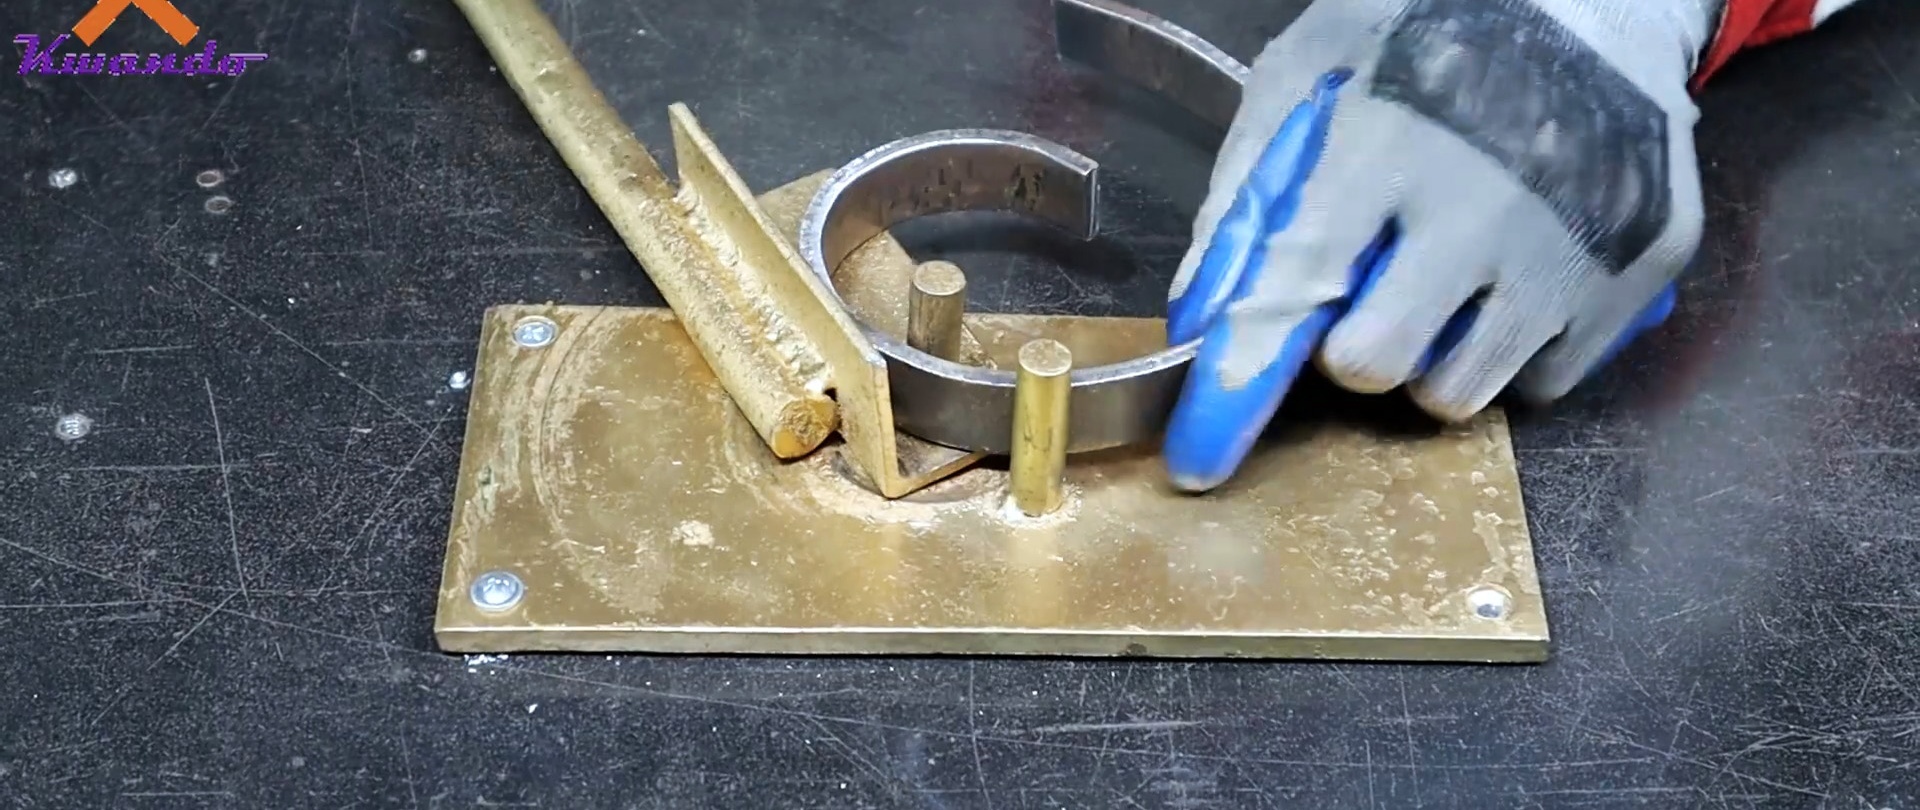
As a result, the machine can first bend the strip by inserting it into the gripper. To prevent it from falling out, we tighten the pins.
After the first bend, the strip drops lower and bends into a large spiral.