Often in everyday life or at work it is not possible to cope with one or another problem. In such a situation, familiar things can help out if you look at them differently. I am sure that out of the 10 ideas discussed, some will soon come in handy.
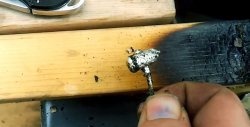
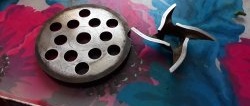
1. How to make a brake cable end on a bicycle
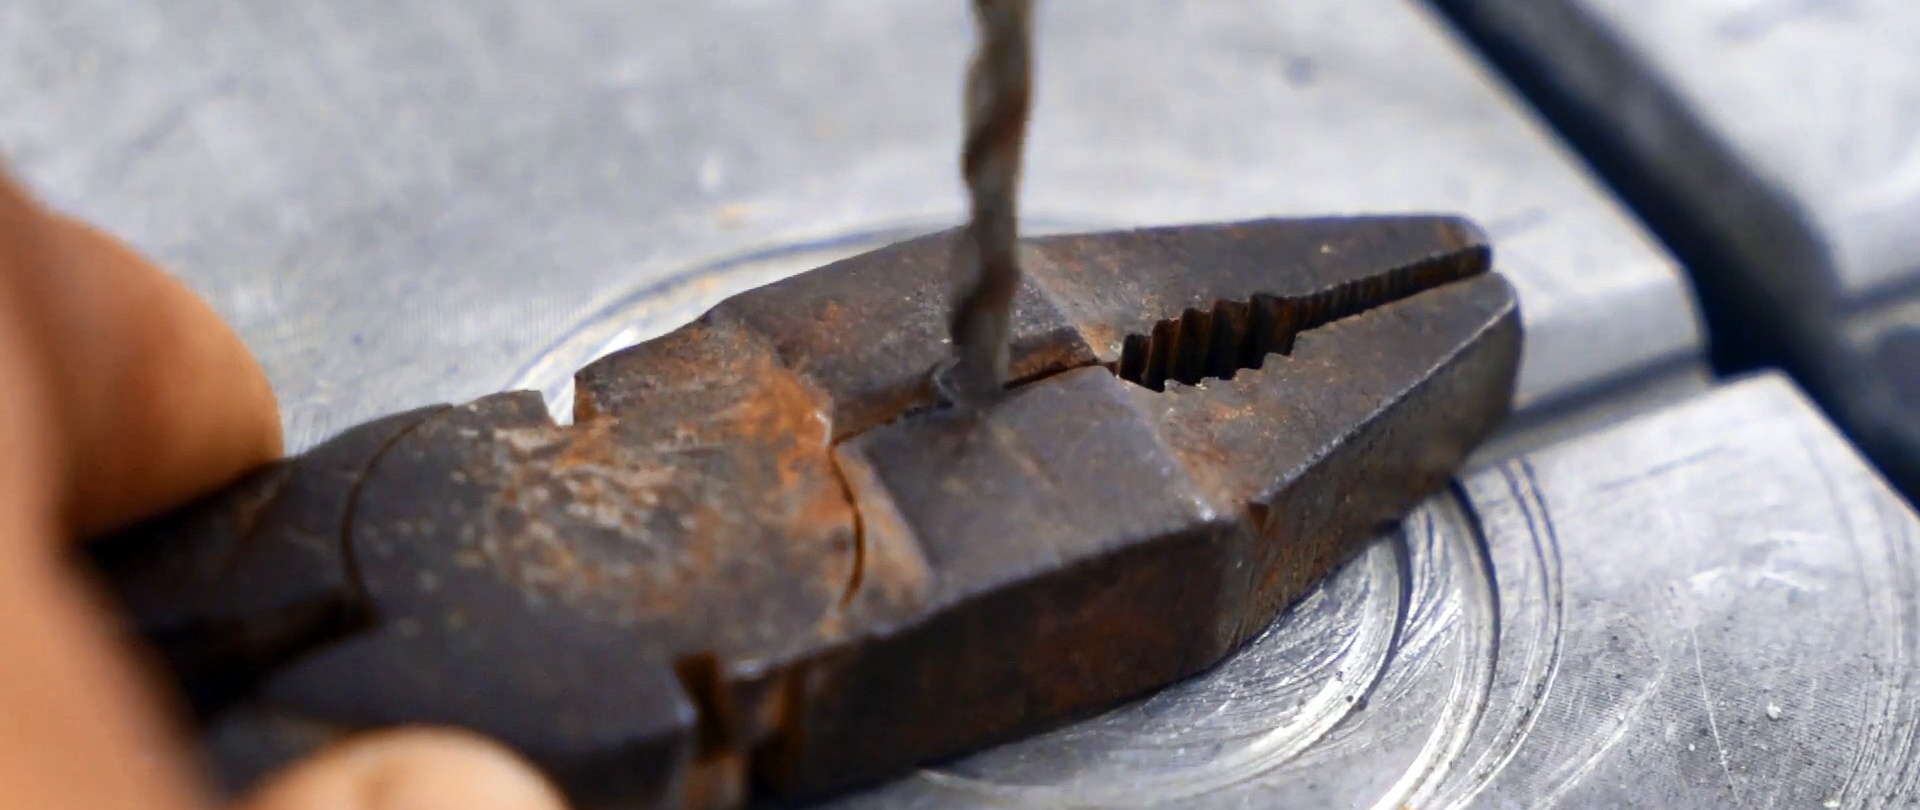
To do this, we bring the jaws of the pliers together and drill a hole in the center of the cutters and insert the end of the brake cable into it from below.
We clamp the handles of the pliers in a vice and melt the solder in the hole above the cutters with a gas torch.
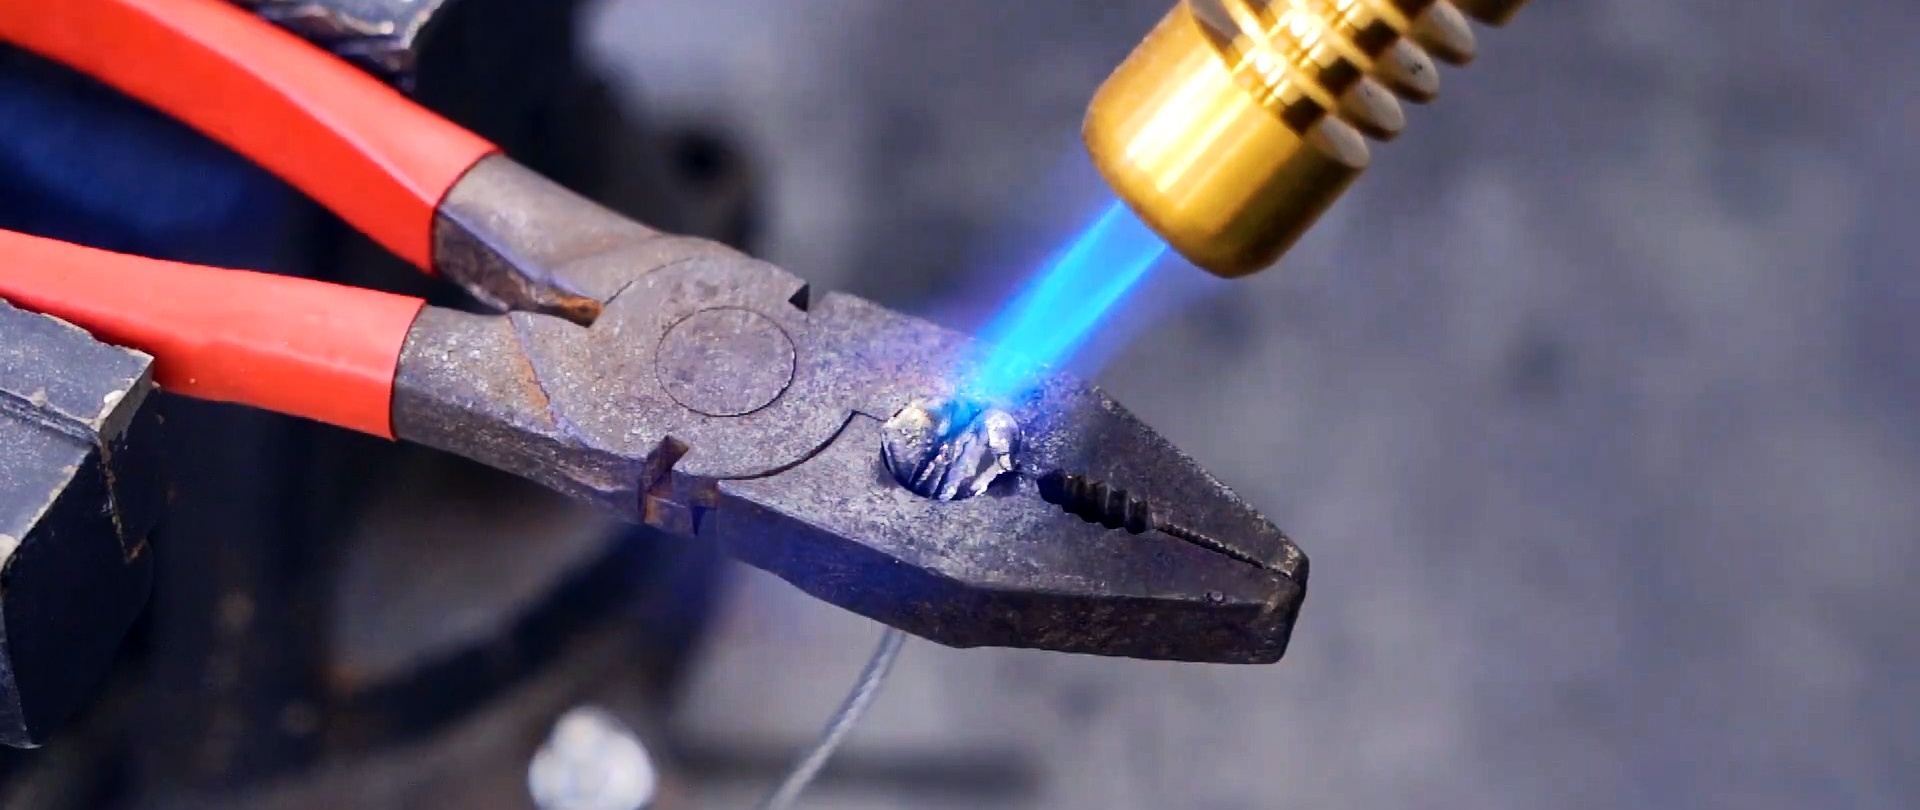
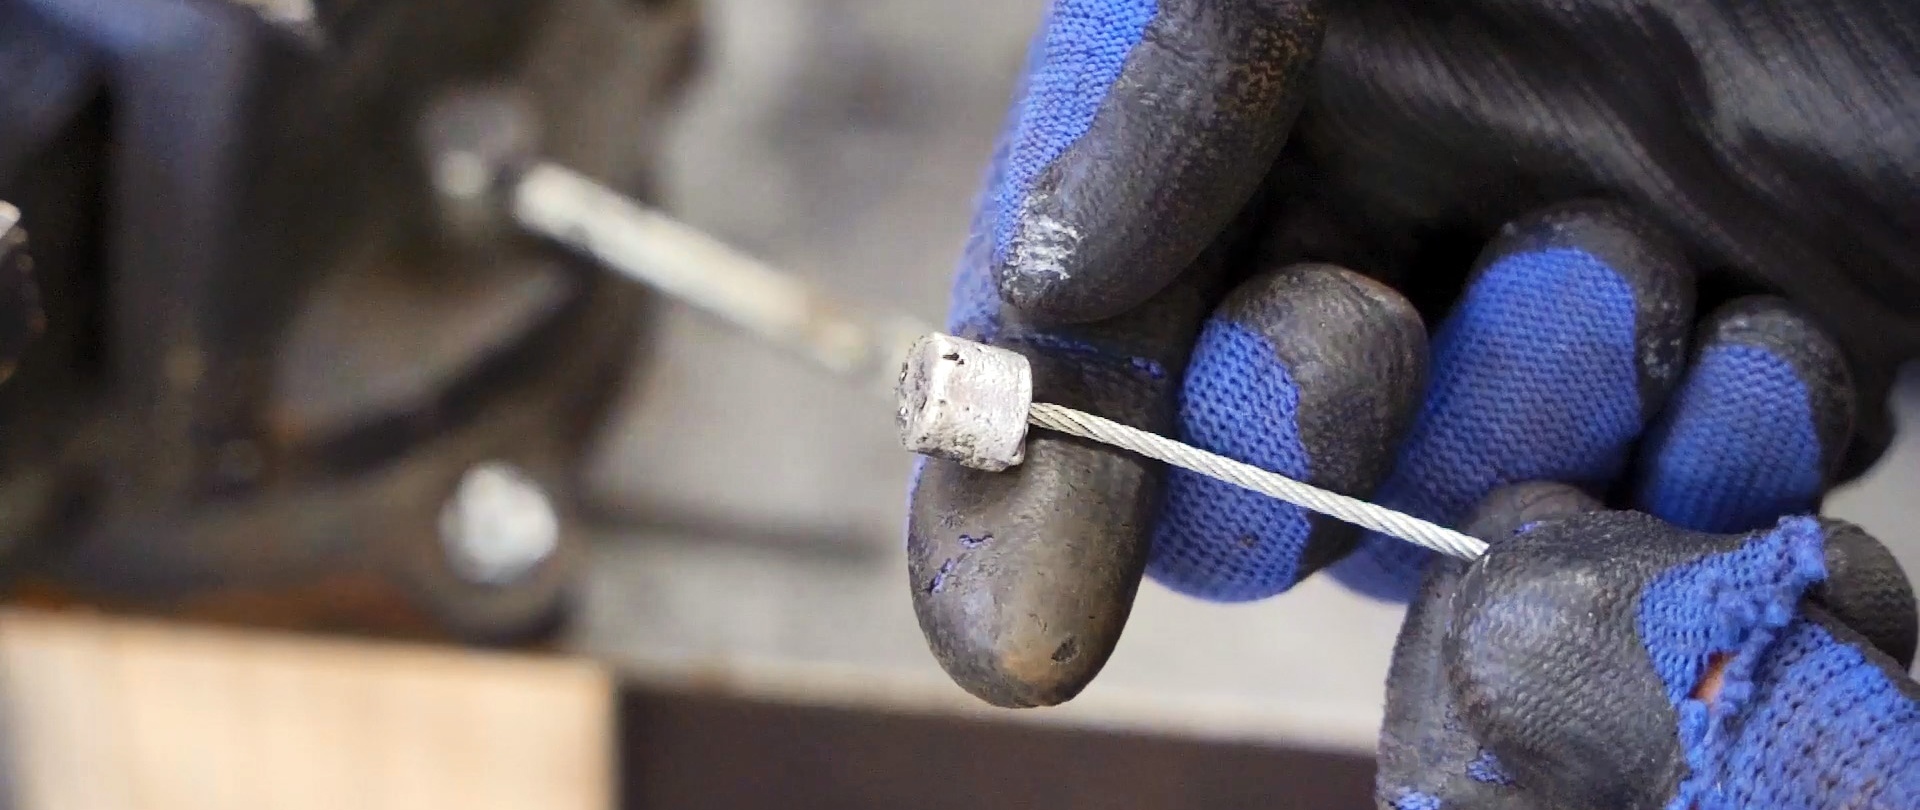
Cool the heated metal with water and, opening the jaws of the pliers, remove the new tip.
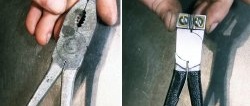
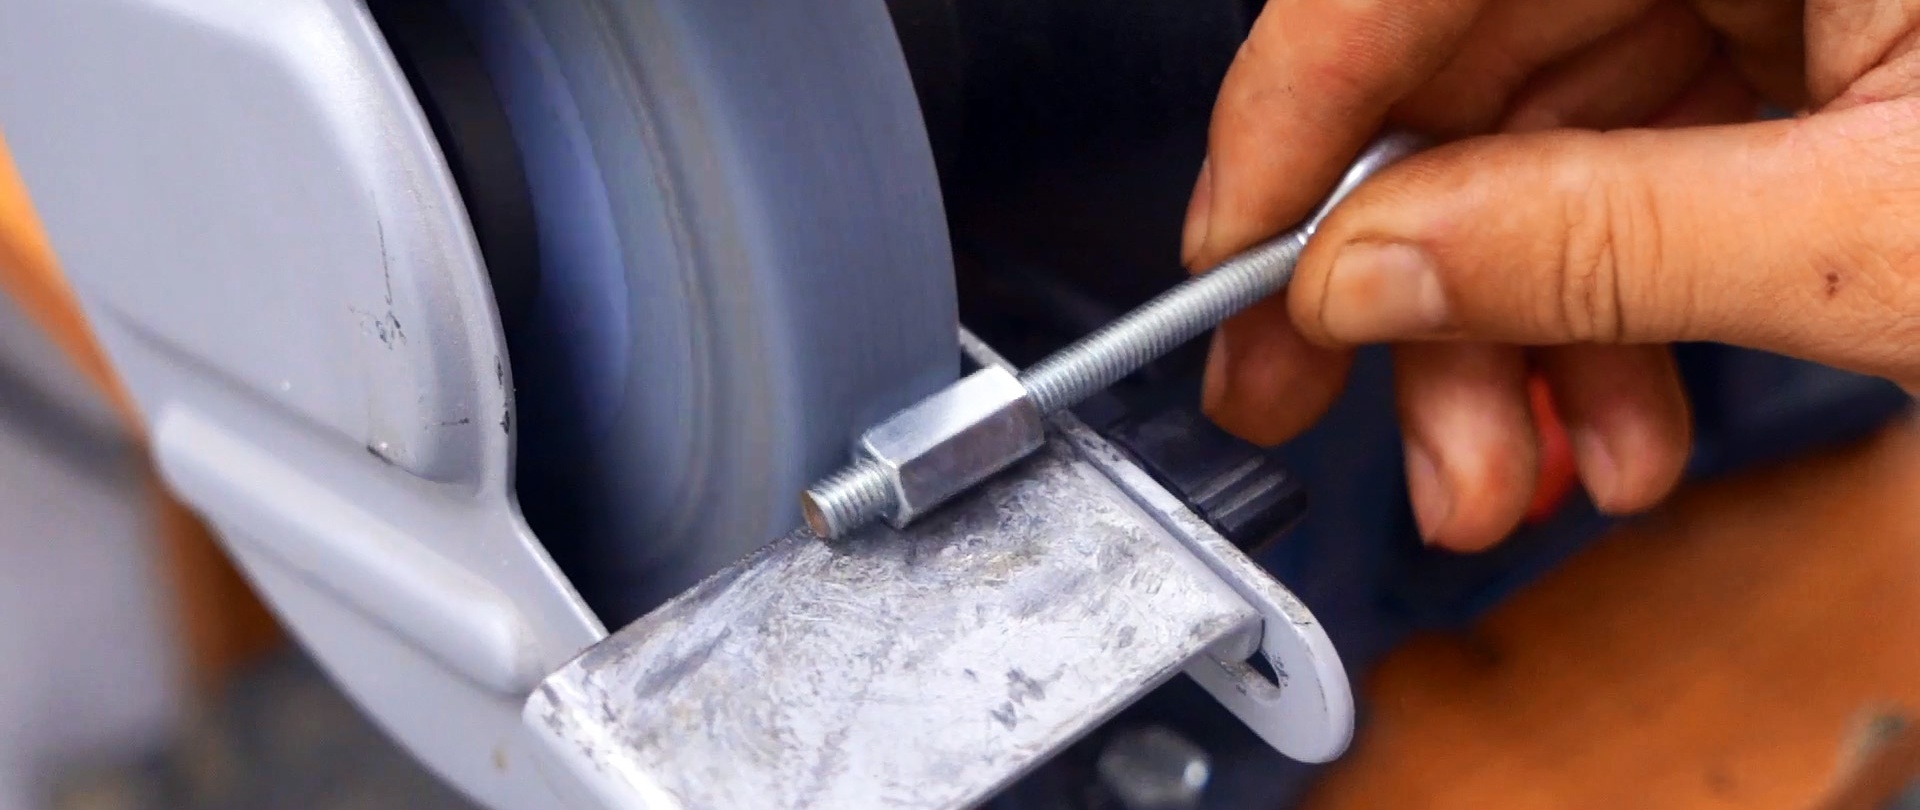
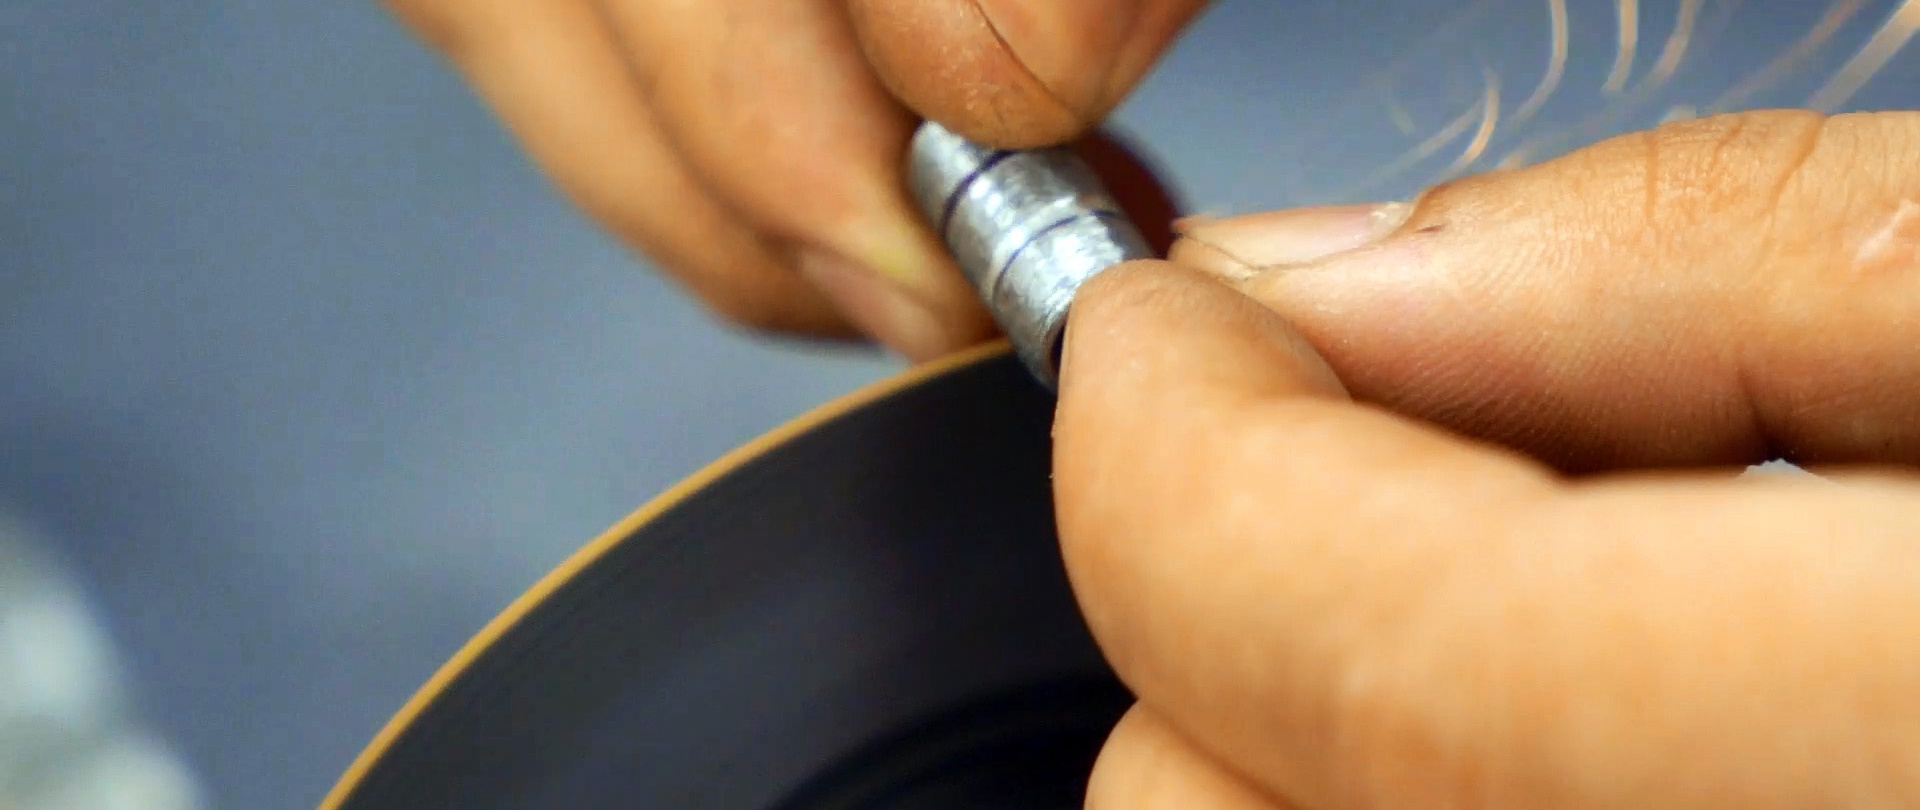
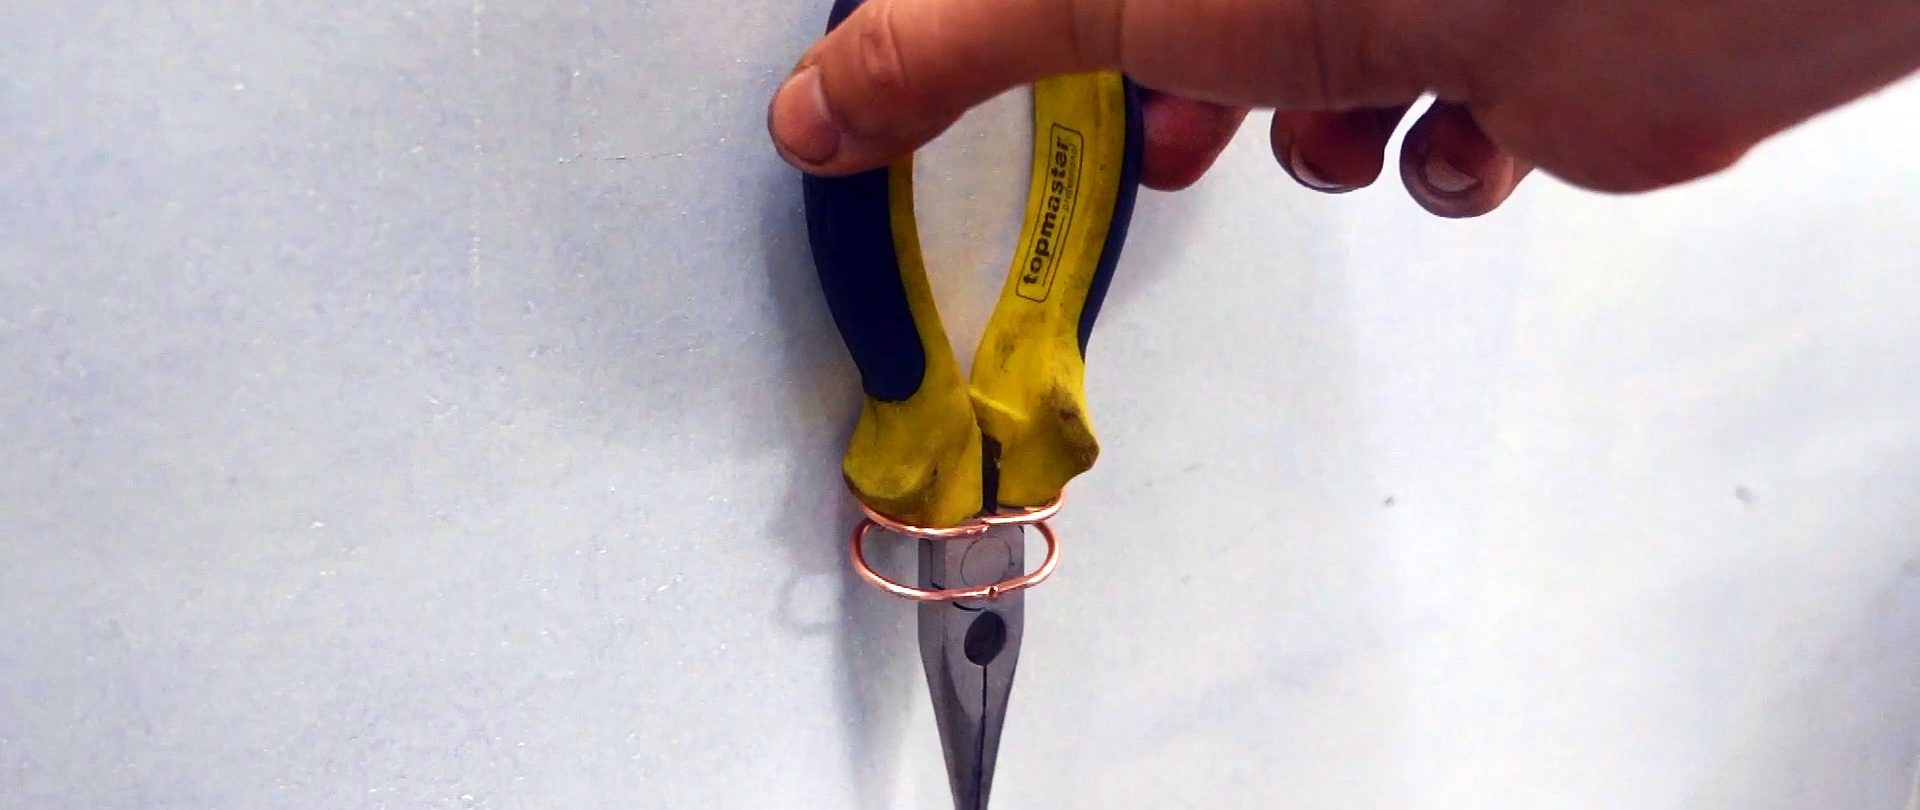
2. How to bend a wire into a ring using an extended nut
We grind the outer surface of the elongated nut down to a cylindrical one and make 2 annular grooves on it.
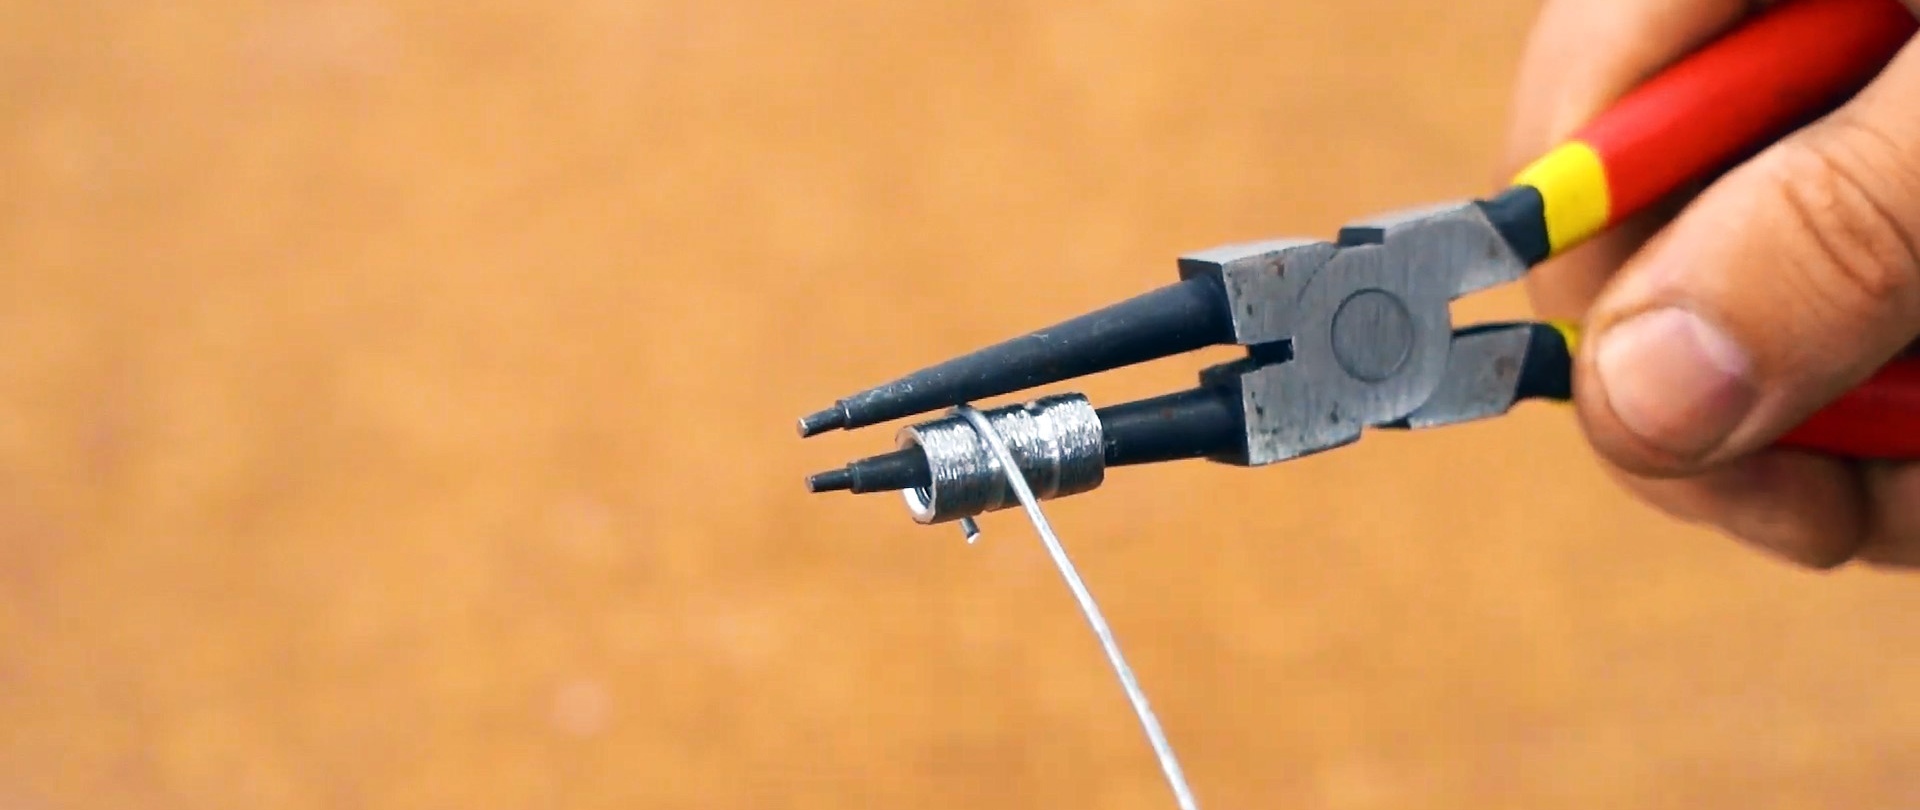
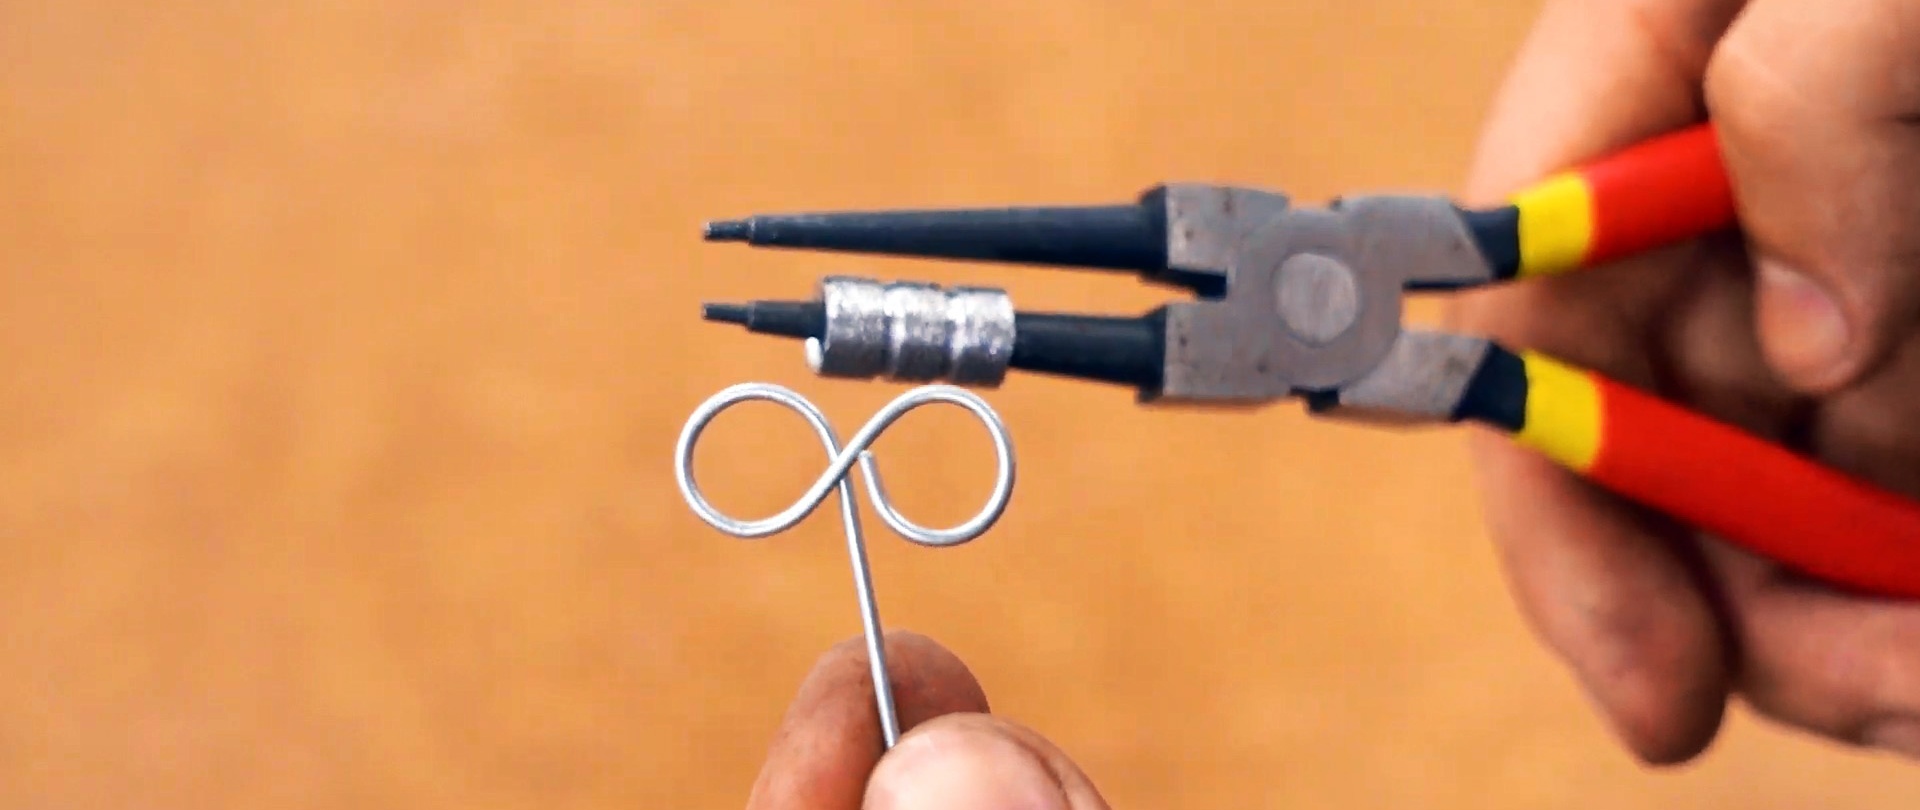
We put the cylinder with grooves on the lower jaw of the pliers and insert the end of the wire into the groove, pressing it with the second jaw. We wrap the wire around the cylinder along the groove, intercepting the wire with the upper jaw of the pliers. As a result, we get rings, eights, etc.
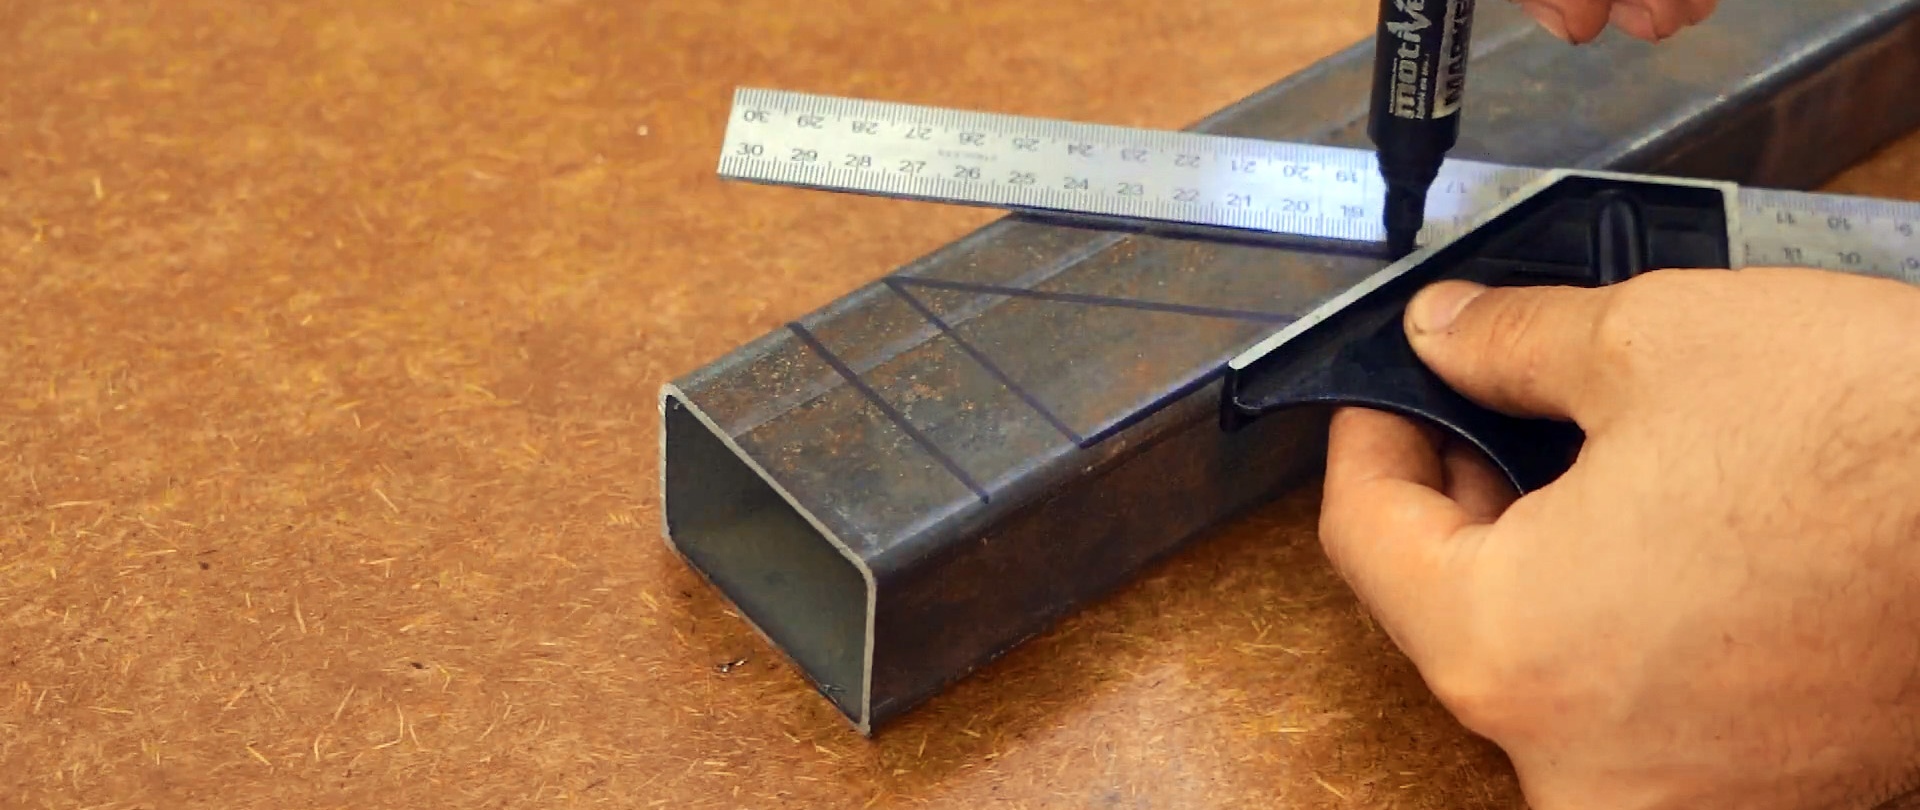
3. How to make a miter box from a profile rectangular pipe
We mark the end of the pipe for a transverse cut, a cutout and a cut at an angle of 45 degrees, which we make with a grinder.A crosscut and a 45-degree angle cut will cut on three sides, while a notch cut will cut on one side.
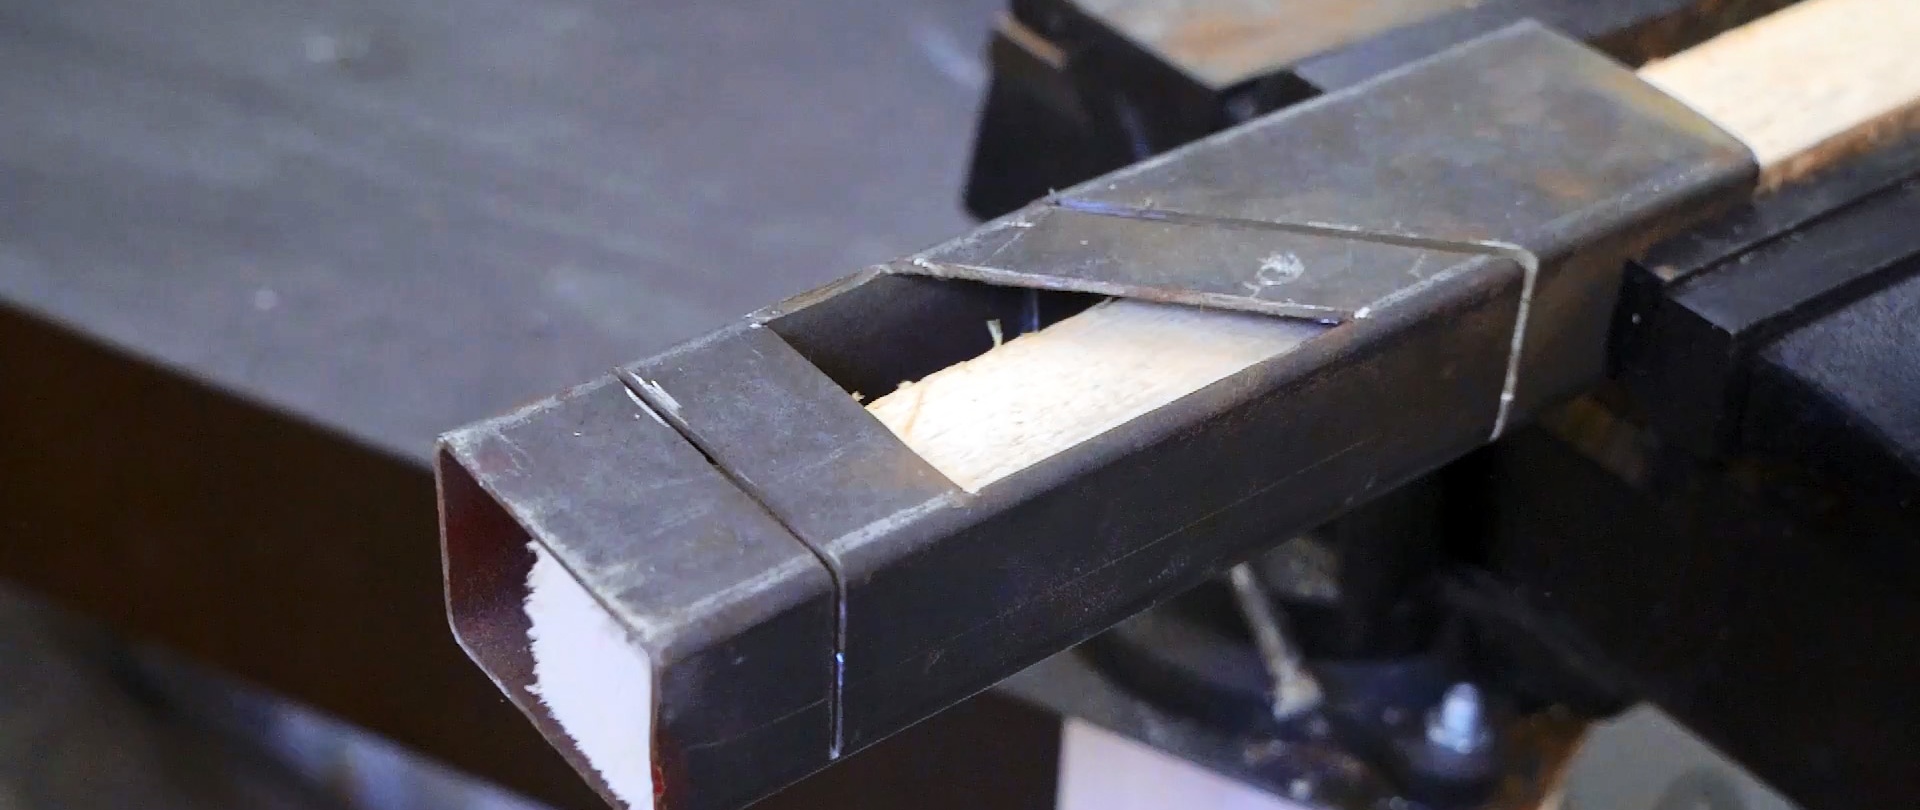
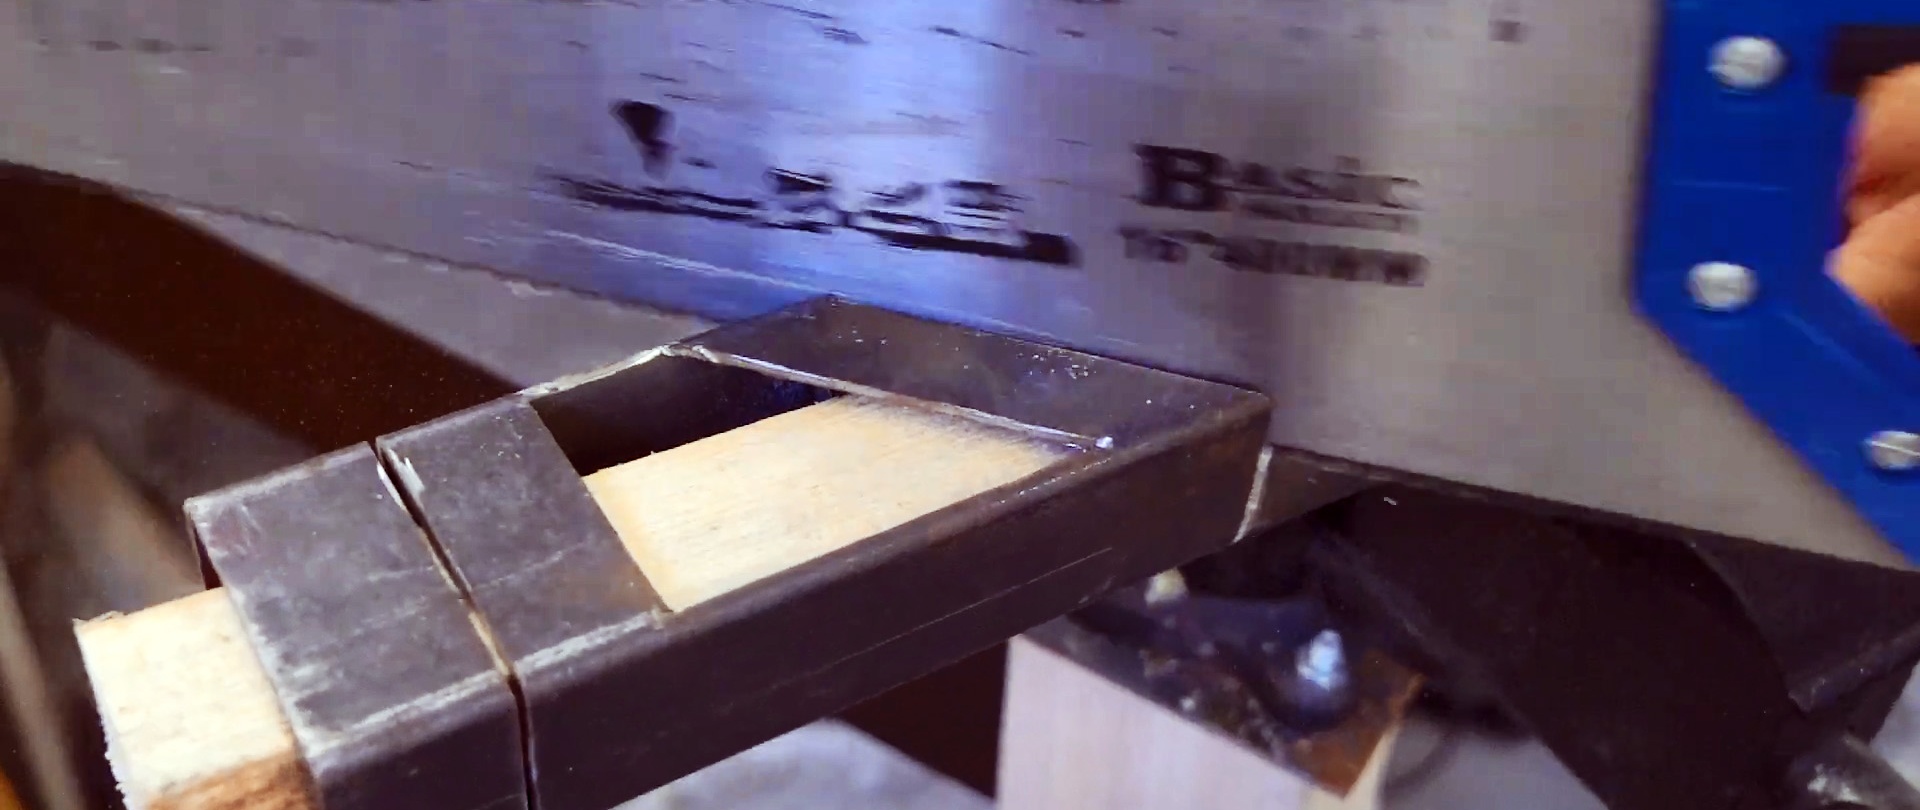
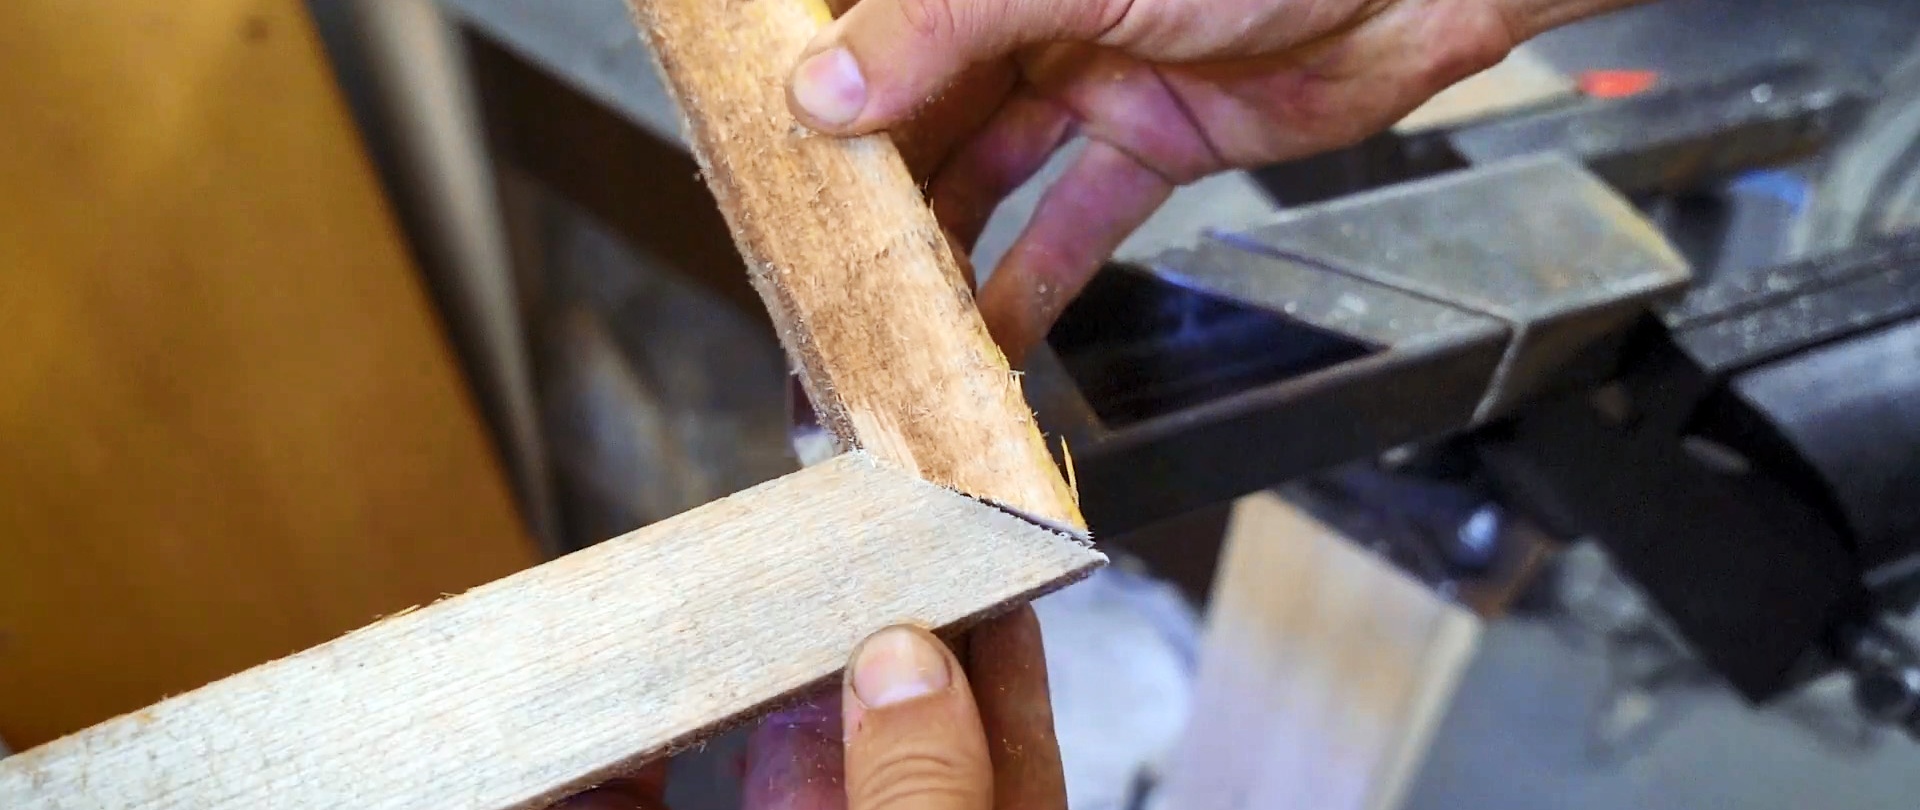
Using the first cut, we cut the wooden beams at 90 degrees, and with the second, at 45 degrees.
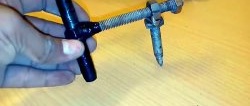
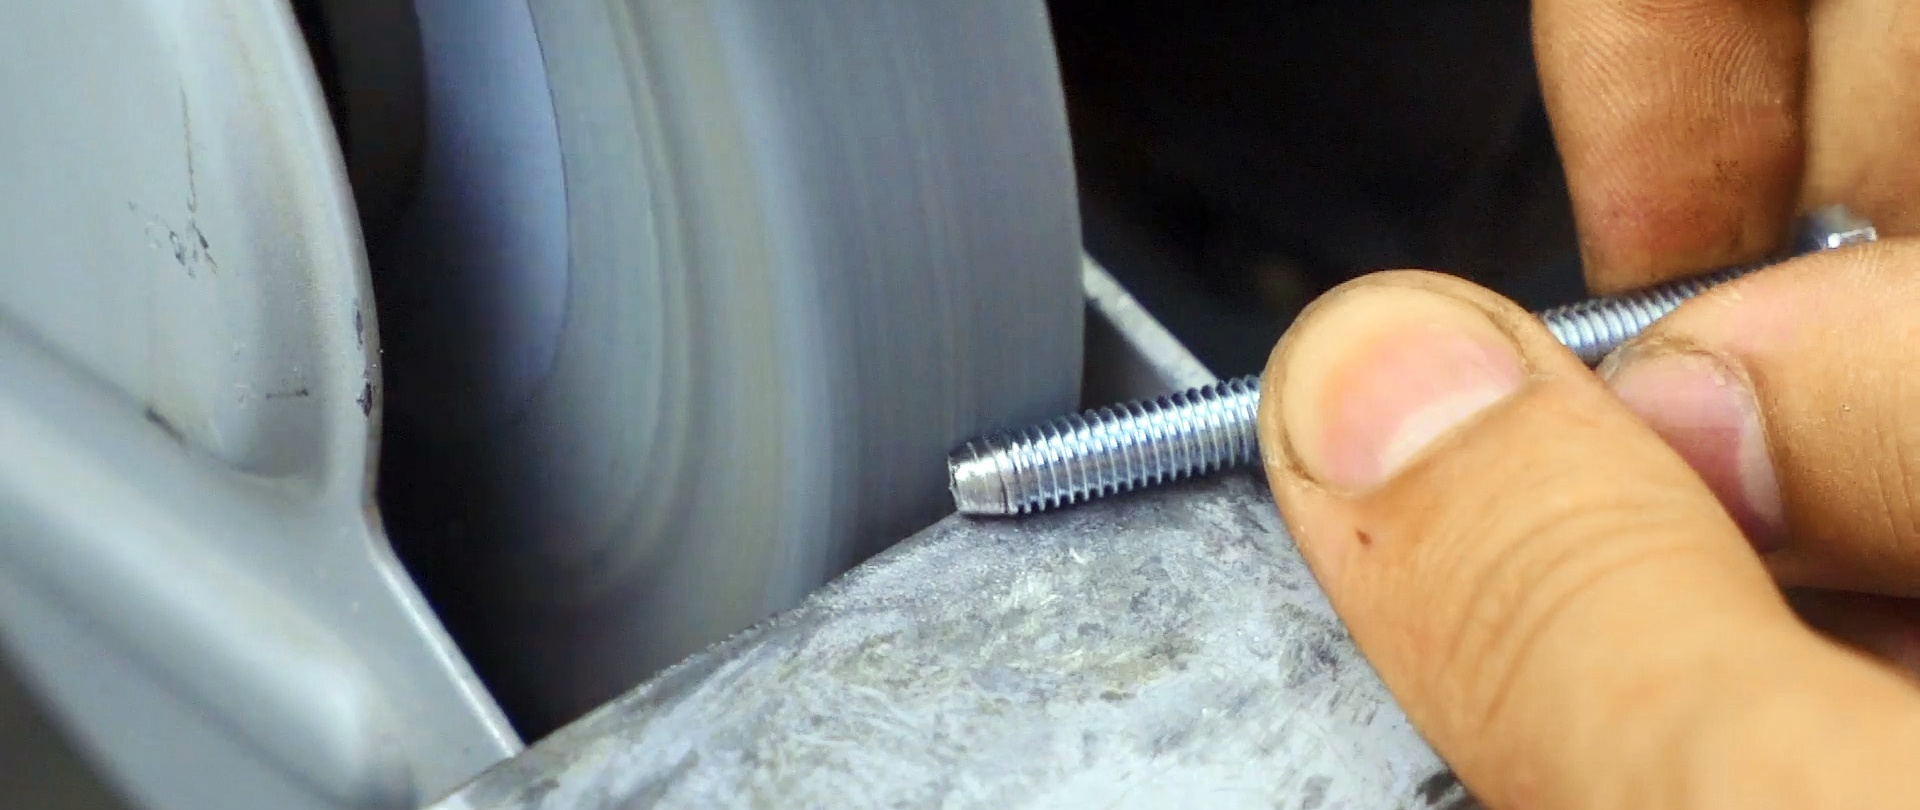
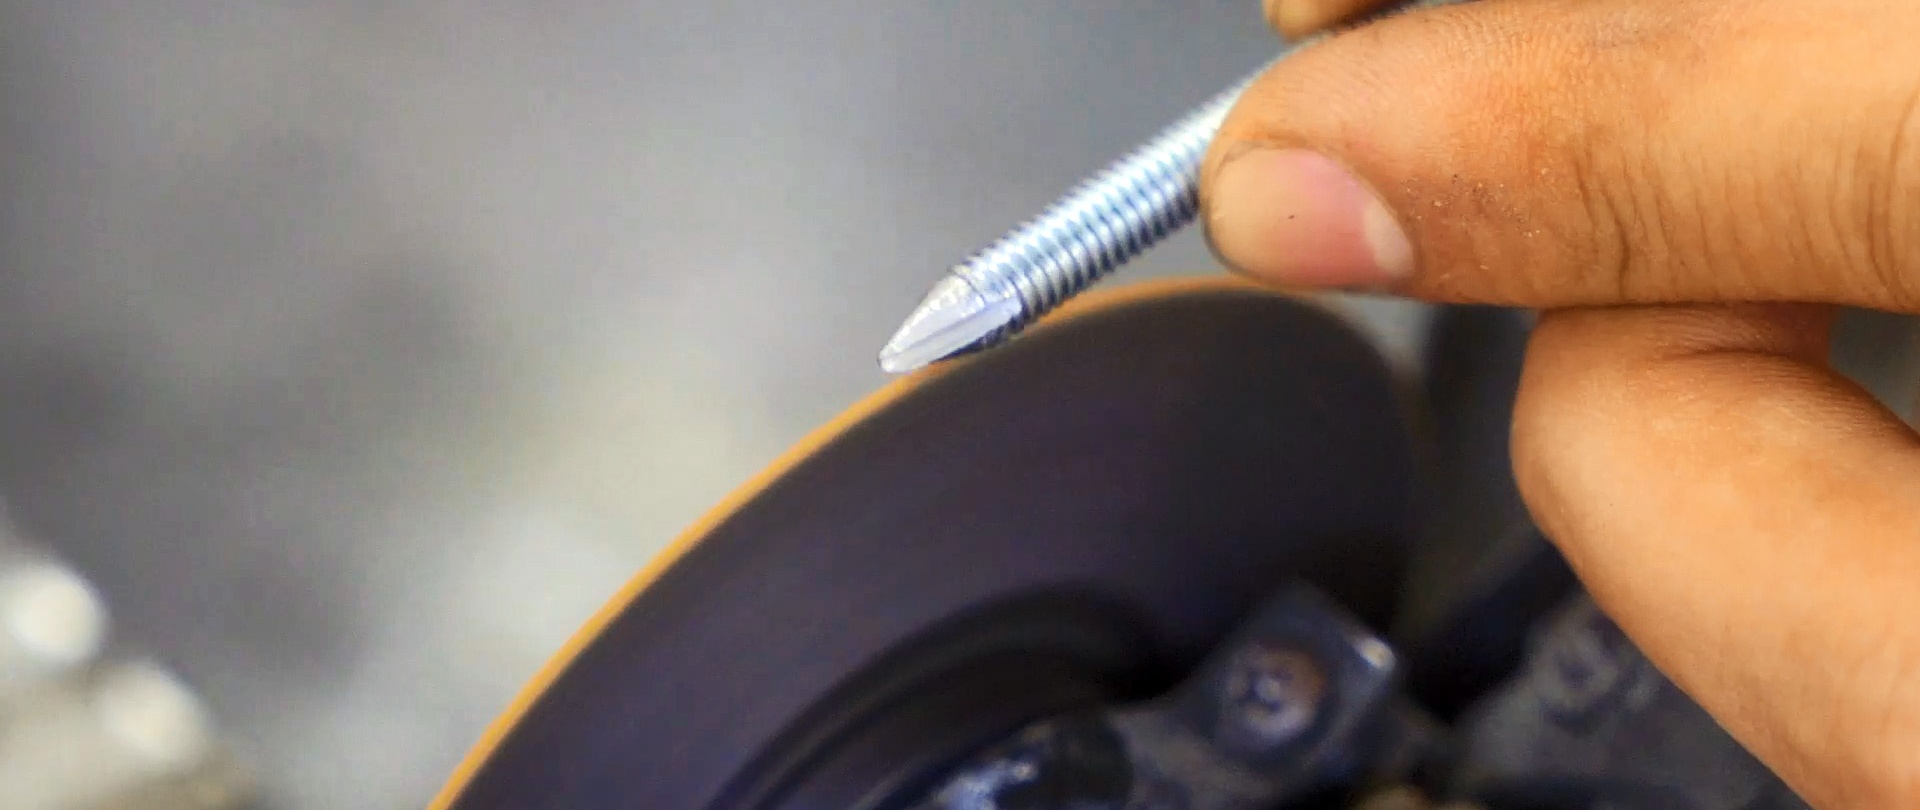
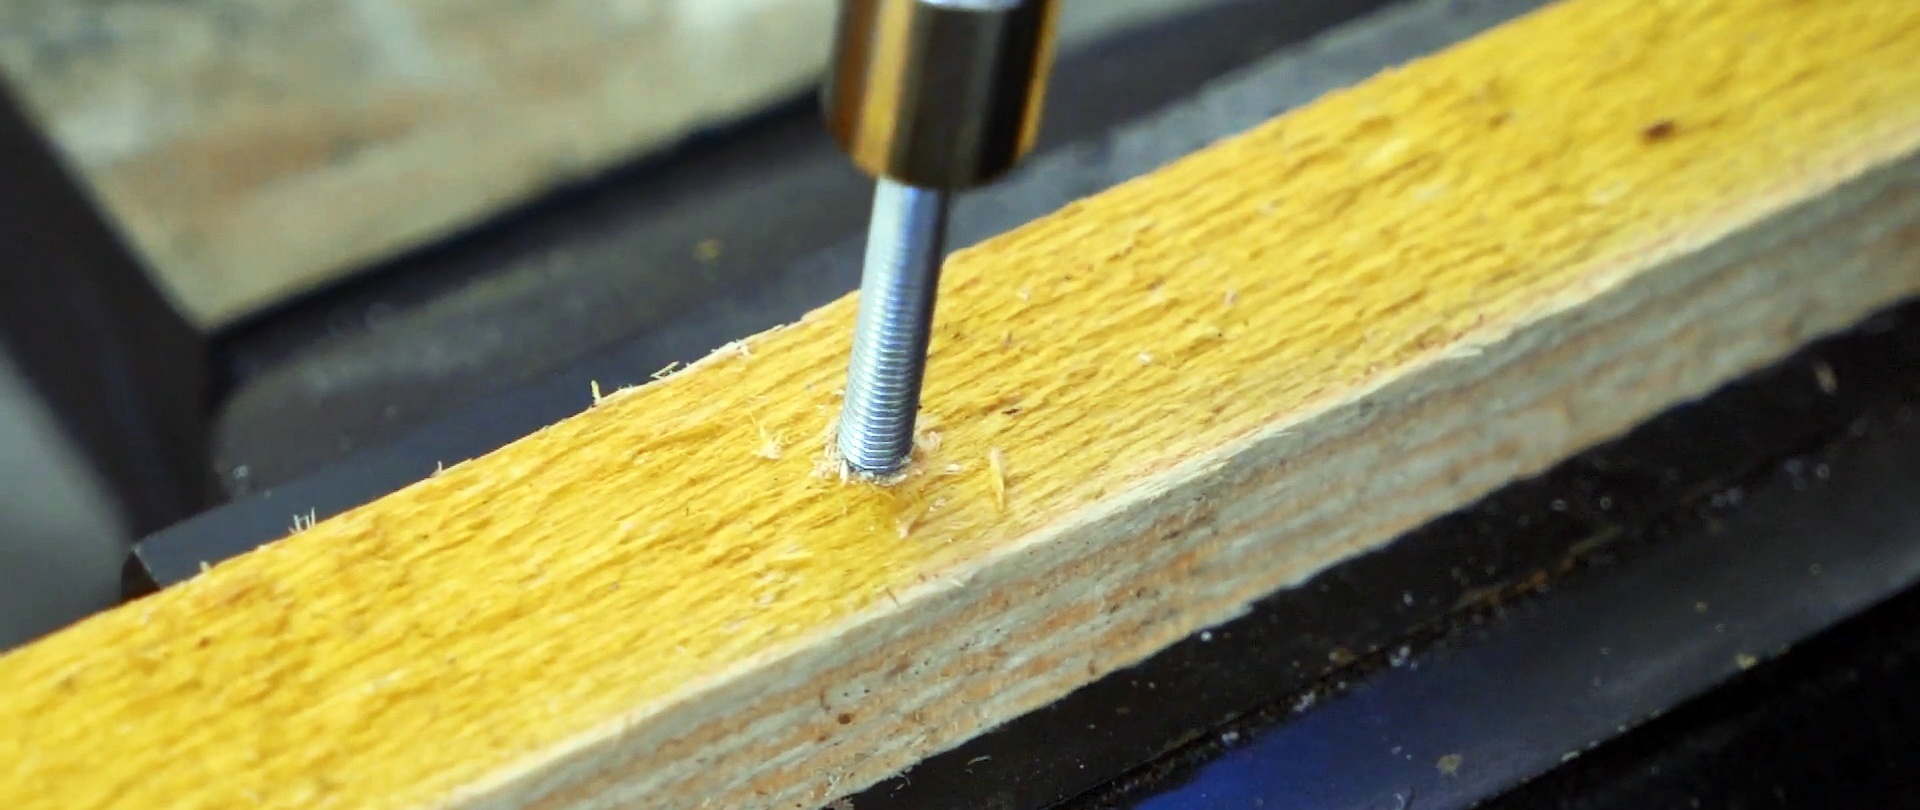
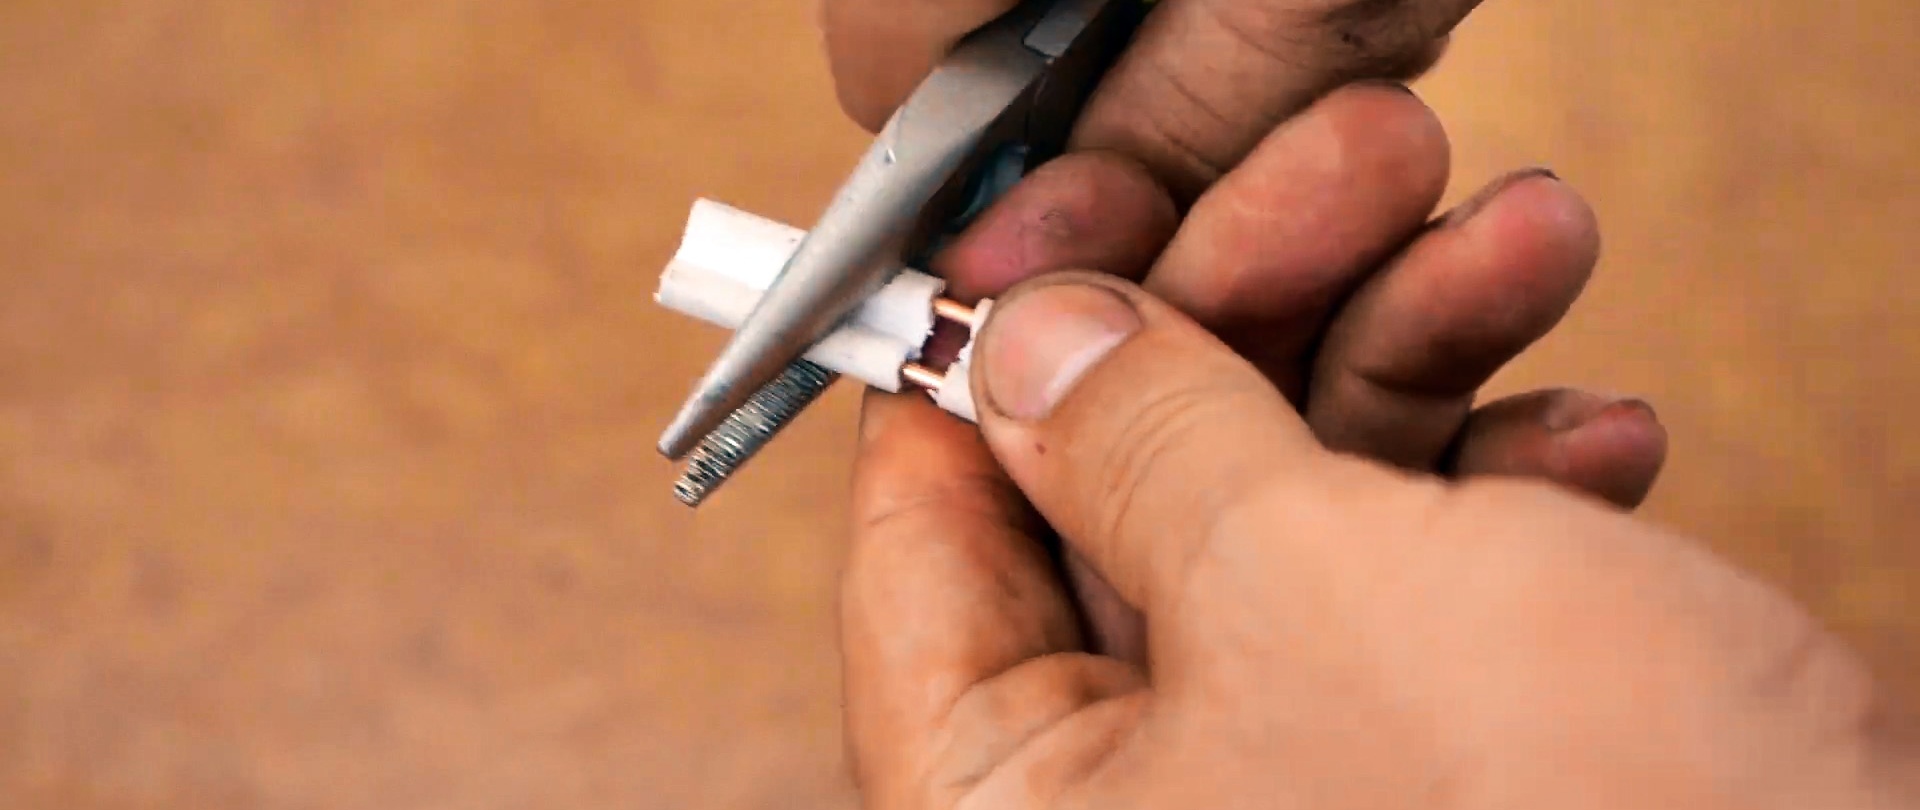
4. How to turn a bolt into a screw or drill
We sharpen the end of the bolt into a cone and make 4 longitudinal grooves on its surface at equal distances in a circle. Now, using such a bolt, you can connect wooden blanks and drill holes in them, i.e. perform the functions of a self-tapping screw or drill, respectively.
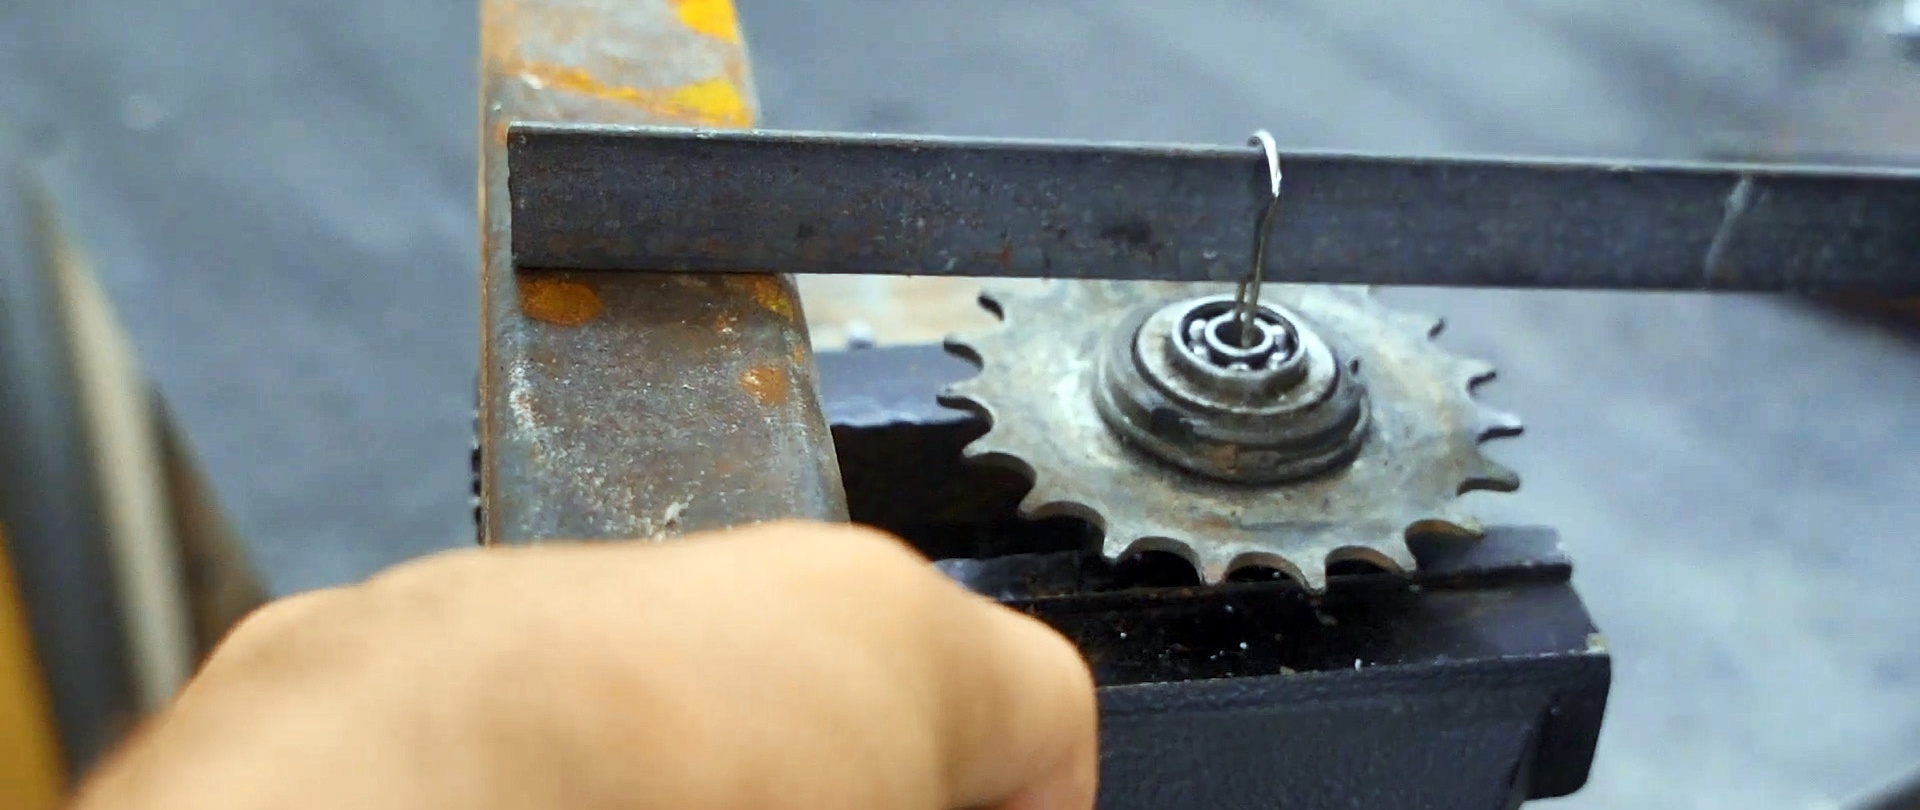
5. How to use the “claw” from a paper clip to remove the bearing from its seat
Usually the bearing is pressed into the seat and is not easy to remove from there. Let's use the “foot” from the paper clip. Squeezing it, insert it into the bearing hole and release it.
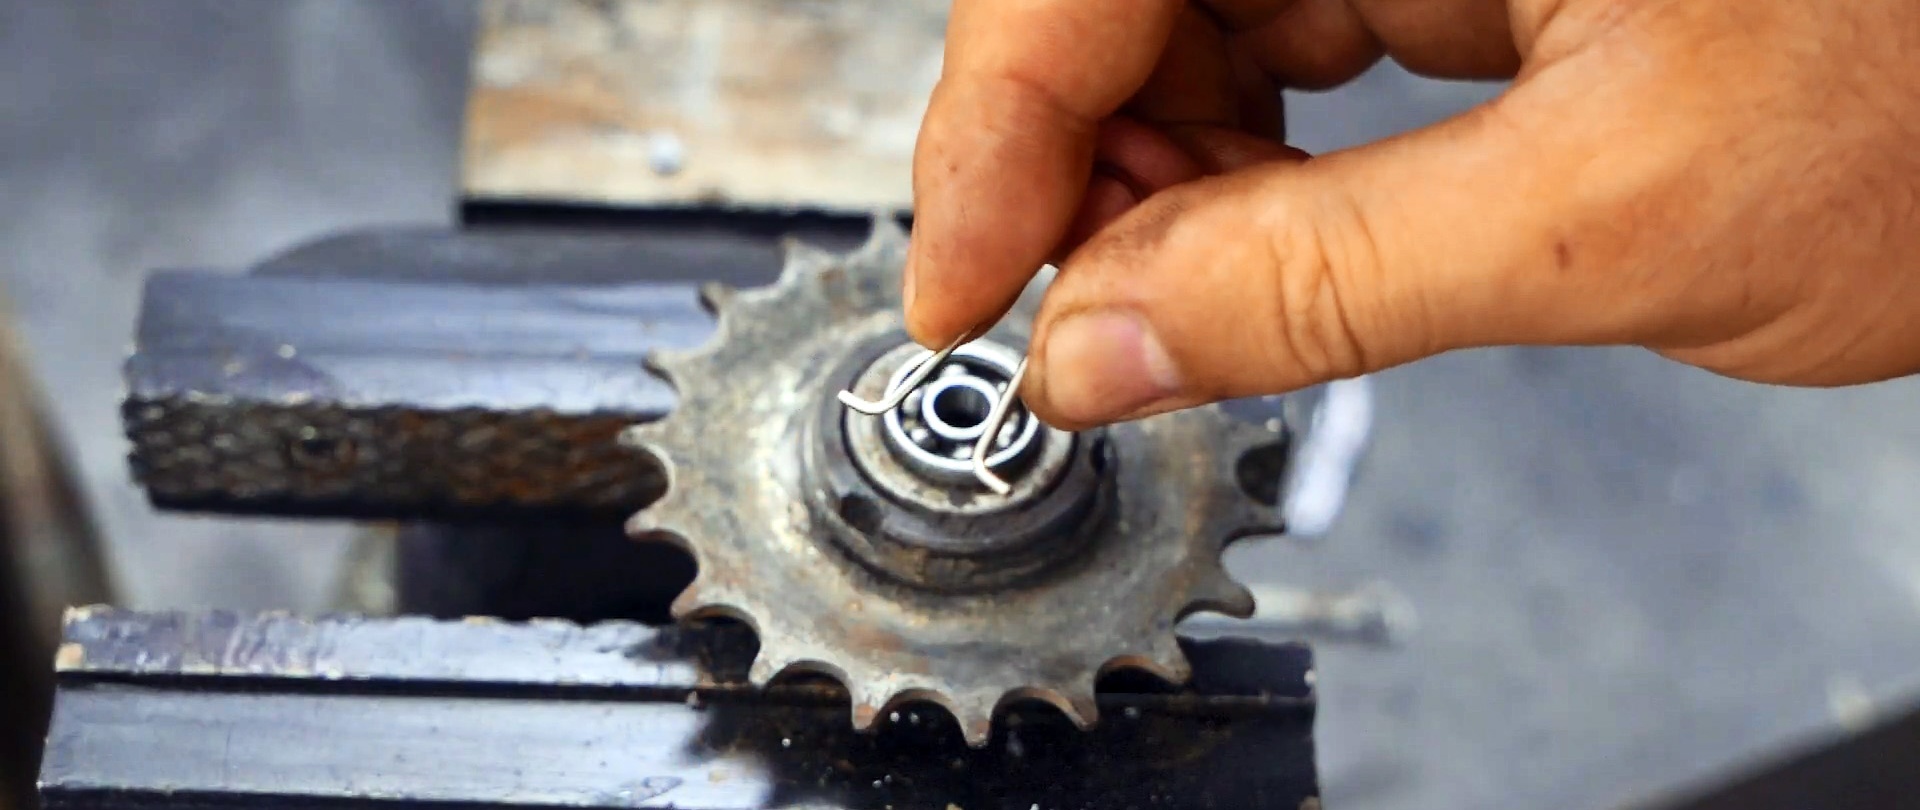
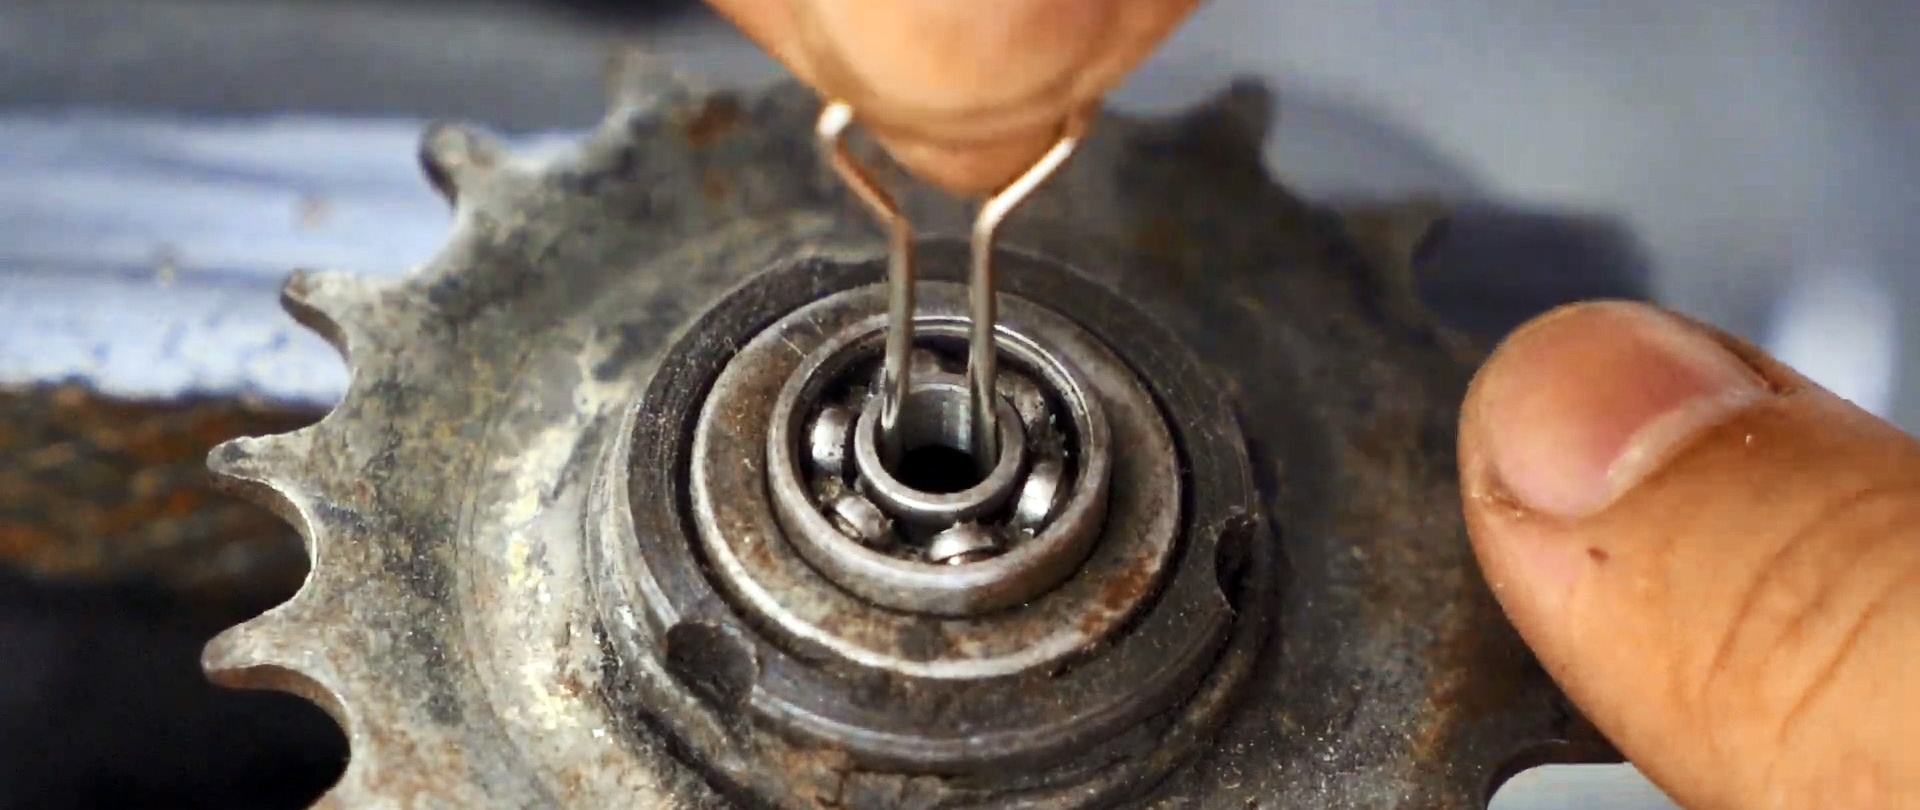
We insert a rigid plate into the “foot” and, resting one side against the support, sharply lift the other. The bearing comes out of the seat easily.
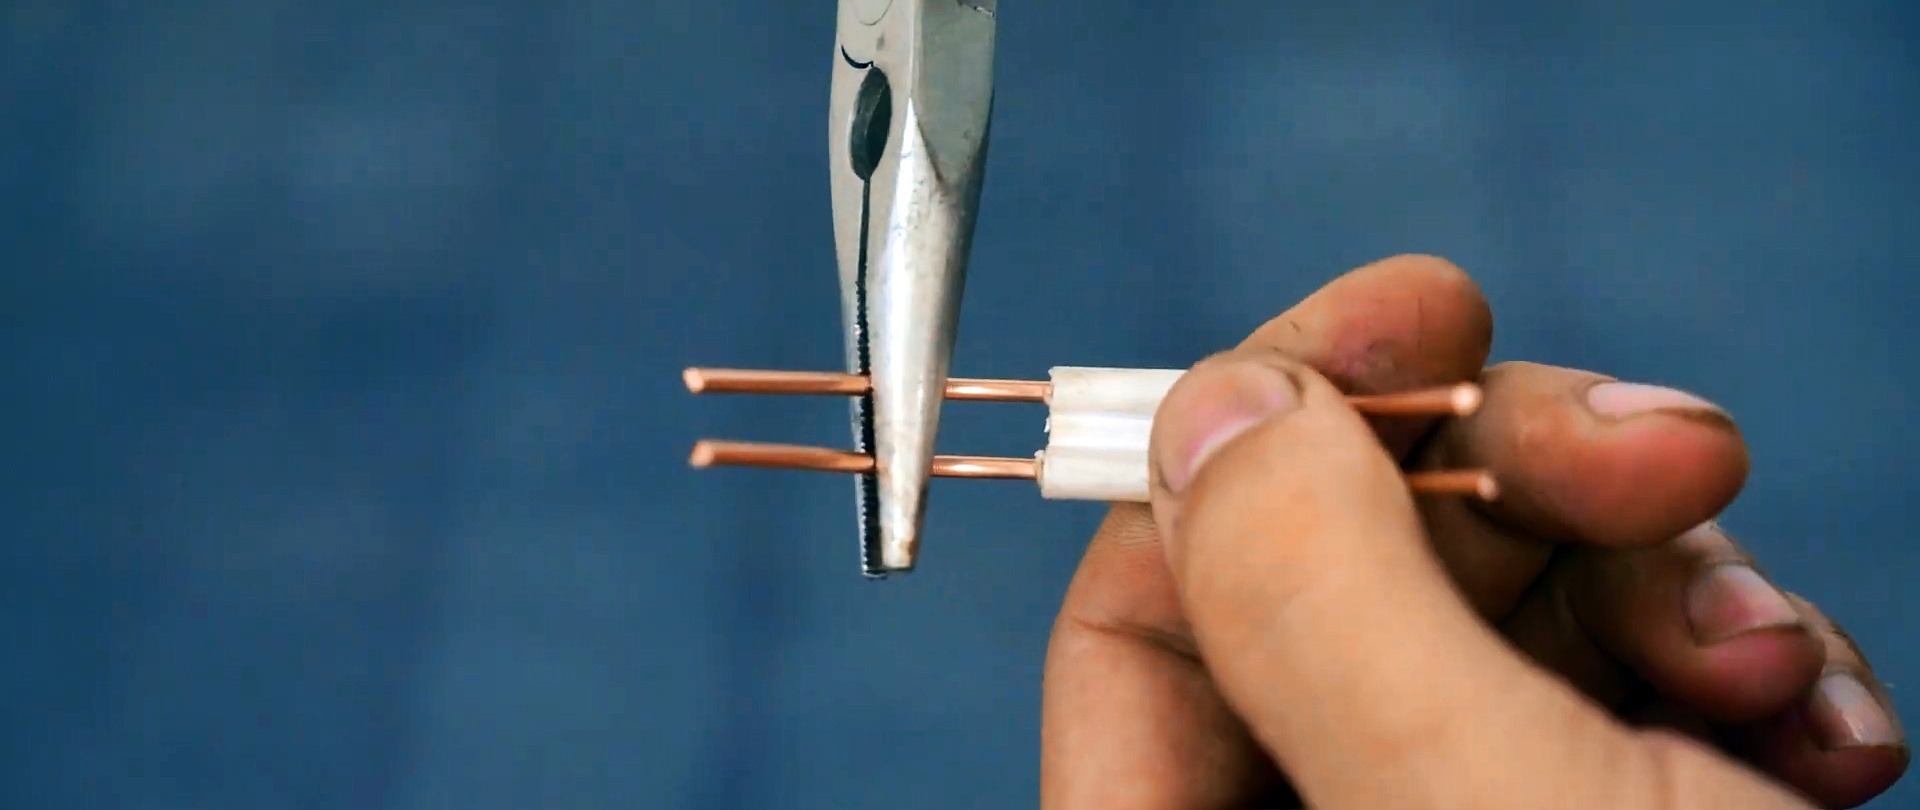
6. How to make wire fastenings from a flat two-core wire
We cut the insulation crosswise, stepping back slightly from the middle. We remove most of the insulation and one wire. We bend the second one in the middle and insert the end into the insulation, which we fasten to the wall with a self-tapping screw, and bend the wire loop at 90 degrees to the wall. We pass an insulated wire through the loops.

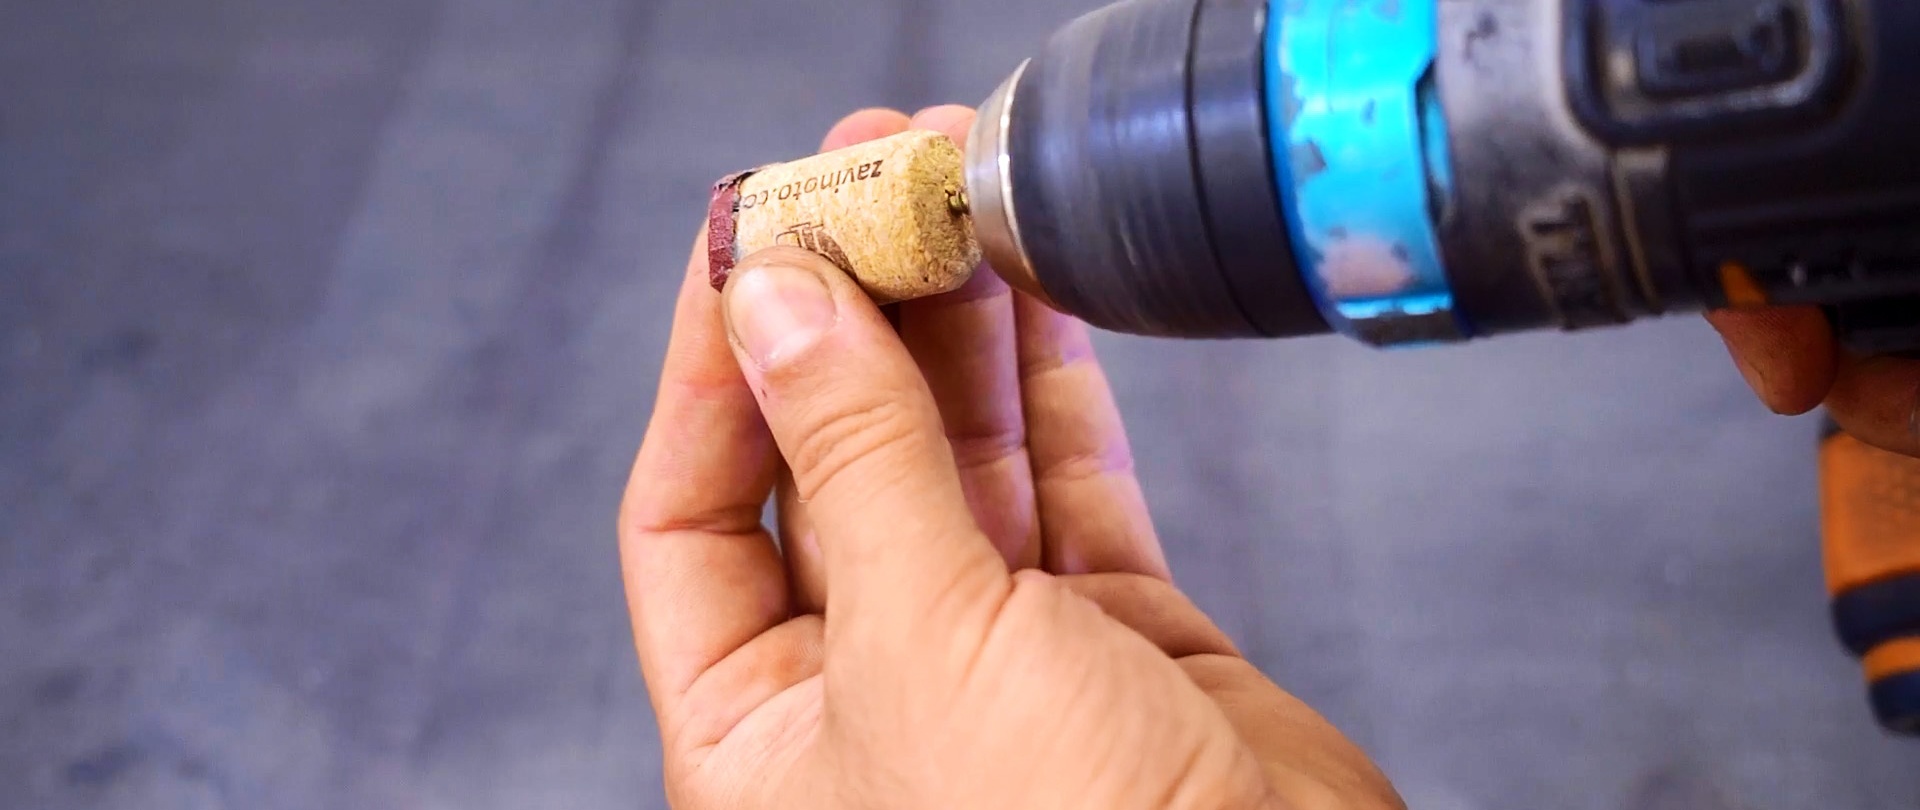
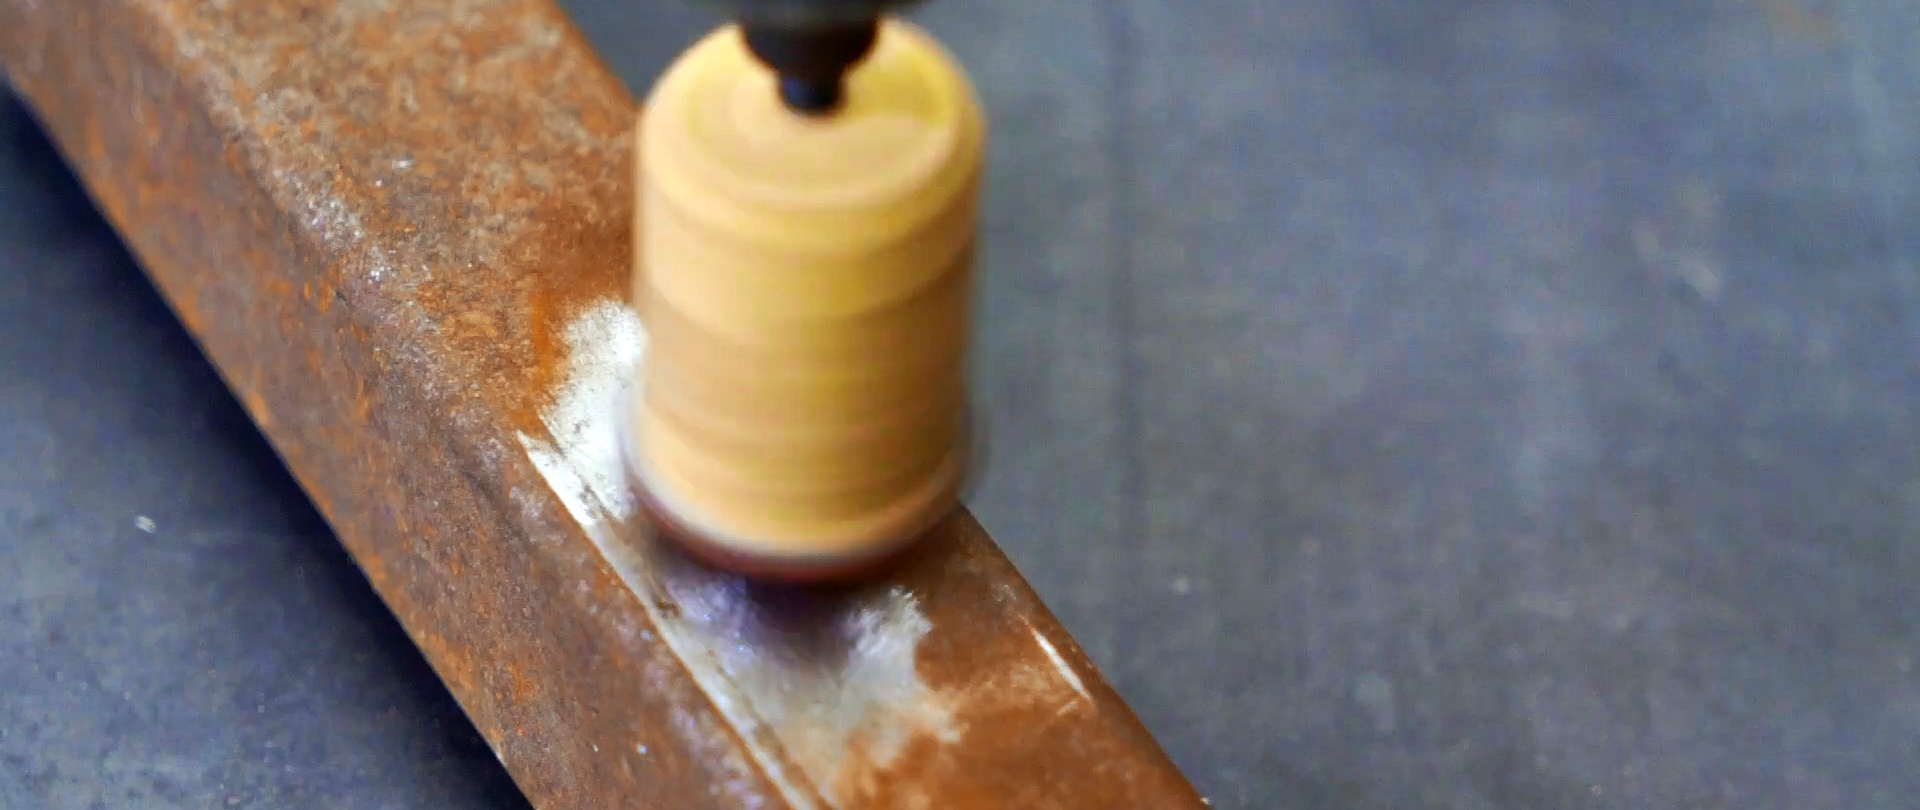
7. How to make a tool for cleaning metal surfaces
We cut out a circle from sandpaper, along the periphery of which we make cuts. We attach the emery wheel to the end of the wine cork, and the “fringe” to the side surface. We screw a screw into the other end of the plug, cut off the head, and clamp the rod into the drill chuck and clean the surfaces.
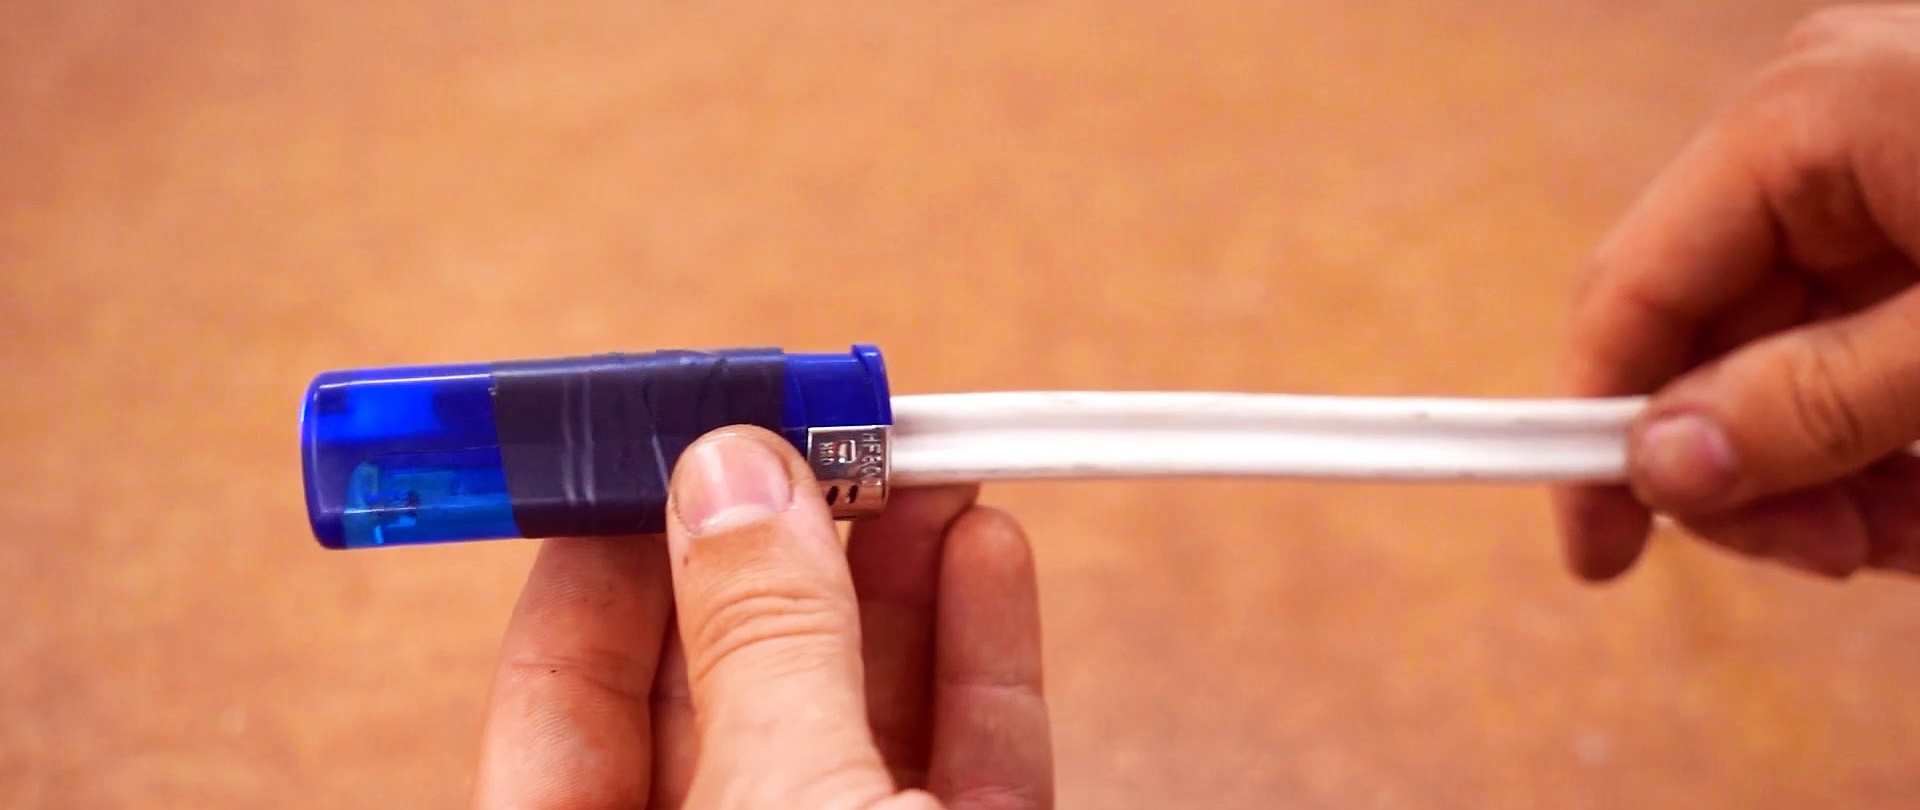
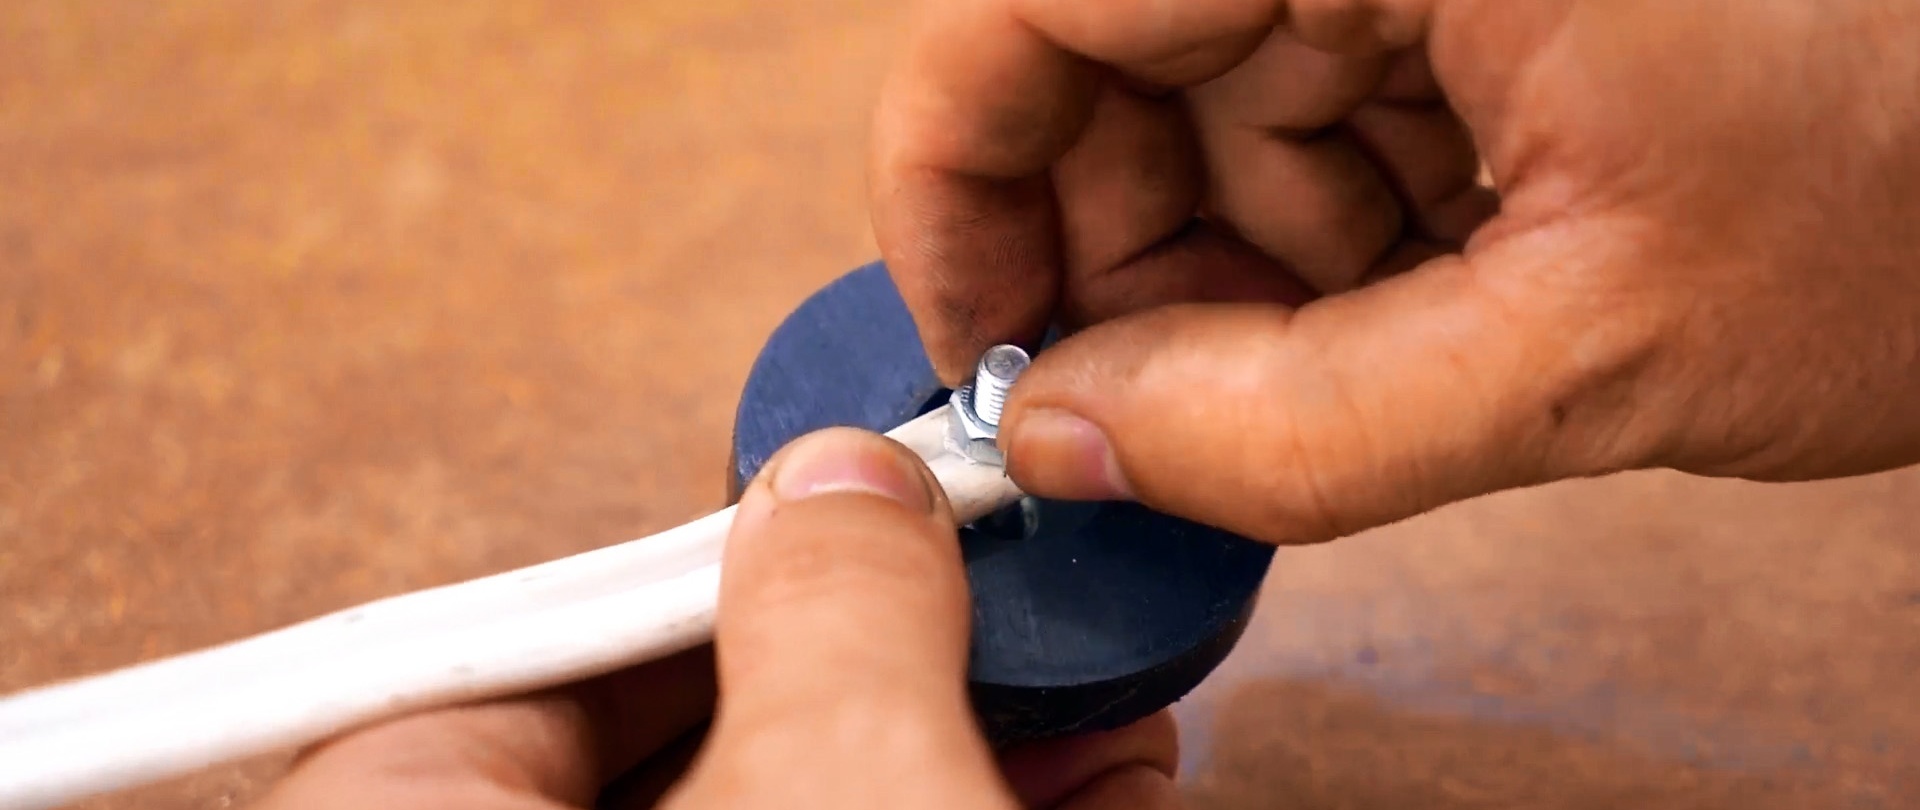
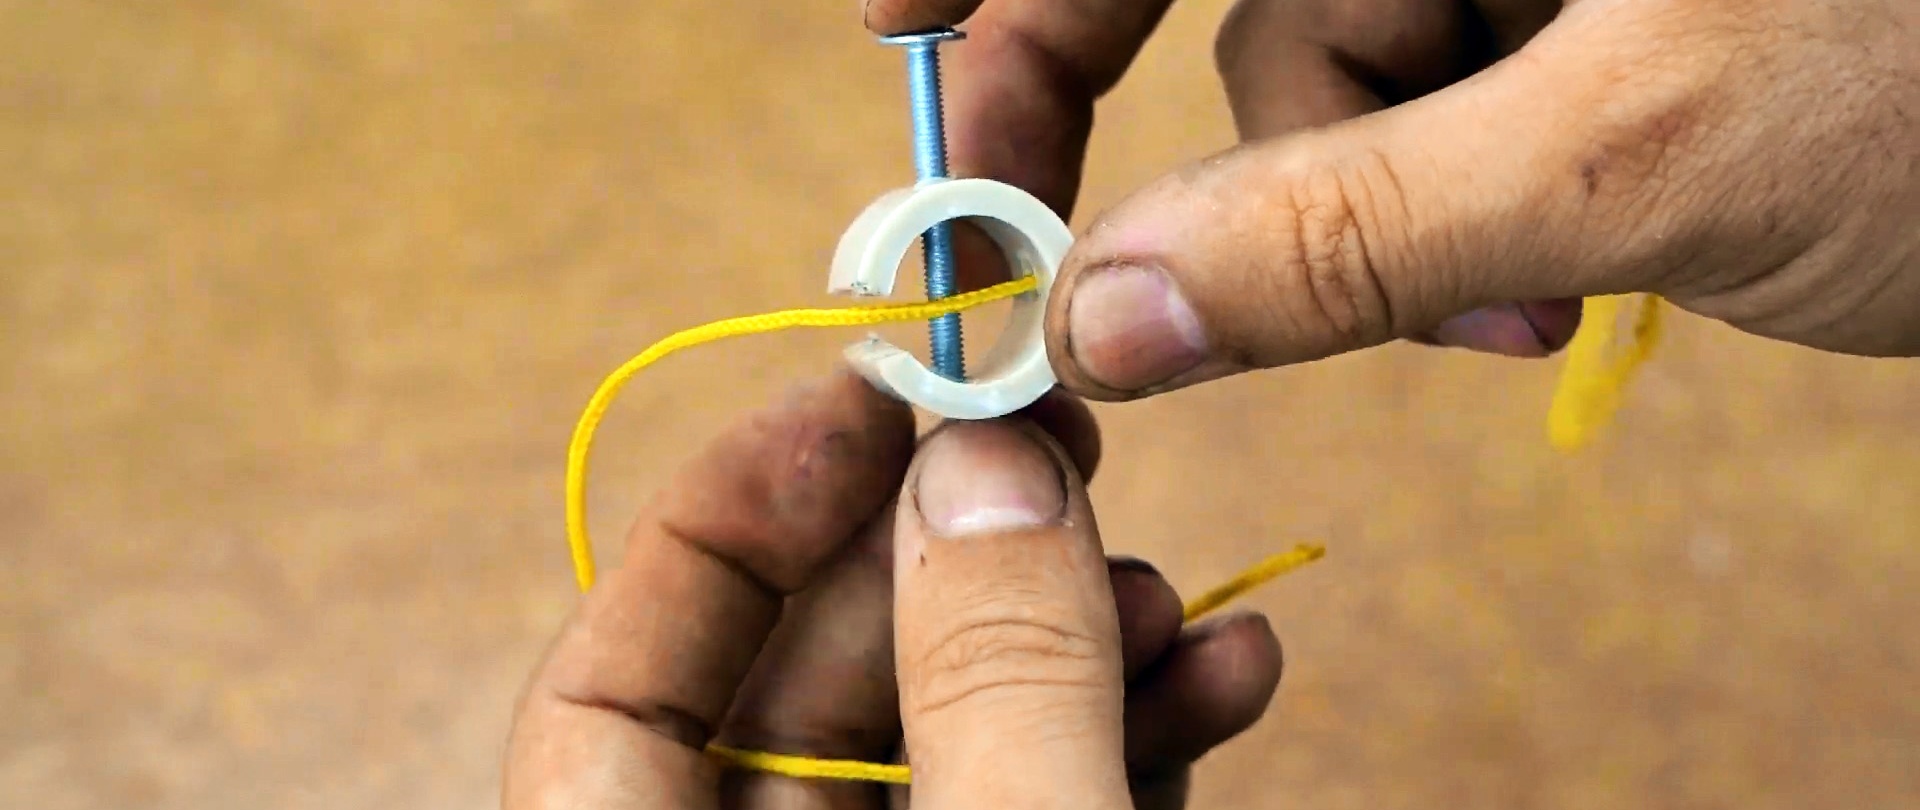
8. How to make a mini-lamp from a lighter with a flashlight
From the outside, we press a flat two-core wire to the body of the lighter and secure it with electrical tape.We drill a hole at the end of the wire and put it on a screw secured through a washer to the magnetic ring. Tighten the wire from above with a nut. We bend the wire, directing the light to the desired place.

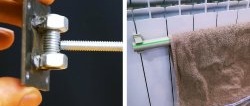
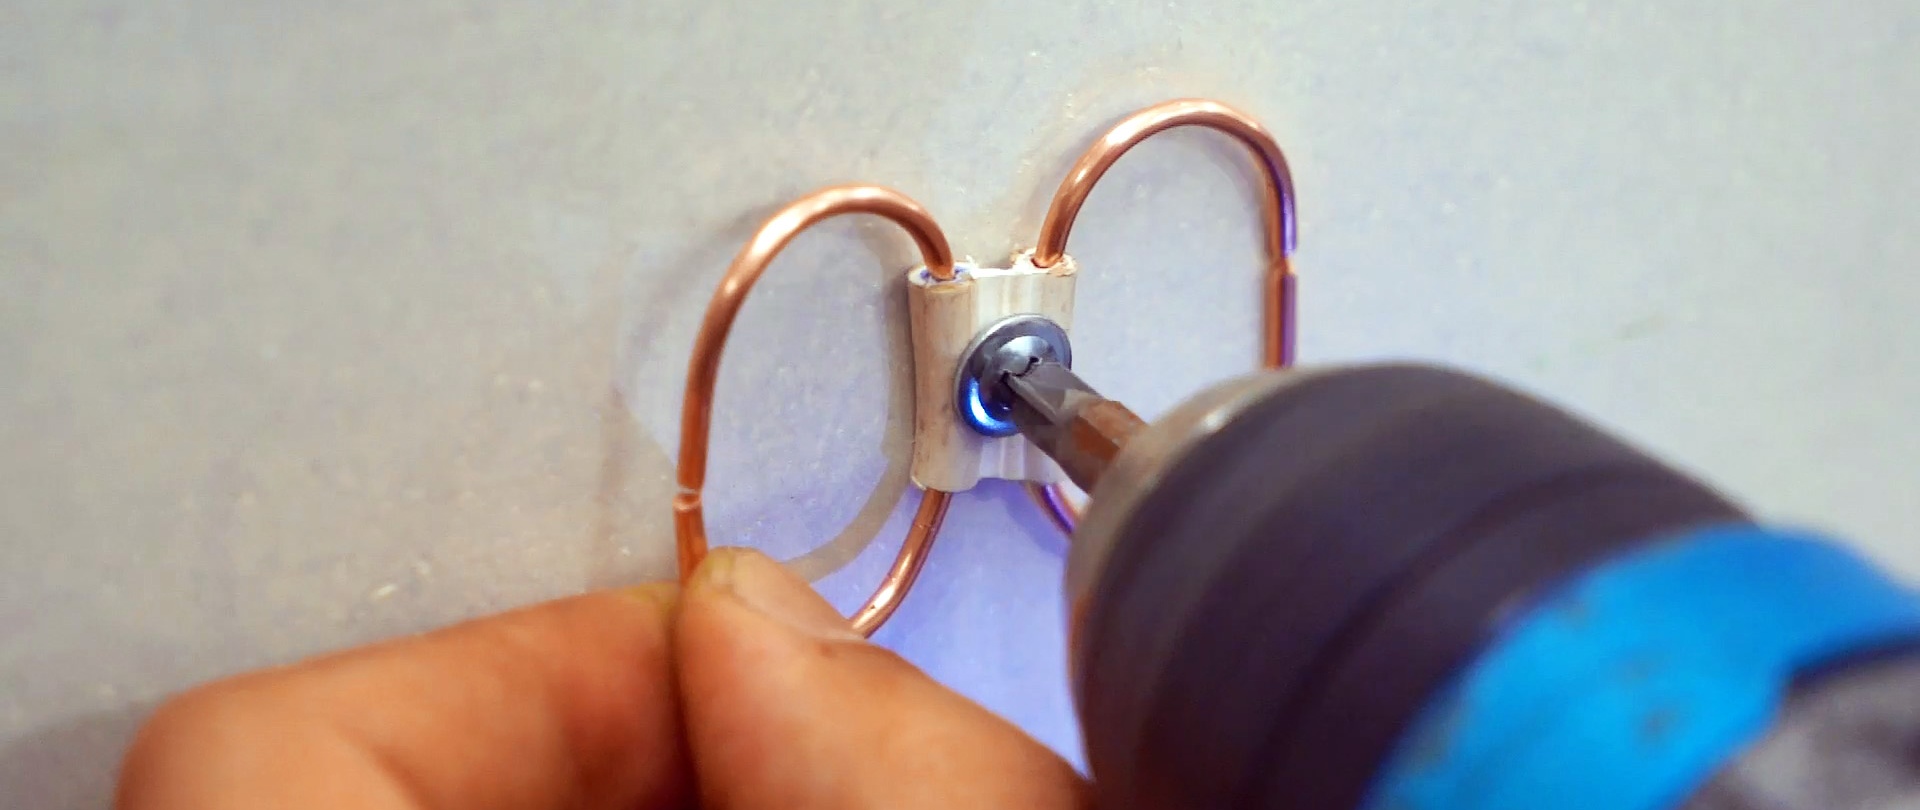
9. How to make a tool holder from a flat two-core wire
Remove the insulation from a small piece of wire. We bend each conductor into a ring and fasten it to the wall with a screw by the insulation. By placing the rings perpendicular to the wall, we get a convenient holder for pliers, wire cutters, pliers, etc.
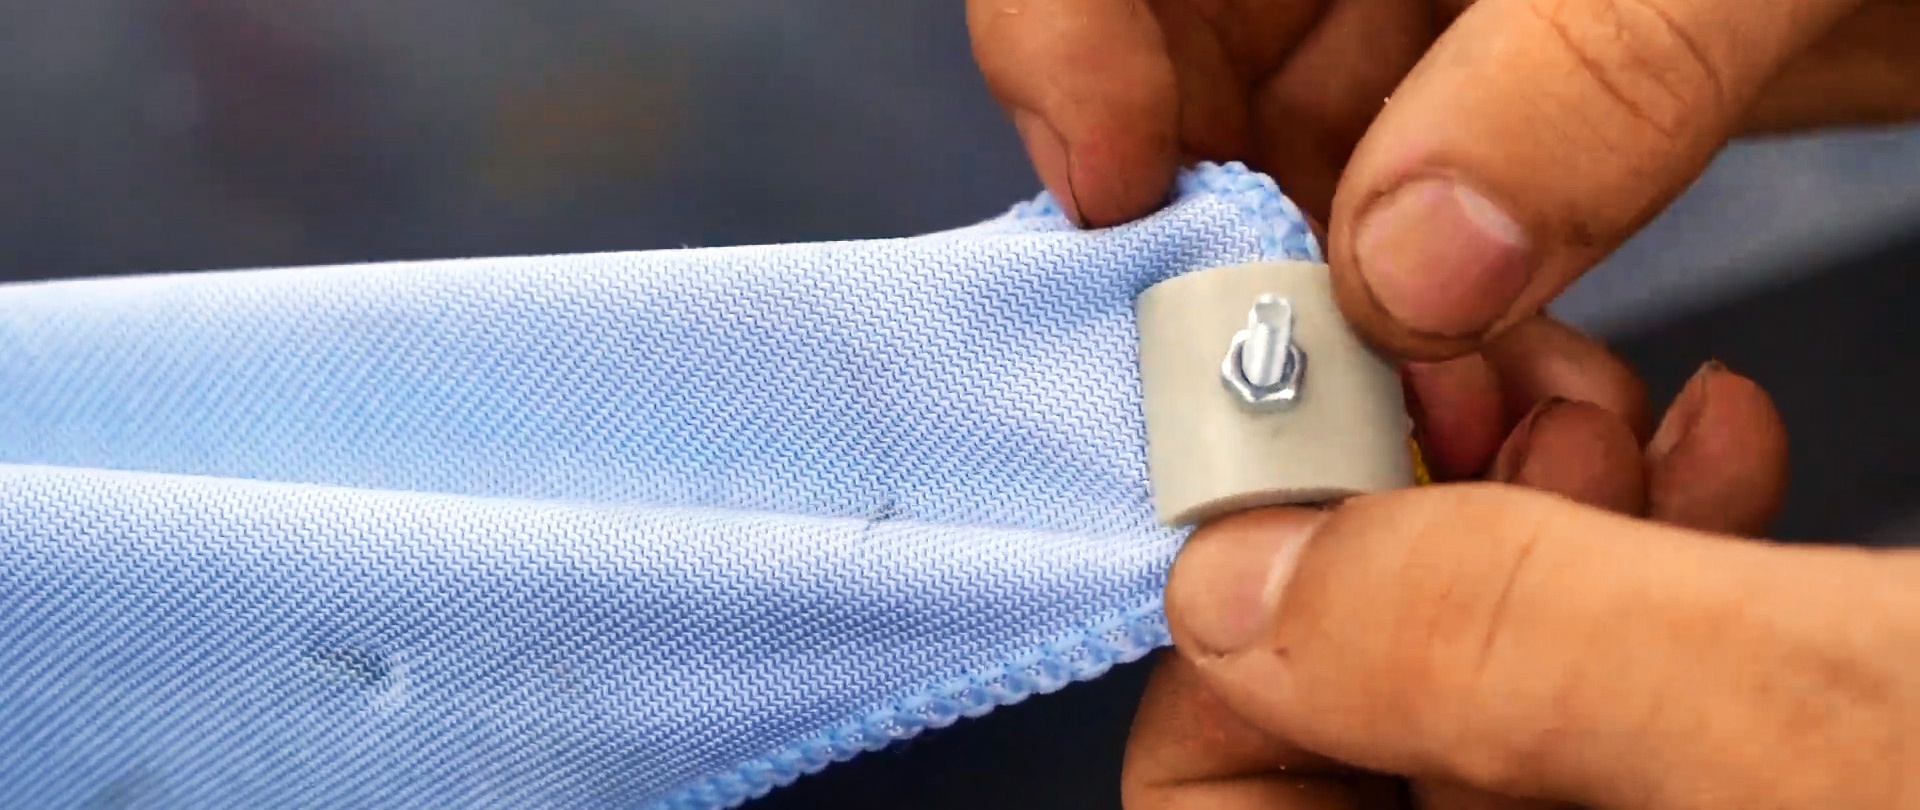
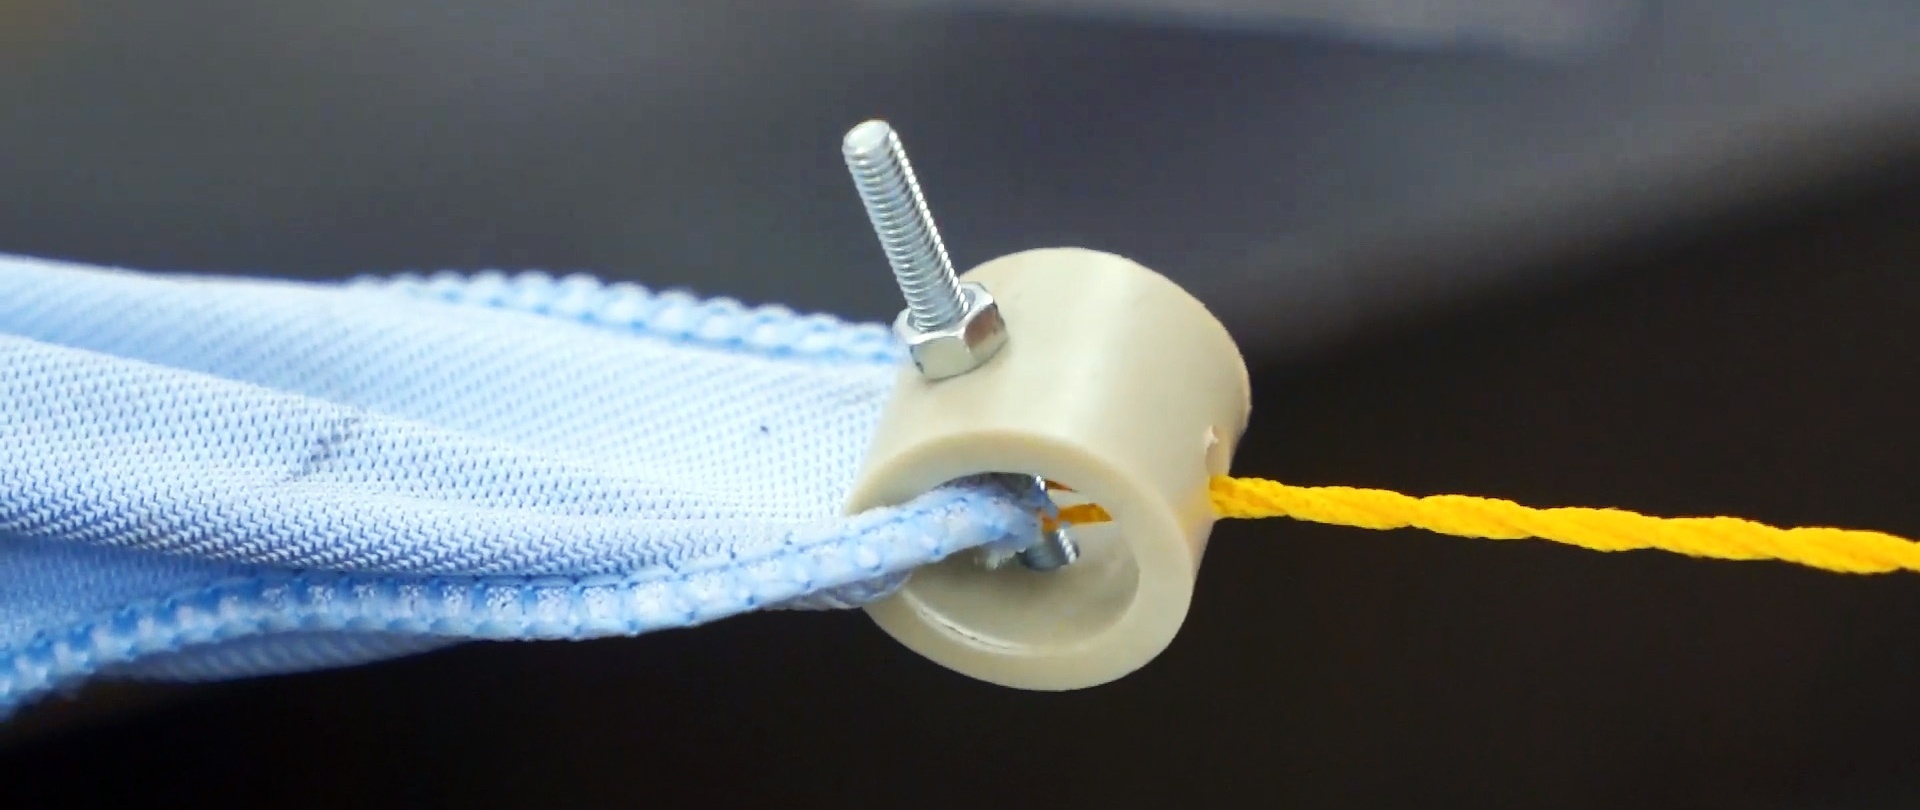
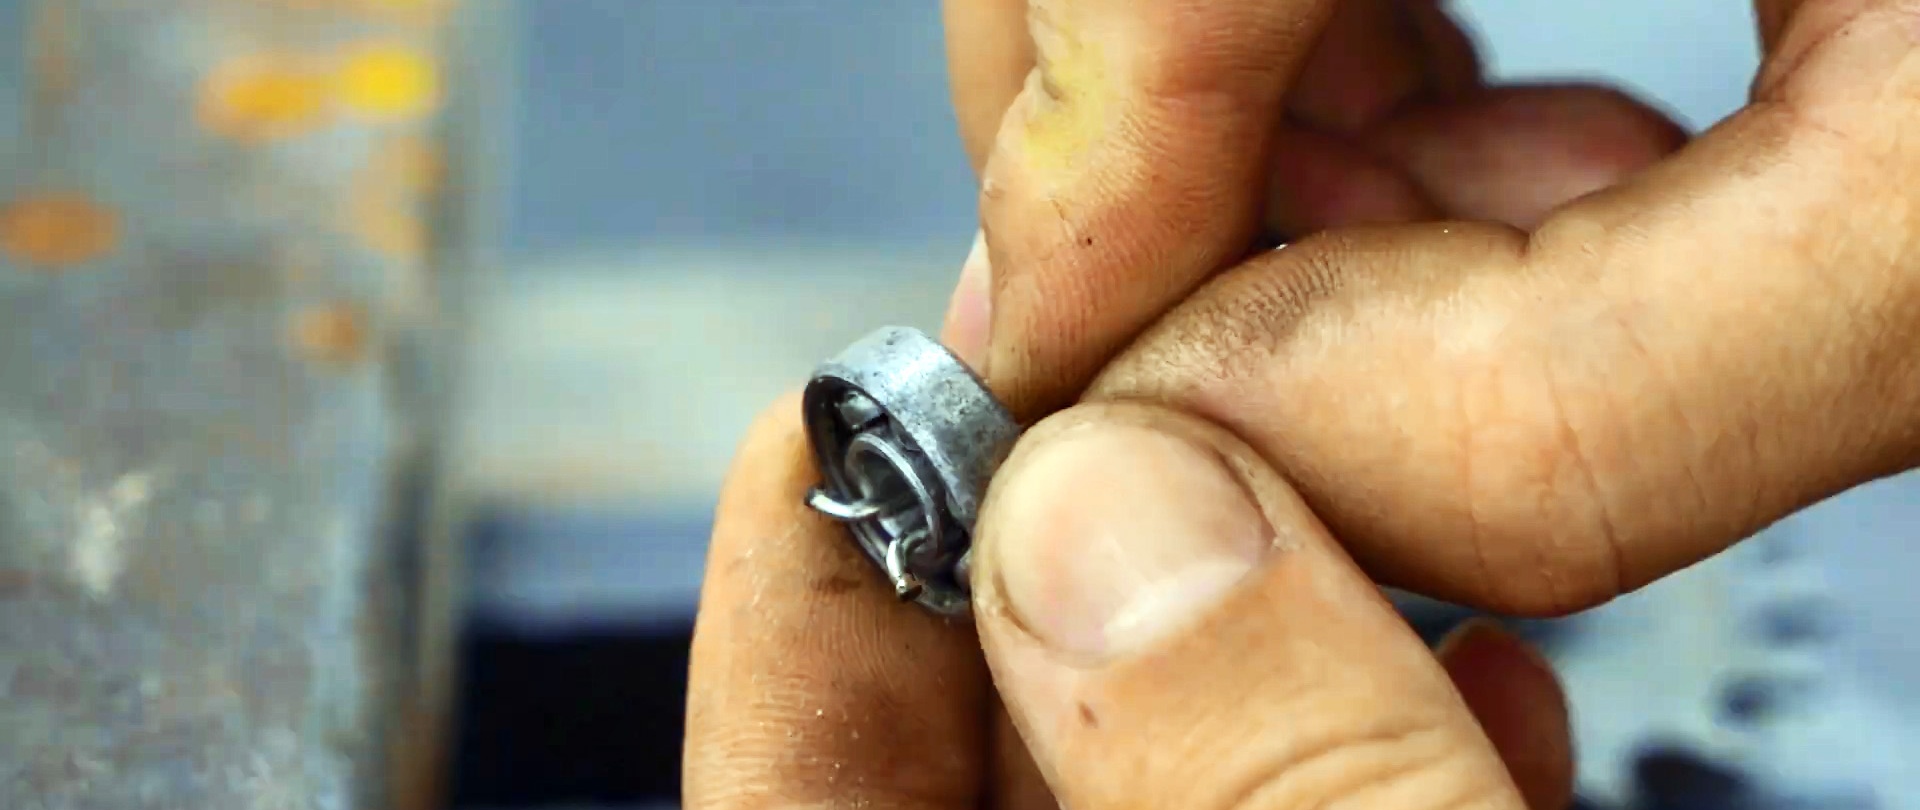
10. How to make end clamps for an awning from a plastic pipe
We cut a piece of plastic pipe along the generatrix and drill a hole in the center opposite the slot. Rotate the workpiece 90 degrees and drill 2 more holes.
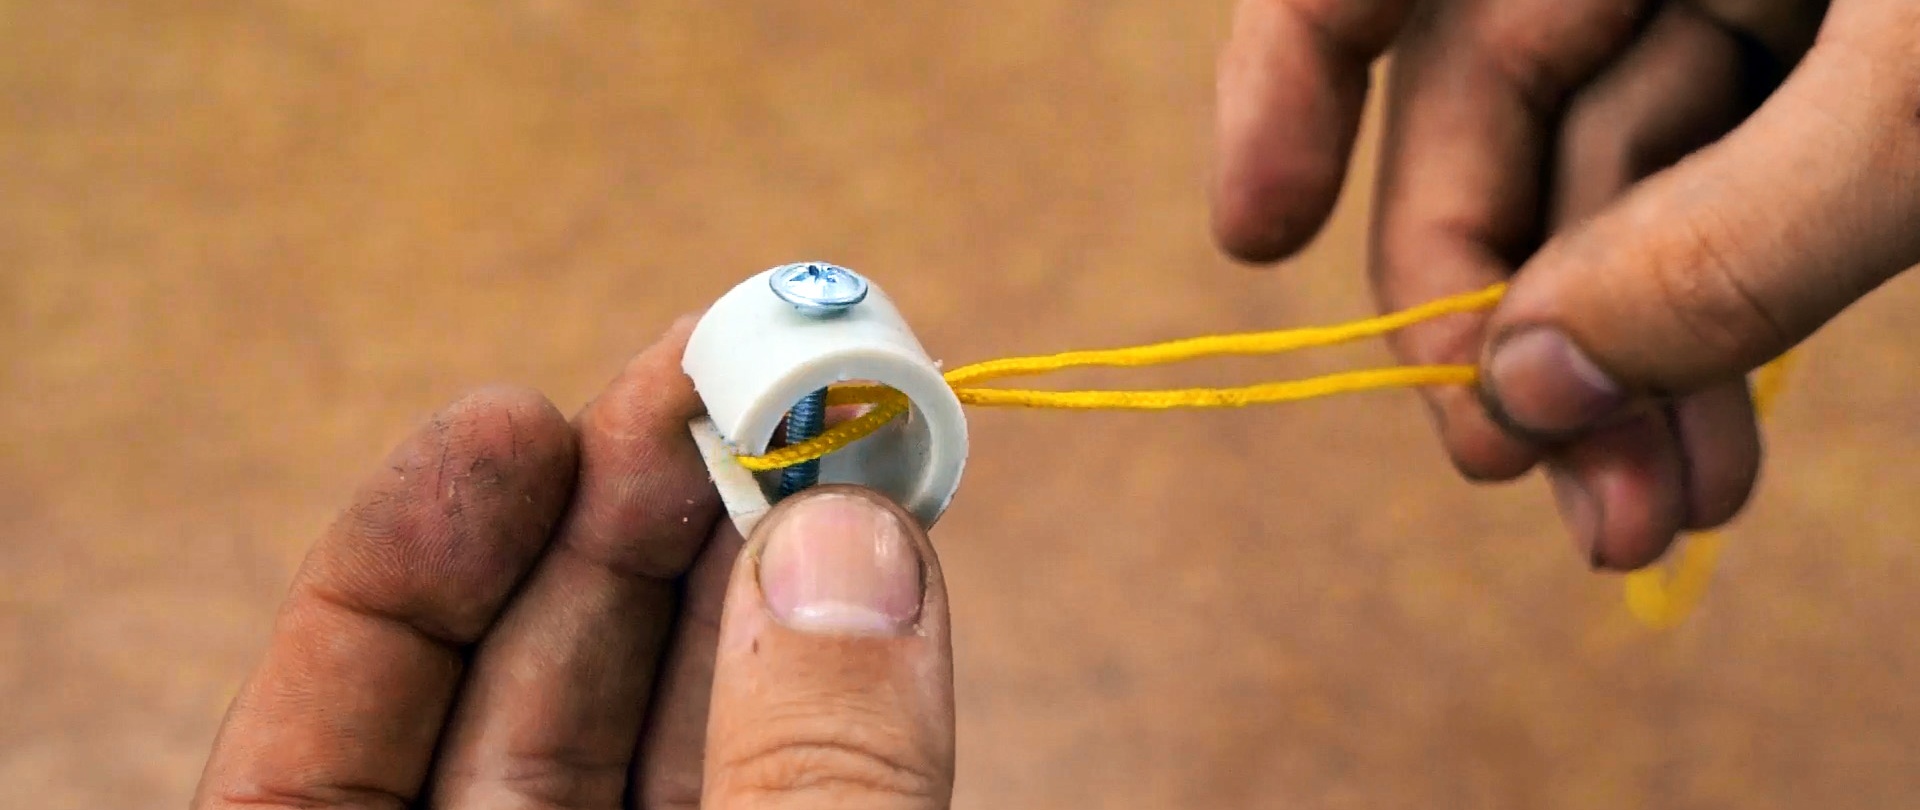
We insert a cord into the hole opposite the cut. We insert a screw into the other two, wrap a cord around it and pull it out through the hole opposite the cut. We insert the edge of the awning into the cut, tighten the nut on the screw and tie the ends of the cord to the mount.