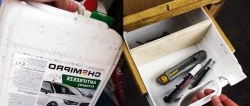
Plastic canisters for various technical liquids and food products have an optimal combination of strength, flexibility and elasticity. Therefore, they can be confidently used for various purposes, for example, as drawers for a home workbench for storing various small items - bolts, screws, screws, nuts, etc. This does not require large expenses, special knowledge or professional skills. Any adult can do this kind of work.

Will need
Materials:
- empty plastic canister;
- a piece of wooden board;
- wooden beam and plank;
- rivets;
- screws.
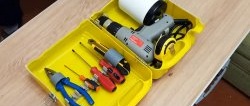
Tools: square, tape measure and marker, sharp knife, sandpaper on a mandrel, hand saw, screwdriver, riveter, hand screwdriver, etc.
The process of making drawers for a workbench from used plastic canisters
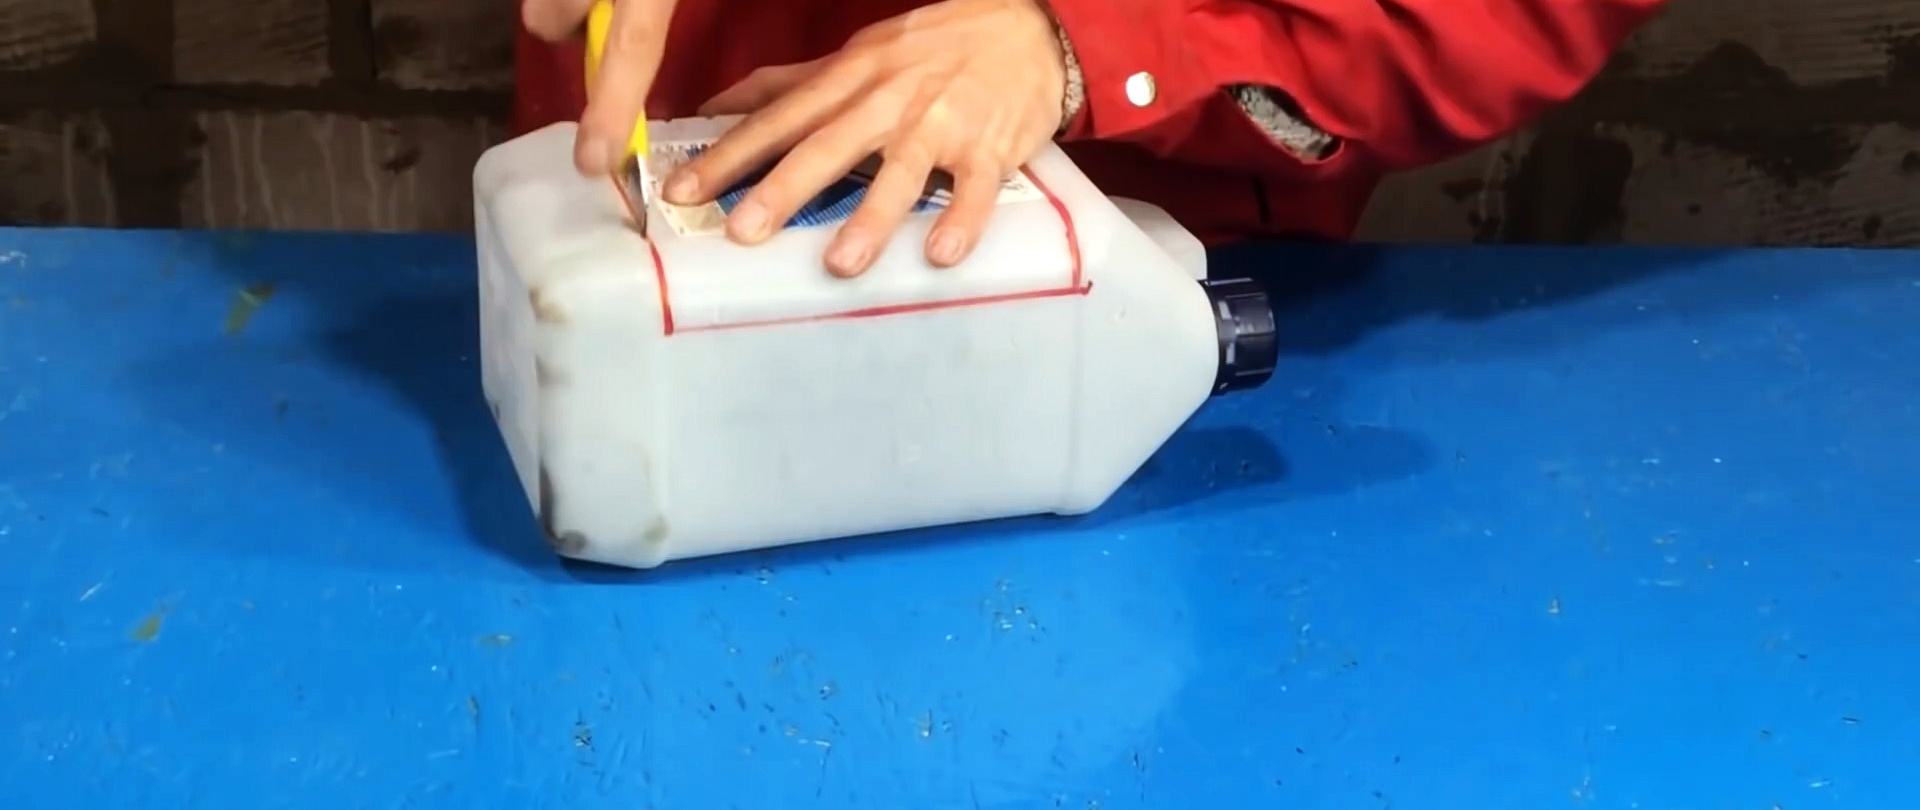
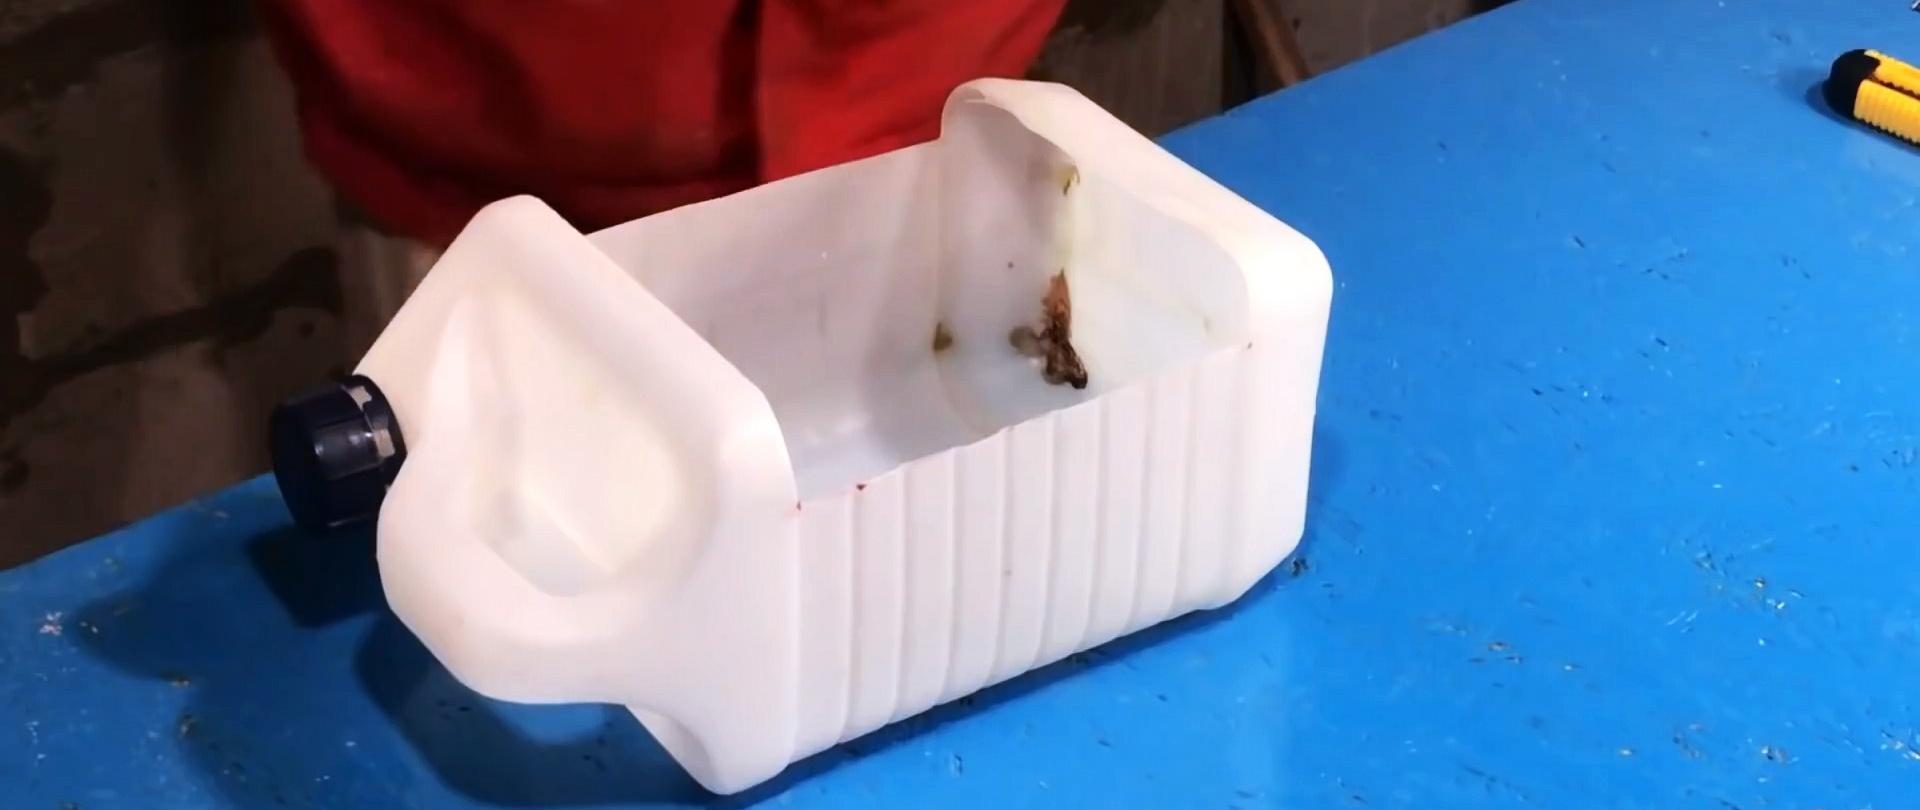
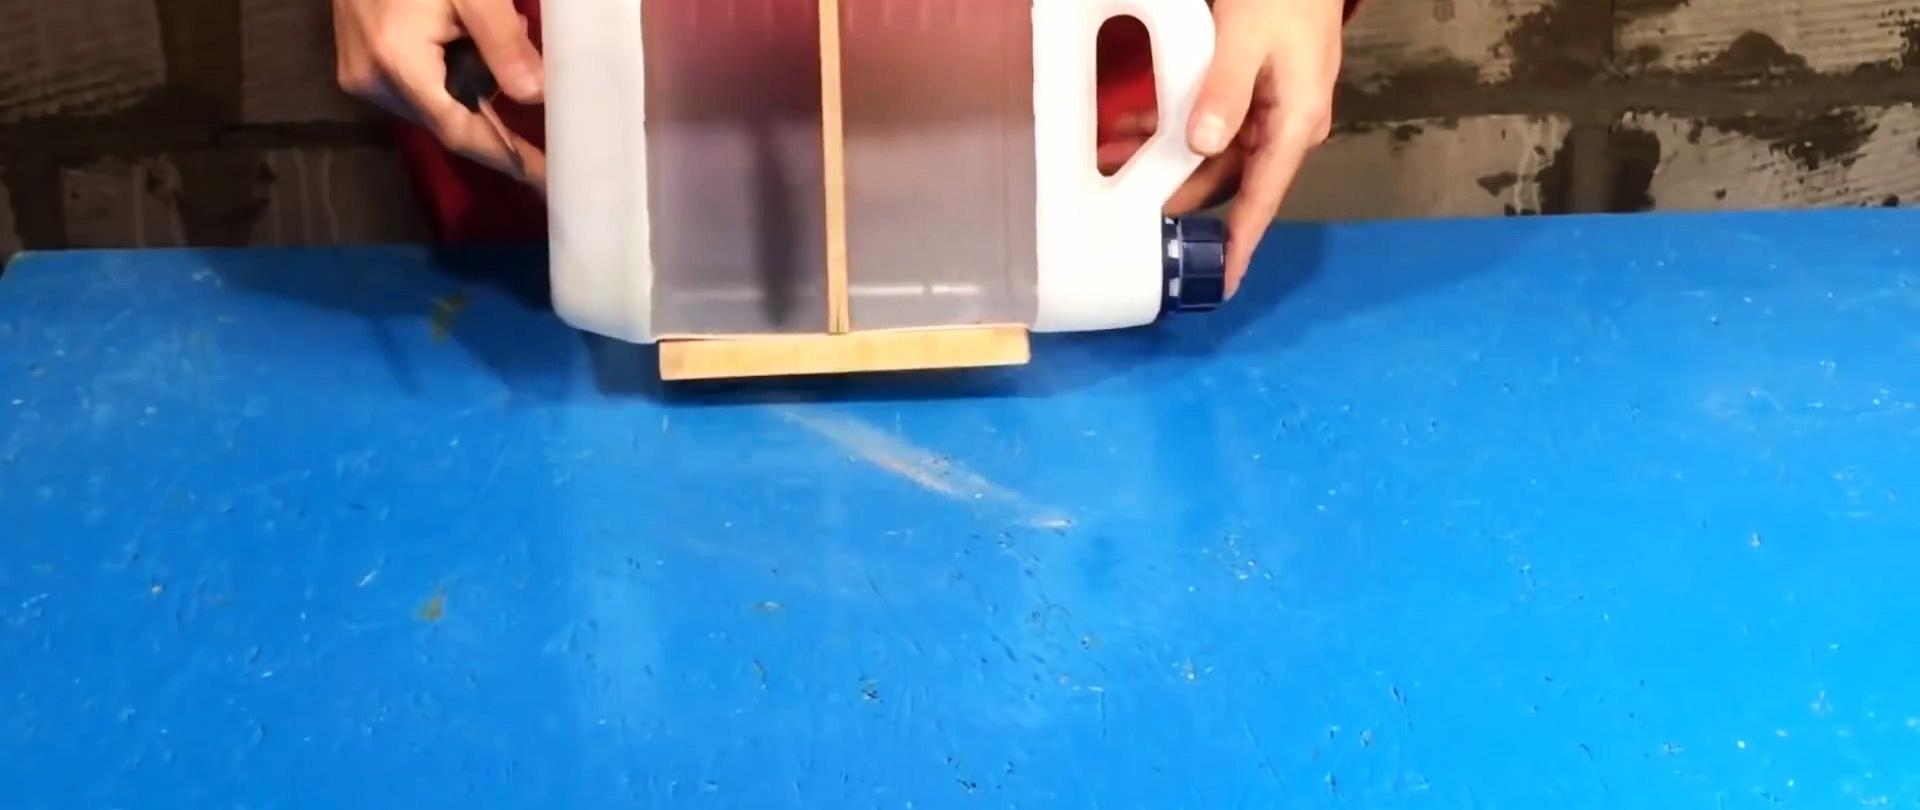
After marking, using a sharp knife, we partially cut out one of the sides of the plastic canister with a slight overlap on the sides, leaving narrow strips at the handle and at the bottom intact.We clean the edges using sandpaper on a mandrel.
We cut two identical blanks from a wooden beam and fasten them to the sides of the canister at the level of the cutout using one-sided rivets and a riveter.

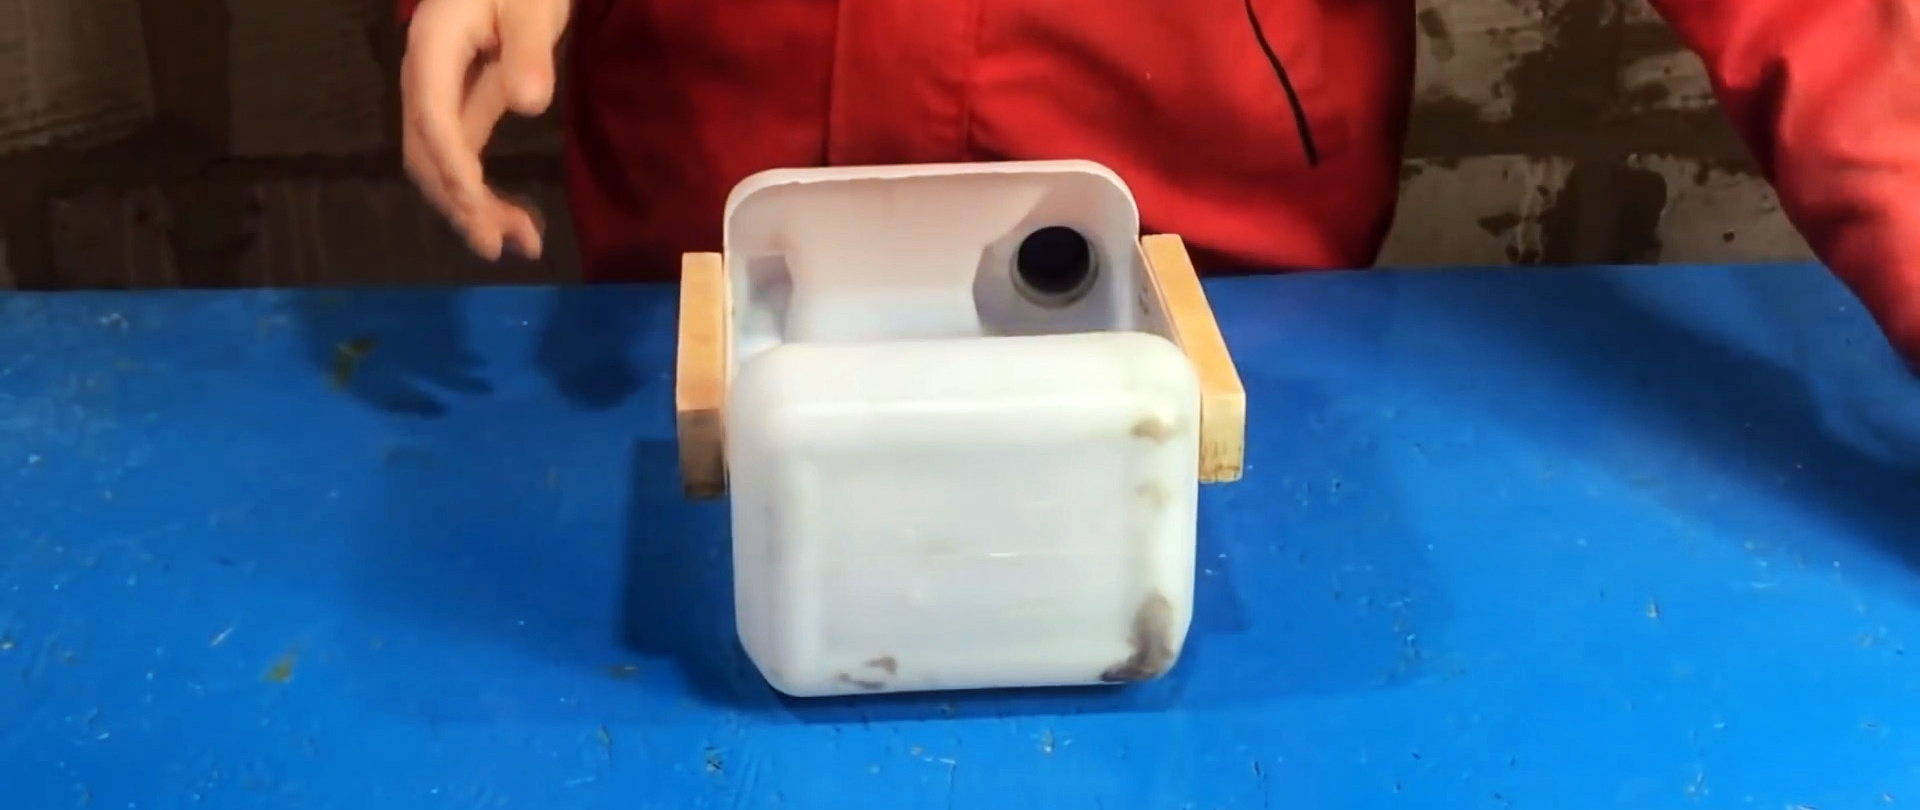
Using a tape measure, we measure the transverse distance between the sides of the canister, limited by the bars, and cut out a segment from a wooden plank, the two corners of which are rounded along the radius of the roundings of the inner sides of the canister. We fix the bar to the bars using screws, turning the rounded corners inside the canister. As a result, we get a rigid container divided into two halves.


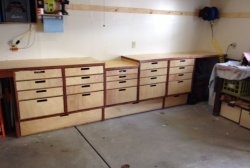
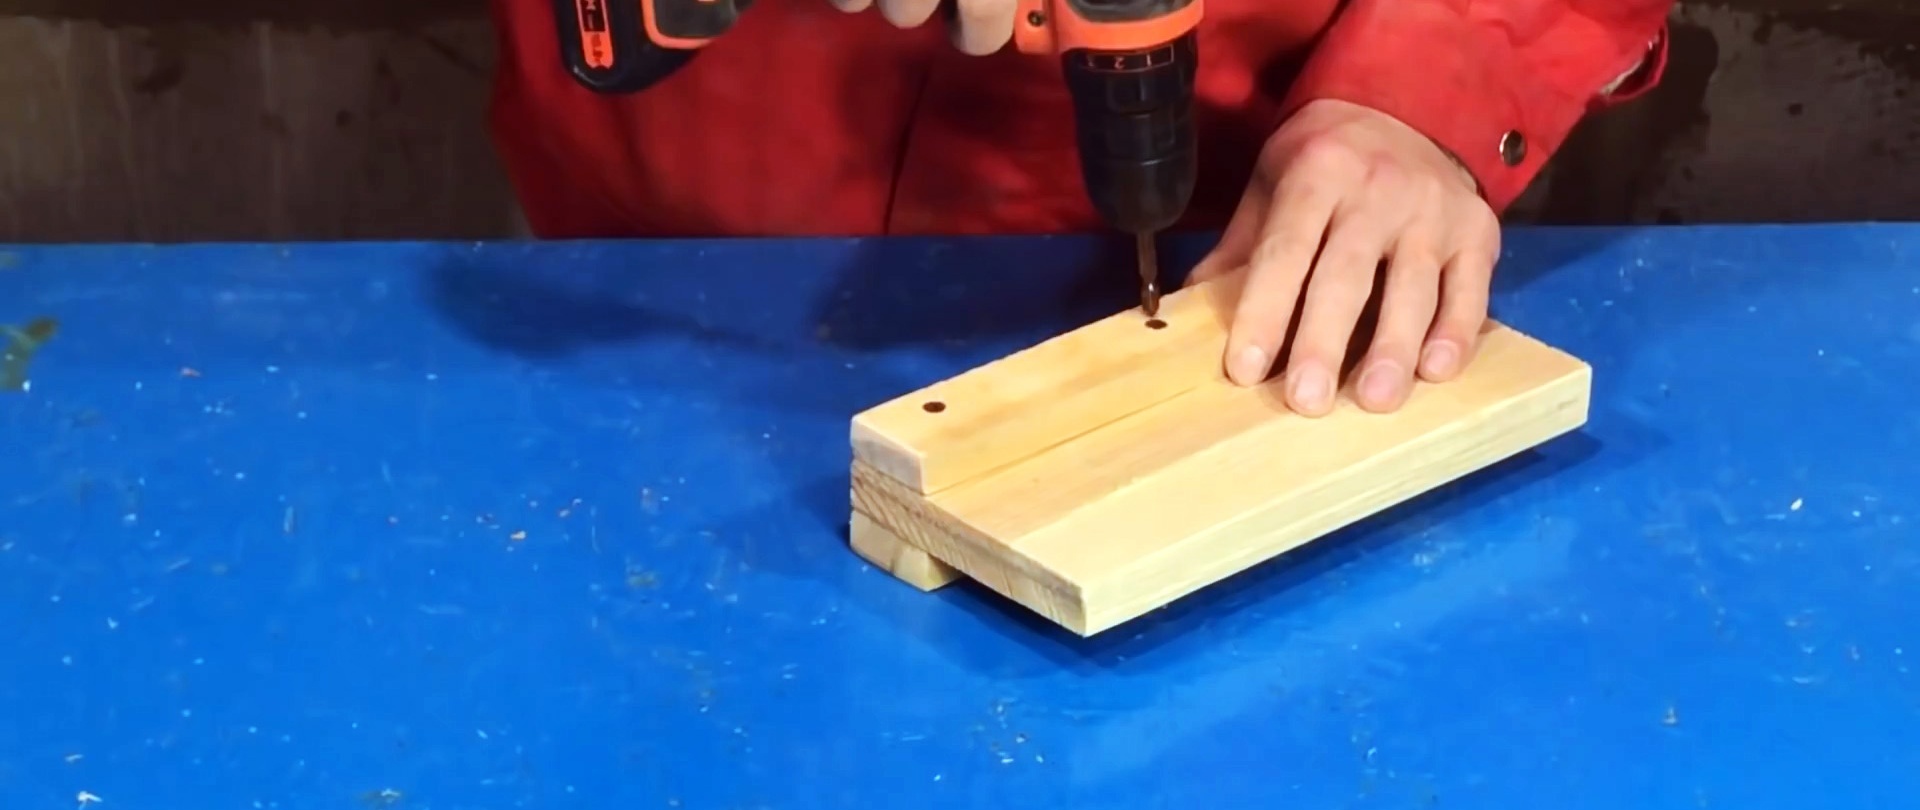
Along the long edge of a piece of wooden board on both sides, we fasten two equal wooden blocks with screws and fix the resulting structure from the bottom of the workbench tabletop by the free long edge using several screws.
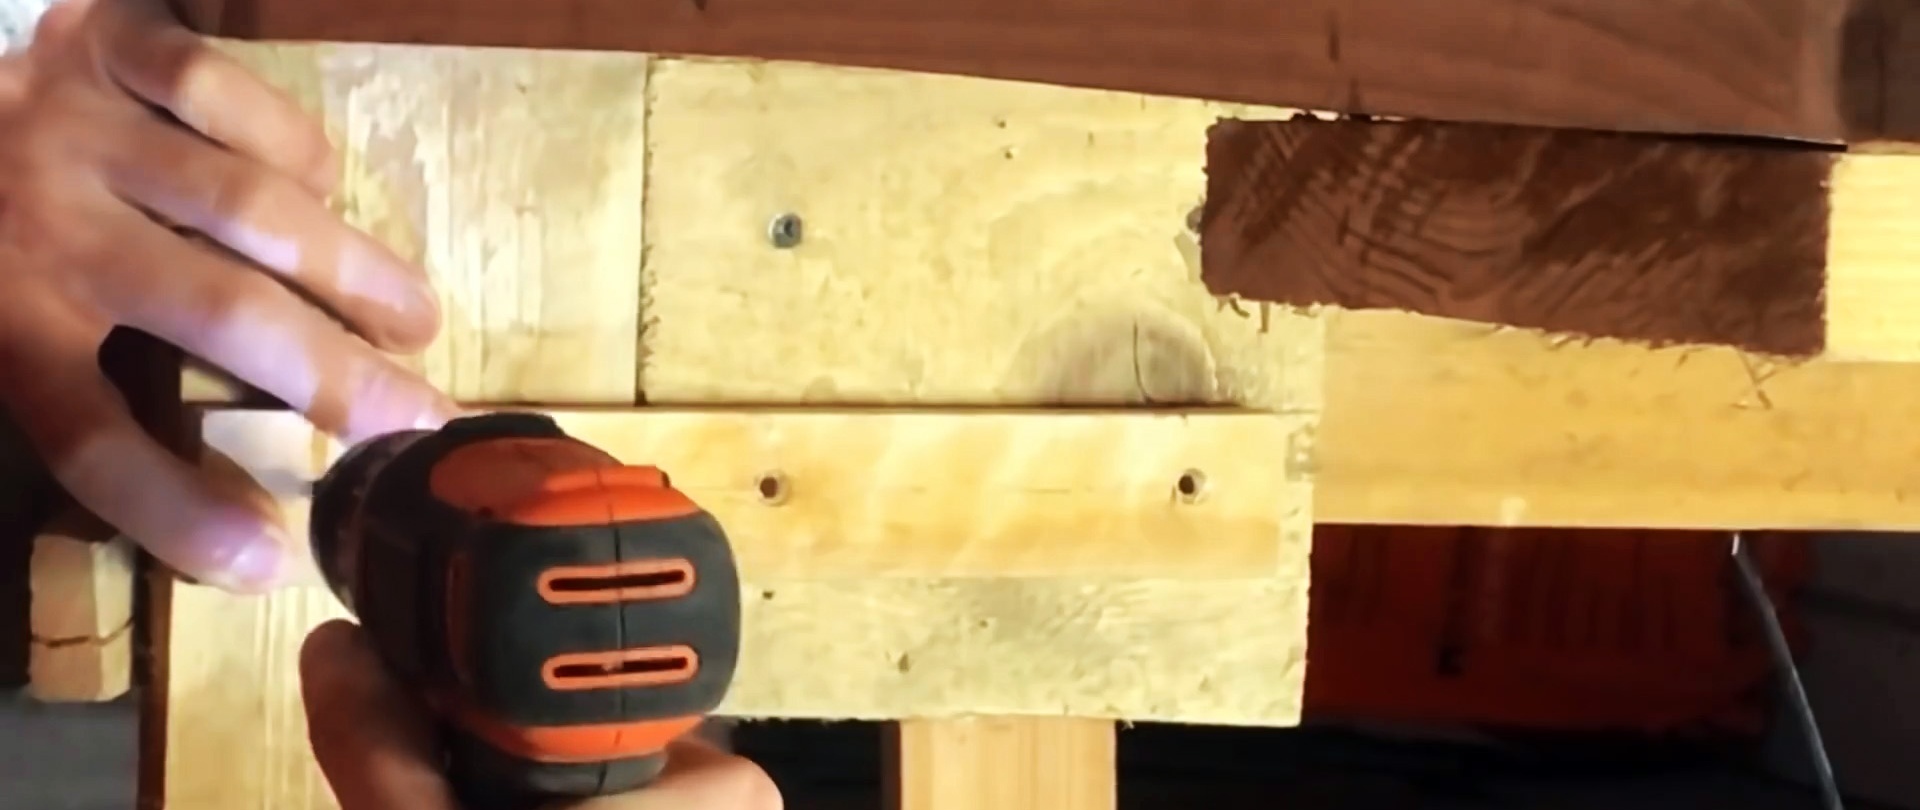
We fasten a piece of wooden beam to the inside of the workbench leg and the adjacent cross member at the level of the beam on the board vertically. We place the drawer between the guides so that its bars rest on them and can slide along them in both directions.
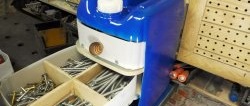
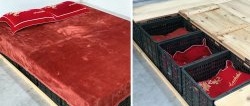
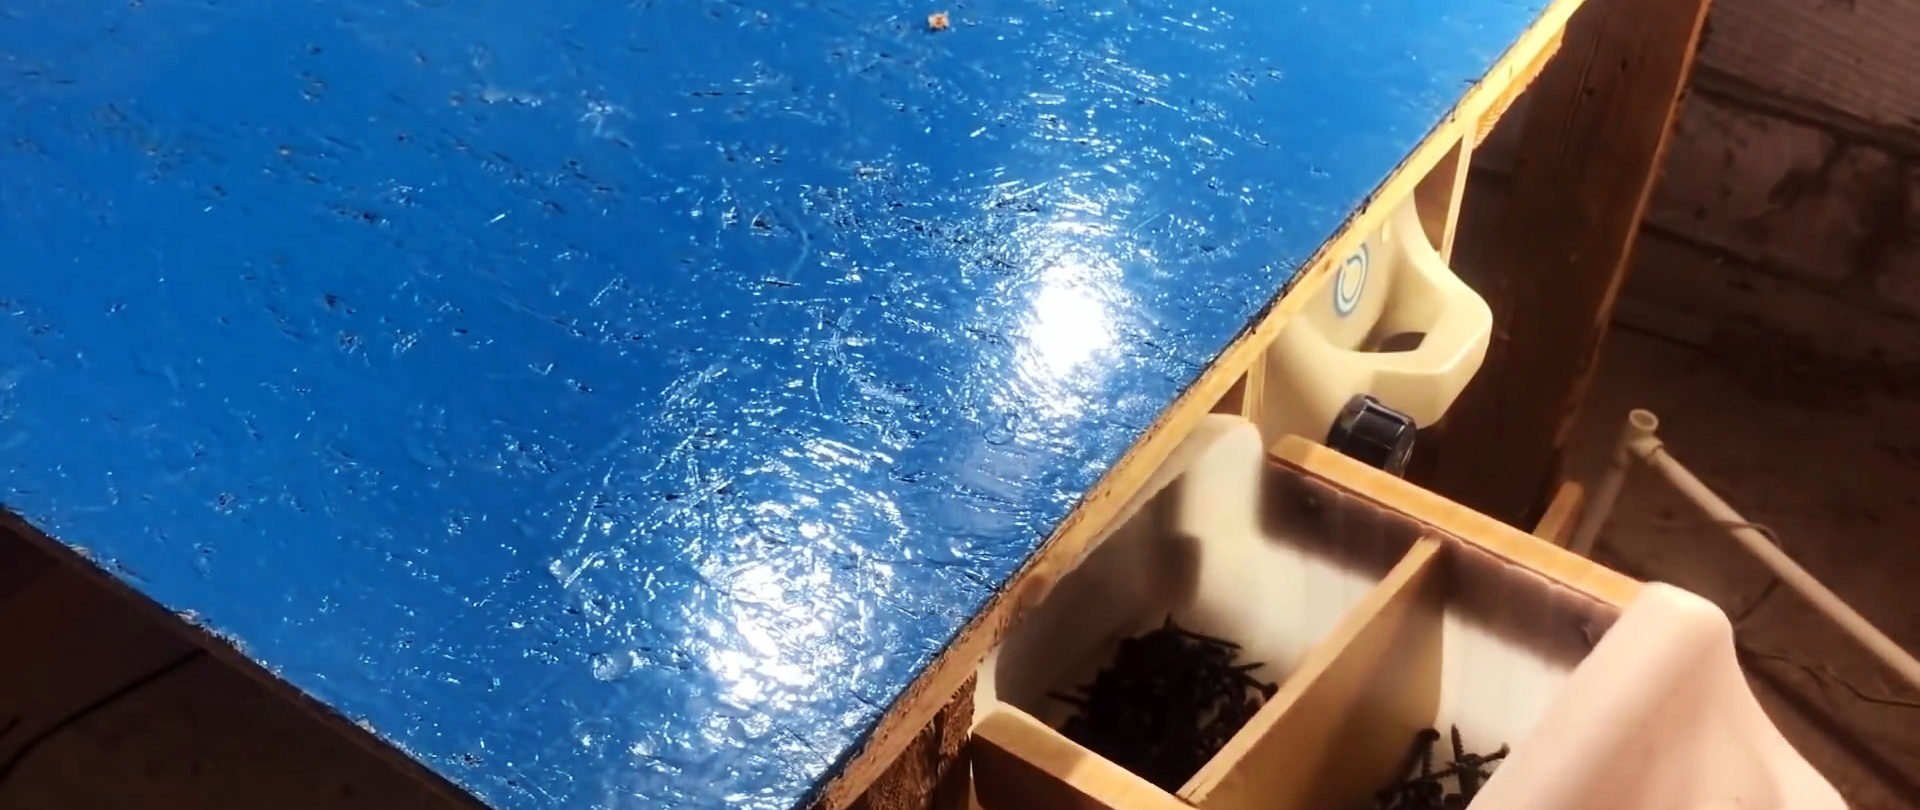
Next to the first box, if desired, we can install the second, third, etc. boxes in a similar way. In the sections of these boxes we can store all sorts of little things - bolts, nuts, screws, screws, self-tapping screws, etc.

High-quality and durable drills on AliExpress at a discount - http://alii.pub/5zwmxz