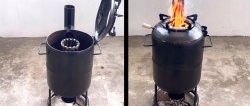
An old metal kettle, unsuitable for its intended purpose, can be used in another form, for example, as a small portable wood-burning stove at virtually no cost. This does not require special knowledge, professional skills or special tools. Therefore, any adult can cope with such work.

Will need
Materials:
- old metal kettle;
- stale steel sheet;
- bolts and nuts.
Tools: grinder, core and hammer, drill press, drill, wrenches.
High-quality and durable drills on AliExpress at a discount - http://alii.pub/5zwmxz
The process of making a mini wood stove from an old metal kettle
Using a grinder, we cut out the bottom of an old teapot, leaving a ring band 3-3.5 cm wide along the periphery. Using a core and a hammer, we make 3 marks on the ring band evenly in a circle. Using a drilling machine, we make 3 holes according to the indicated marks.


On top of the kettle, slightly away from the edge of the filler neck, we mark and drill 4 holes on a drilling machine, evenly placing them around the circumference.

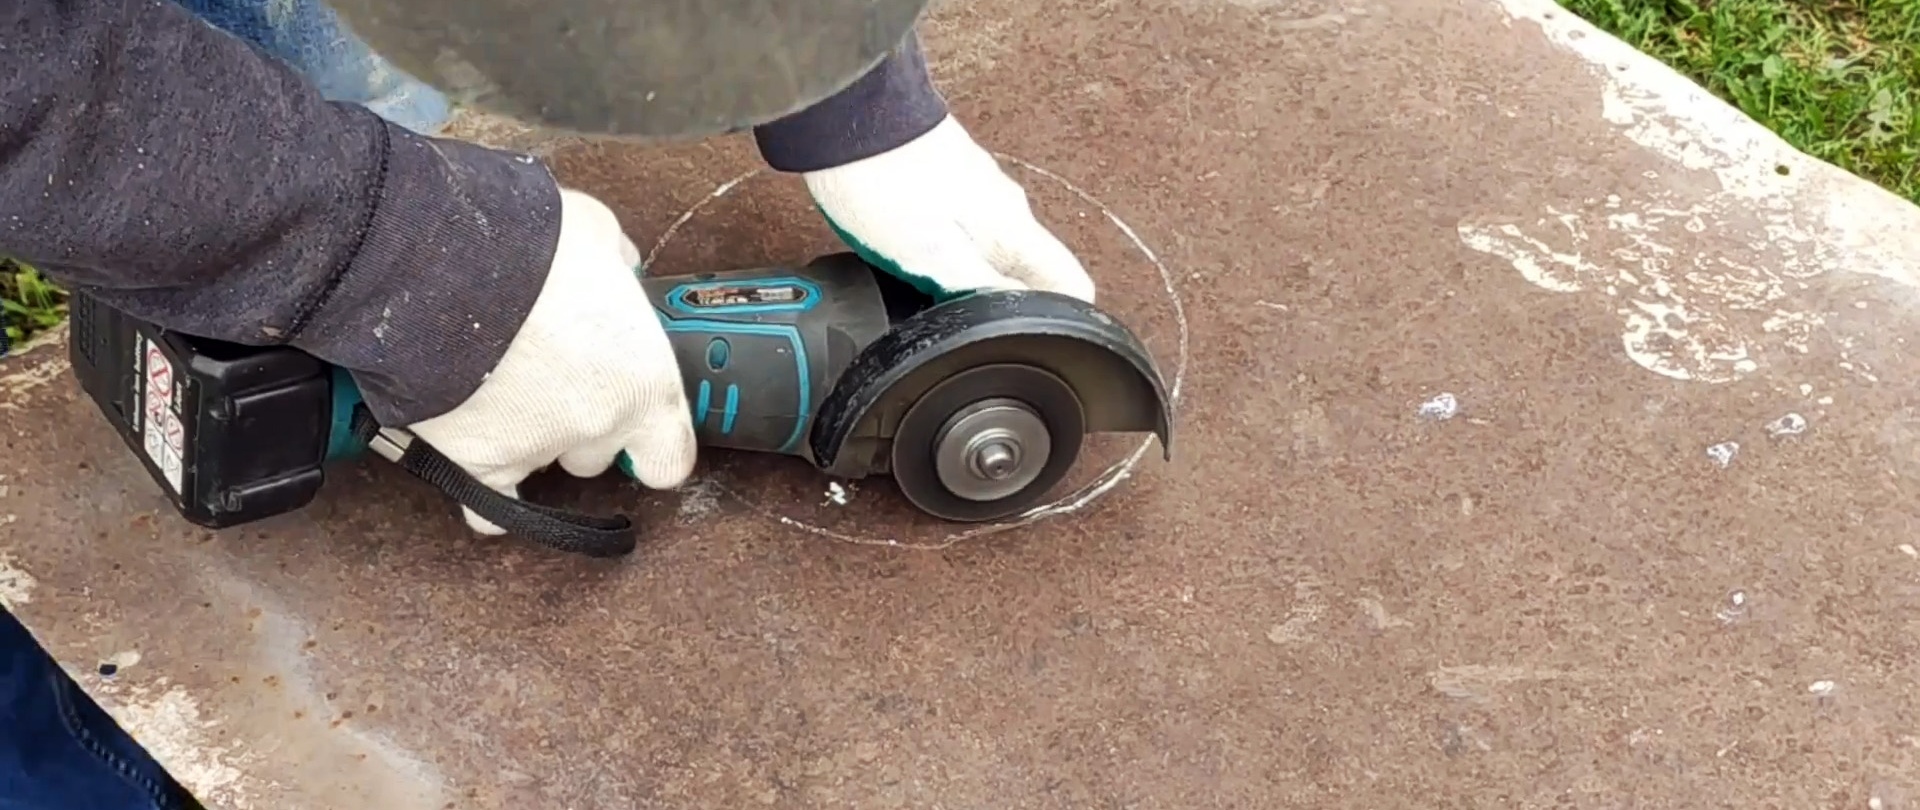
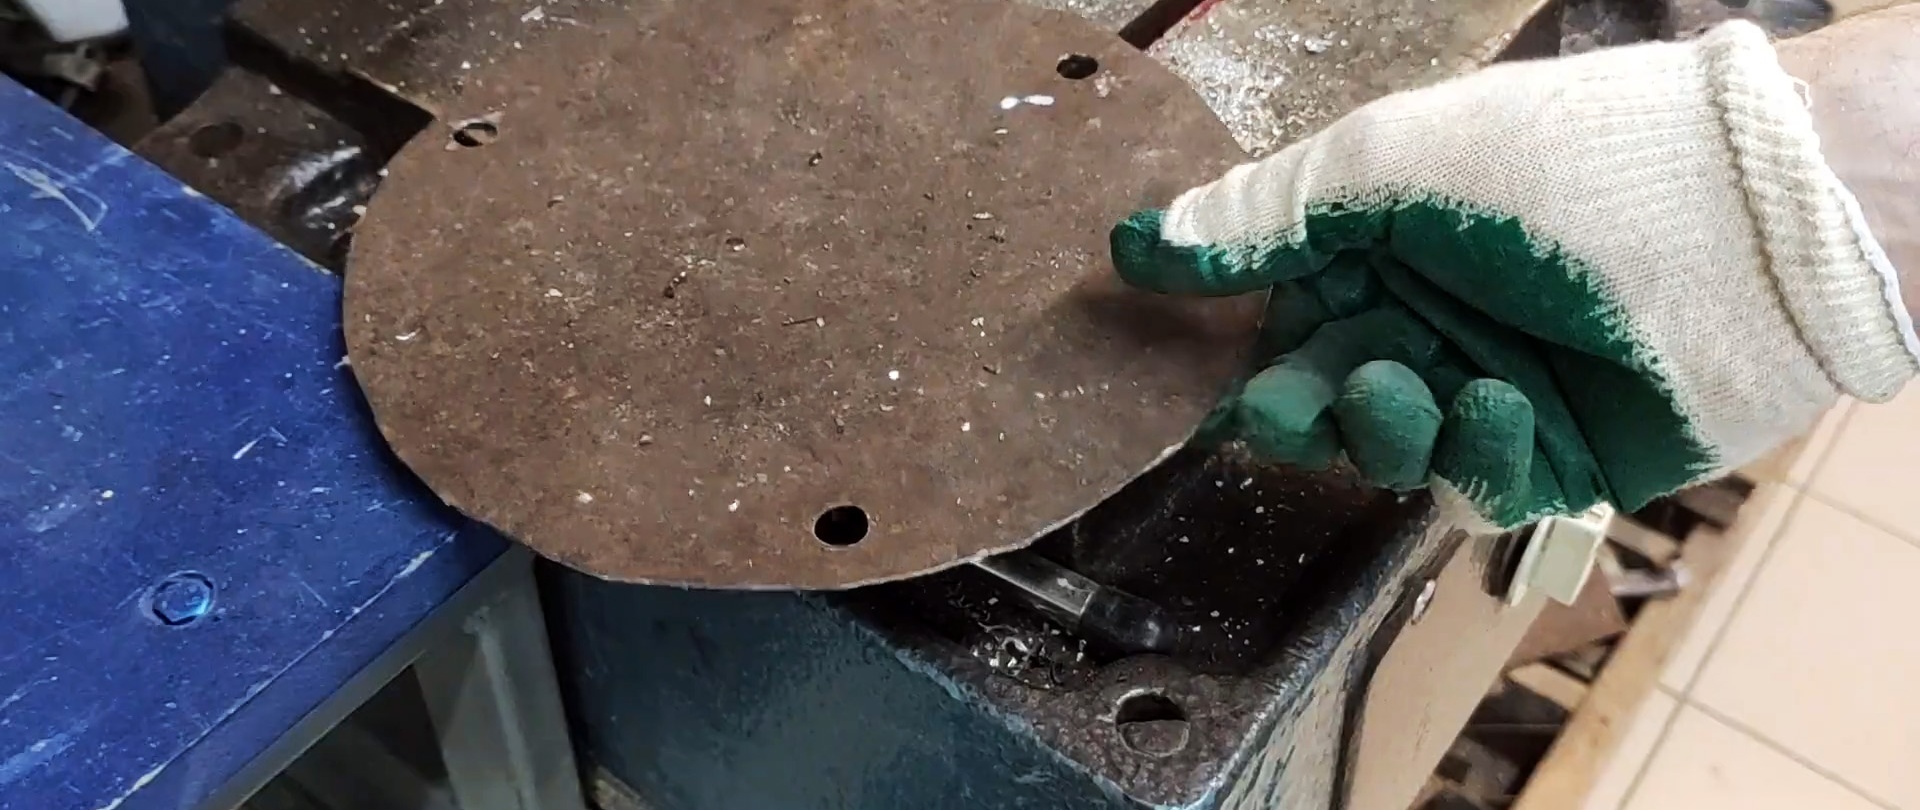
Place the kettle bottom down on an old, stale metal sheet and trace its outline on the surface of the sheet. We cut out a circle in the sheet with a grinder along the previously outlined contour in the form of a circle.
We place a teapot on a circle cut out of an old sheet and make marks on it, using the holes in the annular band remaining from the bottom as a template. Using the marks, we drill 3 holes in the circle on a drilling machine.
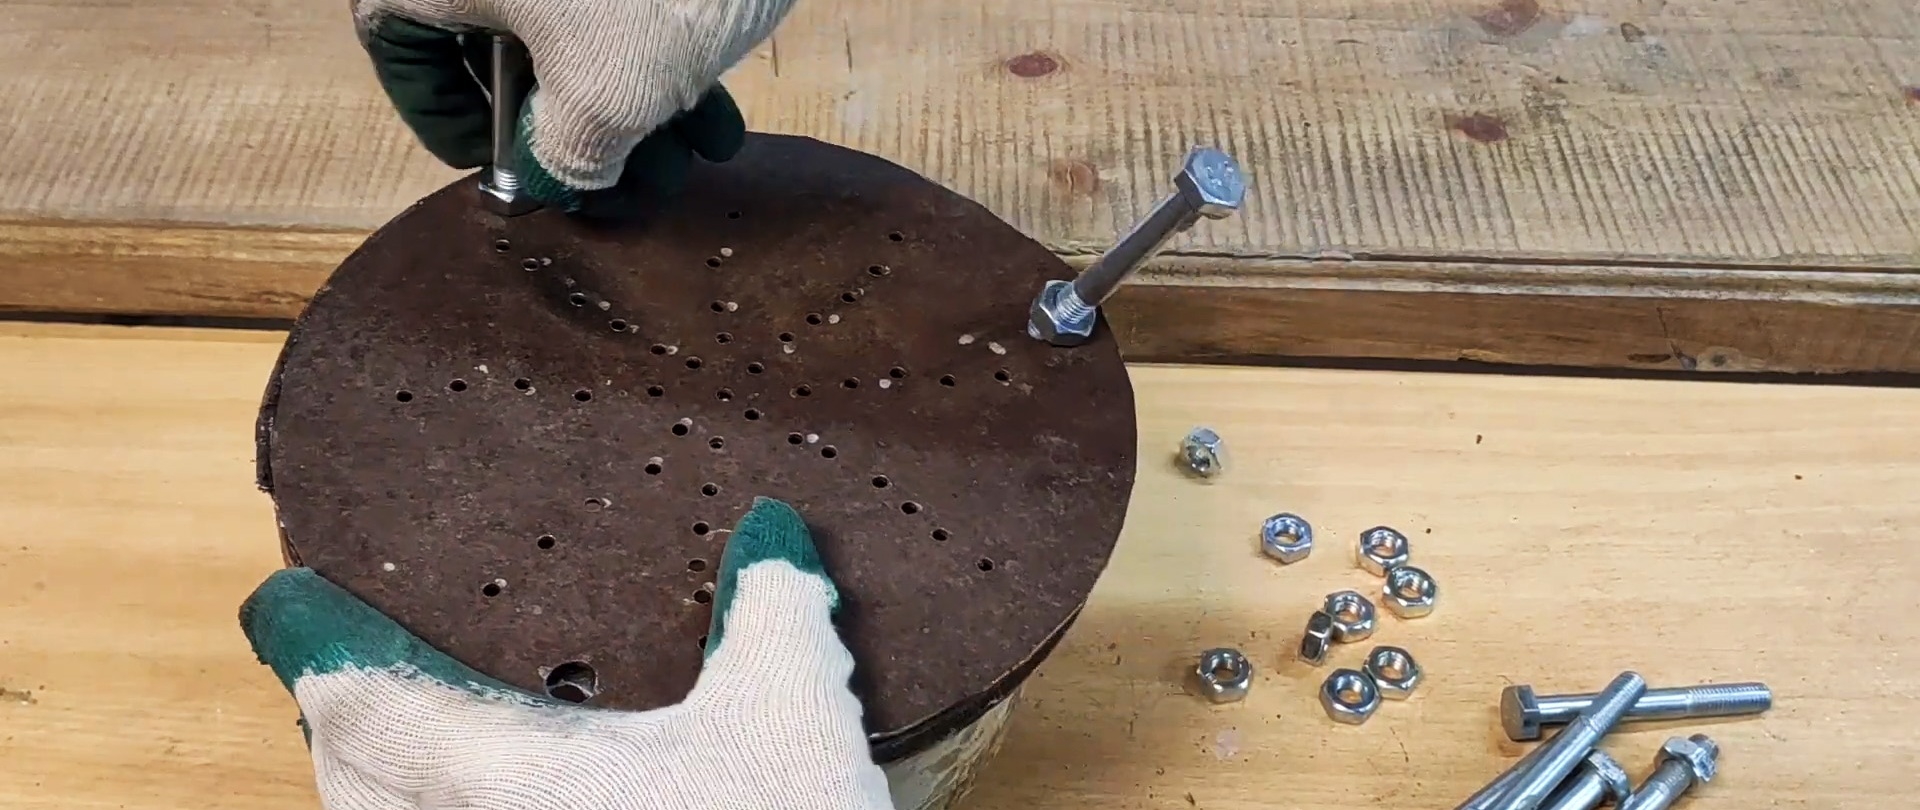
We apply a system of marks along several diagonals of the circle and, using a drill, perforate the circle along the previously marked marks.

Using two nuts and keys, each of the three bolts passed through the combined holes in the circle and the annular belt remaining from the bottom of the kettle is firmly secured. Moreover, the long part of the bolts remaining outside will serve as the legs of the future furnace.
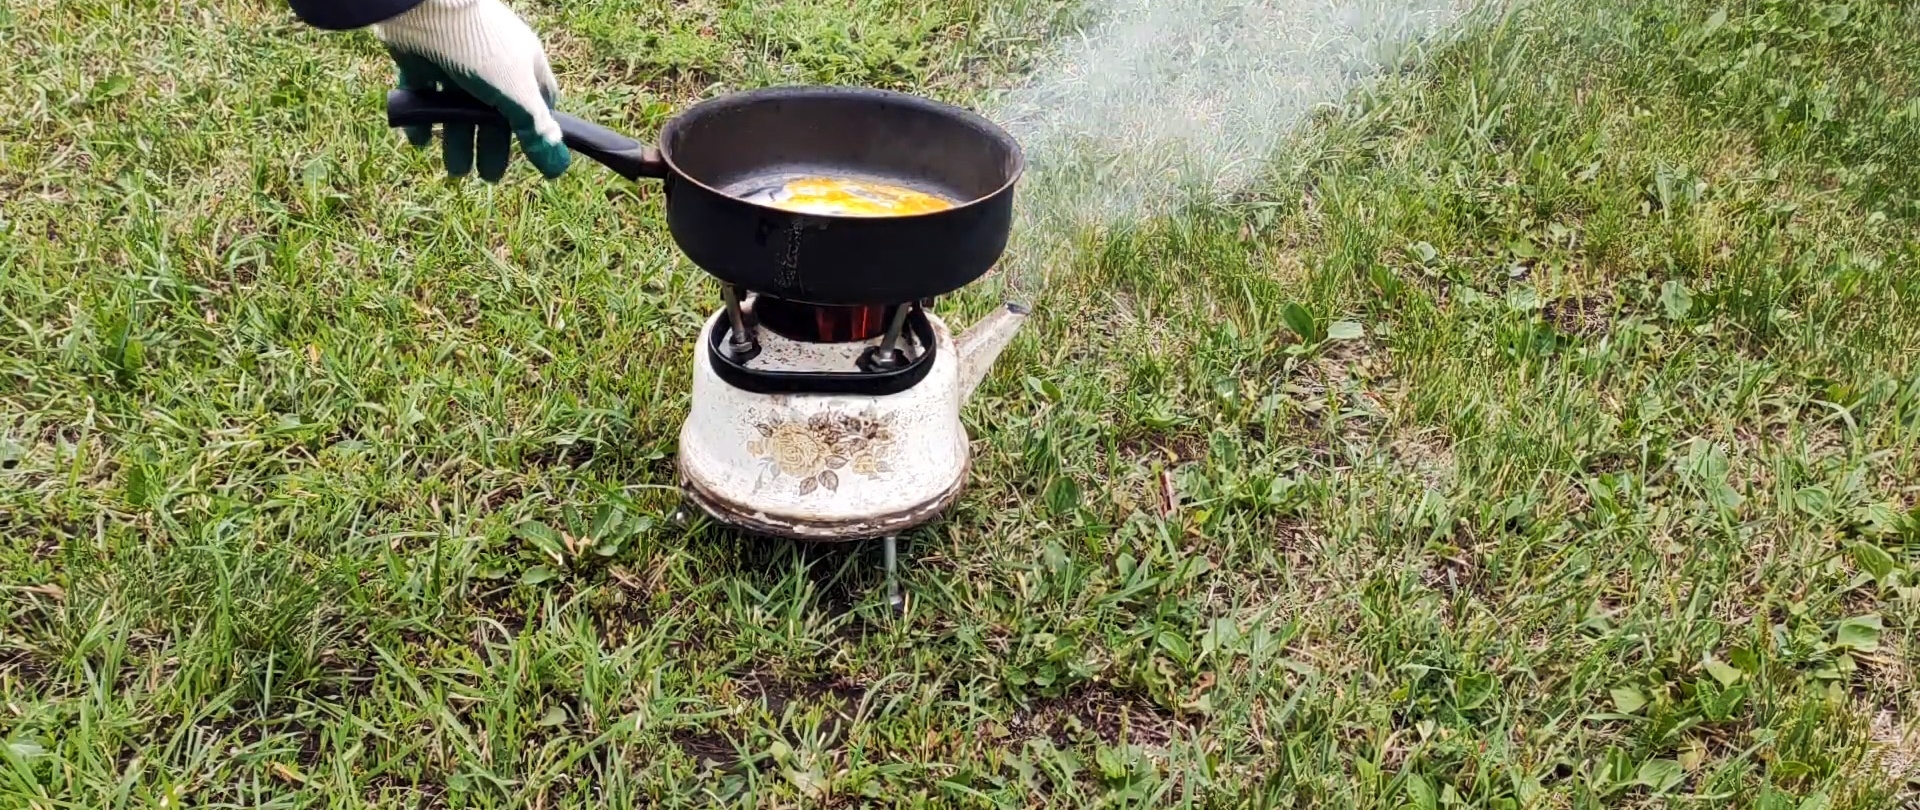
We also insert 4 bolts into the holes around the filler neck and secure each of them with two nuts. The protruding parts of the head bolts will serve as supports for the utensils when cooking.

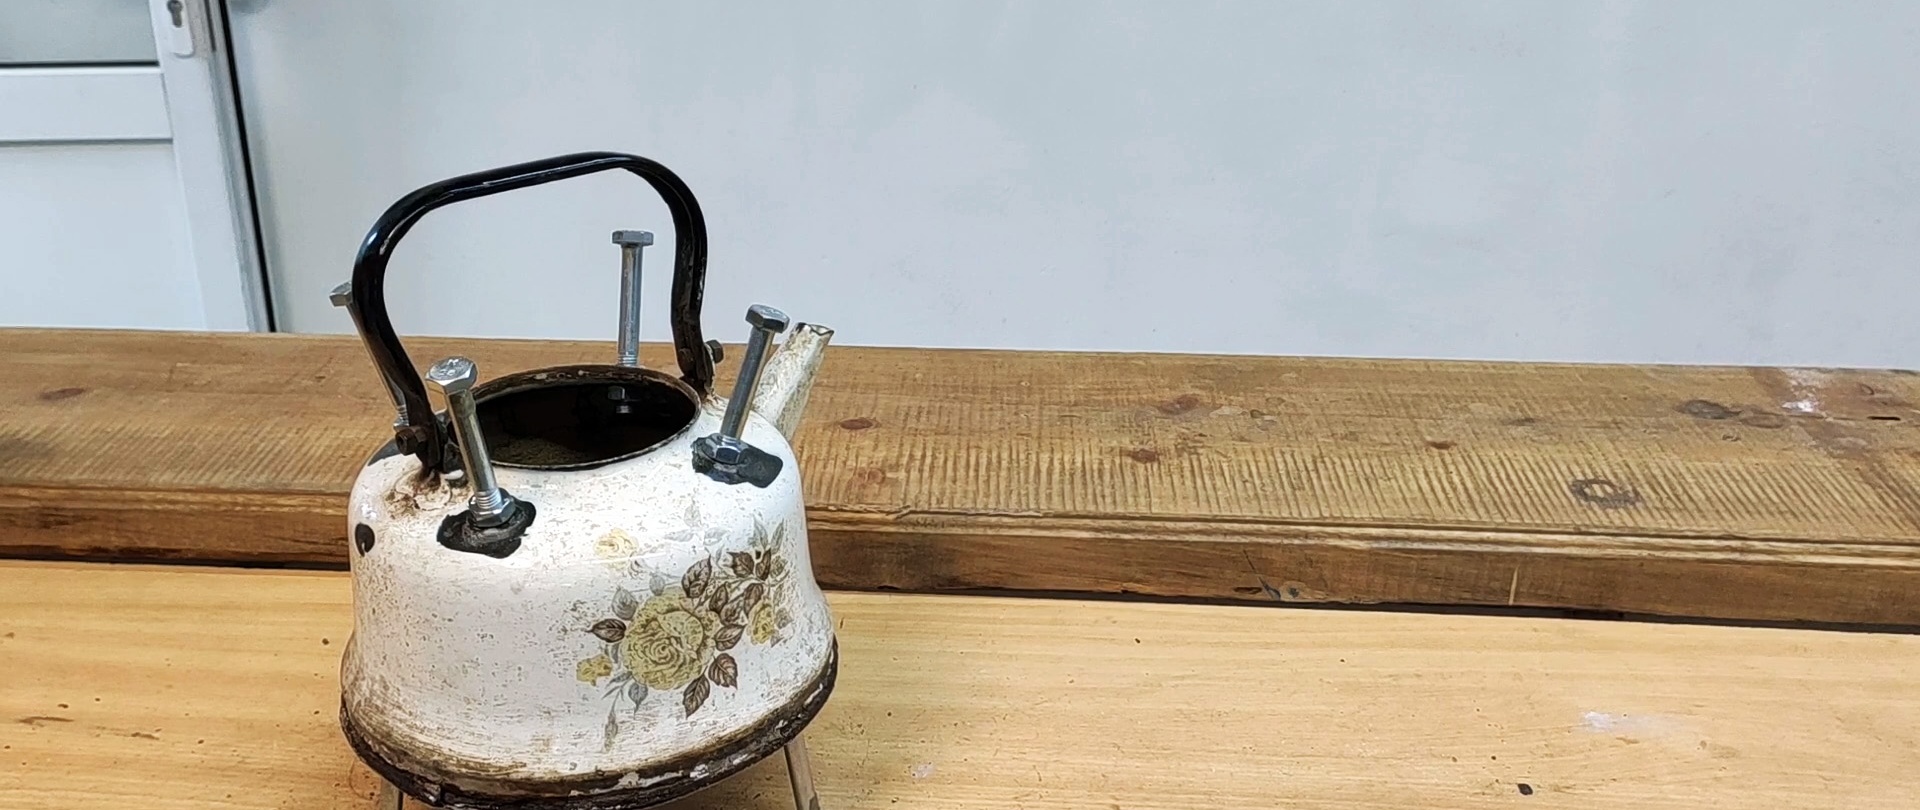

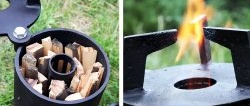
Leave the kettle handle in place. It will serve to carry the mini oven from one place to another. All we have to do is place the wood chips and small pieces of wood inside the kettle and light the fire.

Air to support combustion will be partially supplied through the perforation in the bottom, which is mainly designed to remove ash, spout and sucked through the neck of the kettle.

After finishing cooking, cover the neck of the kettle-stove with a lid so that the fire goes out faster.