The heads of old axes are usually massive, and their shapes do not meet modern ergonomic and design requirements. Therefore, it is necessary to remove excess metal, change the shapes and make the ax handle from durable wood with a beautiful texture. Any adult who is partial to metal and wood can cope with such work.
Will need
Materials:
- old axe;
- solid ash wood;
- aluminum strip;
- remains of flat aluminum metal;
- metal pins;
- glue for metal and wood;
- impregnation for wood with a water-repellent effect;
- L-shaped fixing plate with hole and screw.
Tools: clamps, grinder, grinder with a set of sanding belts, hand files, polishing wheel and GOI hard paste, sandpaper, circular saw with jointer, jigsaw, drilling machine, drill, milling cutter, etc.
The process of restoring the head of an old ax and making a modern ax handle
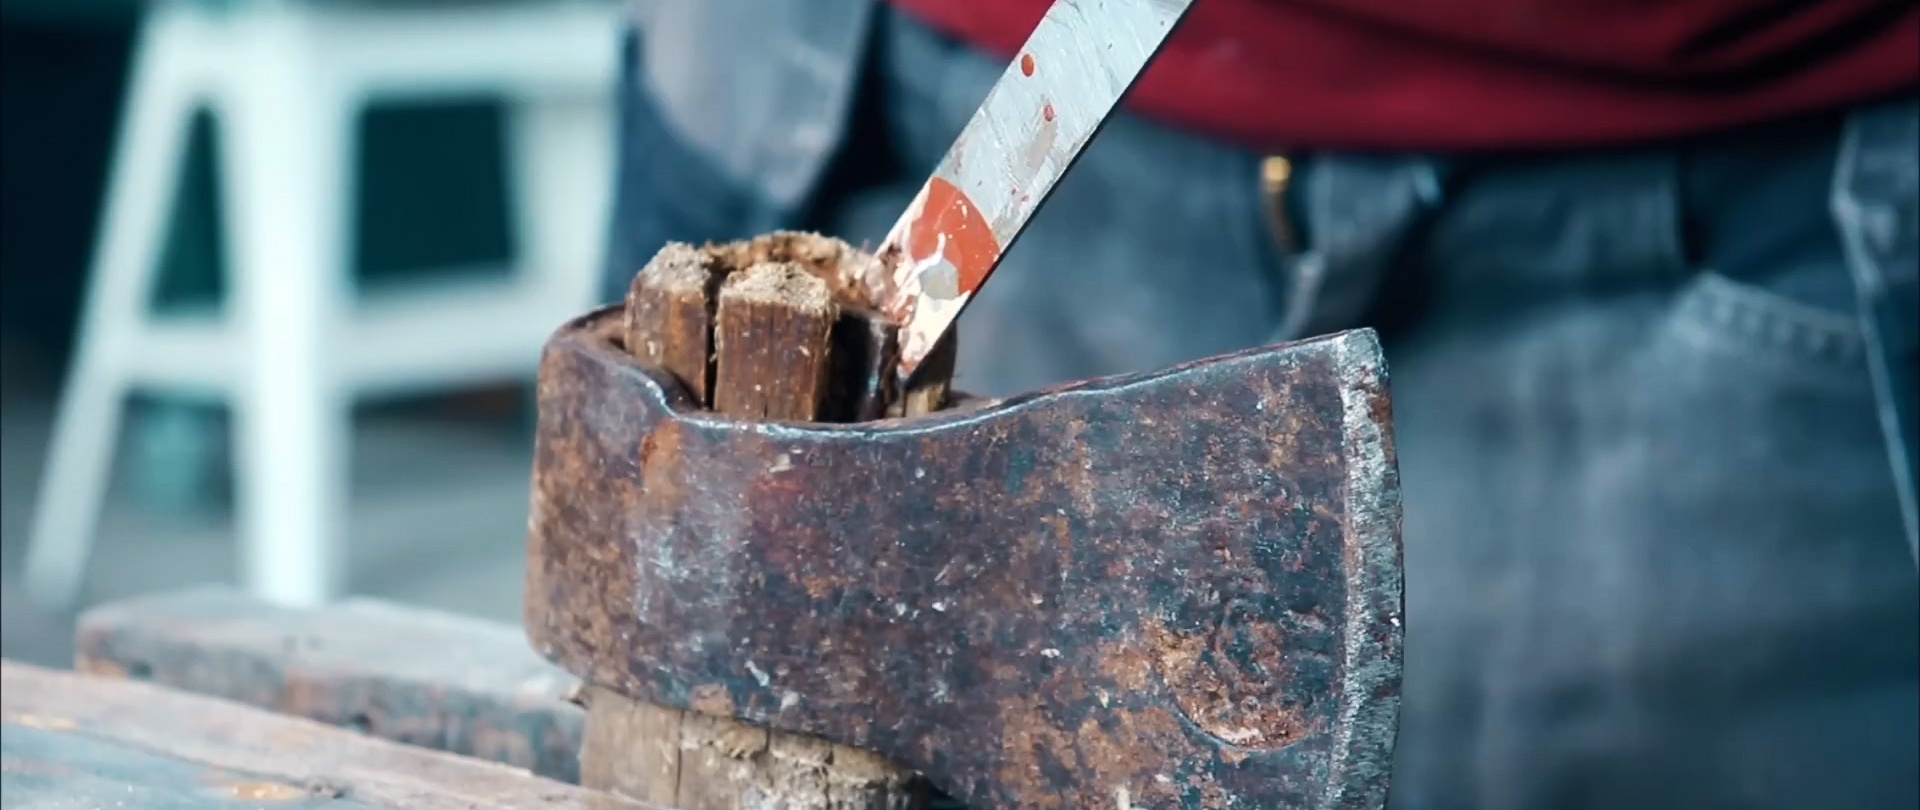
Having taken out the steel wedge, we remove the ax head from the old handle.
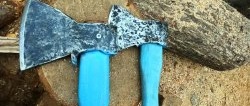
Along the sides of the canvas and the back side of its cheek, we draw lines with a marker along which we will remove the metal, first with a grinder, then with a grinder, starting with a coarse sanding belt and ending with a fine-grained one.


We outline the lines for processing the edges of the new contours of the canvas, starting with a grinder and coarse sandpaper, then with hand files and finally again with a grinder with fine-grained sandpaper. We polish the ax head with a circle using GOI hard paste and finish it with fine-grained sandpaper.
We process solid ash wood on all sides using a jointer. We transfer the outline of the paper template of the ax handle to the flat surface of the processed ash wood and cut out the workpiece on a jigsaw.


We saw the ax blank lengthwise into halves. Between them we place an aluminum strip, the dimensions of which along the entire contour protrude beyond the halves of the handle blank. We compress the resulting “pie” with clamps and drill it has 3 through holes.


On the tail part of the ax halves, we mill to half the thickness using a hand-held circular saw and make 3 inclined blind slots. We finish the milled surfaces with a hand file.
According to the shape of the milling cutouts on the ax handle, we cut out 2 overlays from the aluminum remains. We expand the holes in the aluminum strip and place steel pins in them.

We cover the halves of the ax blank and the aluminum strip with inserted pins with wood and metal glue and connect them. We glue aluminum strips into the slots of the ax handle blank. Glue the pads on the tail part of the handle. We compress everything with clamps and leave until completely set.
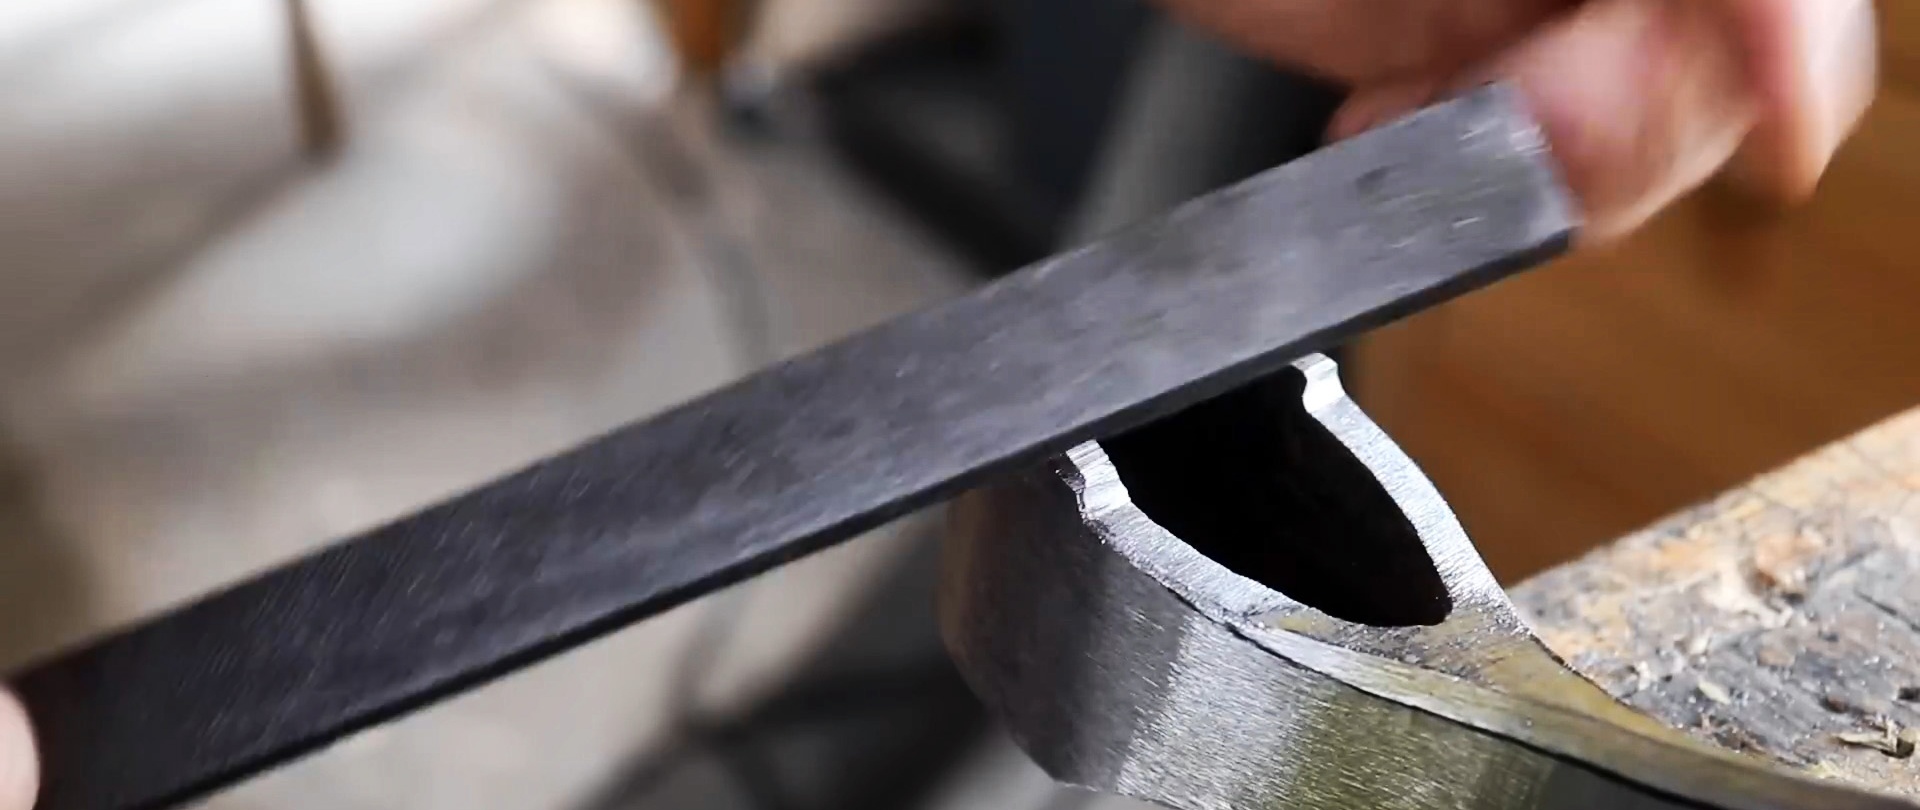
We cut out almost the final contour of the ax from a blank with an aluminum strip, overlays and strips and finish it on the grinder.We adjust the head part of the ax to the size of the back side of the eye using a chisel and mallet, as well as a file.


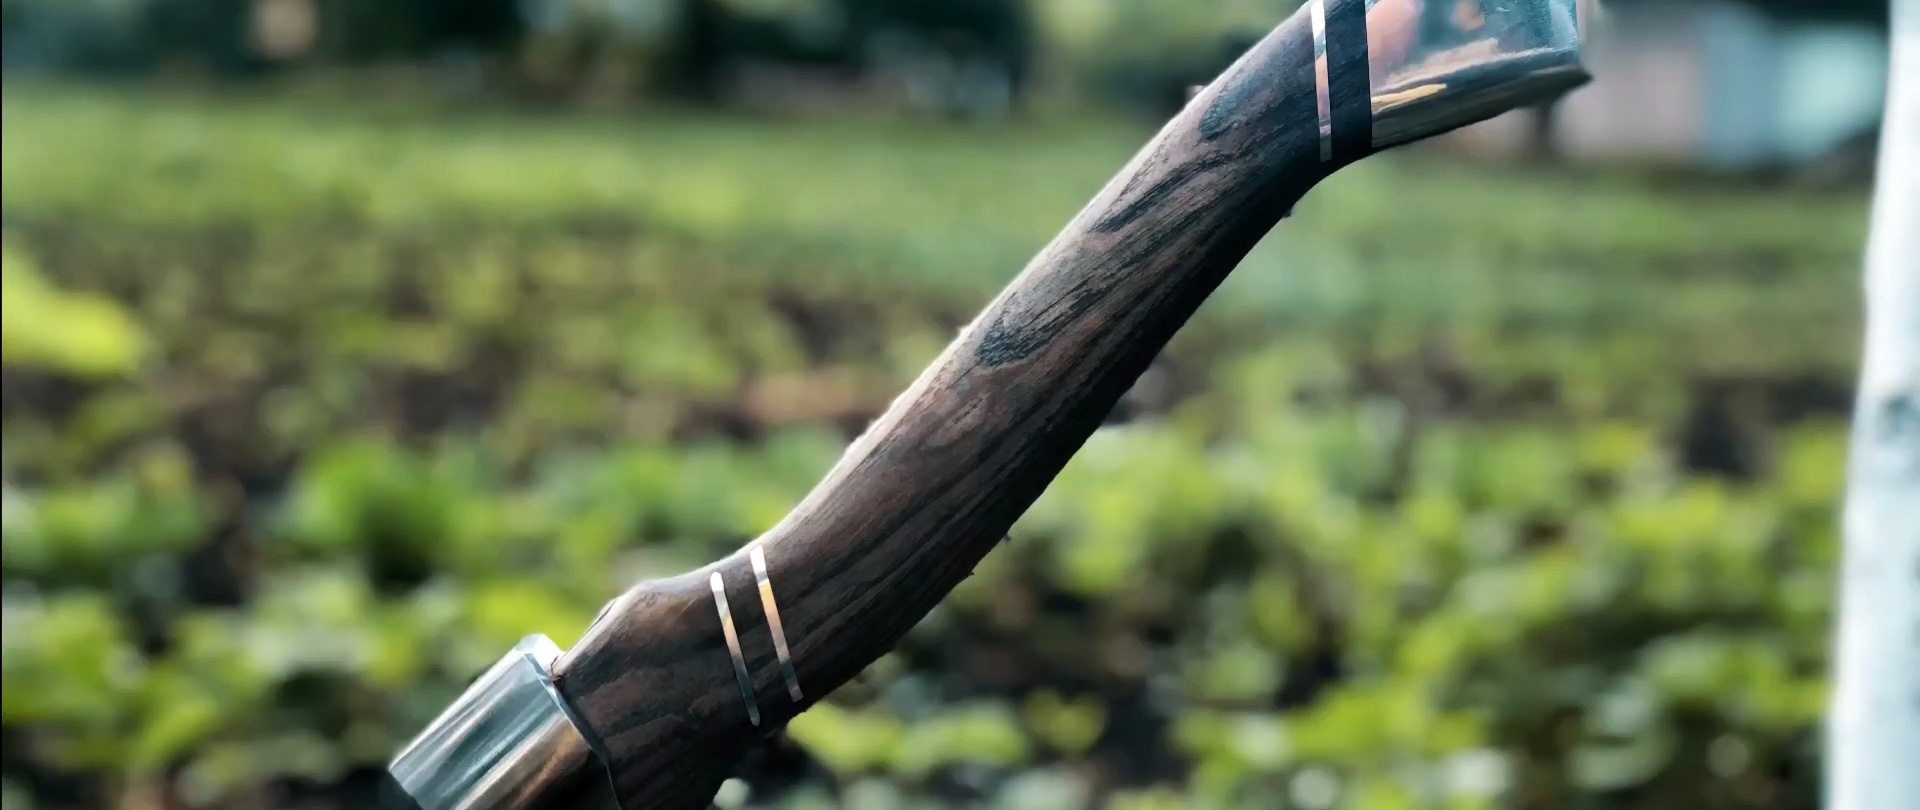
We cover the finished ax handle, including aluminum plates and strips, with wood impregnation with a water-repellent effect and rub it in with a cloth.

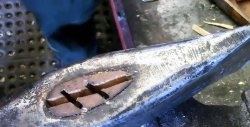
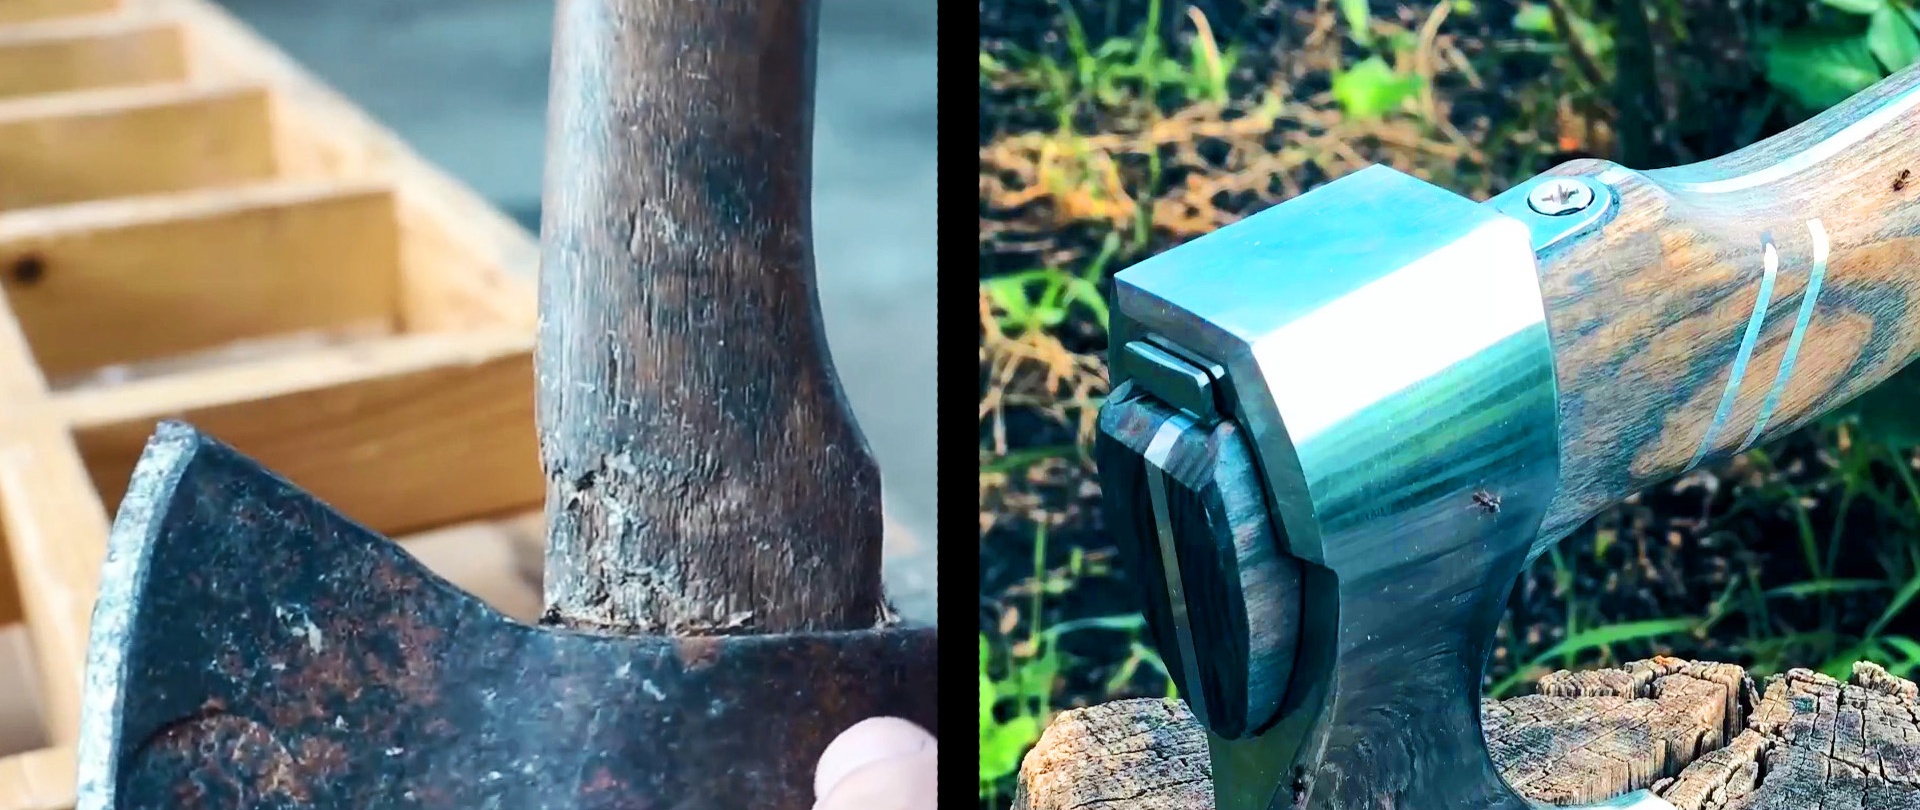
On top of the head of the ax handle we mill a shallow groove for the mounting plate. We place the ax head on the handle, having previously placed an L-shaped fixing pad in the upper part of the eye.

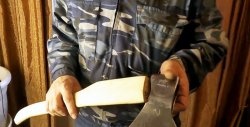
Using a mallet, we install all the elements of the ax - the head, handle and fixing plate into place, and secure the plate with a screw to the ax handle. The ax, which has acquired a modern look, is ready for use.