High-quality sharpening of a kitchen knife or any other knife using a sharpening stone requires skill and a steady hand to keep the sharpening angle constant throughout the entire length of the blade from the beginning to the end of the process. If you assemble a simple sharpener from wooden blanks and an uncoated electrode, then any adult will be able to ensure a constant sharpening angle for a knife.

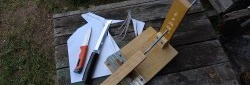
Will need
Materials:
- wooden blanks of various sizes;
- uncoated metal electrode;
- several types of screws;
- office clips;
- strips of sandpaper of various grain sizes;
- dull knife.
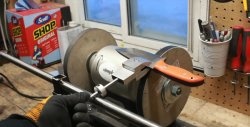
Tools: hand saw, drill, chisel, hammer, scissors, pliers, vice, hand screwdriver, etc.
The process of making a simple knife sharpener from wooden blanks and an electrode

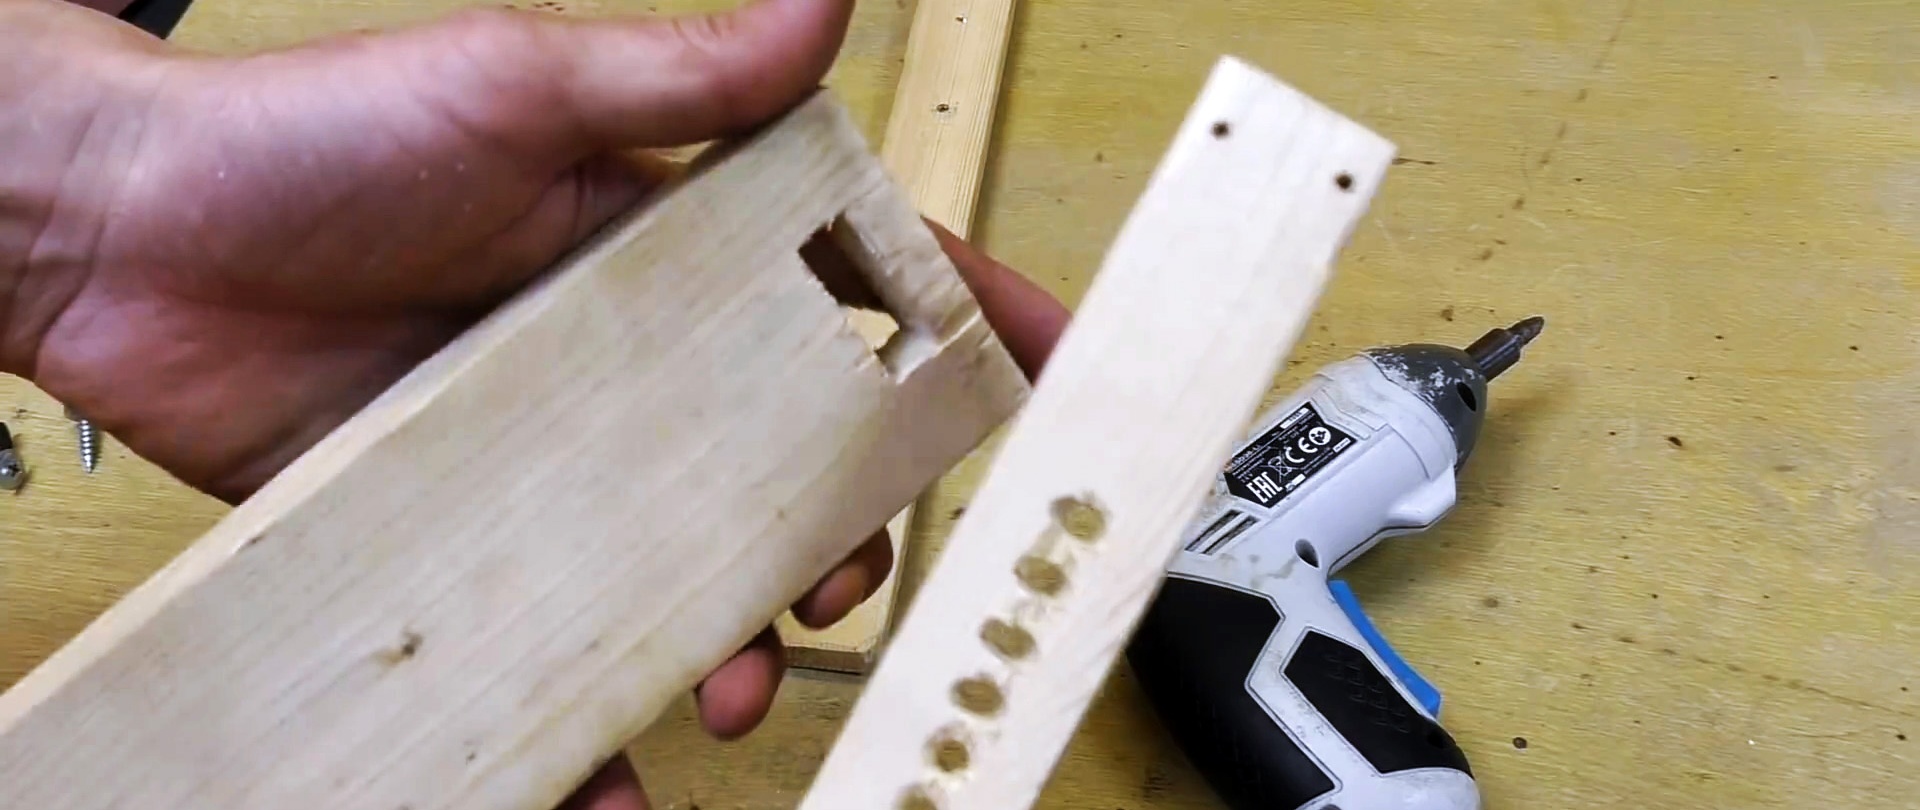
To the rectangular base of the sharpener with a slot at one end of a given length and width, we attach a stop transversely with self-tapping screws with an inclined cut to the width of the base. This fastening ensures the tilt of the base, which is necessary to ensure high-quality sharpening of the knife.

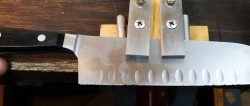
Into the rectangular hole of the base we insert a bar with perforations along the height of a round shape with smoothed entrances and exits, and screw it to the base with self-tapping screws. Above the stop, we do not completely screw 2 screws with wide round heads into the base. They will be needed to fix the knife during the sharpening process.

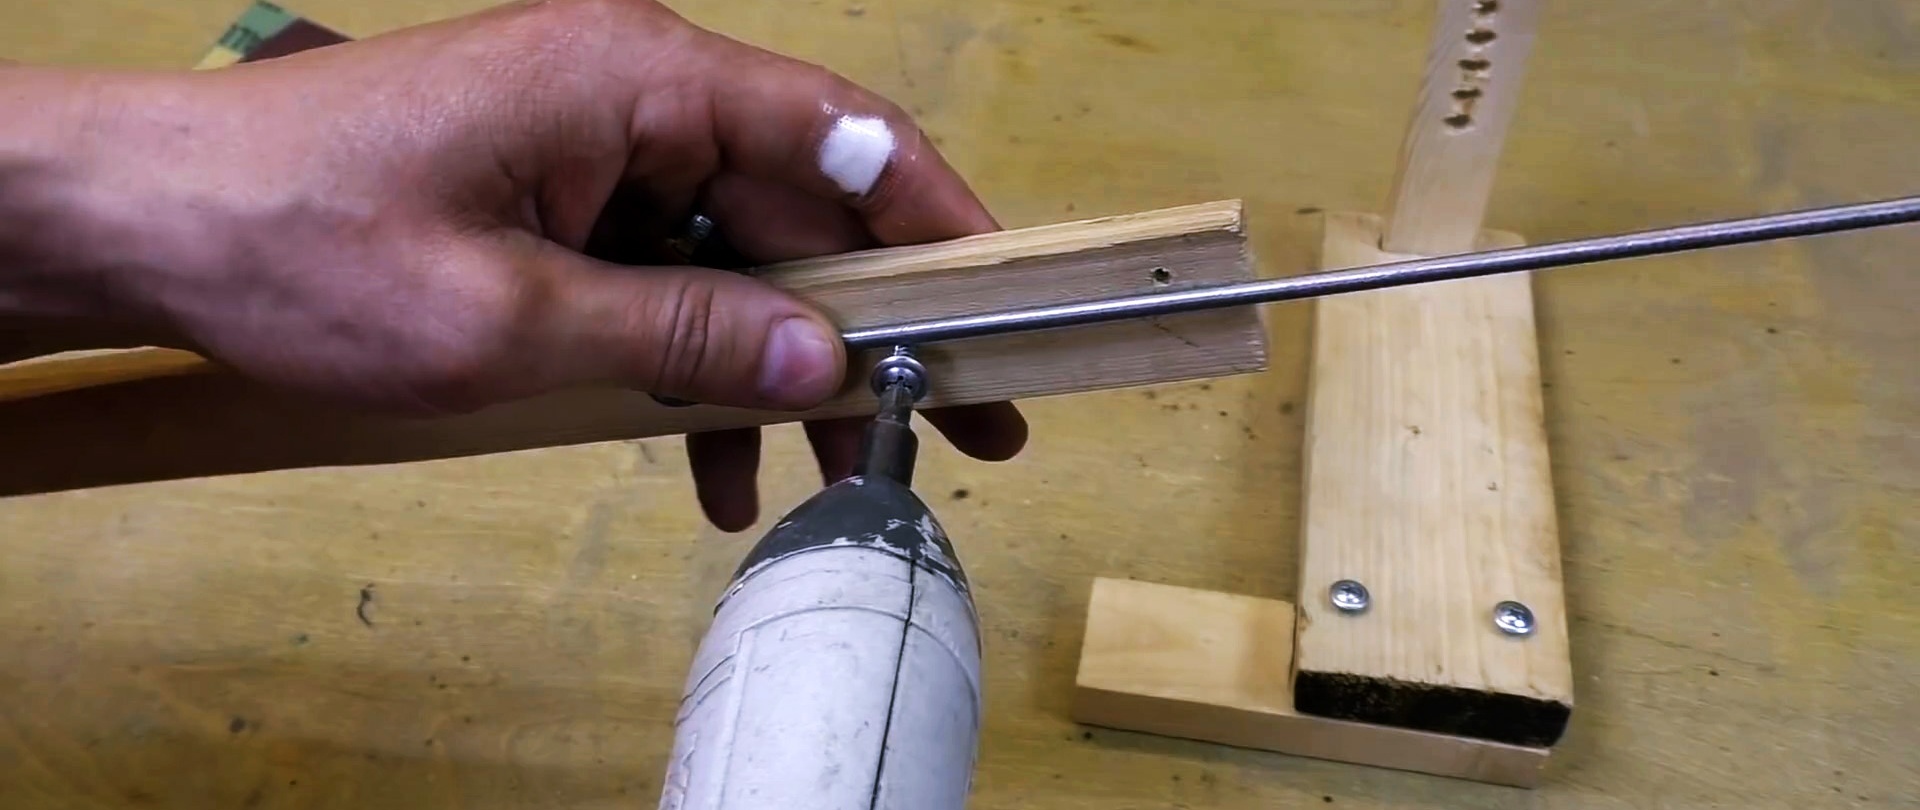
We bend one end of the cleaned electrode 180 degrees, lay it with a bend in the longitudinal direction on a wooden plank, starting from the middle, and secure it with three shortened screws, also with wide heads.

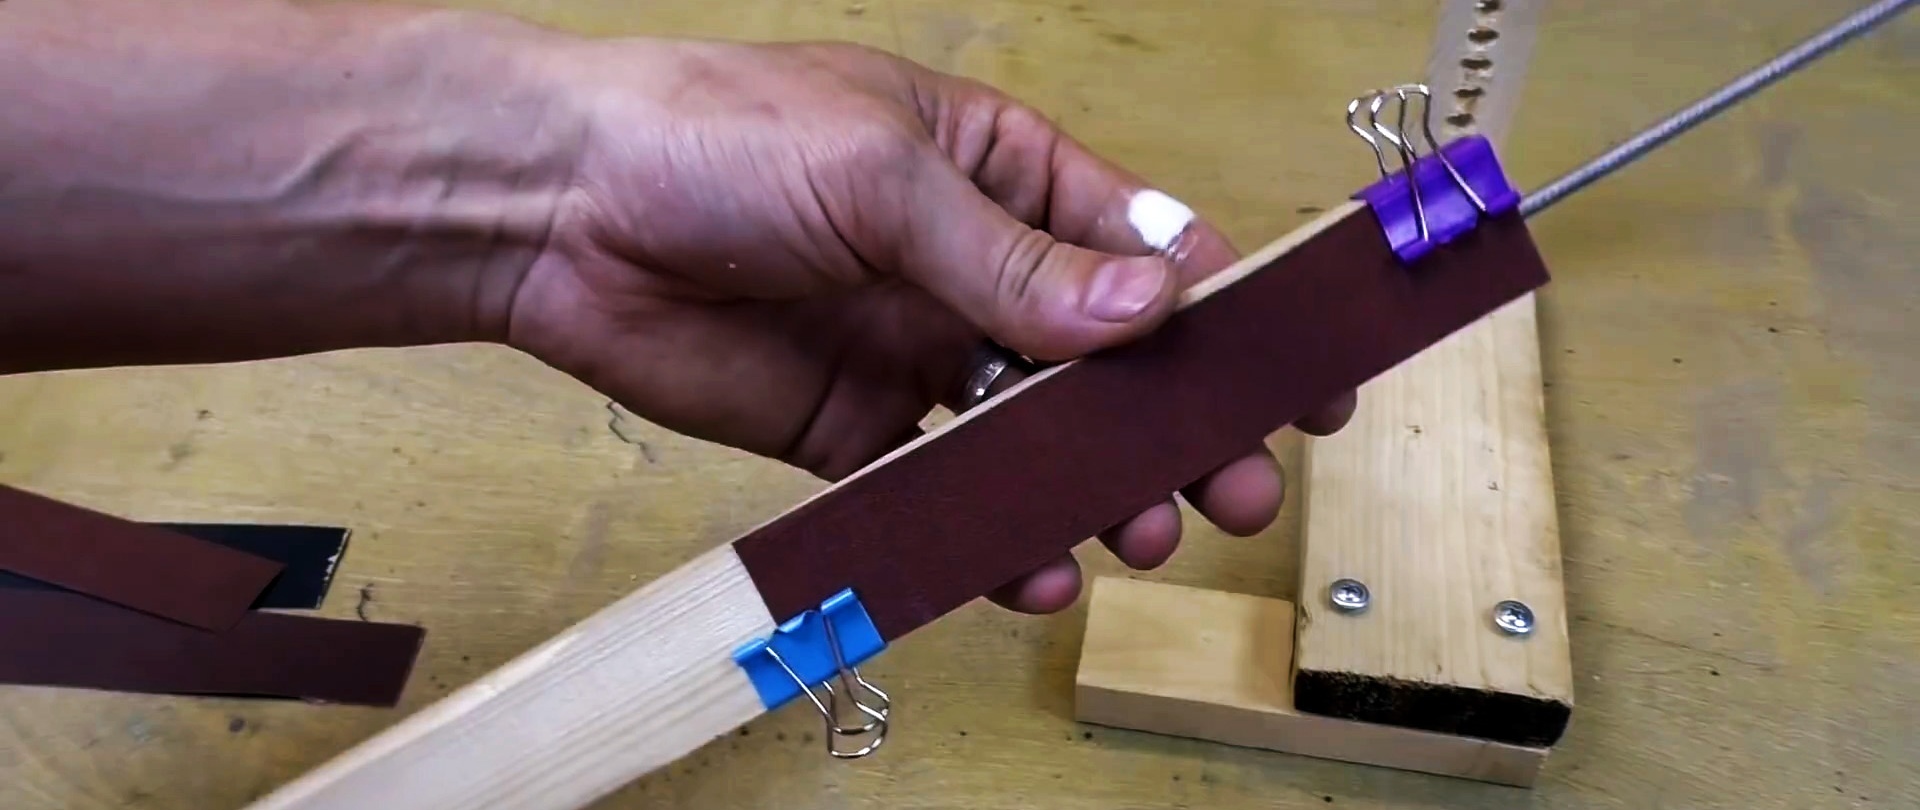
On the opposite side of the wooden block we lay a strip of sandpaper of the required grit and secure it on both sides with office clips. If necessary, one sandpaper can be easily replaced with another.
We slide the butt of the knife, the blade of which requires sharpening, under the heads of the screws screwed into the base and tighten it. We insert the straight end of the bare electrode into one of the holes in the bar to ensure the required sharpening angle for this knife.

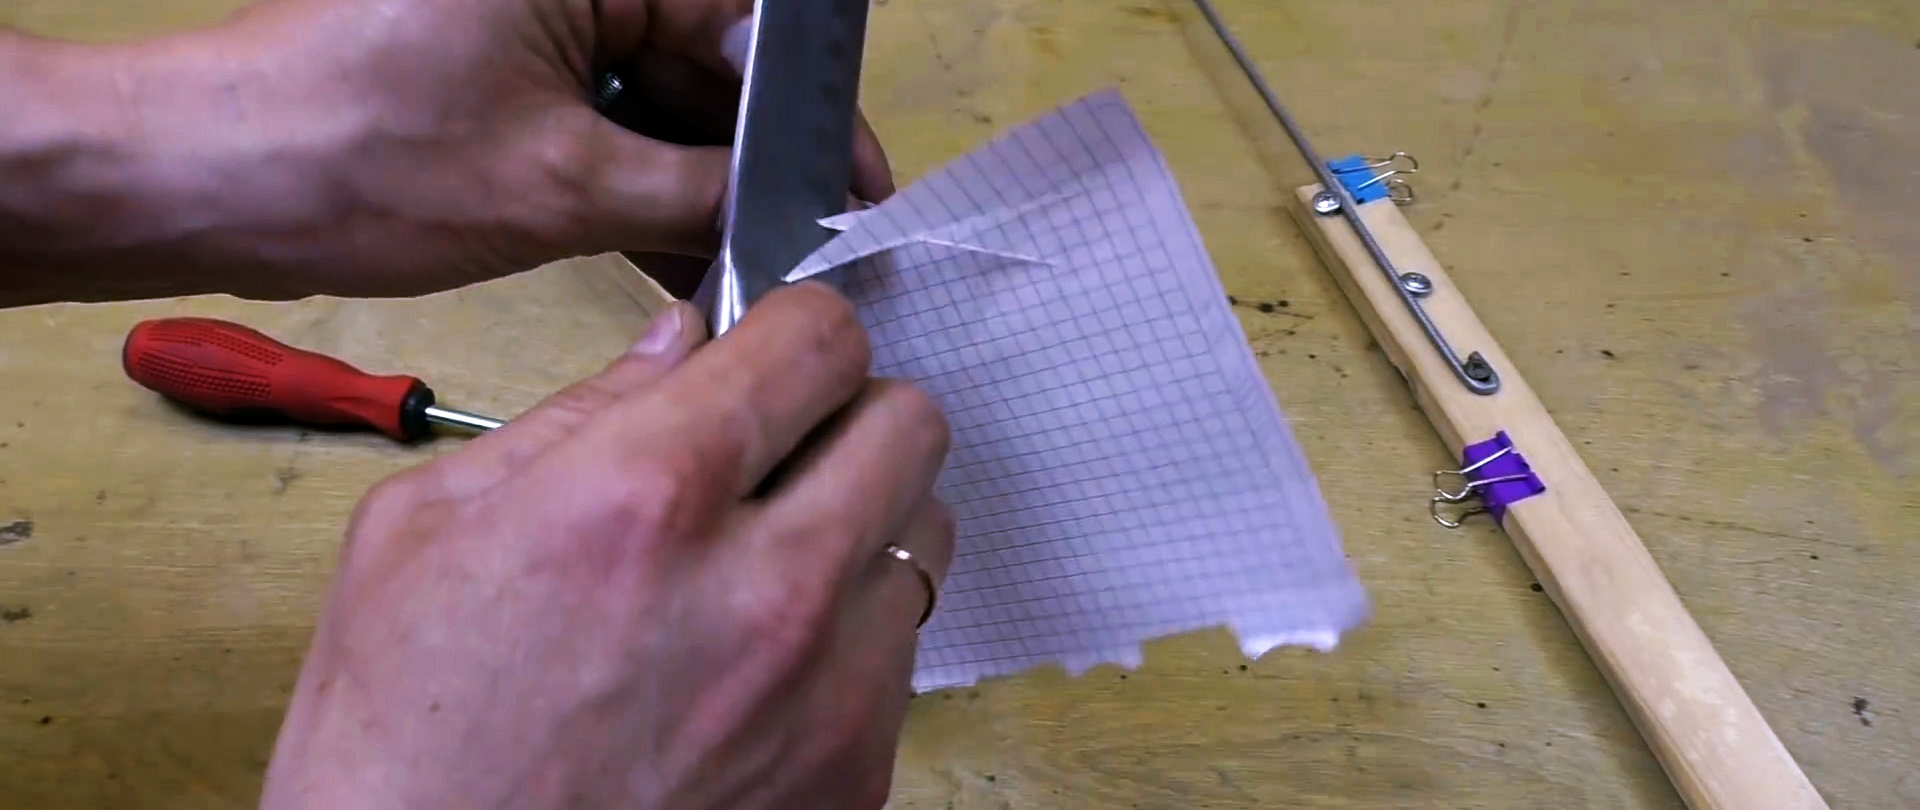
Sharpening is carried out by moving the sharpening bar with sandpaper in the transverse and longitudinal directions. After sharpening one side of the blade, we rearrange the knife and sharpen the second side of the blade. If sharpening is done completely and correctly, the knife will easily cut the paper without creasing it.