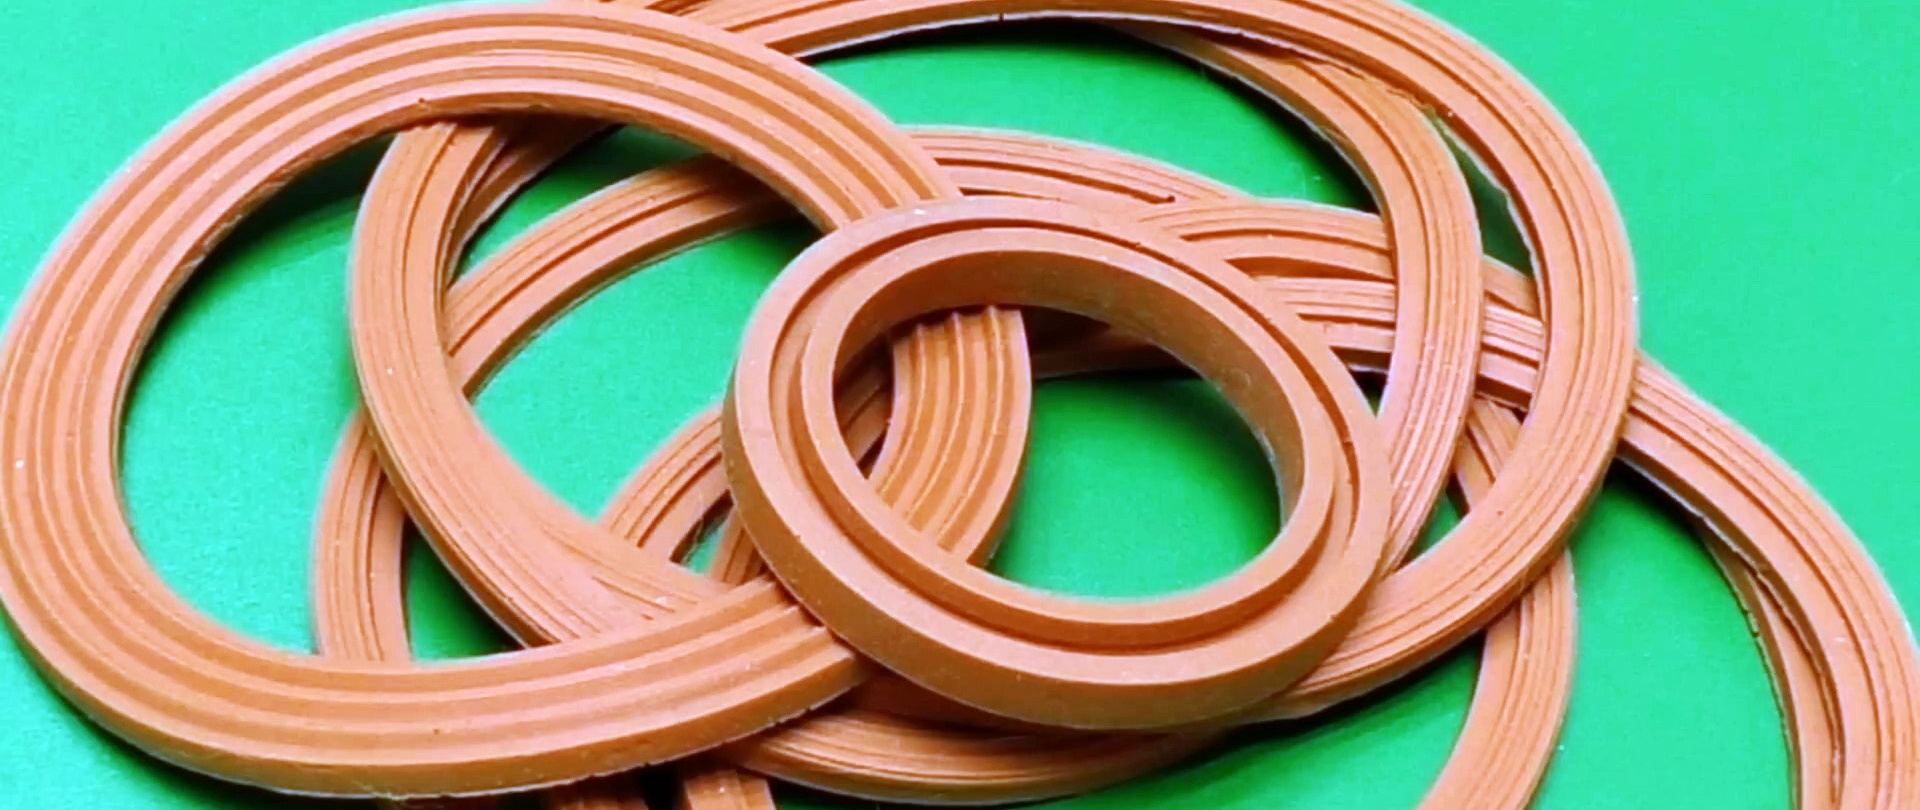
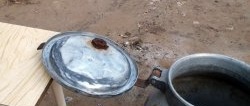
The technical equipment of modern homes and especially kitchens is increasing every year. Often, kitchen appliances and mechanisms operate under high or, conversely, low pressure (under vacuum). The gaskets used in them fail over time, and finding replacements is difficult or even impossible. Let's consider a method for making high-quality silicone gaskets at home.

Will need
Materials:
- two-component food grade silicone;
- plasticine;
- silicone spray;
- turntable made of metal or plywood;
- thin sheet plastic;
- plastic tube;
- bolt, regular nut and wing nut;
- hot glue;
- glass, film, etc.
Tools: ruler, marker, wire cutters, needle file, drill, scissors, etc.
The manufacturing process of silicone gaskets for round parts of any profile
We will produce a silicone gasket with a complex relief, which is quite labor-intensive and is only suitable for two-component silicone, but the quality of the product is not inferior to factory ones. We decide on the section of the gasket. It can be made by pouring silicone into a suitable matrix made using a scraper.This tool removes all excess from the soft base. If you rotate a scraper such as a compass, you will get a cylindrical groove with the desired relief. Fill it with silicone and wait for it to harden. Based on the dimensions and radius of the scraper, we find the location of the matrix on the rotary table. The most accessible material for its manufacture is plasticine.
The path from idea to finished gasket
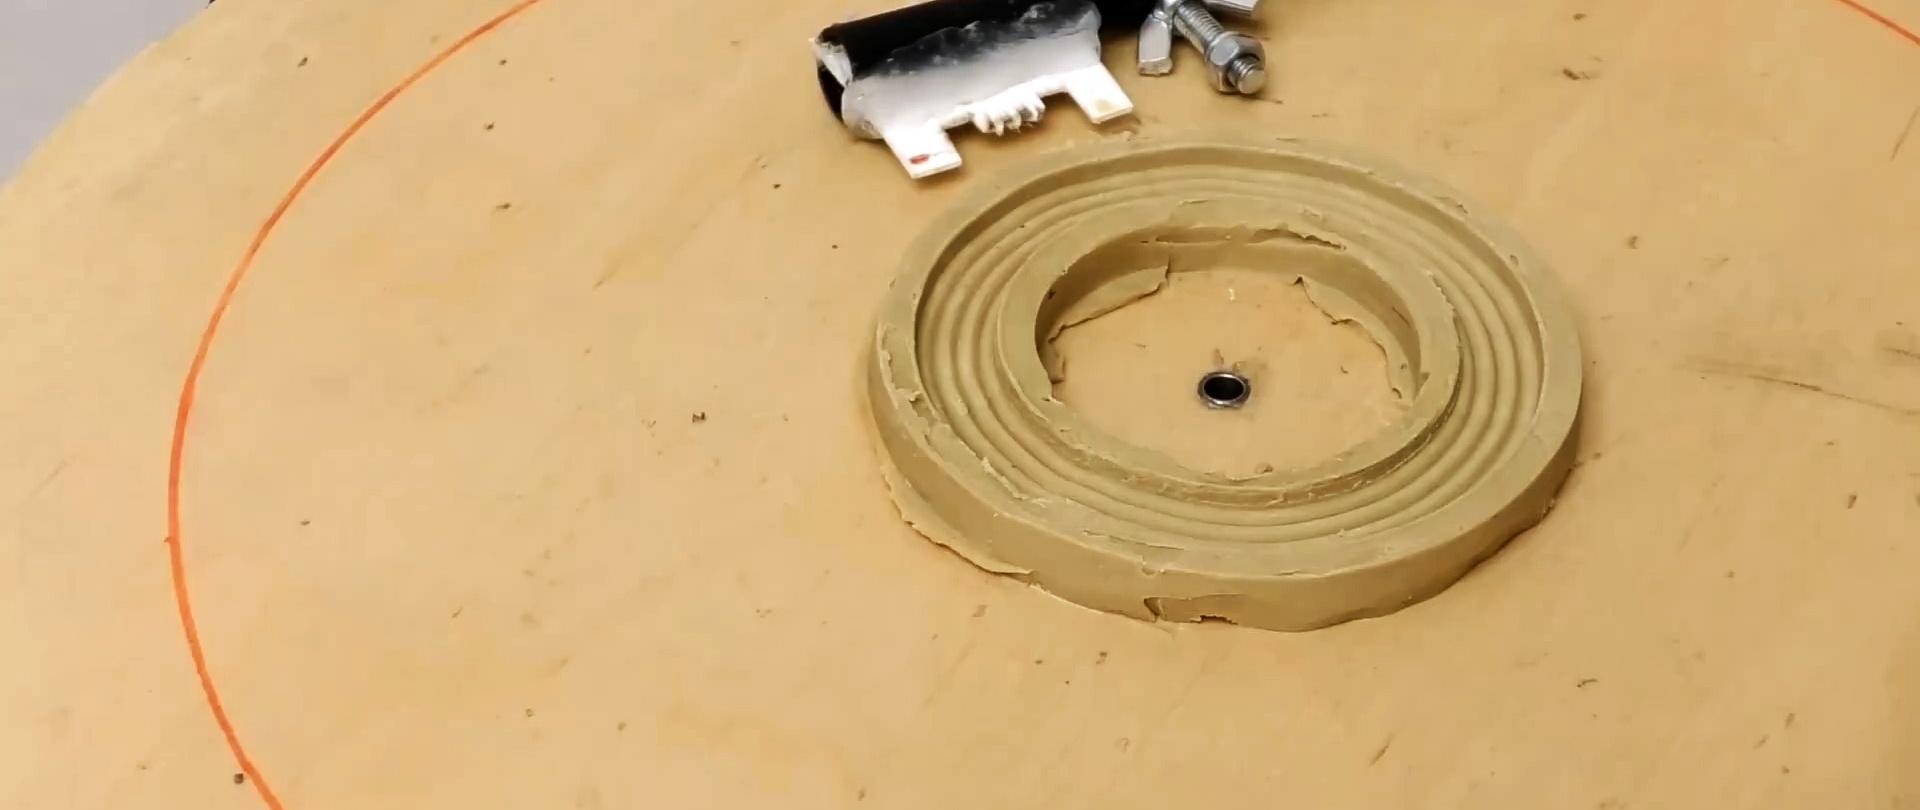
We form the matrix on a turntable made of metal or plywood, impregnating the working side with varnish for better adhesion of the plasticine. We drill a hole in the center and insert a metal sleeve. Then, when working with a scraper, it will not break, will provide better accuracy and will last much longer.
We make a scraper from thin sheet material up to 1 mm thick: stainless steel, plastic, textolite, etc. We determine the cross-section of the gasket, draw a drawing of its transverse profile and calculate the dimensions.

Then we install the shape of the scraper. We make the scraper blade from thin plastic according to the drawing.

We make shallow cuts in the profile of the scraper, which will further facilitate the work. There will be protrusions on the matrix in the places where the cuts are made. After pouring the silicone and covering it with glass, the gasket will be separated from the flowing silicone. It will be easy to remove from the mold and there will be no flash.

We fix the scraper blade on the tube with the slot, find the radius of the scraper and drill a hole in the tube in accordance with the dimensions of the gasket. As a leg we use a bolt with a regular nut and a wing nut.
Align the blade and secure it with hot glue. While the glue has not cooled, we make adjustments. Next, we form a matrix of plasticine on a turntable, taking into account the dimensions of the scraper and the radius of its rotation.If we did not guess correctly with the amount of plasticine, then we correct the mistake by increasing the missing area.
The nuances of working with the matrix are described above, so let’s start pouring the silicone. We will cover the silicone with glass covered with film to simplify the process of removing the finished gasket. To avoid wrinkles, stretch the film and secure it with masking tape.

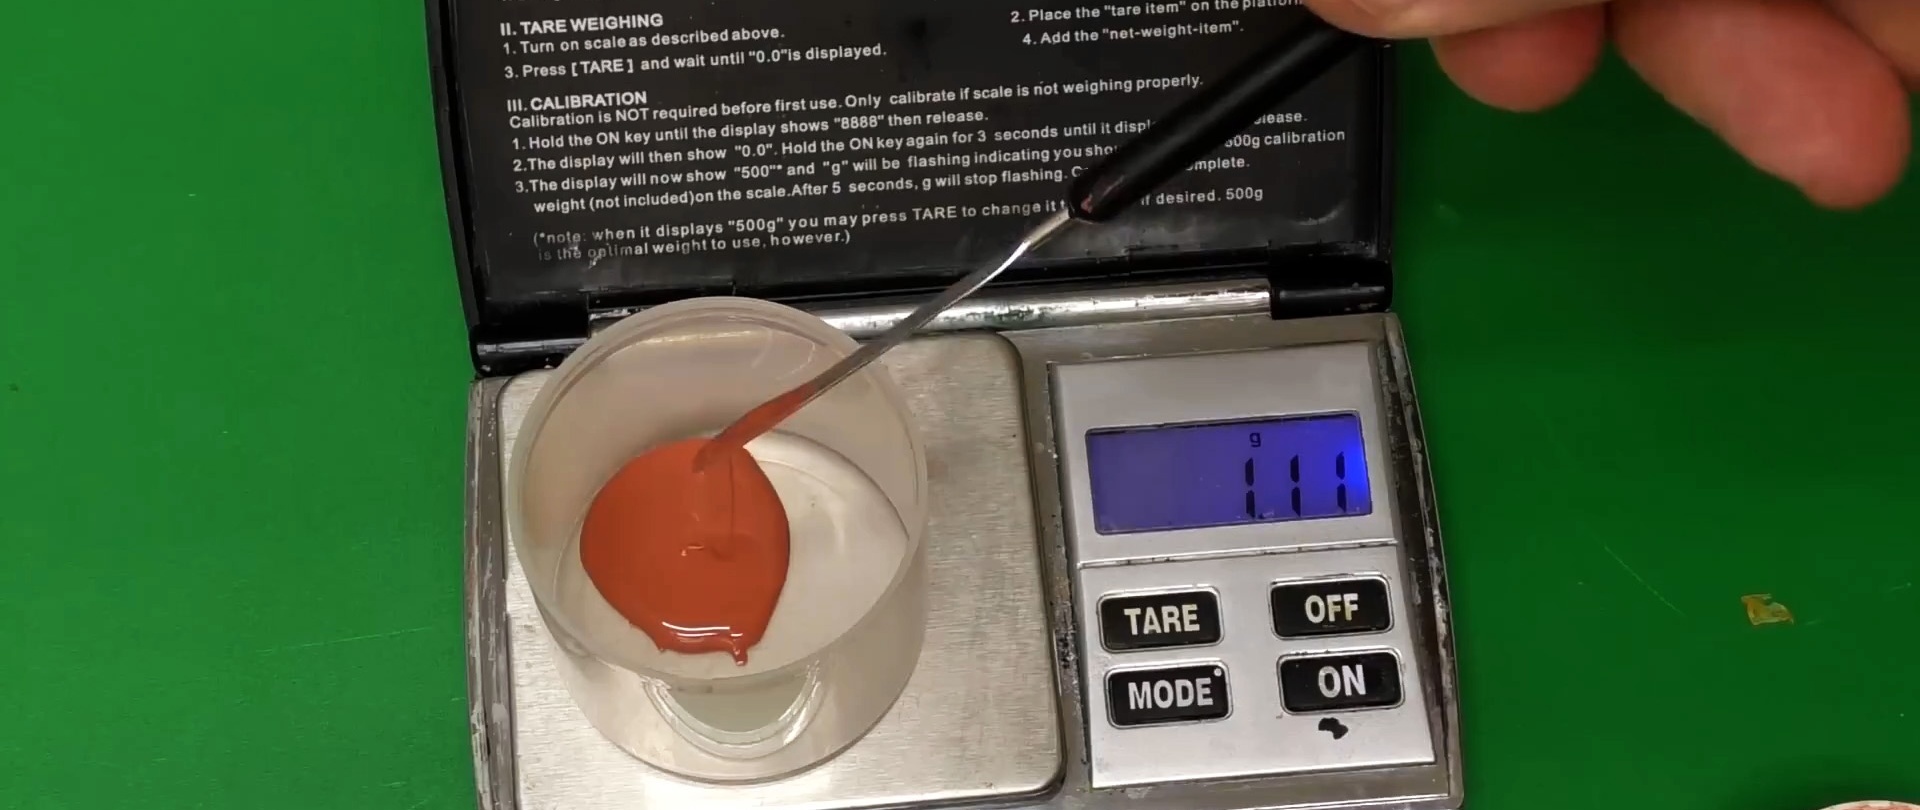
We stick conical stops made of plasticine onto the base in a circle. They will prevent the glass from moving and will make it easier to align. Using electronic scales, mix food-grade silicone with hardener in the required proportion.
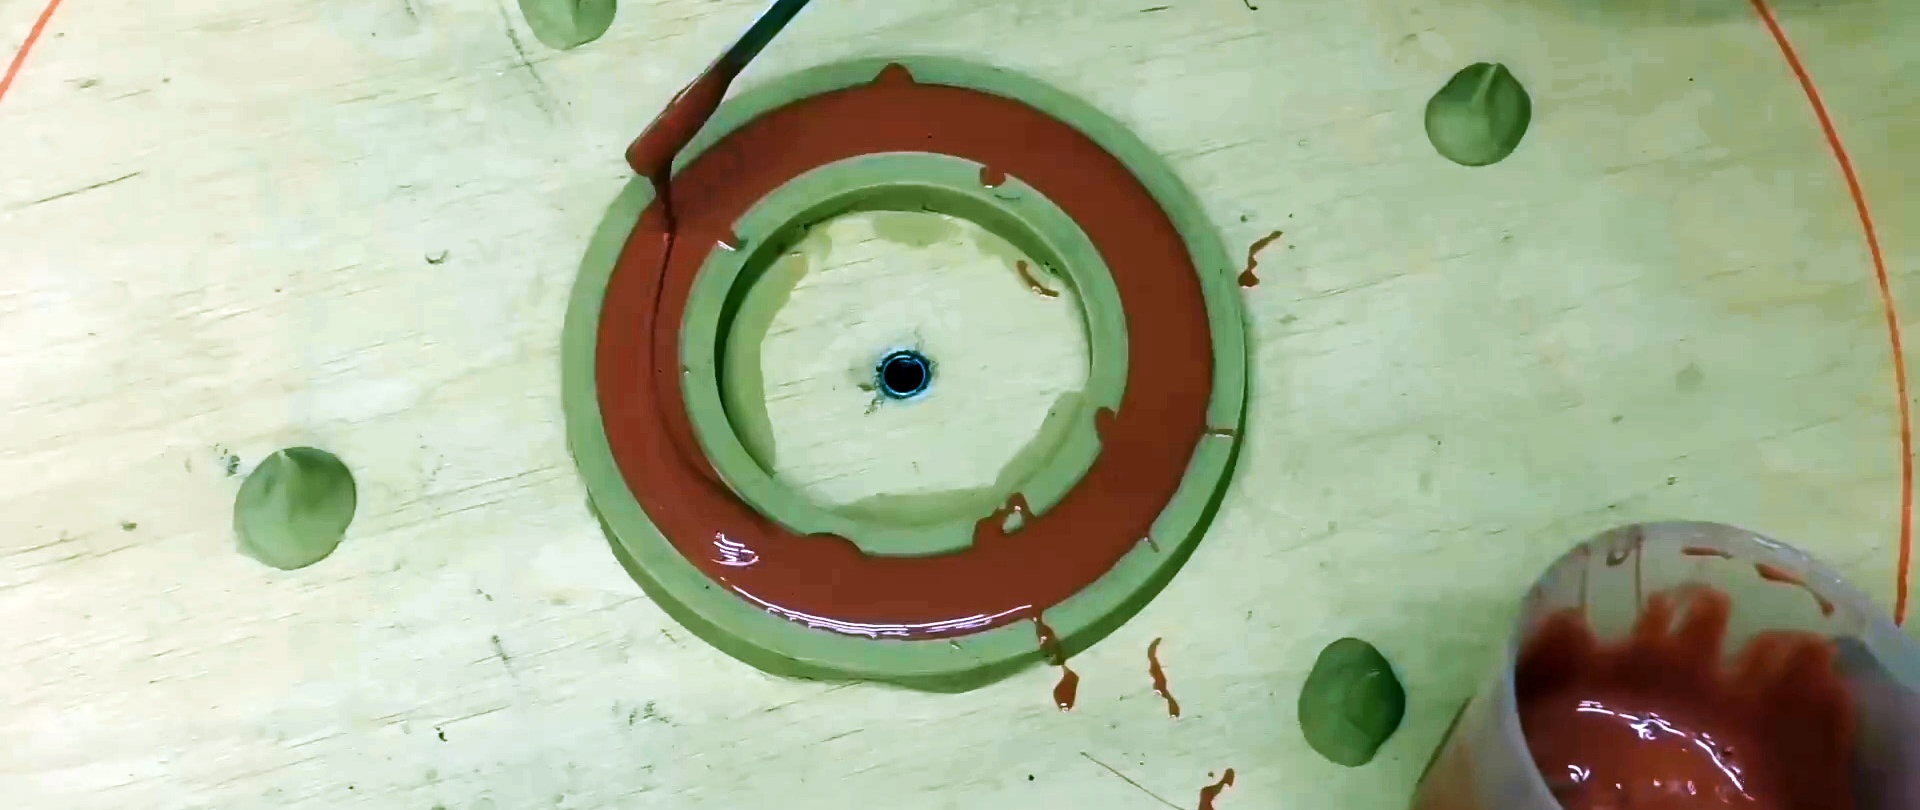
We add silicone to the mold in small doses to avoid air voids in the silicone mass. Remove any remaining small bubbles and cover the mold with glass. We press, crushing the pyramids, and the glass smoothly falls onto the form.

If there is air between the glass and the mold, remove it by tilting the glass. We press down the glass and achieve even circles. Now the gasket will come out of the finishing mold and will not require any modification.
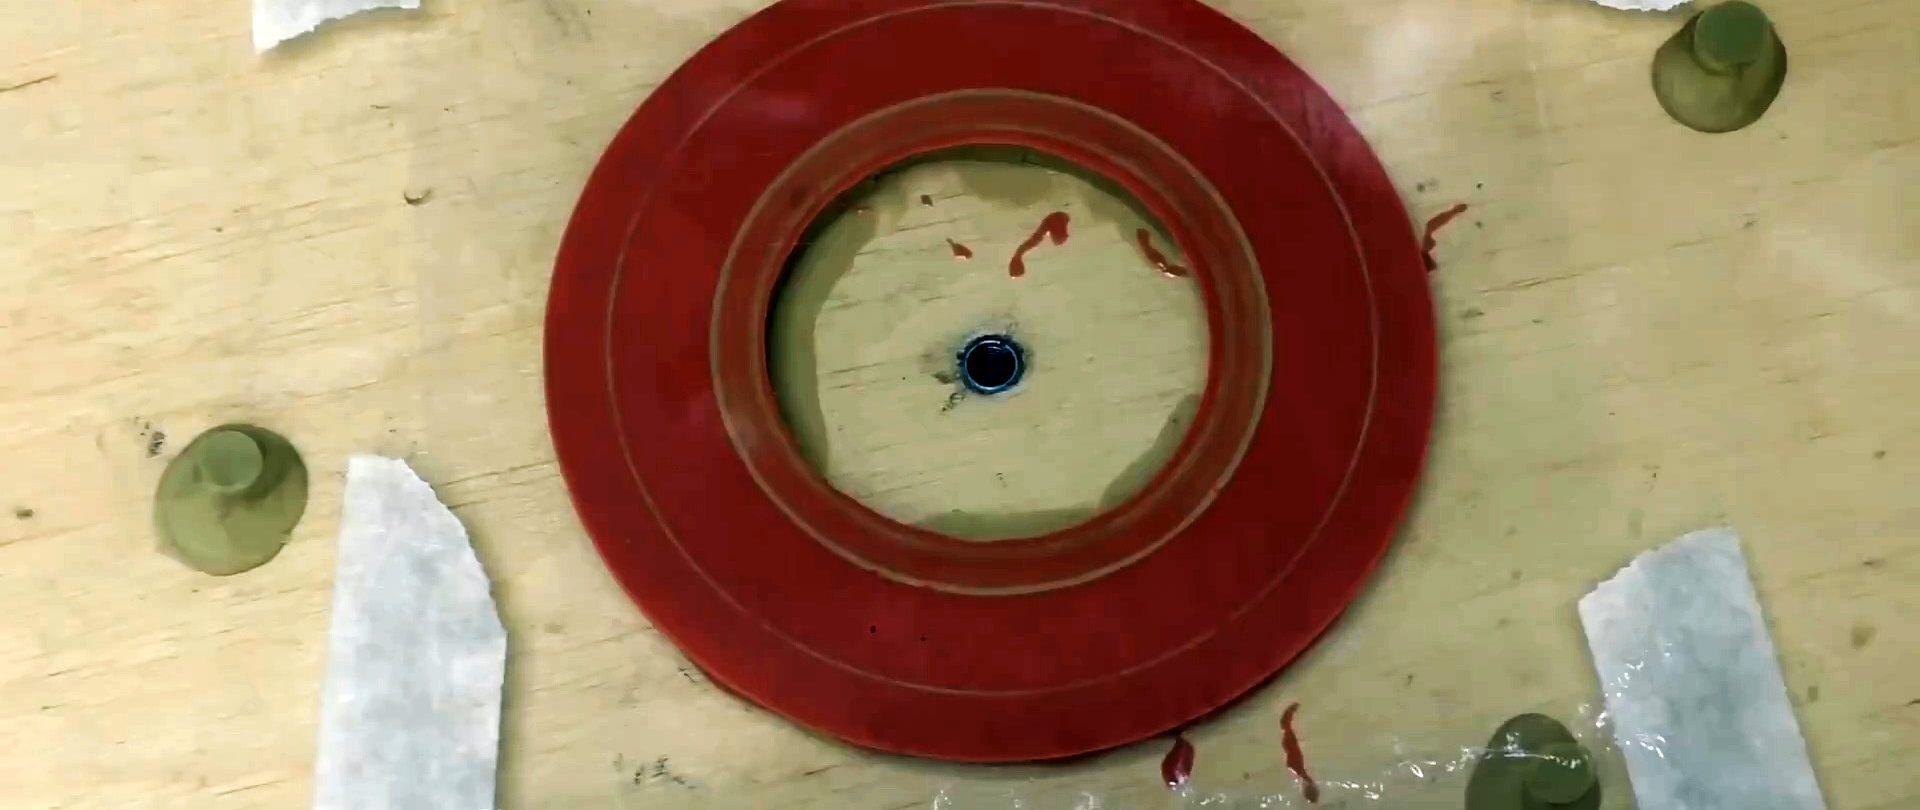
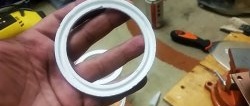
After the silicone hardens, remove the glass and film.


We remove the gasket and, after minor repairs, use the mold to make the second product.