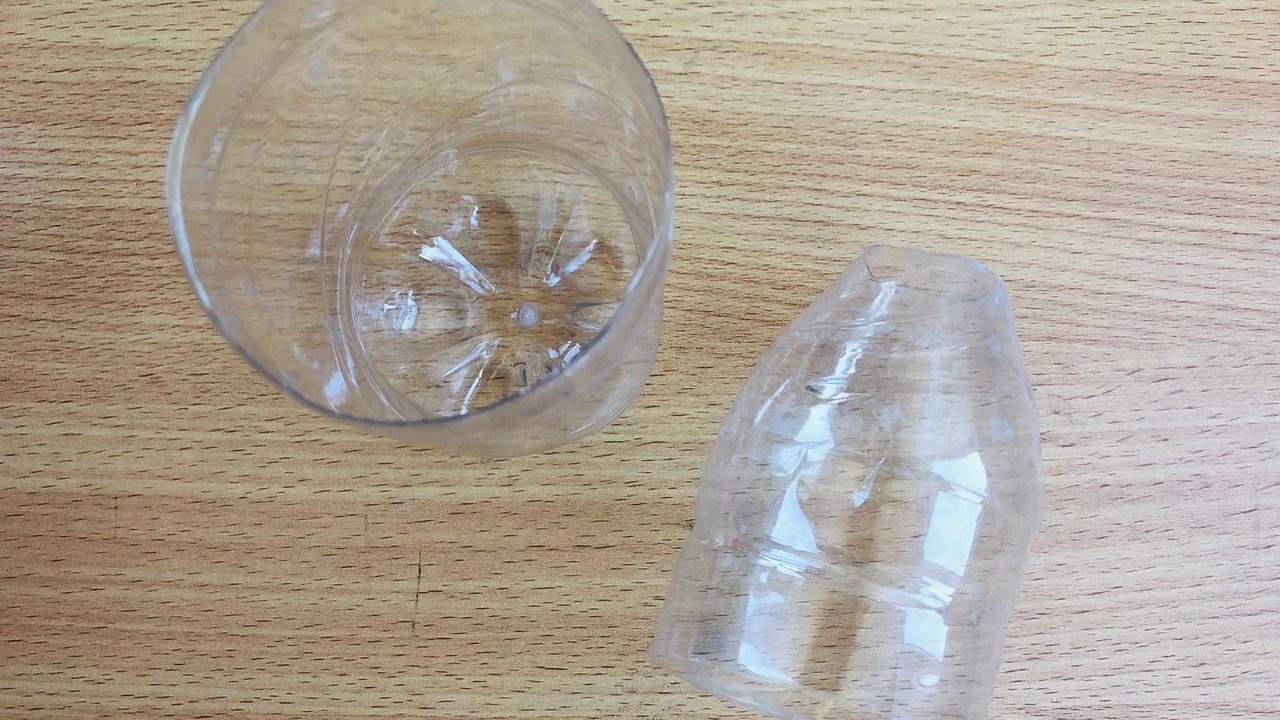
One of the simplest forms for making a New Year's toy from papier mache - this is a bell. The base can be the top of a half-liter plastic bottle, the neck of which is carefully cut off to make it easier to remove the paper blank from the mold after drying.
Required:
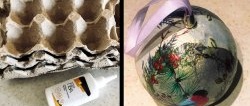
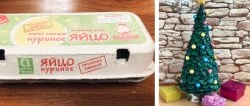
- cardboard egg container – 1 pc.;
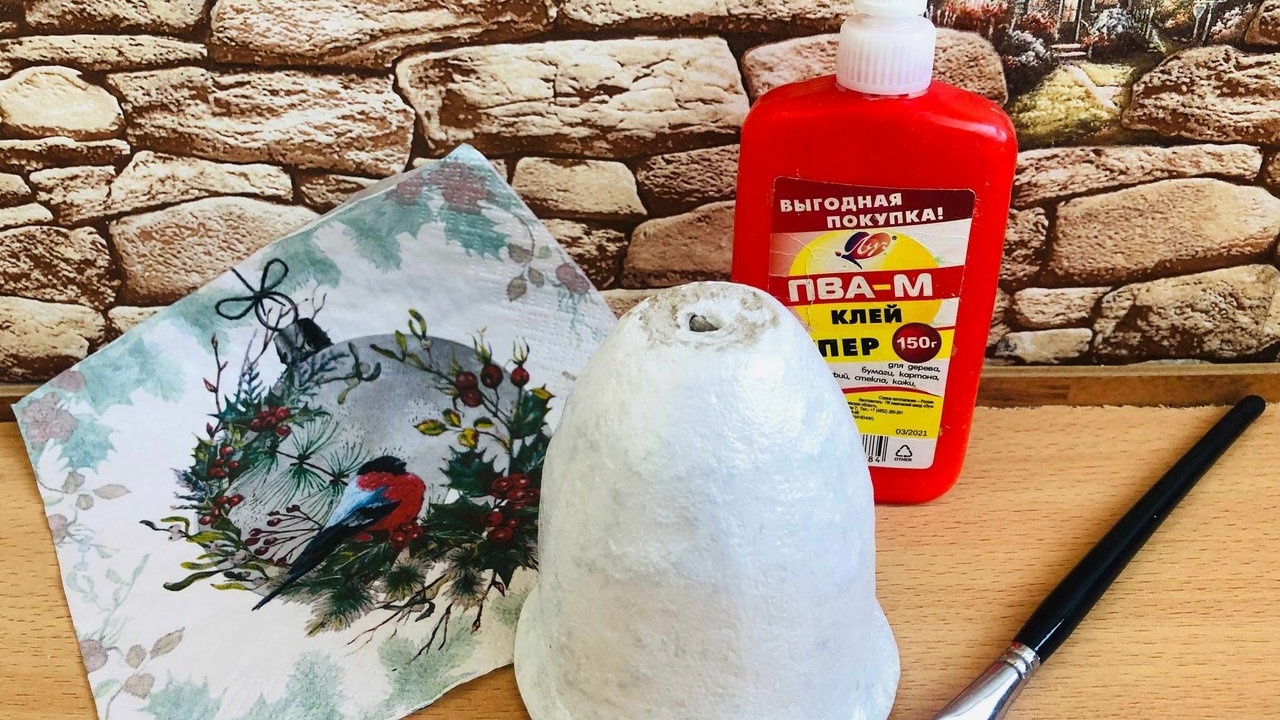
- PVA glue – 2 tbsp;
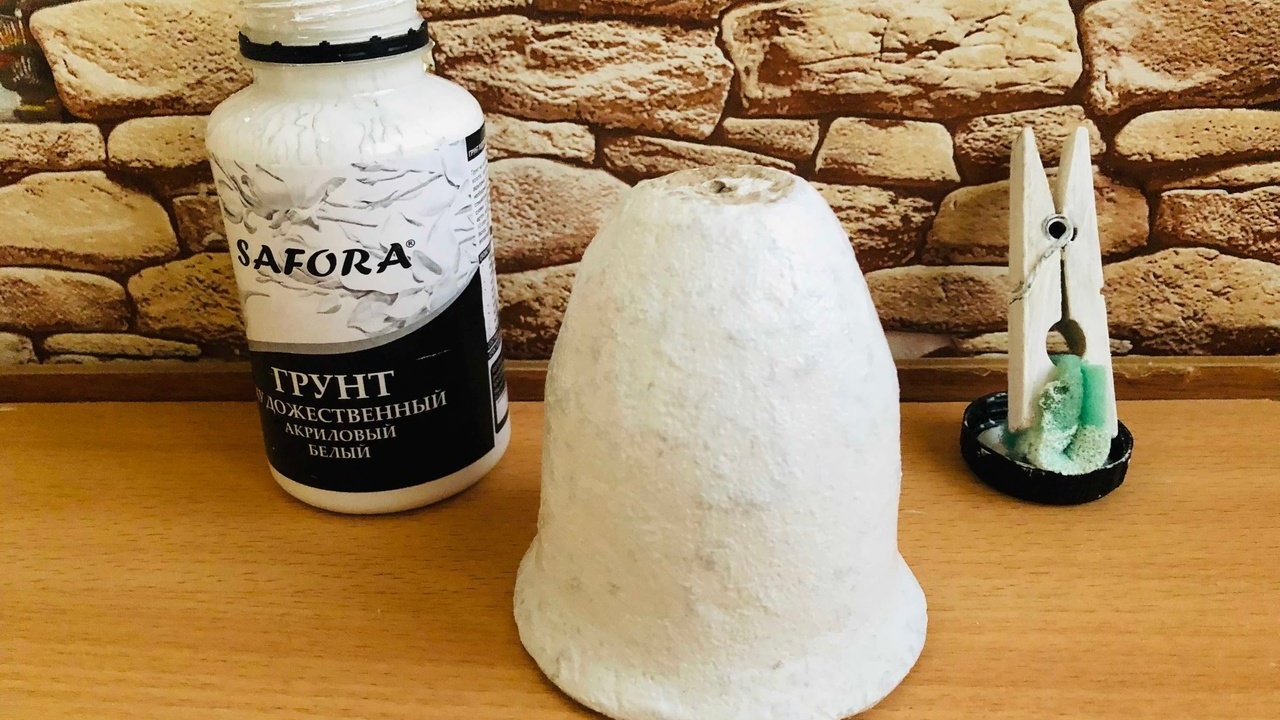
- white acrylic primer (replace with white gouache if necessary);
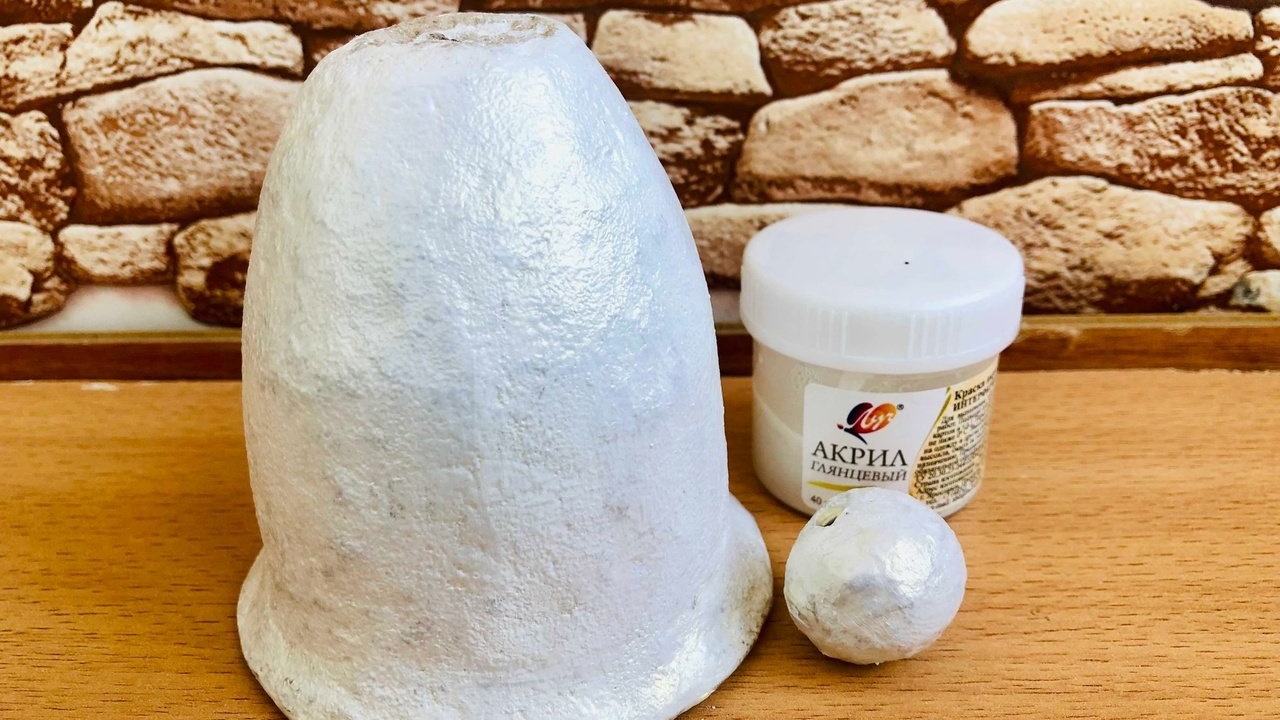
- acrylic paint for painting the bell;
- brush with synthetic bristles;
- a napkin for decoupage or paints for applying a design to the product yourself;
- construction mixture for puttying;
- acrylic varnish (can be replaced with colorless construction varnish);
- satin ribbons for making a “tongue”, a decorative bow and a loop for hanging on the Christmas tree;
- bead with a diameter of 1 cm;
- glue gun
Stages of making a bell
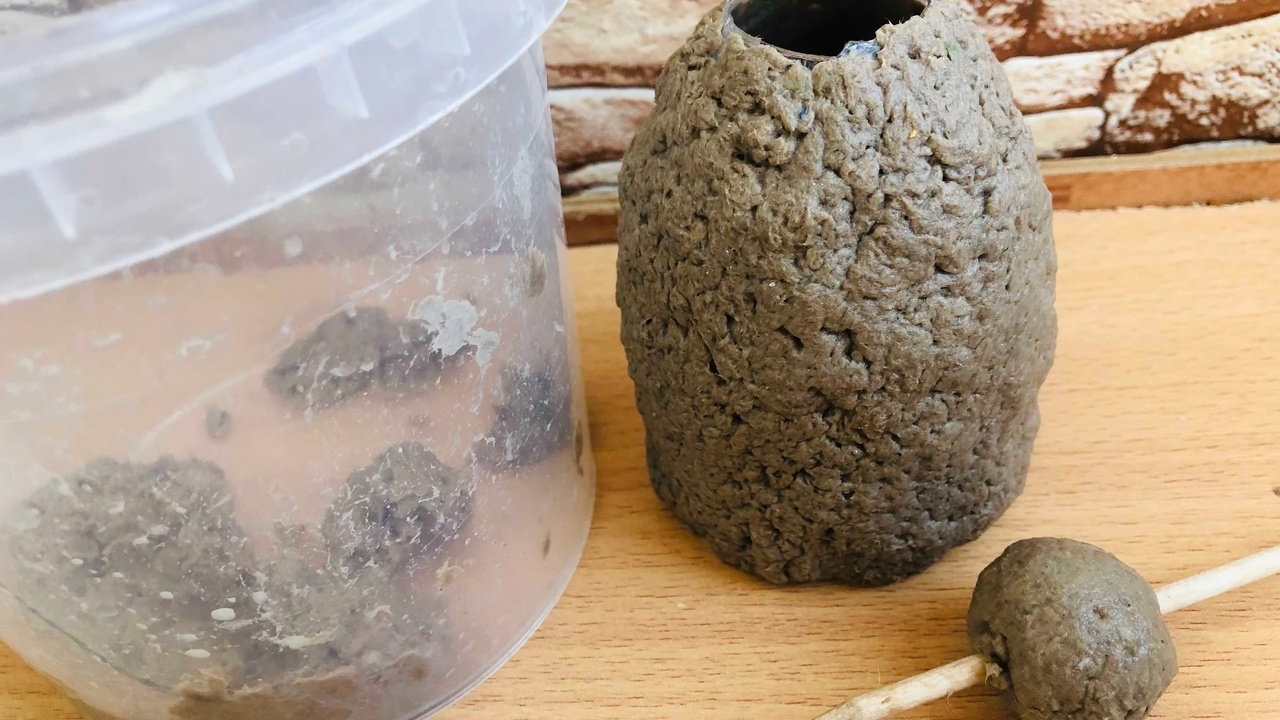
1. Chop the cardboard into the smallest pieces possible and pour boiling water over it.After a day, drain the excess water, grind the soaked paper with an immersion blender and add a tablespoon of thick PVA glue. Mix. The papier-mâché mass is ready.
2. Cut off the top part of a half-liter bottle. Cut off the neck. The result is a shape for the future bell.
3. Grease the mold with cream or vegetable oil and cover with papier-mâché. Separately roll a ball for the top of the bell - you need to provide a hole in the ball in advance for attaching a satin loop.
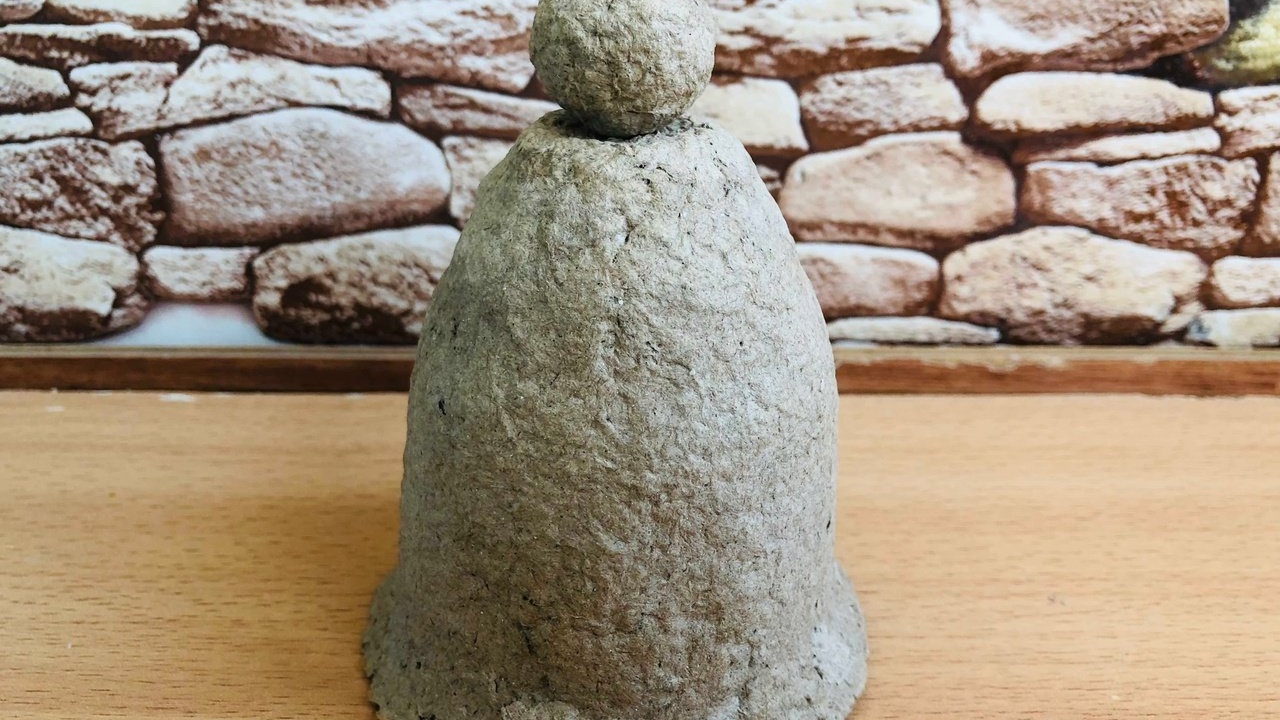
4. After the first layer of paper has dried, try to separate the workpiece from the mold. If you can remove the workpiece without cutting it, then put it back on the mold for greater stability of the structure and begin applying the second layer of mass. If it was not possible to remove it without damage, then cut the blank, remove it and glue it together - in this case, there is no need to put the bell on the mold before applying the second layer of paper. Dry the second layer of paper.

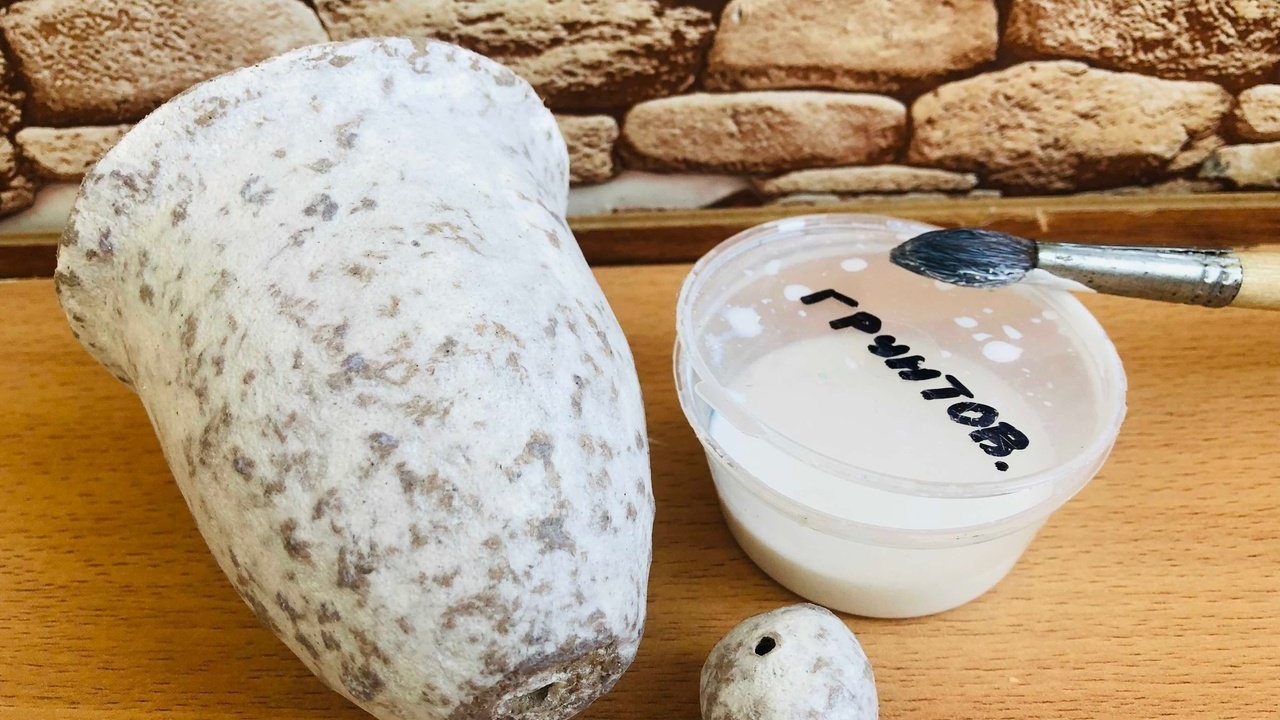
5. Fill up uneven areas using a dry building mixture diluted with water and PVA, intended for leveling walls. After the putty has dried, sand the product with sandpaper. If necessary, level the surface again with putty.


6. Apply construction acrylic primer to fill the pores in the workpiece. If there is no soil, then this step can be skipped.
7. Apply white primer using a brush or sponge. A good homemade sponge is made from a piece of foam rubber and a wooden clothespin. Give the soil time to dry.


8. Paint the bell with acrylic paint.
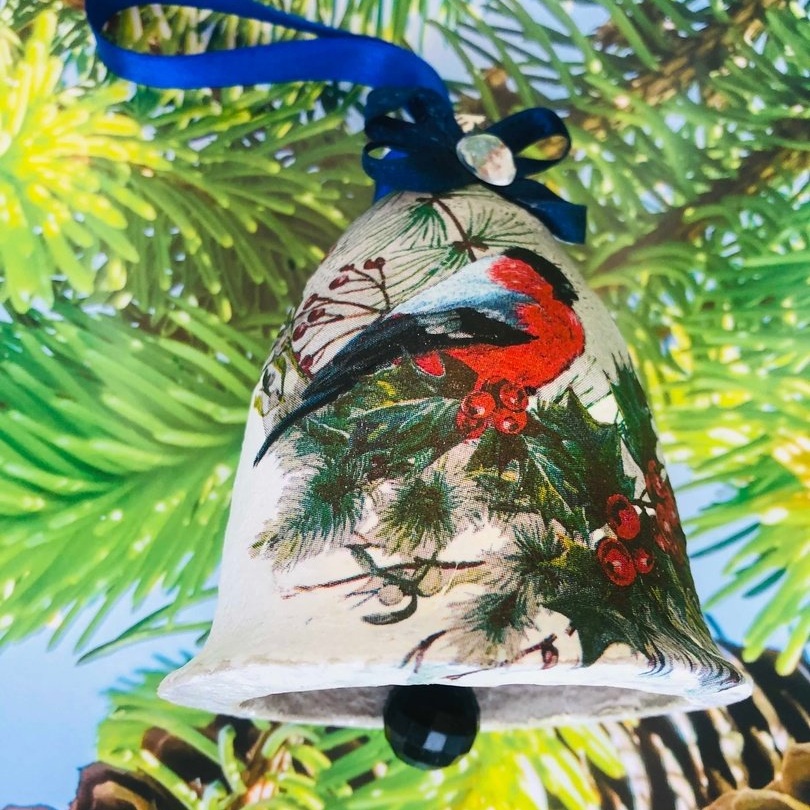
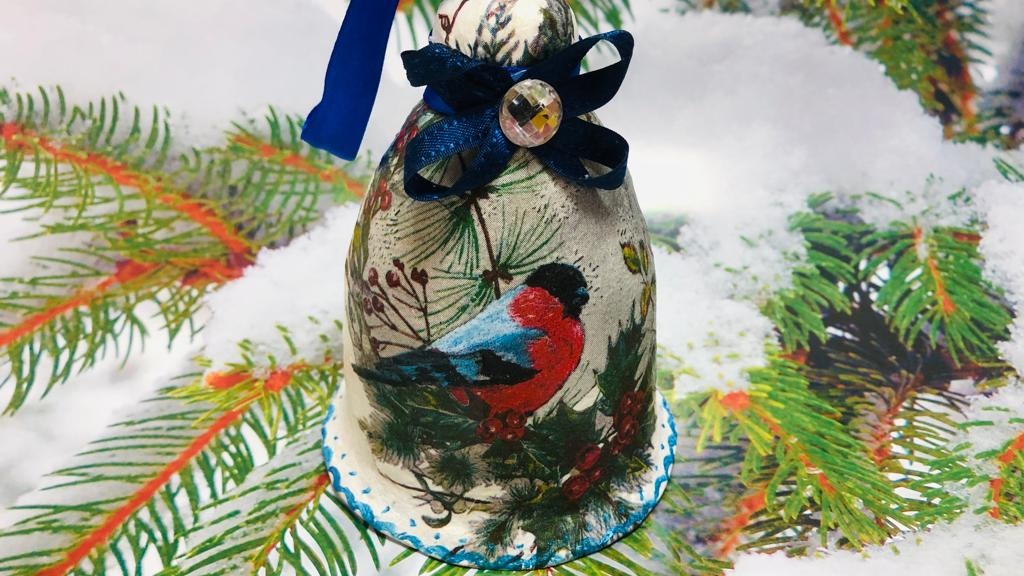
9. Decorate the bell using the technique decoupage.
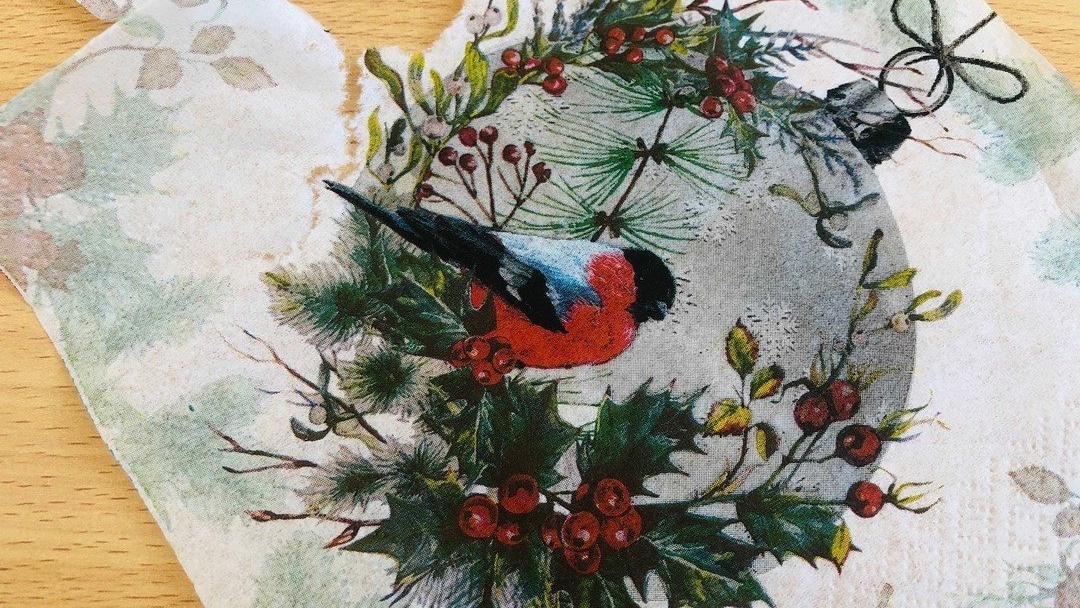
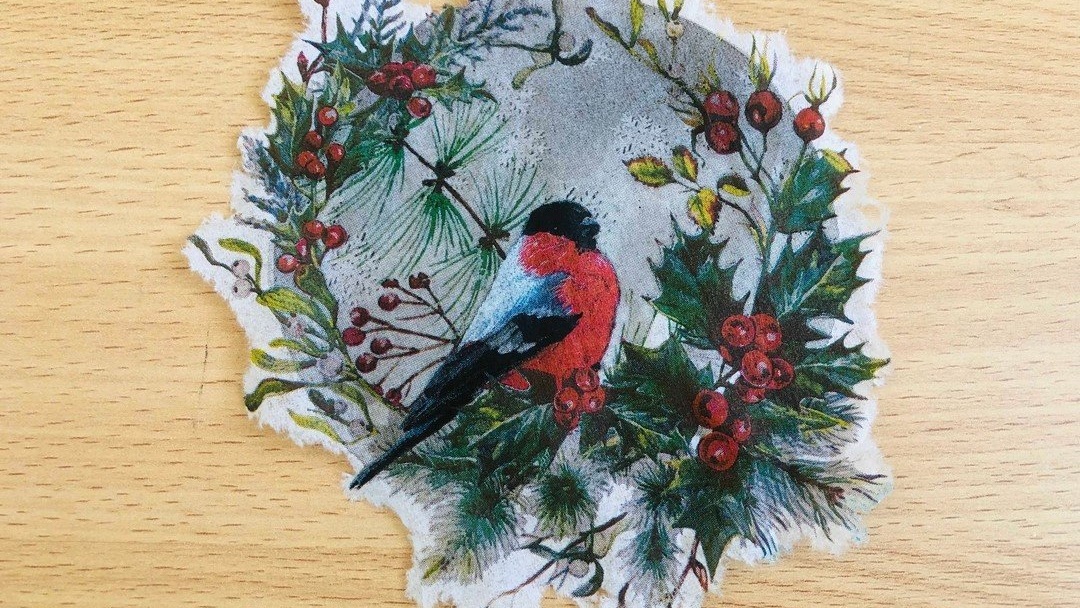
To do this, separate the top paint layer from the napkin.

Tear out the desired fragment of the design or cut it out (it is believed that the transition from the napkin to the product is less noticeable when the design is torn out).
Dilute PVA glue with cool water to the consistency of very liquid sour cream.
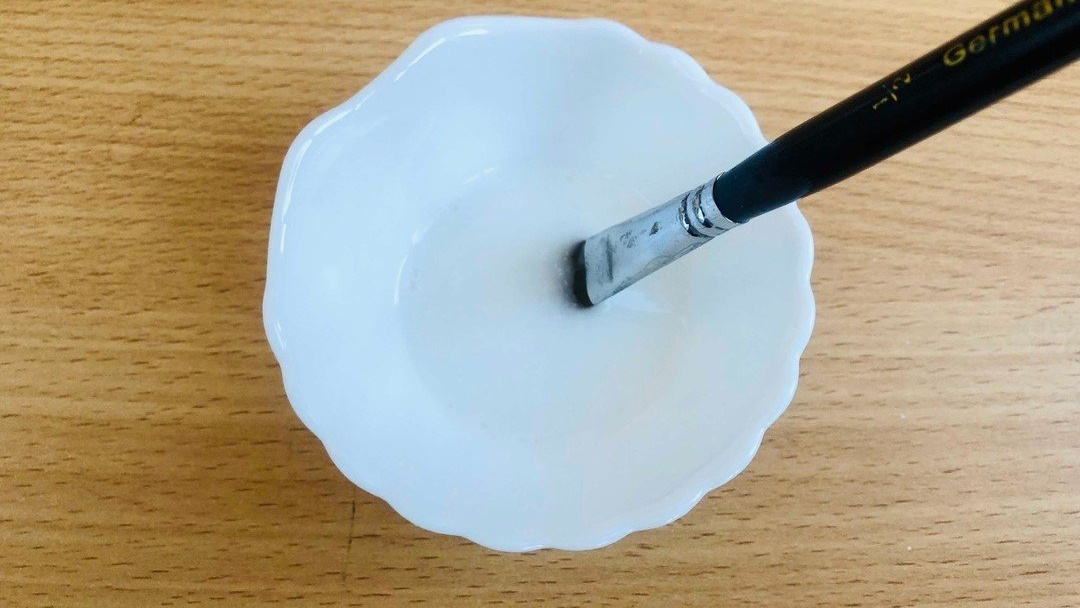
Place a napkin on the surface of the bell and, starting from the center, smooth the design with a brush dipped in diluted glue.

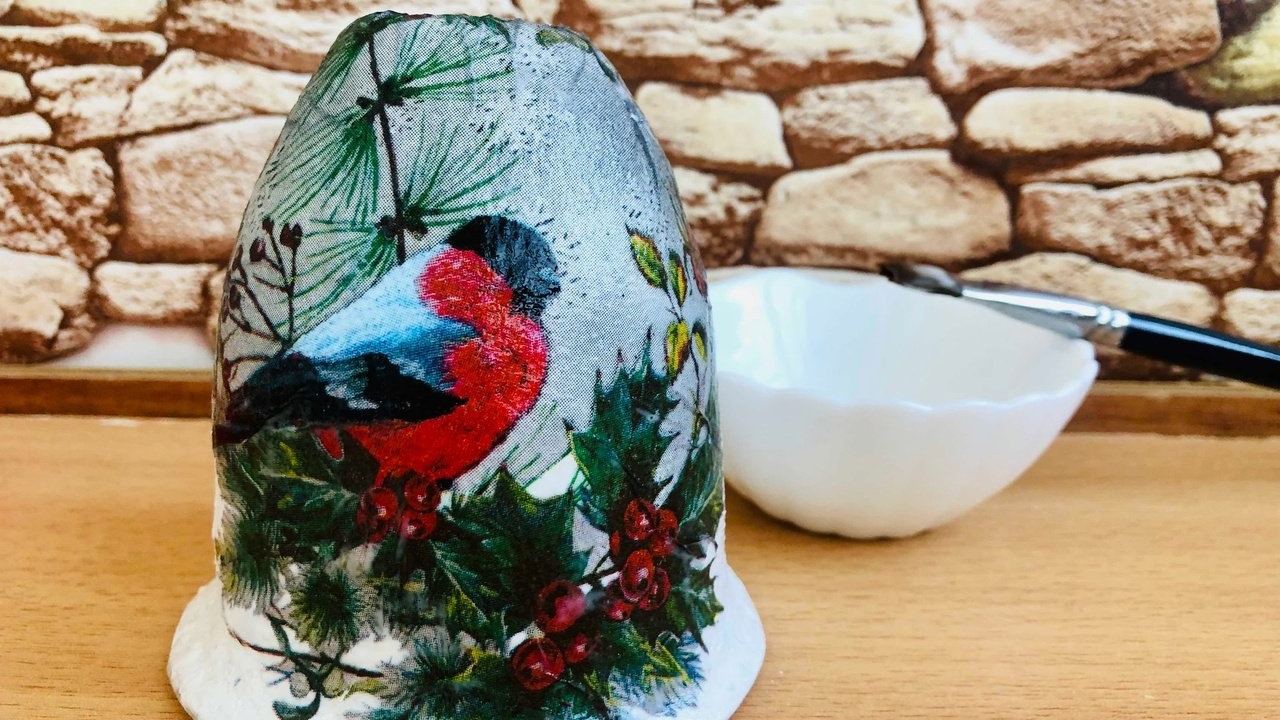
You can decorate a ball holder for a toy in a similar way.

After the napkin has completely dried, cover the bell with acrylic varnish and let it dry again.
10. Make a bell “tongue” and a loop from a narrow satin ribbon. Using hot glue, connect them to the bell. Decorate the holder with a satin ribbon and a bow.
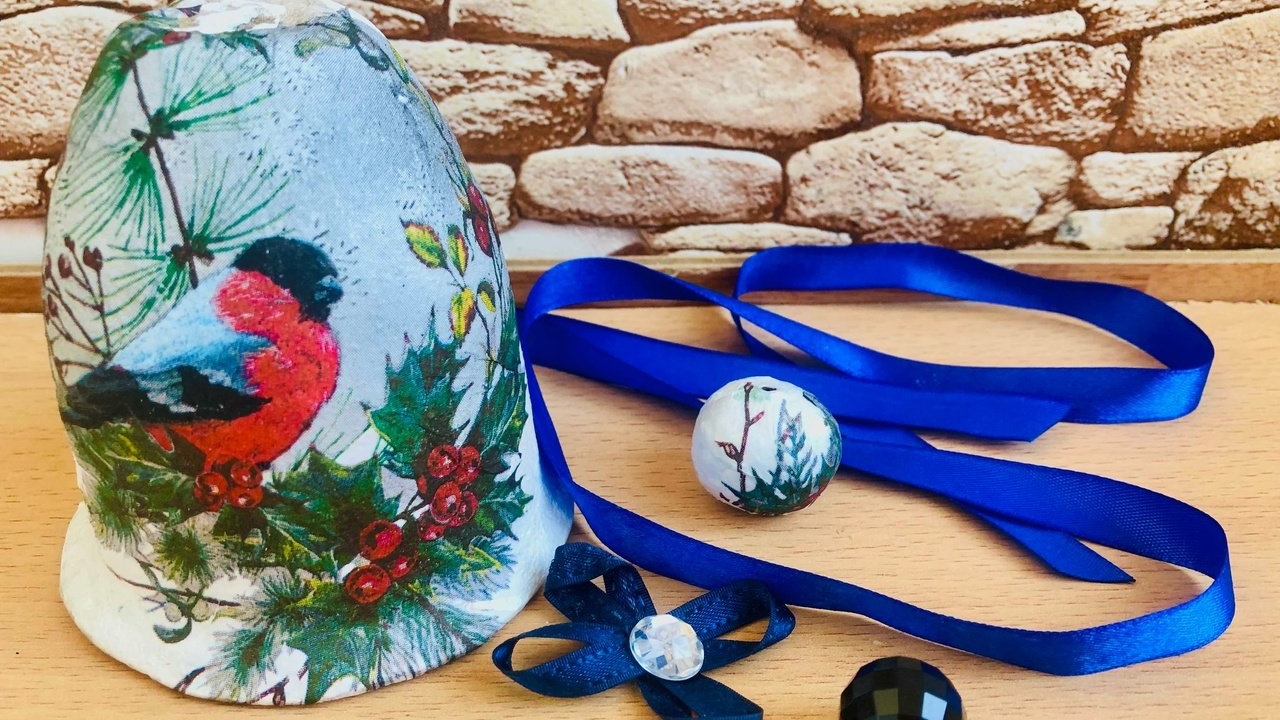


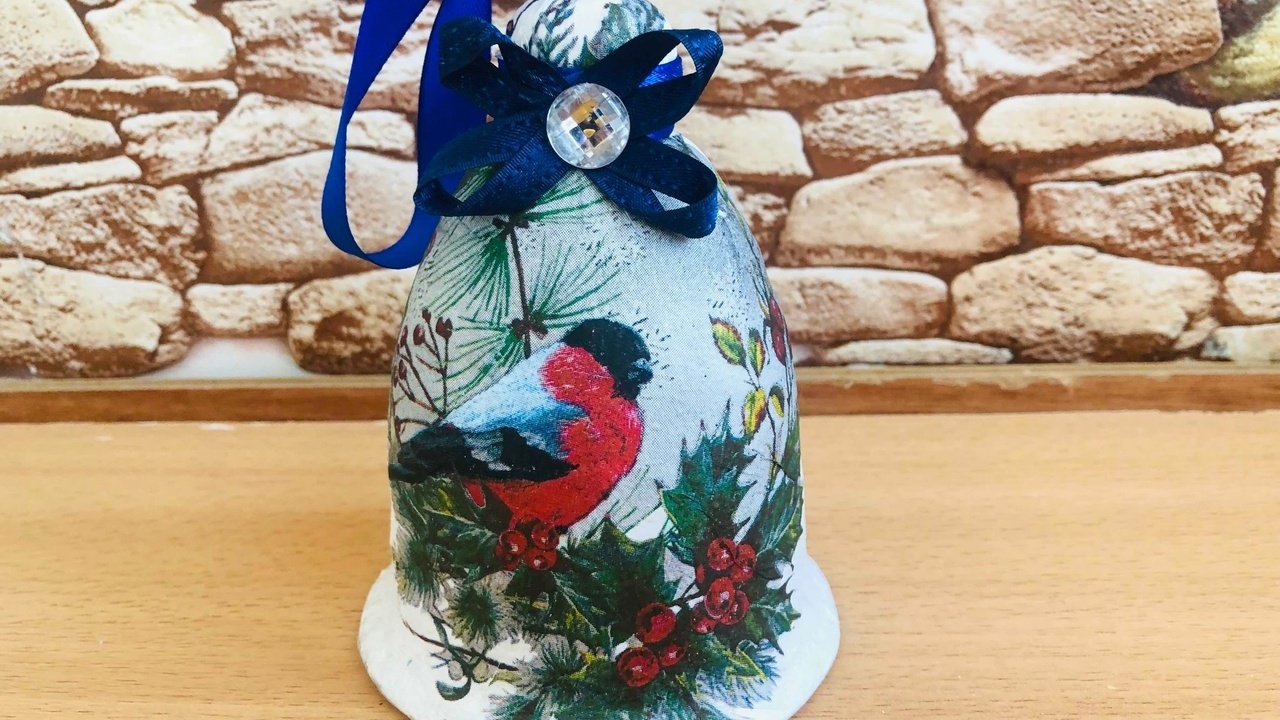
The bell is ready. Additionally, it can be decorated with paintings on the rim of the bell.