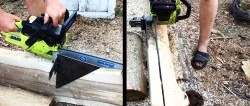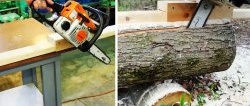
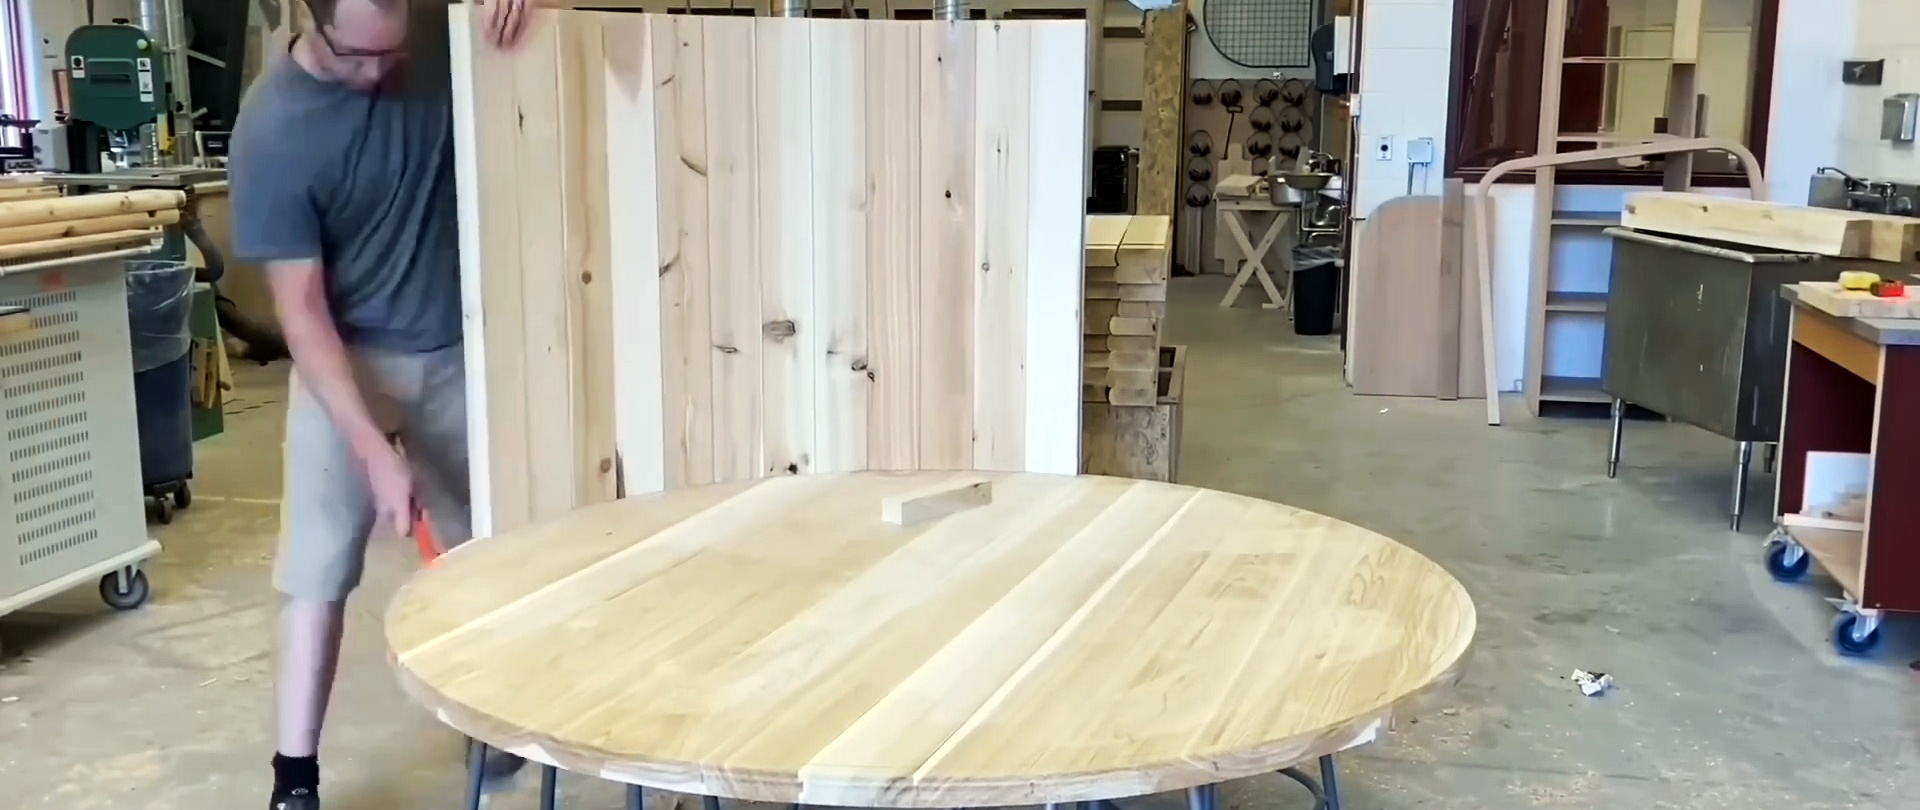
Using appropriate woodworking equipment, we obtain edged beams from logs, which we cut into edged boards, carefully planed on all sides. We join the boards together using the “groove and tongue” method and cut out the round bottom using a hand router attached to a rigid rail, the rotation axis of which is located in the center of the circle being cut out.
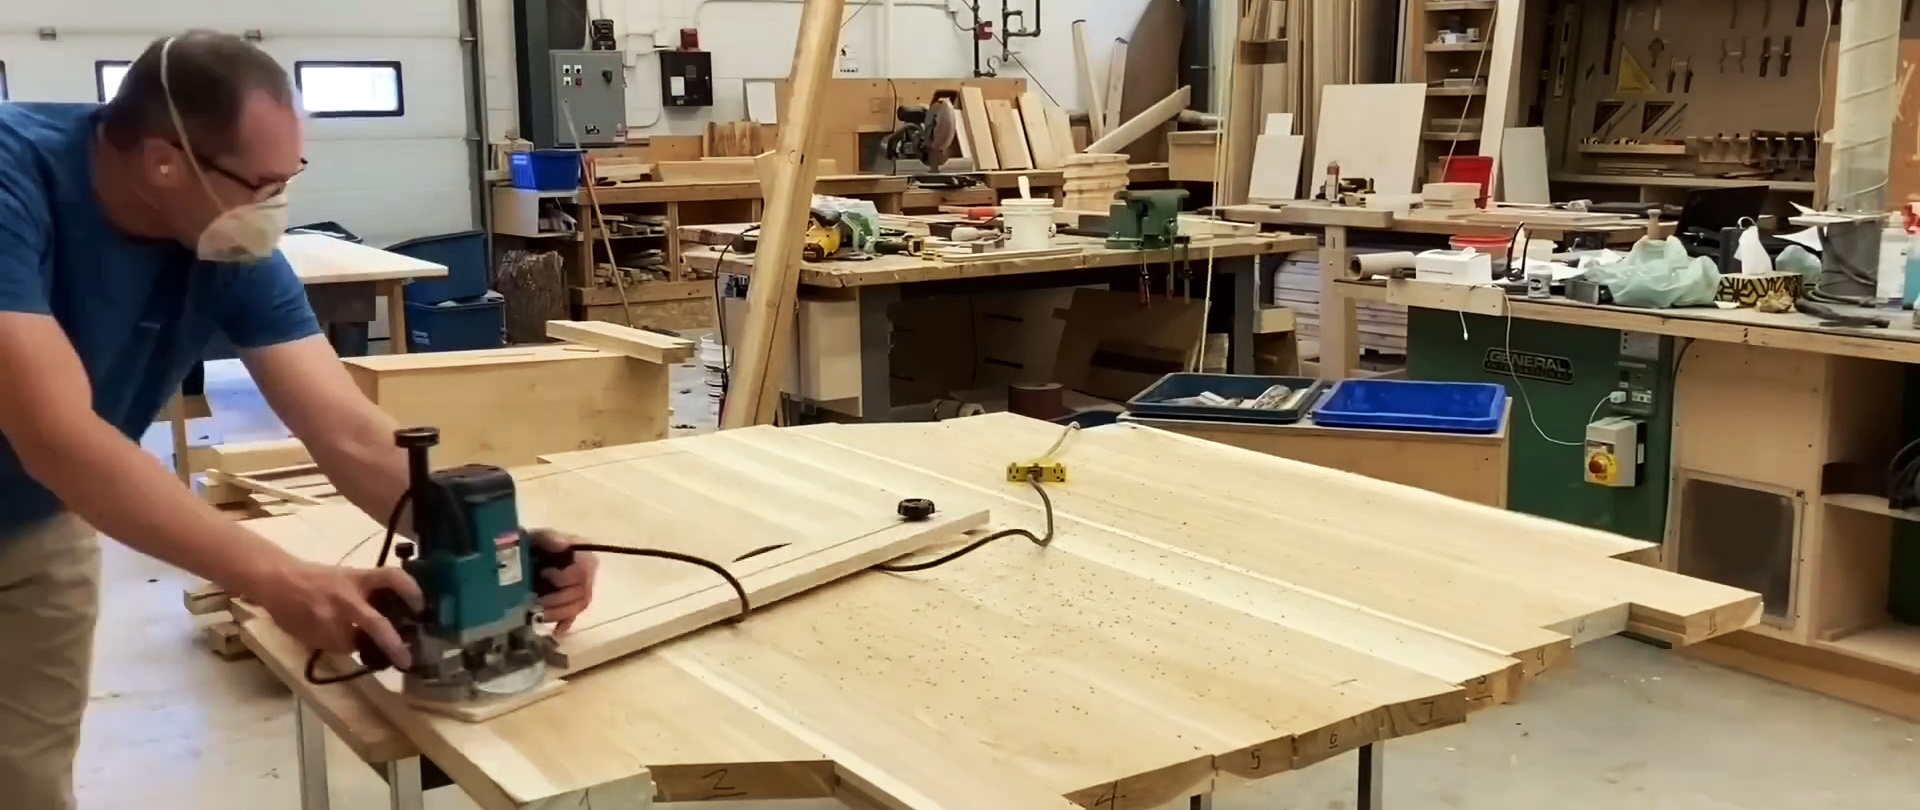
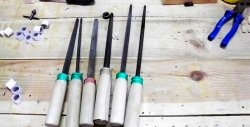
In the boards for the set of bathtub sides, we mill transverse grooves at an equal distance from one end, commensurate with the thickness of the round bottom. We profile the side surfaces of each board for a set of bathtub sides in the form of a “moon groove”.

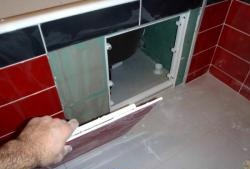
We fasten the boards of the side surface of the bathtub alternately vertically in relation to the bottom using transverse grooves. At the same time, the “moon grooves” create a strong and tight connection along the height of the boards.
We temporarily tighten the boards from the outside with synthetic clamp bands with tensioners.

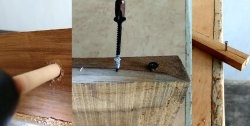
Then, at the ends of three steel strips of the required length, we make tension devices from two steel cylinders with holes, a stud and two nuts.We tighten the boards of the side surface of the bathtub with these steel clamp bands at the top, middle and bottom and, holding one of the nuts, tighten the second until the boards are completely united.
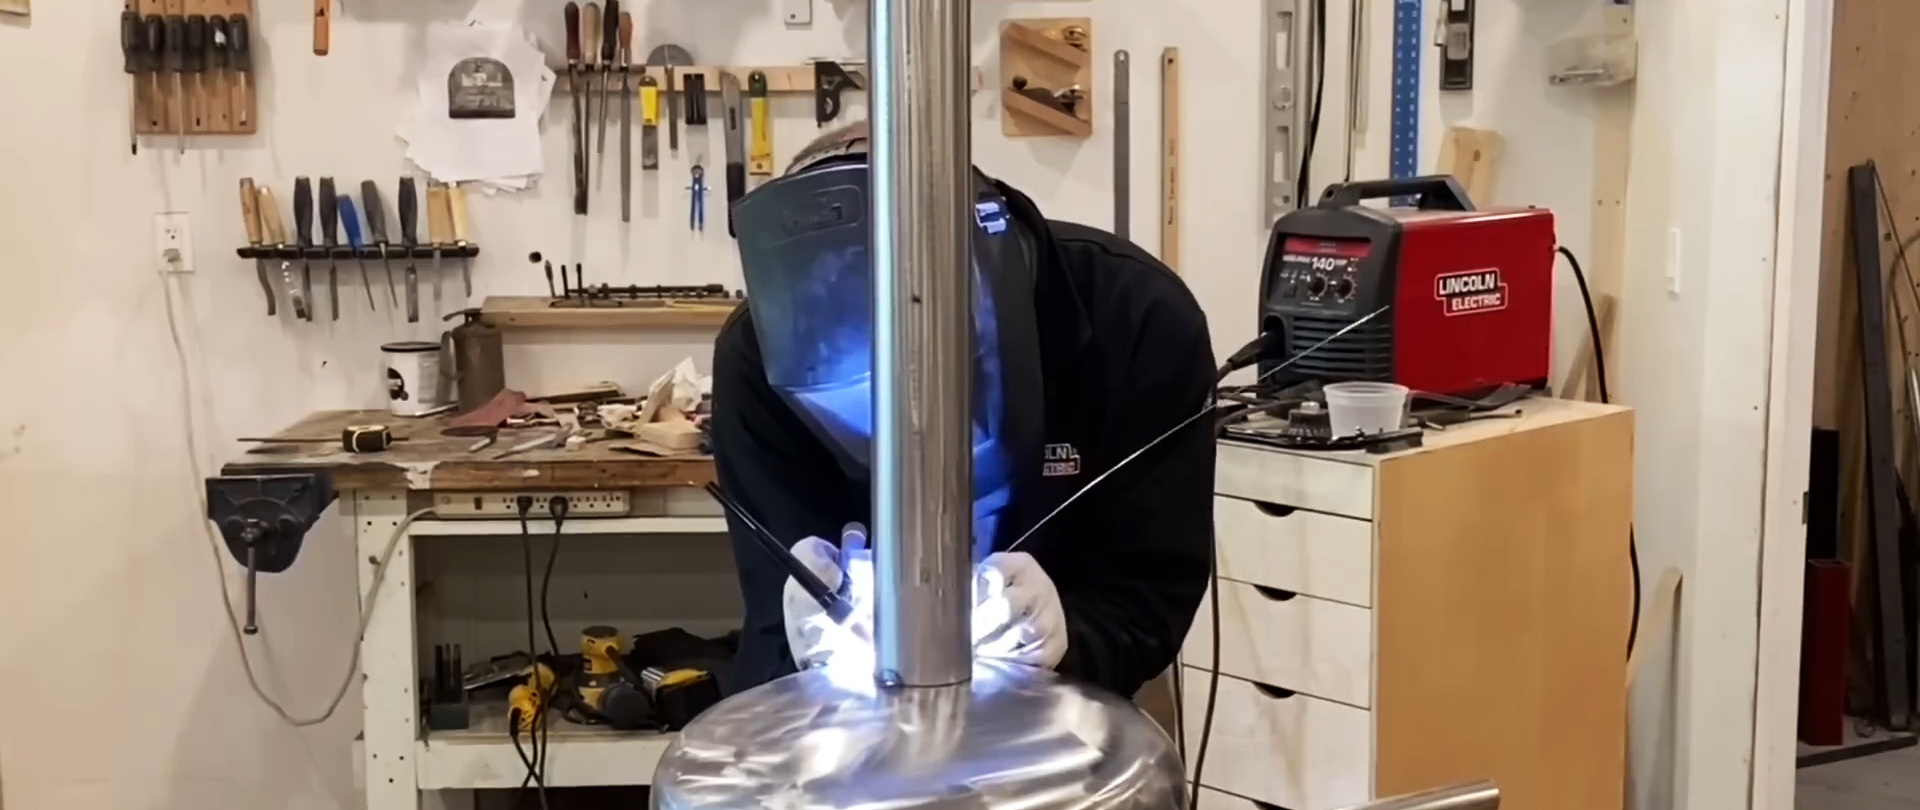
We turn a wooden cylinder on a lathe, sprockets from a flat wooden mass and assemble a device based on a router for milling a helix of a given pitch on the surface of a wooden cylinder.
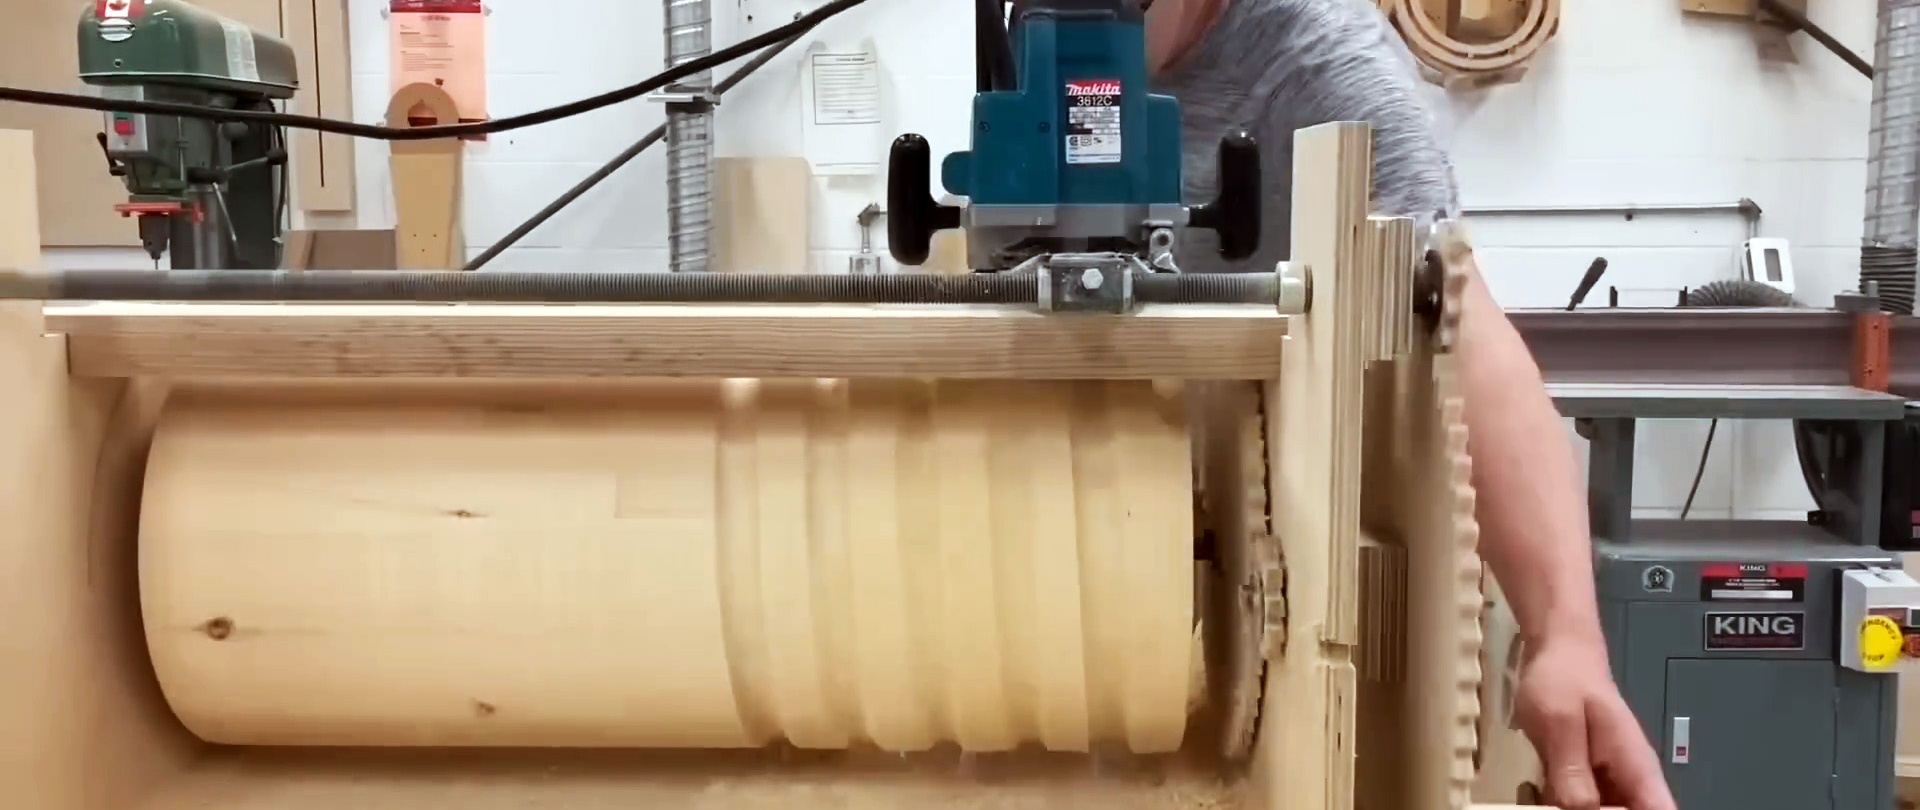
The device for winding a coil from a round pipe also has a wooden structure, the main part of which is a wooden cylinder with a cut helical line, located horizontally, and a large disk on the side for its rotation by a cable attached to a mini-tractor.

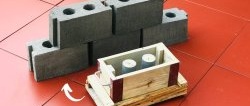
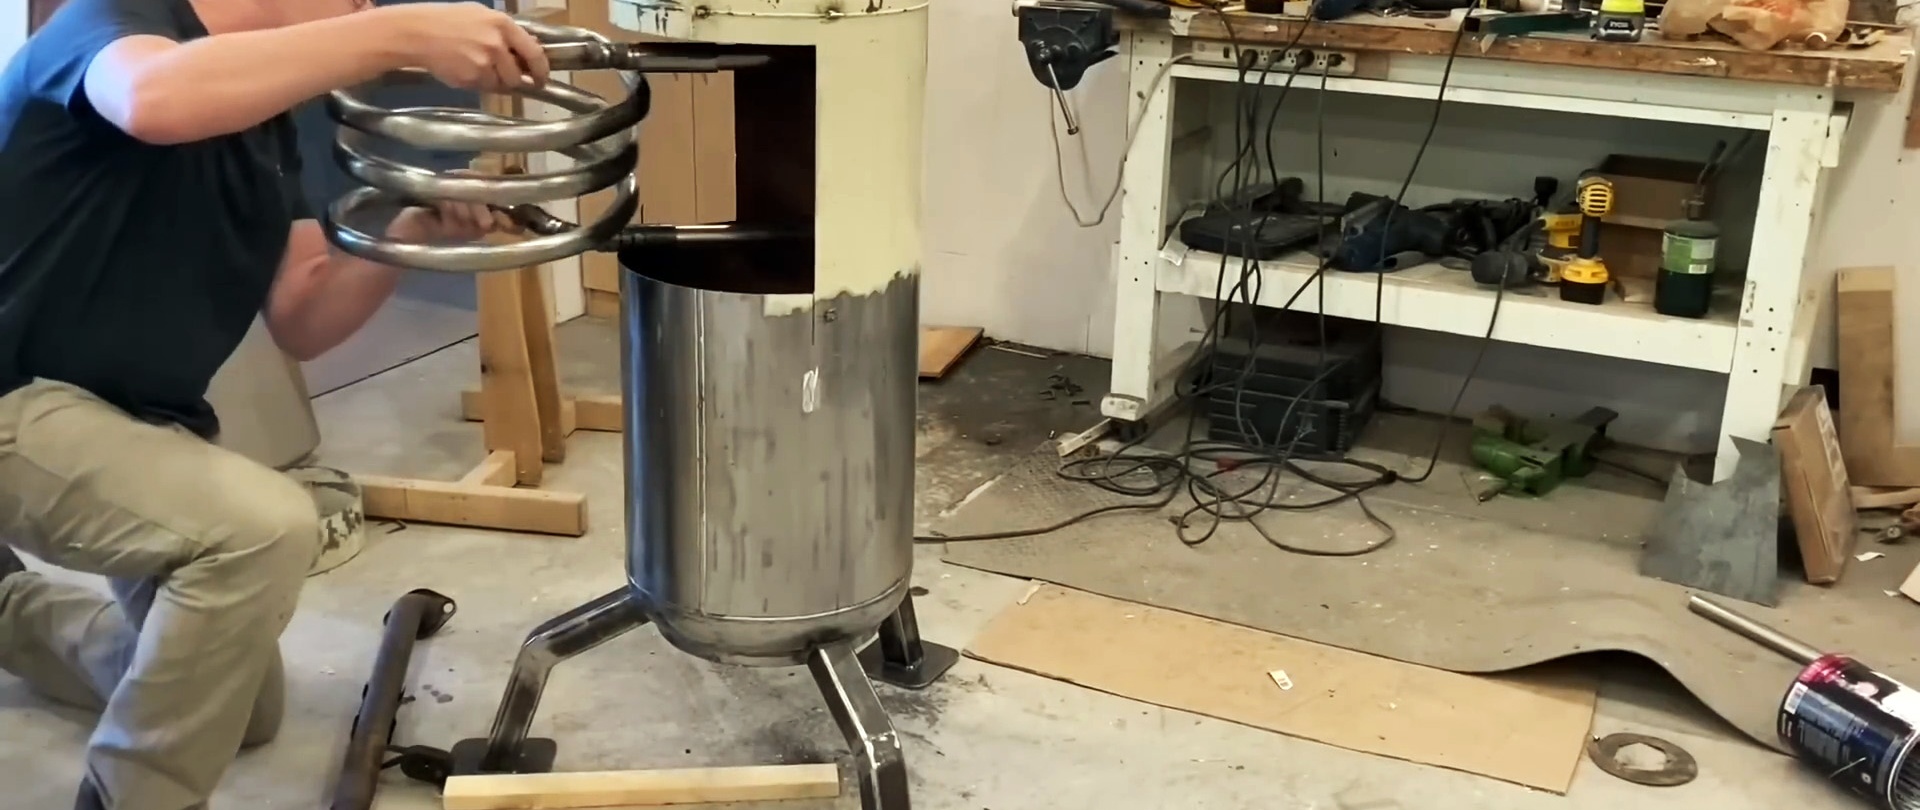
Let's start making a wood-burning boiler. Cut off the collar from the gas cylinder and remove the old paint.

We cut out several wedges in the center of three profile square pipes and bend the pipes at a certain angle. To restore the integrity of the pipe, we weld the bend points.

We weld the curved pipes evenly in a circle to the top of the gas cylinder. We weld square plates to the ends of the pipes. On the side surface of the cylinder, closer to the lower bottom, we cut out a square opening to a depth equal to the radius of the cylindrical part of the cylinder. In the part of the cylinder wall opposite the opening, drill 2 holes vertically and insert the coil into the cylinder.
In the lower part of the cylinder, offset relative to the upper opening, we cut out another opening and attach the resulting fragment to the side surface of the cylinder using two canopies. On the side opposite from the canopies we attach a valve with the ability to move in a vertical plane, and on the side surface of the cylinder we weld the valve retainer.

We drill holes in the bottom of the door and in the lining from the inside.The cover can be moved using the handle relative to the holes in the door, opening or closing them. The cover is attached to the door with guide latches that slide along oblong holes. We weld a chimney pipe to the top of the cylinder.
We wrap a mesh strip welded from thick wire or rod around a round pipe, welding one end to the pipe. We separate the lattice cylinder with a grinder, clamp it in a vice and weld the ends. Also, wrapping a steel strip around the same pipe, we make a ring, which we secure to the end of the pipe with a clamp and weld the joint. We insert the lattice cylinder into the ring and weld it.
In a circle of sheet metal, cut out the central segment and bend the circle into a cone. We weld the joint line. We weld the cone to the free end of the lattice cylinder. We put the resulting structure onto the end of the chimney using the ring. We paint the surface of the wood-burning boiler with fireproof paint.

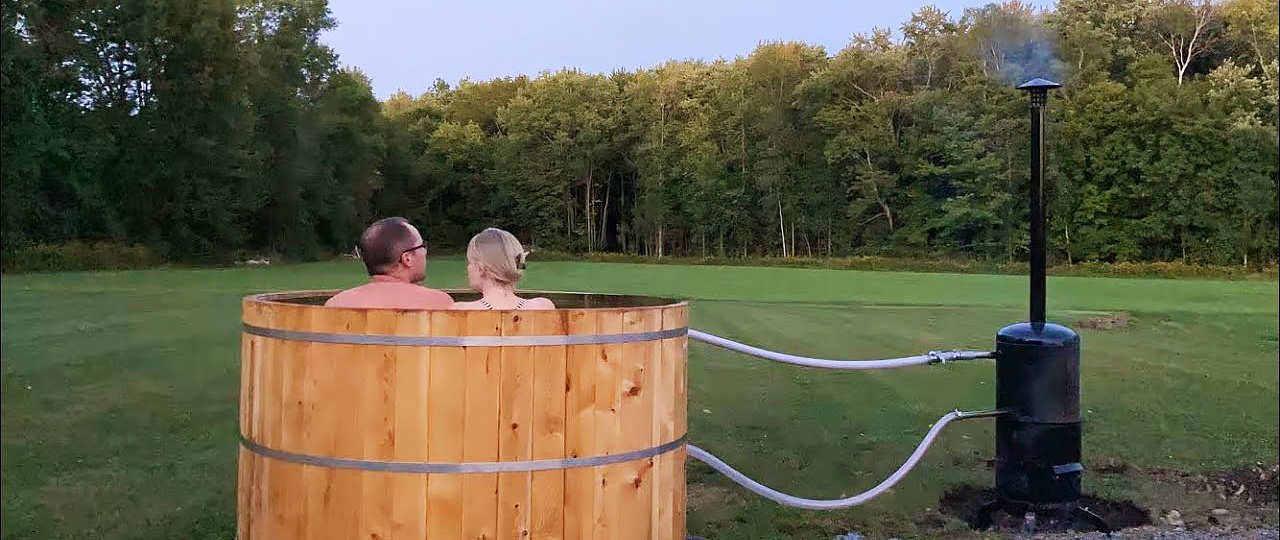
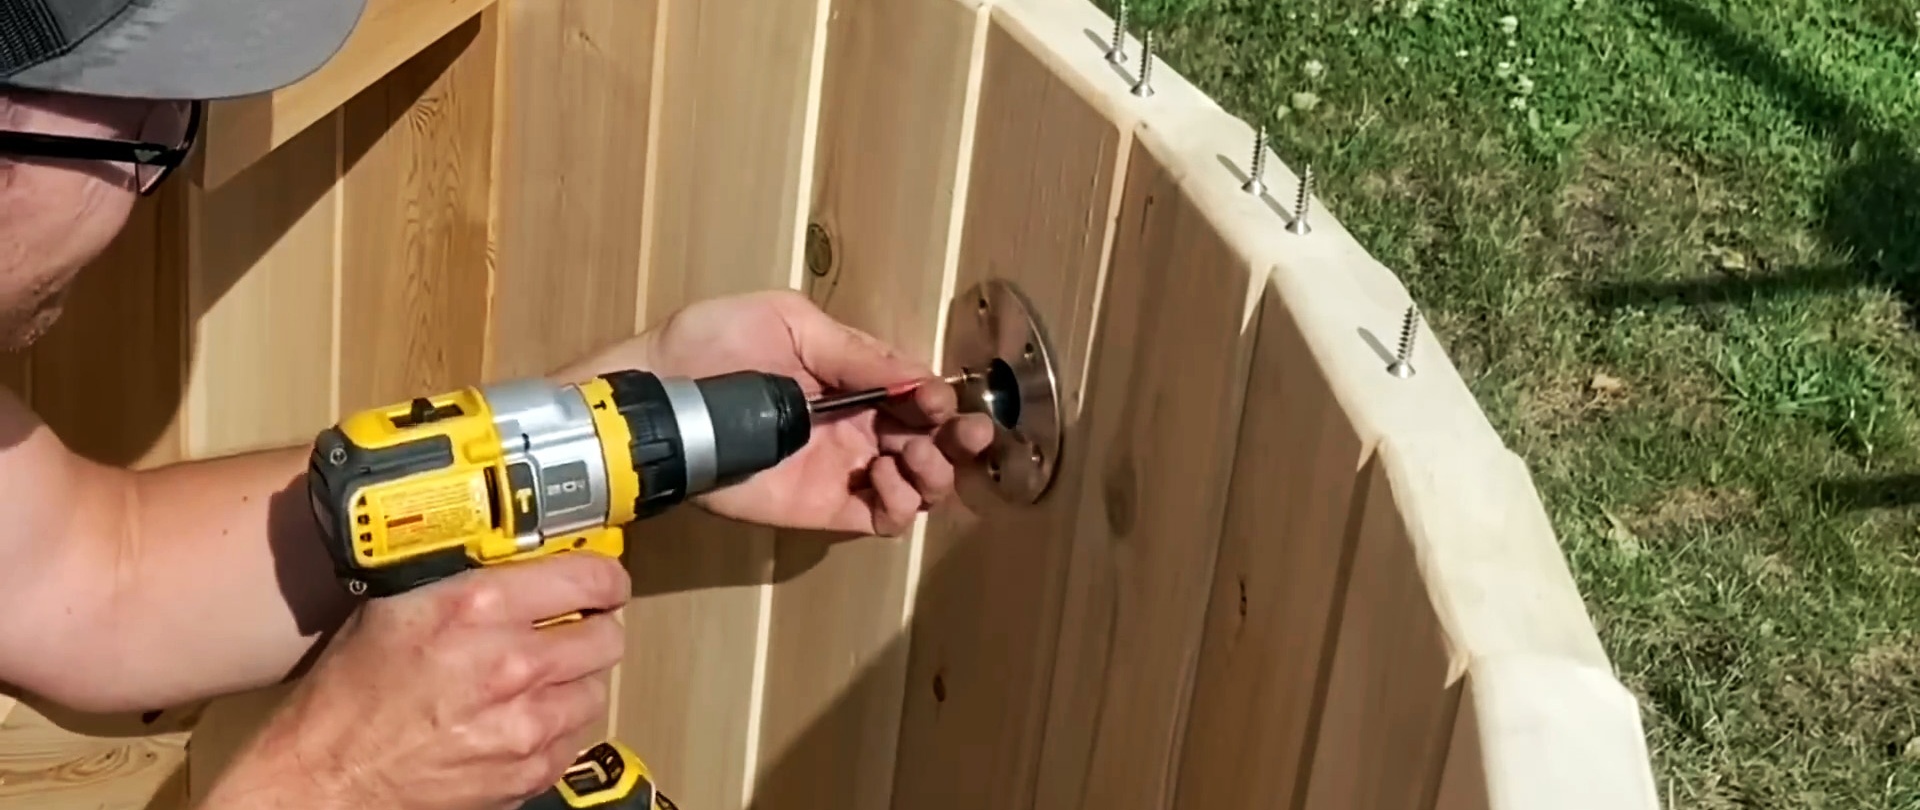
We drill corresponding through holes in the side surface of the wooden bathtub opposite the inlet and outlet of the coil. We install and secure the pipes in them with screws and connect them to the inlet and outlet of the coil with heat-resistant hoses.

We fill the bathtub with water, light the wood-burning boiler and after a short time the water in the bathtub heats up to the desired temperature and we begin the water procedures.