A unique way to increase the germination of home seedlings
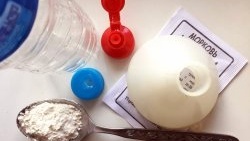
For sowing you will need narrow strips of polyethylene, cut from all kinds of leftovers or packages of dairy products, trimmed evenly according to the pattern. You also need toilet paper, preferably tear-off and without dyes, i.e. white.
We make blanks so that the pieces of paper and film are the same in length and width. We bend the strips of paper half their width to increase its density and cut out plastic film of the same width.
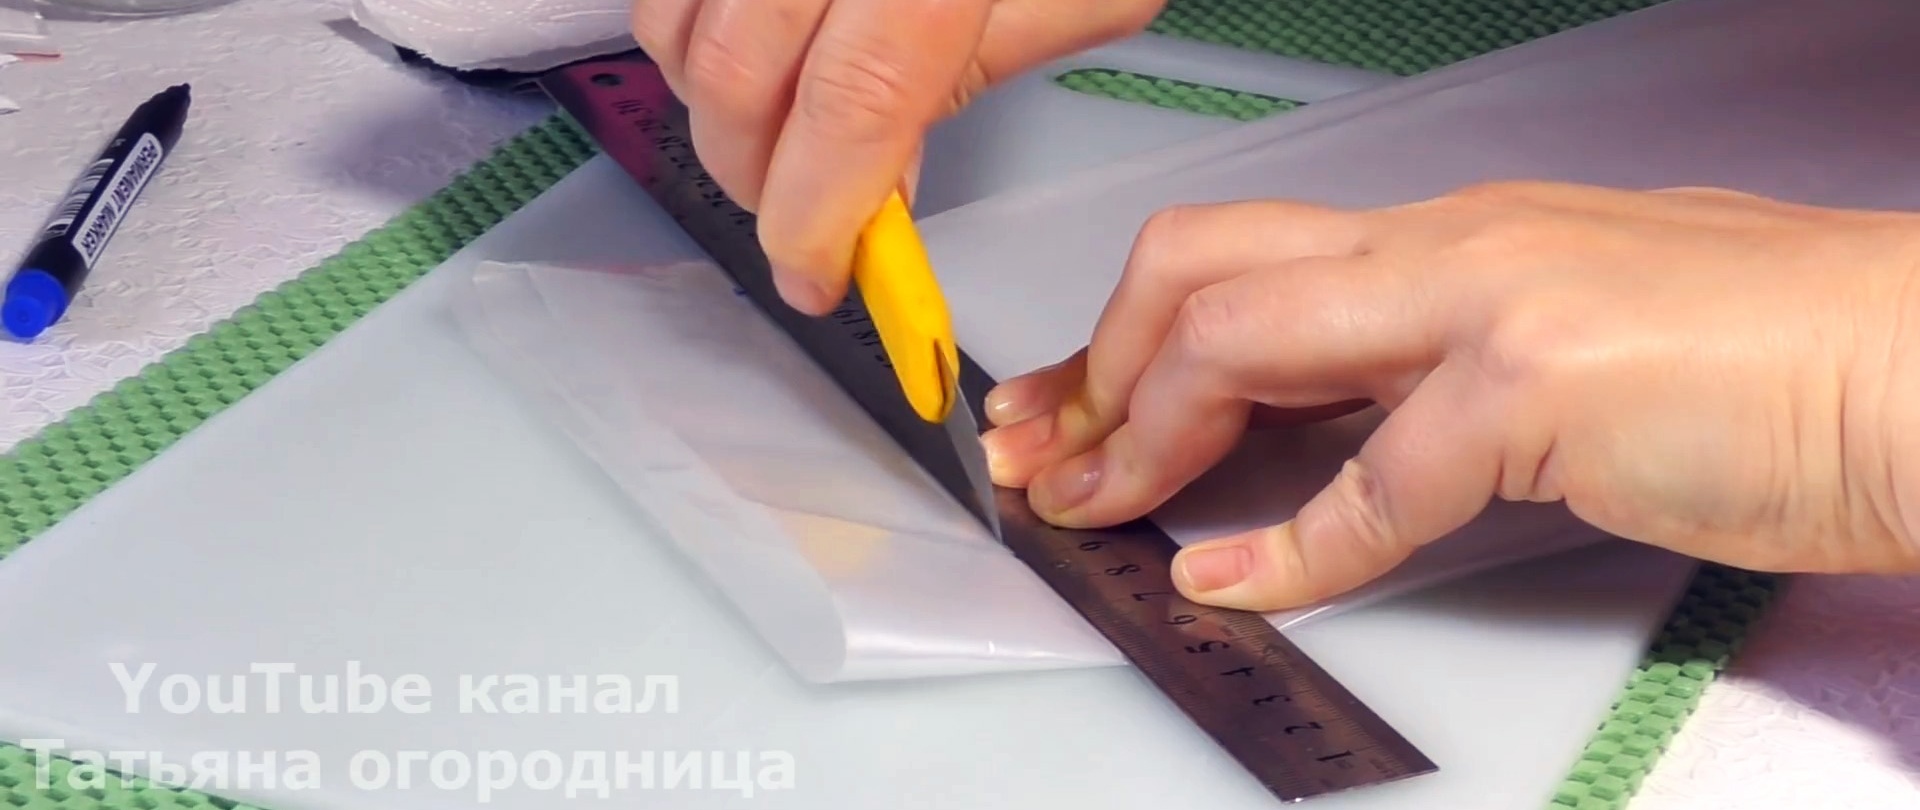
To do this, aligning the sections of the film, fold it several times, then apply a strip of paper, fix it with a ruler and cut off all excess along it with a knife.
From the resulting film strips we cut narrow strips, which are then used as variety separators with their number applied, since each variety comes with a specific number indicated on each of the seed bags.

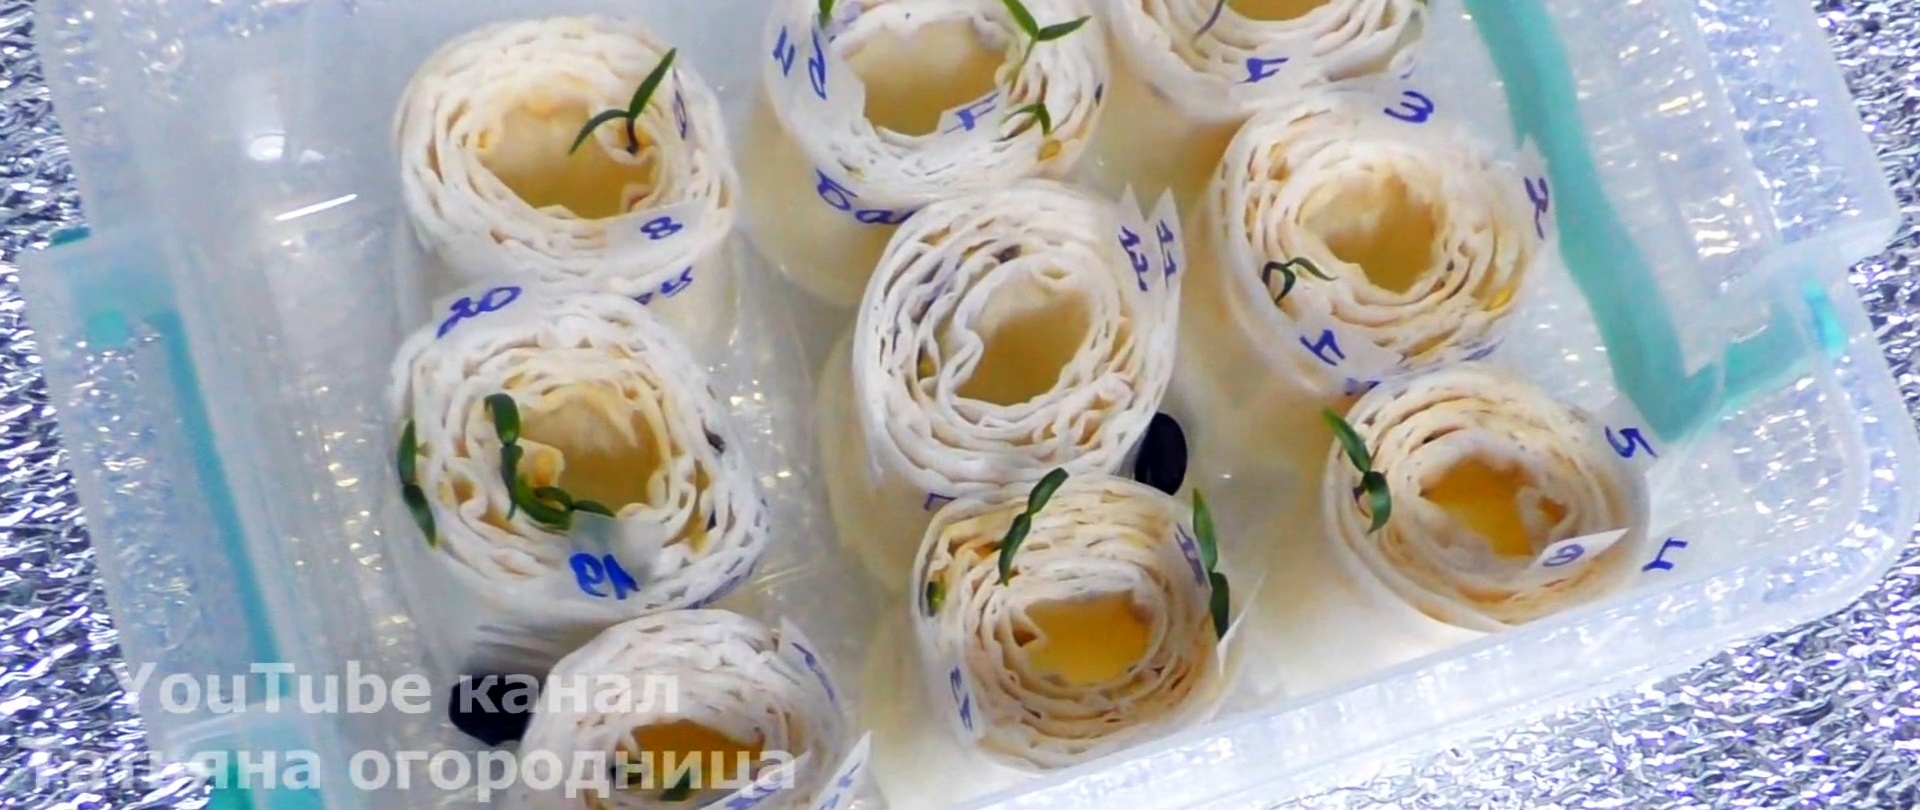
After the preparatory work, we begin sowing the seeds. To do this, we tear off a strip of paper from five squares so that 15 seeds of three different varieties fit there, i.e. 45 seeds in total.

Fold the paper in half widthwise and place it on top of the film.To prevent the paper from slipping on the film, moisten the top part with water from a rubber bulb.
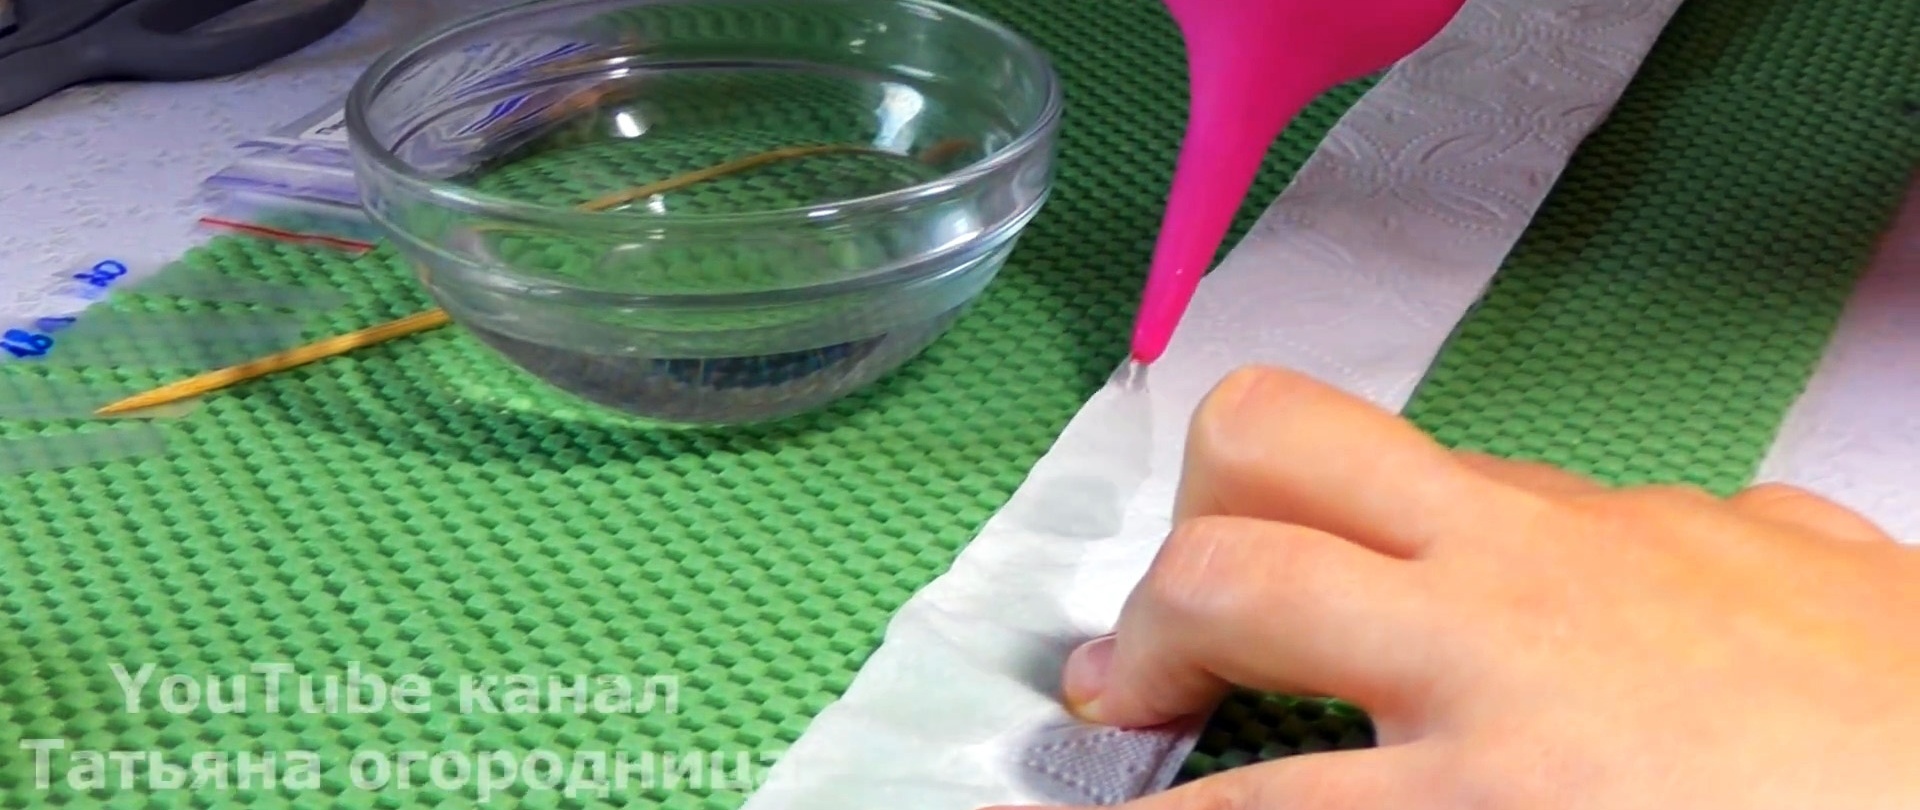
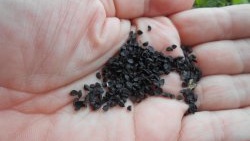
At the beginning of the strip we install a separator with No. 16. We pour the seeds from the appropriate package into a special seeder. Transfer the seeds from it to damp toilet paper with a wooden skewer, the end of which is moistened with water. We choose seeds that are lighter and larger.
We retreat 5-7 mm from the top edge of the paper, and maintain about 1 cm between the seeds in the row. After 15 seeds of one variety, we put another separator at No. 17, and then No. 18, and sow in exactly the same way as the previous variety , the remains of which are poured into the appropriate bag.

After sowing three varieties, we cover the seeds with the same piece of paper of five squares, folded in half with the curve upward, and together with them we fix the variety separators so that neither the seeds nor the separators move anywhere, do not move and remain in their places.
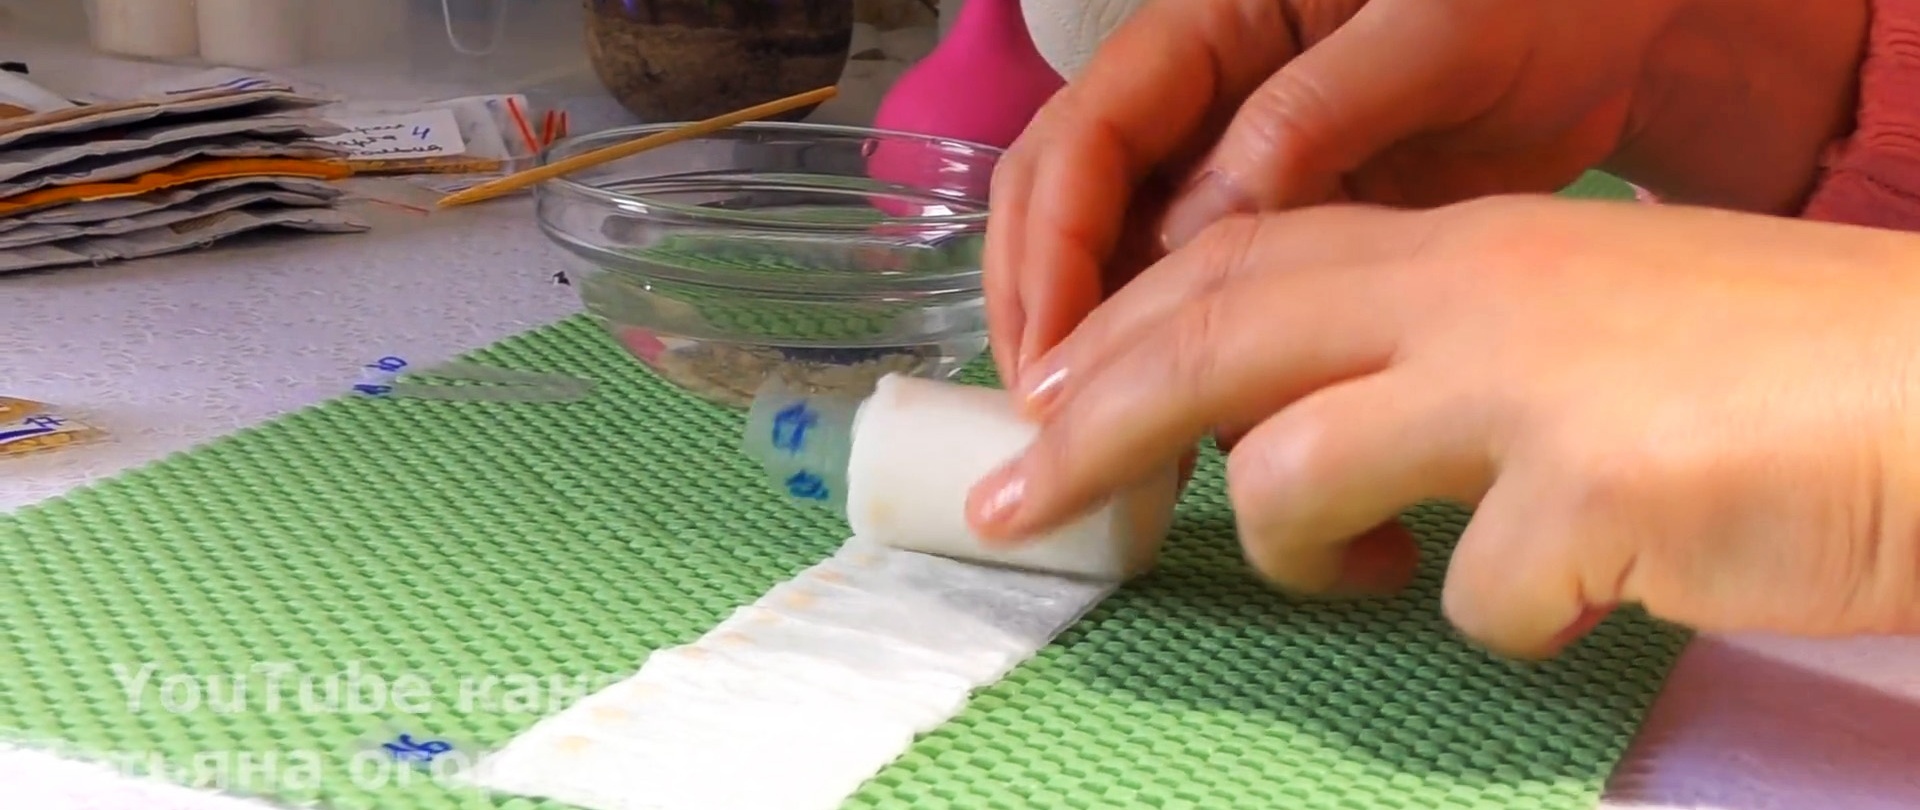
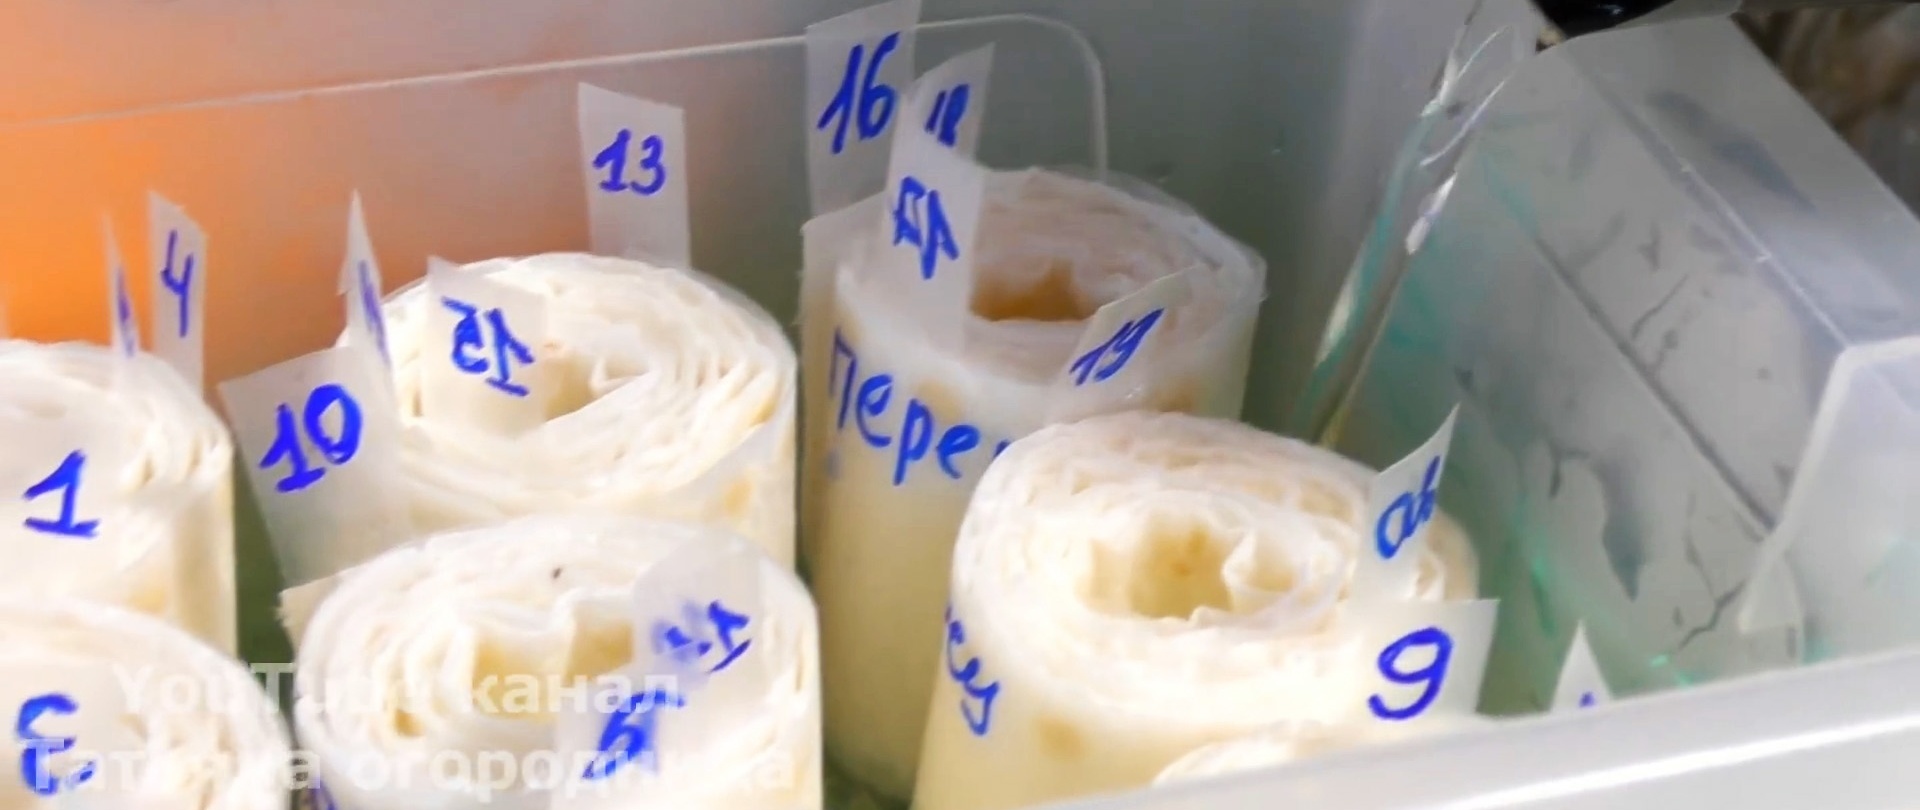
We again spill the top paper with water and lightly press it to the base with our fingers. Then we roll the strip, starting from the end to the beginning, so that all the numbers are in order. At the top of the roll we write the name of the sown crop and place it in a plastic container with the rest of the rolls.

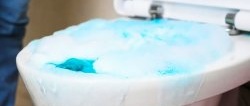
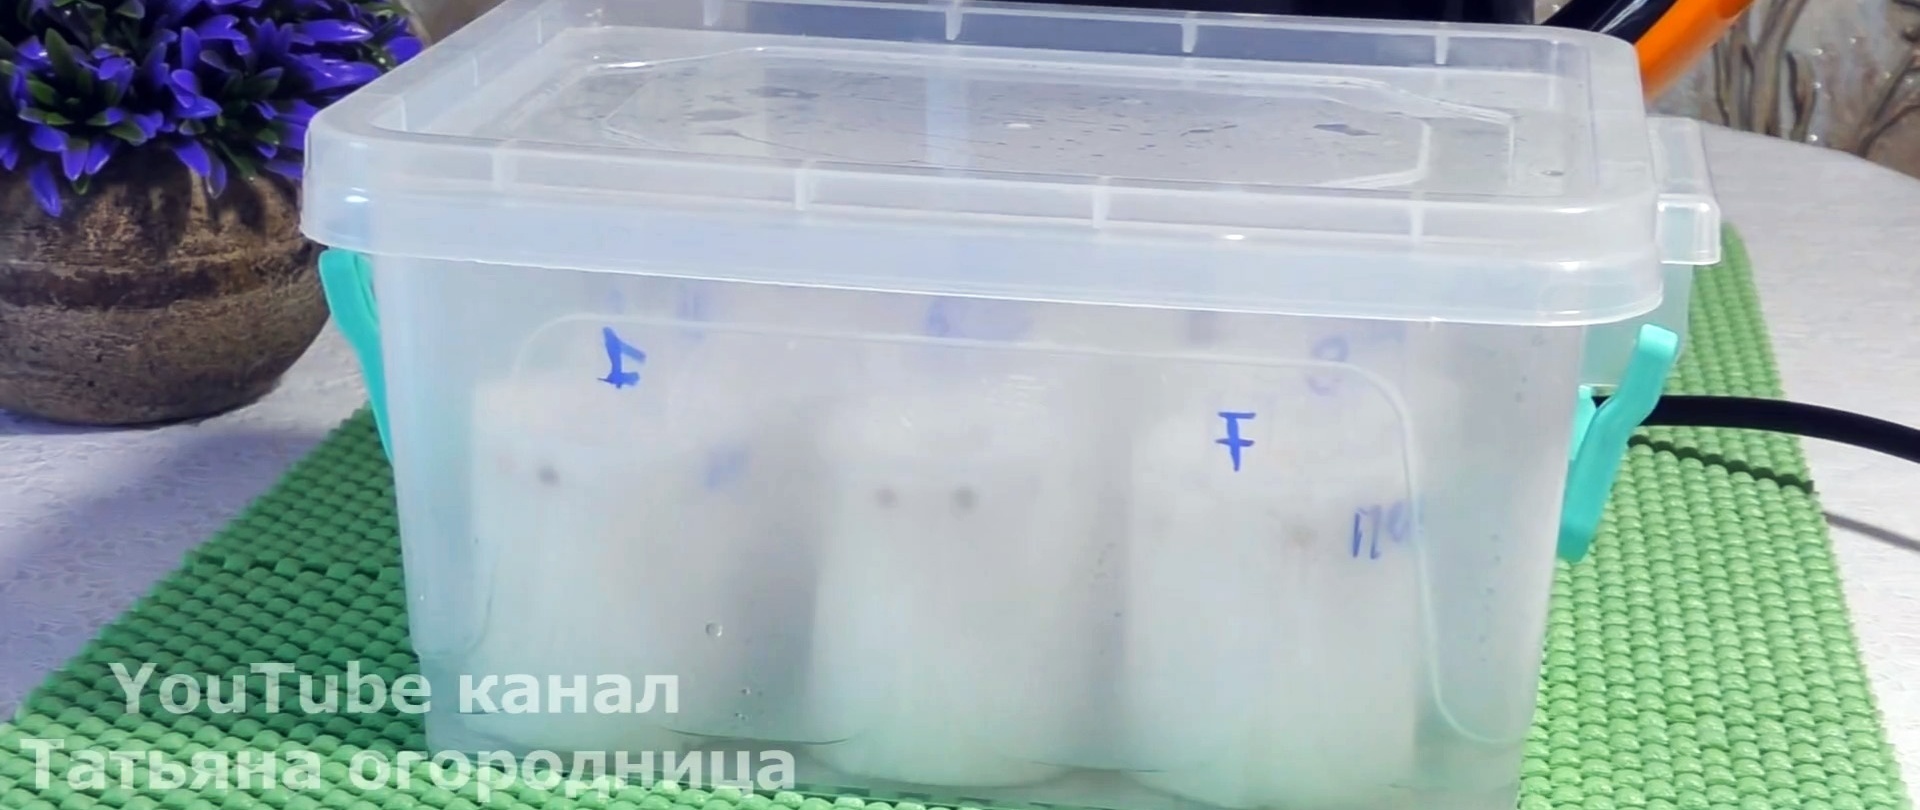
Pour boiling water into the container in such a volume that after the paper rolls absorb it a little, there is still 1-2 cm of boiling water left at the bottom of the container. Quickly close the lid of the container so that the seeds are exposed to hot steam, and do not remove it until the water cools completely. After which the pepper and eggplant seeds need to be provided with a favorable temperature of 25-28 degrees Celsius.
In winter, it is better to place the seeds next to a heating radiator, but not above it, otherwise the seeds will steam from the high temperature and will not sprout.
Place an empty cardboard box between the battery and the container and press them with a rubber ring passed through the holes in the battery. We keep the container lid closed, but during the day we ventilate it 1-2 times for 15-20 minutes.

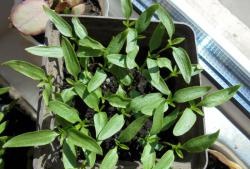
During seed germination, we regularly measure the temperature in the container, which should be from 25 to 28 degrees Celsius. Approximately 7 days after sowing the seeds of pepper and eggplant, the first shoots begin to appear.

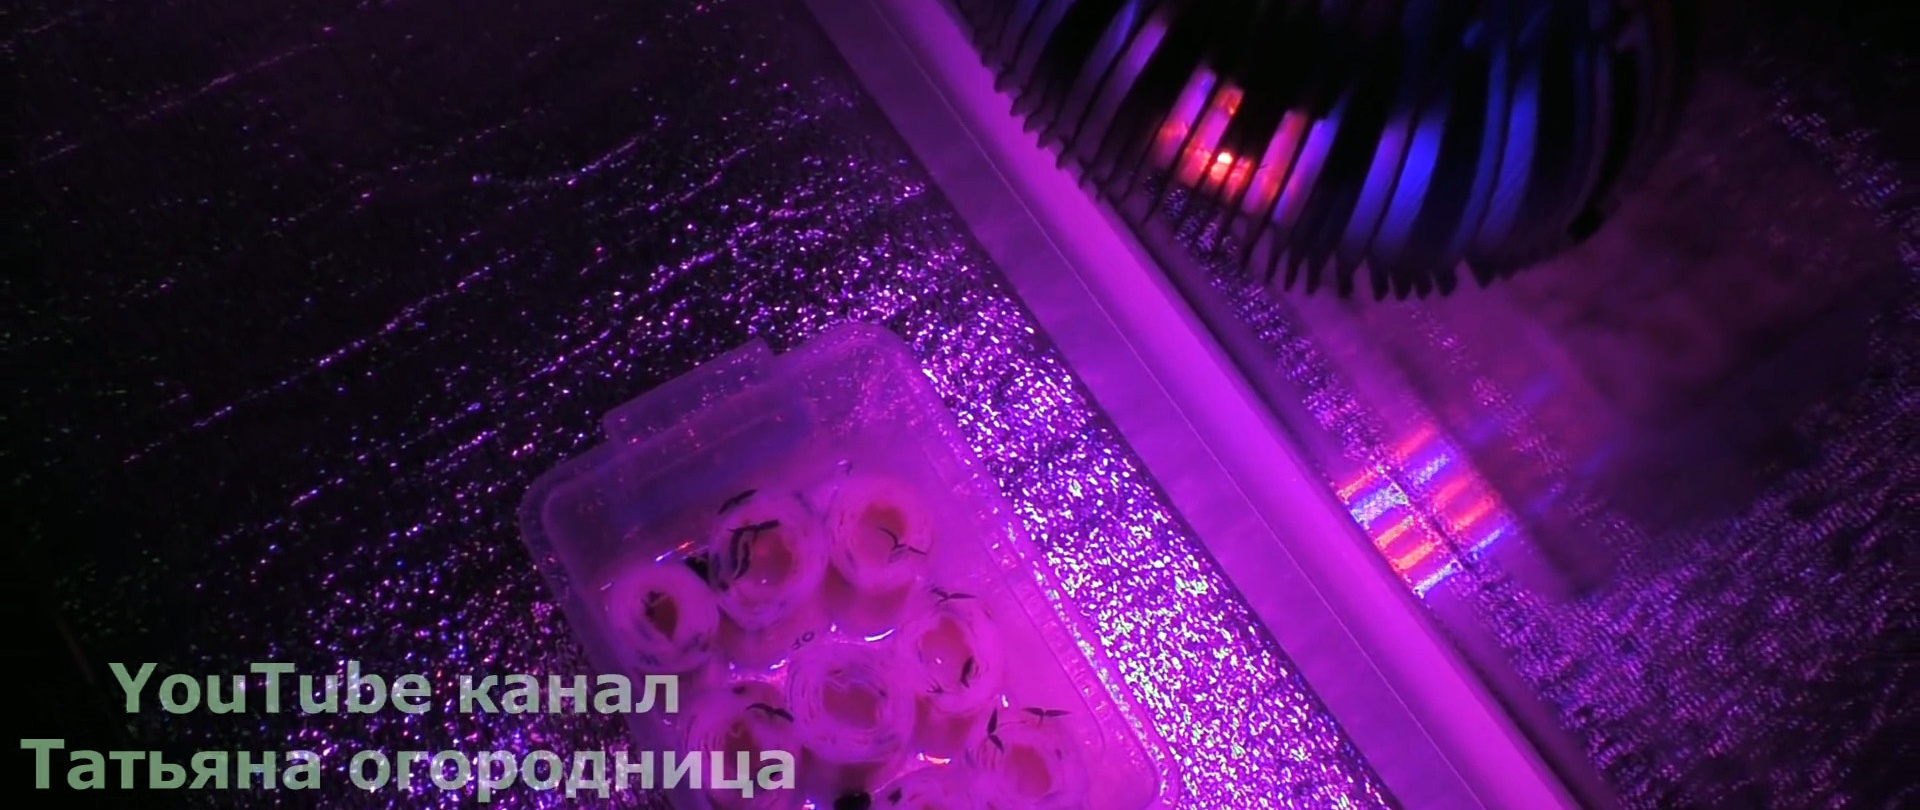
This means it’s time to move the container from the heating radiator to the windowsill and install a bicolor lamp to illuminate the plants for at least 12 hours a day. We also replace the water with fresh water, and to prevent it from stagnating, we add 2 tablets of activated carbon to suppress the development of various pathogenic microflora and protect the roots of the seedlings from rotting.
We don’t just place the container on the window sill, but place foam plastic underneath it, covered with a foil backing for insulation and reflection of light. After the bulk of the seeds have sprouted, they need to be planted in cups with soil.