Making a simple manual concrete mixer
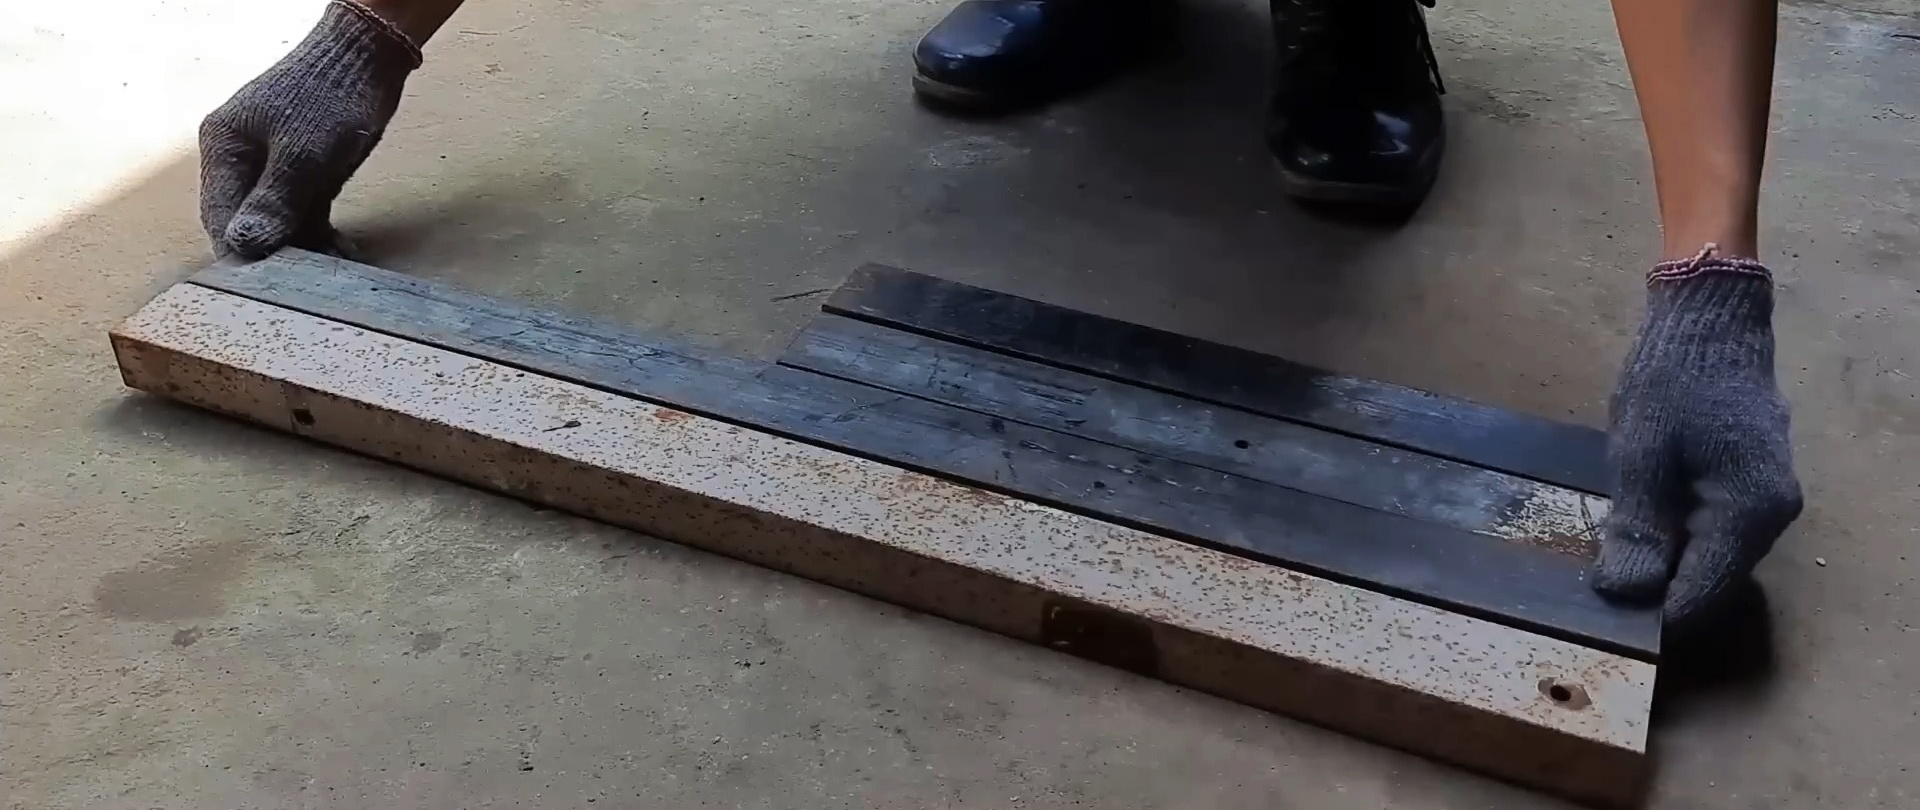
We make the frame for the future concrete mixer from a suitable channel using welding. To do this, we will need a pair of long and short blanks.
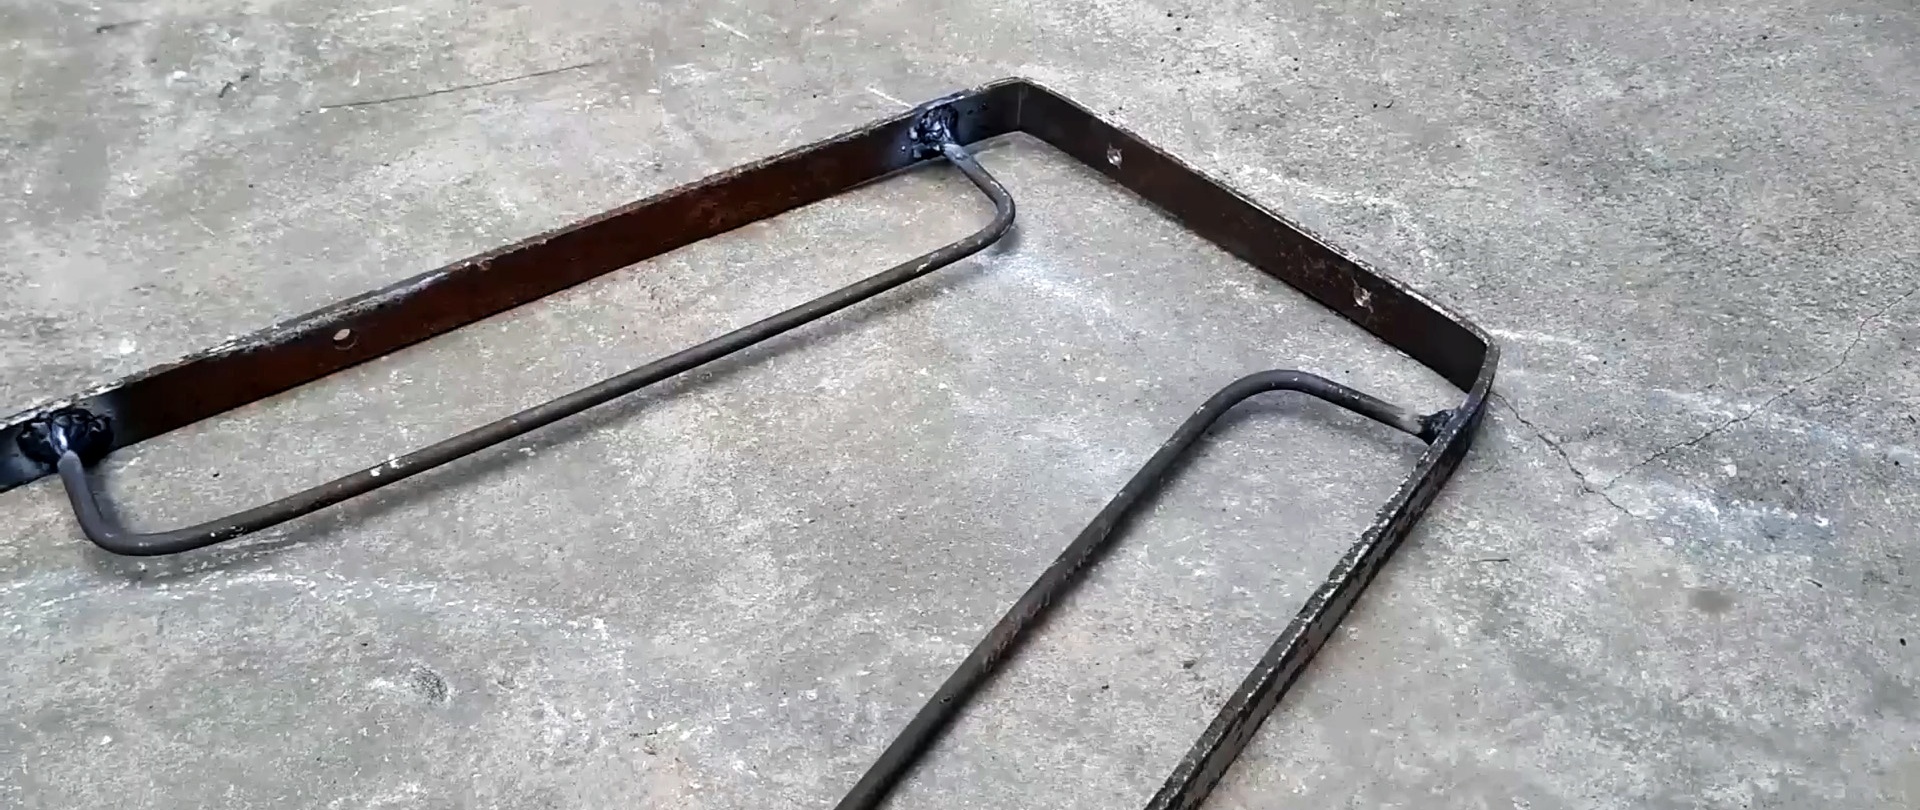
From the same material we make 2 racks for installing wheels, which we weld vertically in the center of the long sides of the frame.

At two ends of the racks we cut off shelves to insert them inside the channels, and at the other two there are slots for installing wheel axles.

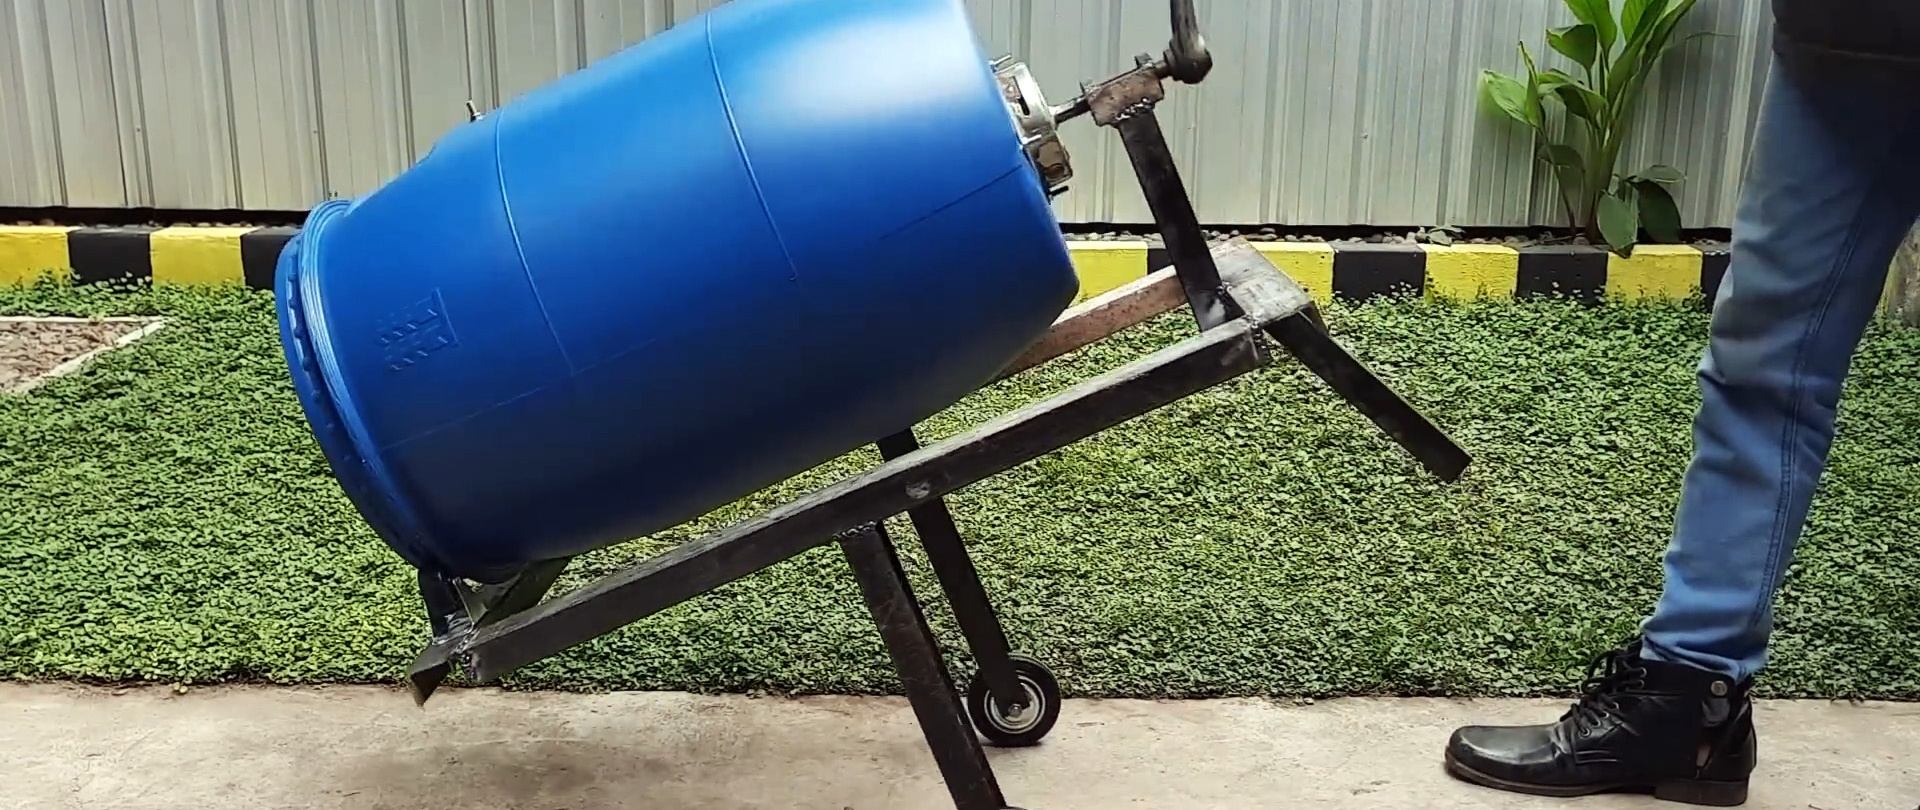
We also weld a channel stop in the center of the short side of the frame at a certain angle outward, the length of which is shorter than the length of the racks, so that in the final version the container for mixing the components is in an inclined position, which increases the efficiency of mixing.


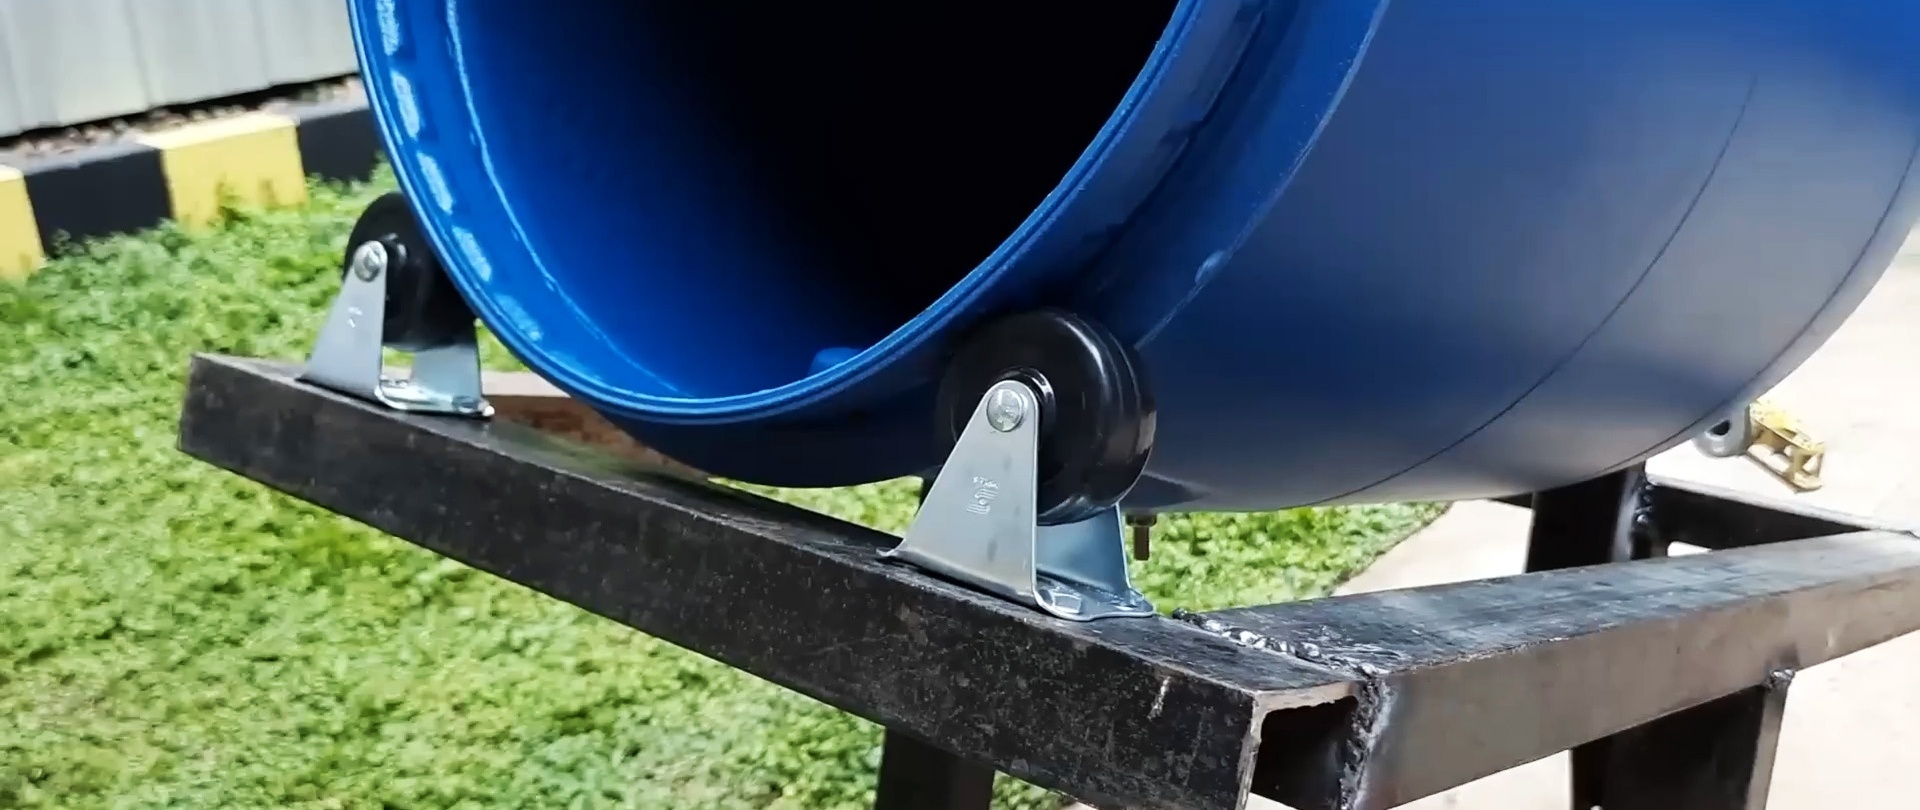
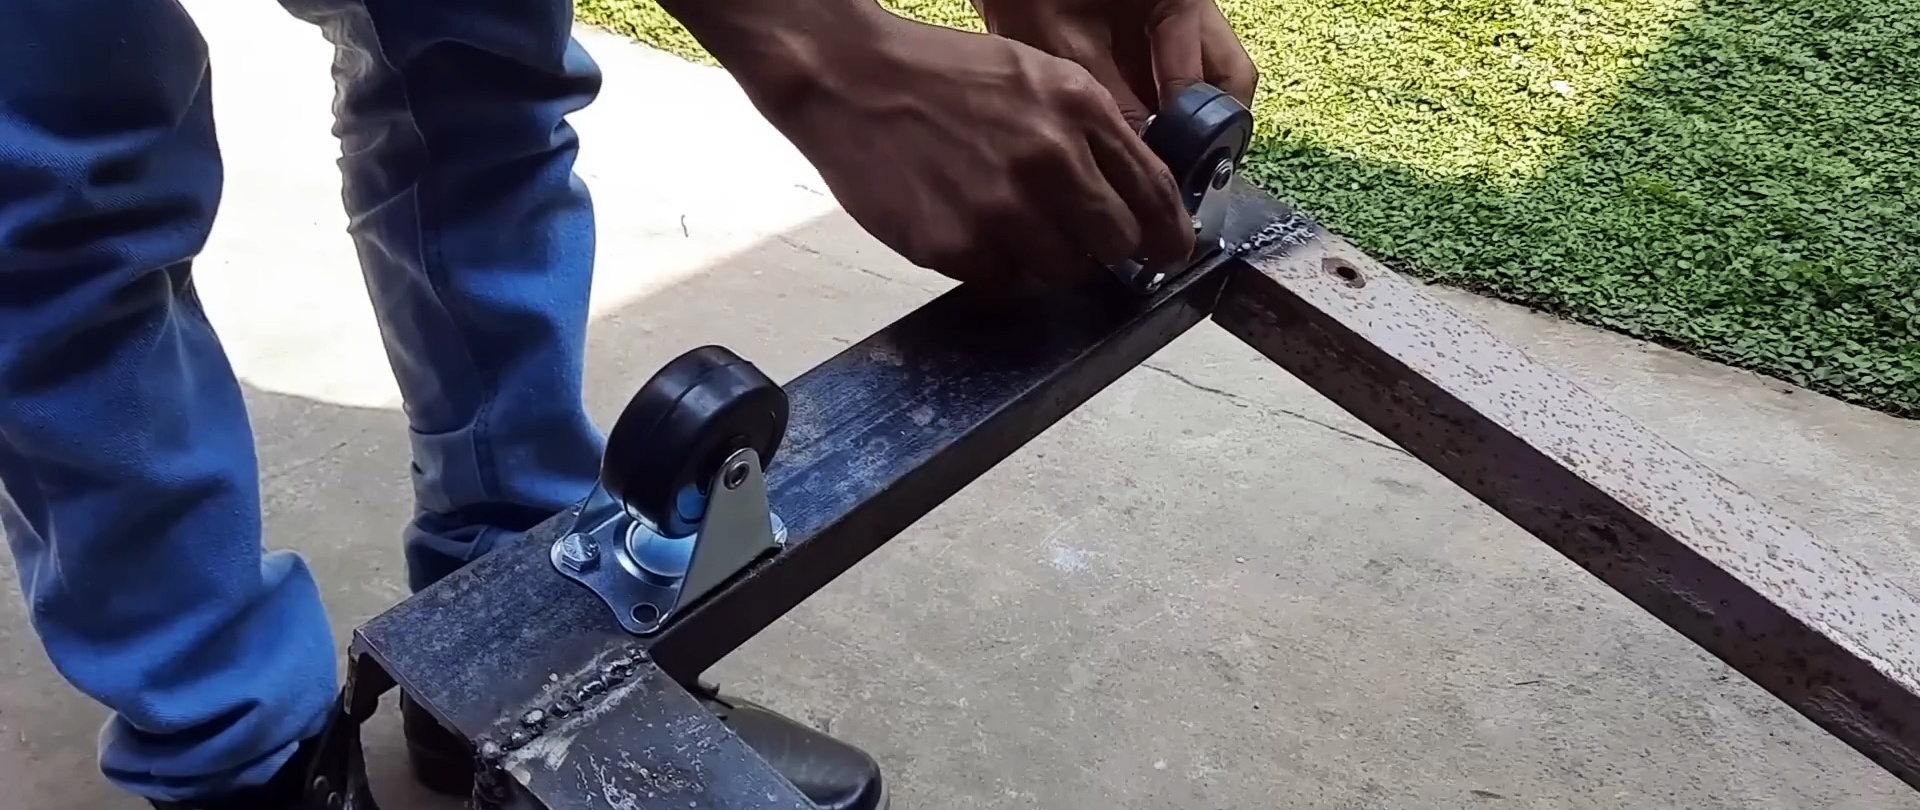
Closer to the edges of the short side of the frame, we drill holes and attach 2 rubber self-aligning wheels using bolts and nuts. The neck band of the mixing container will rest on them and at the same time rotate during operation.
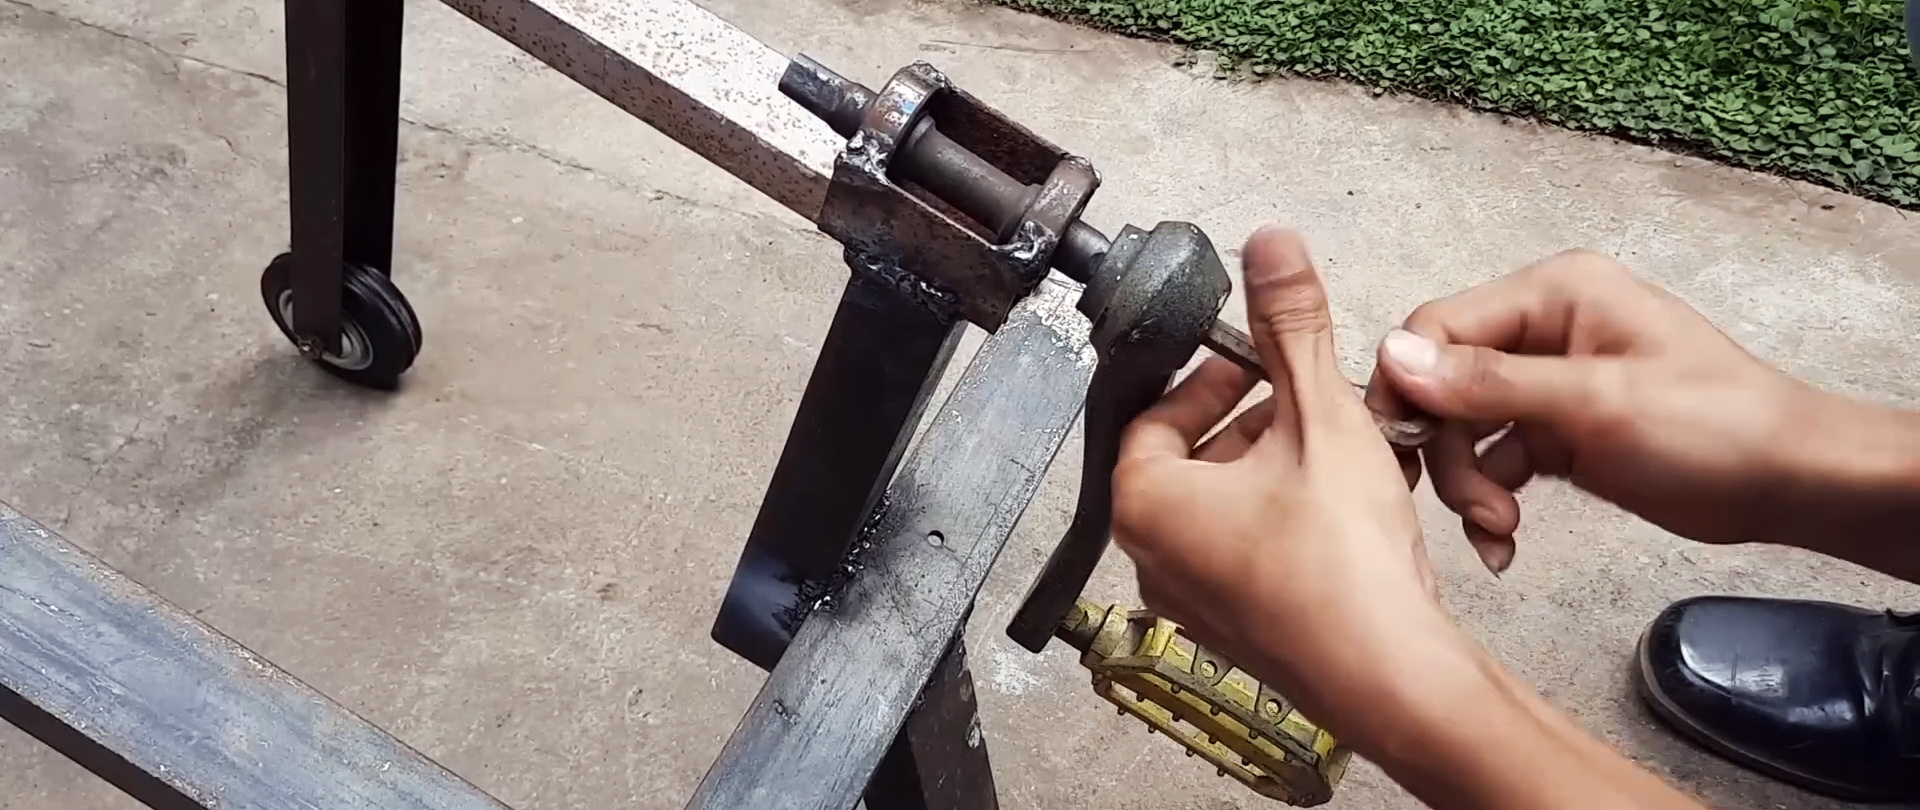
From a piece of channel, two bearings and an axle with two stops, we assemble and weld a rotation unit, which we attach to the end of a section of channel of the estimated length and weld it in the center and outside the short side of the frame in the opposite direction to the inclined stop.


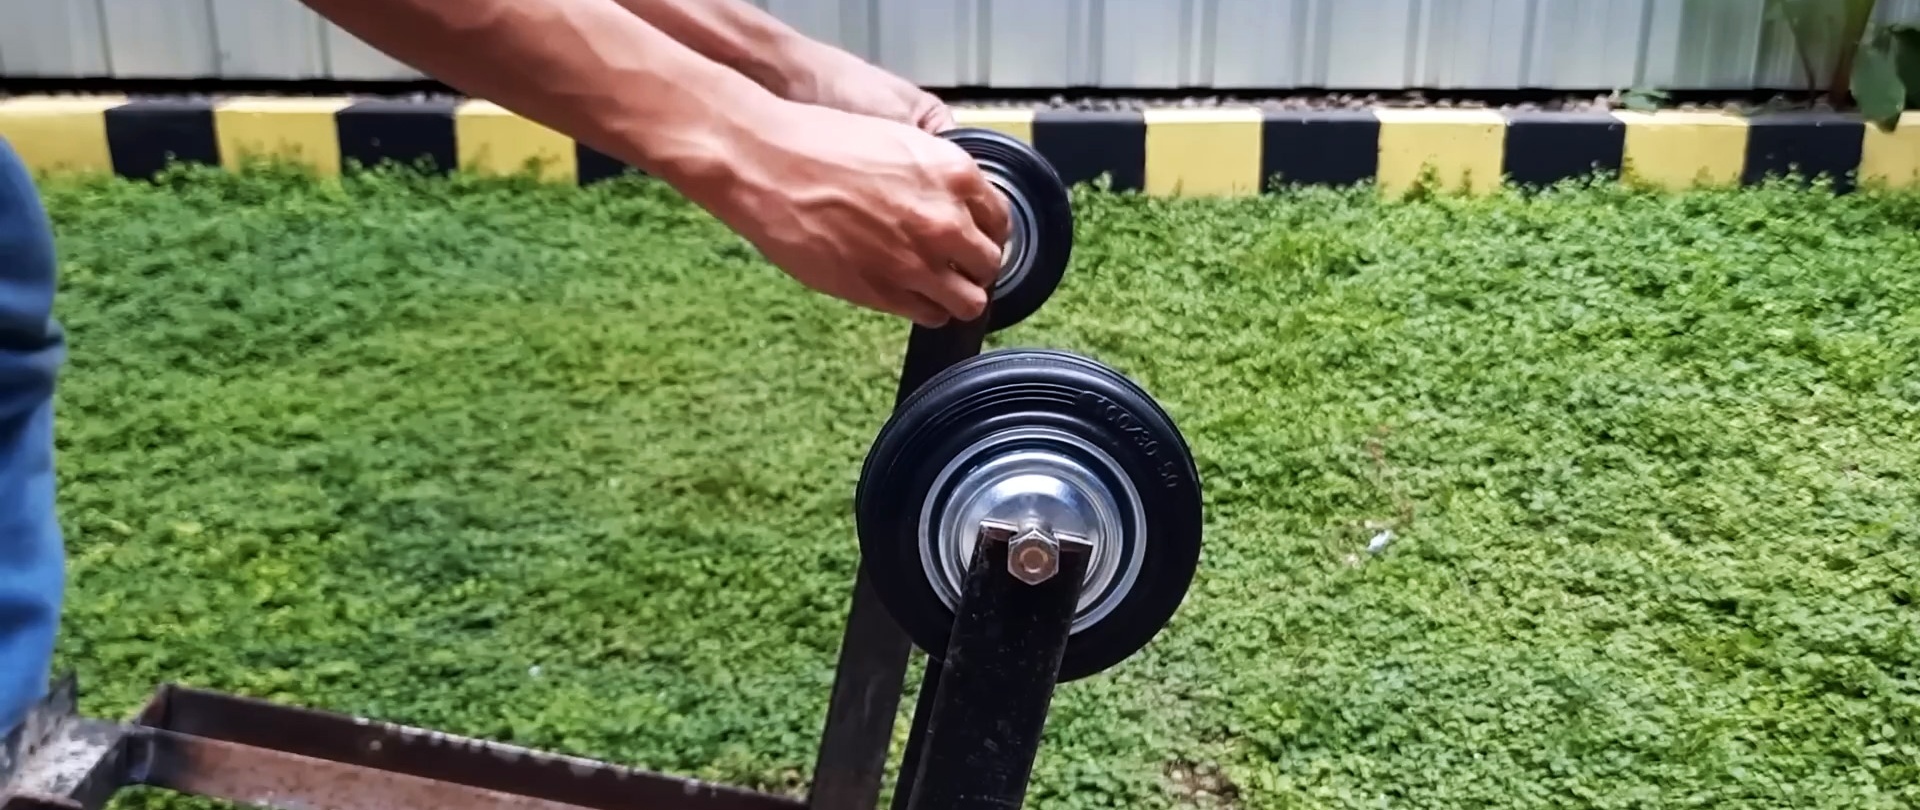
In this case, the axis of the rotation unit must be oriented longitudinally to the frame. We install the axles of the rubber wheels in the slots of the wheel stands and secure them with nuts.

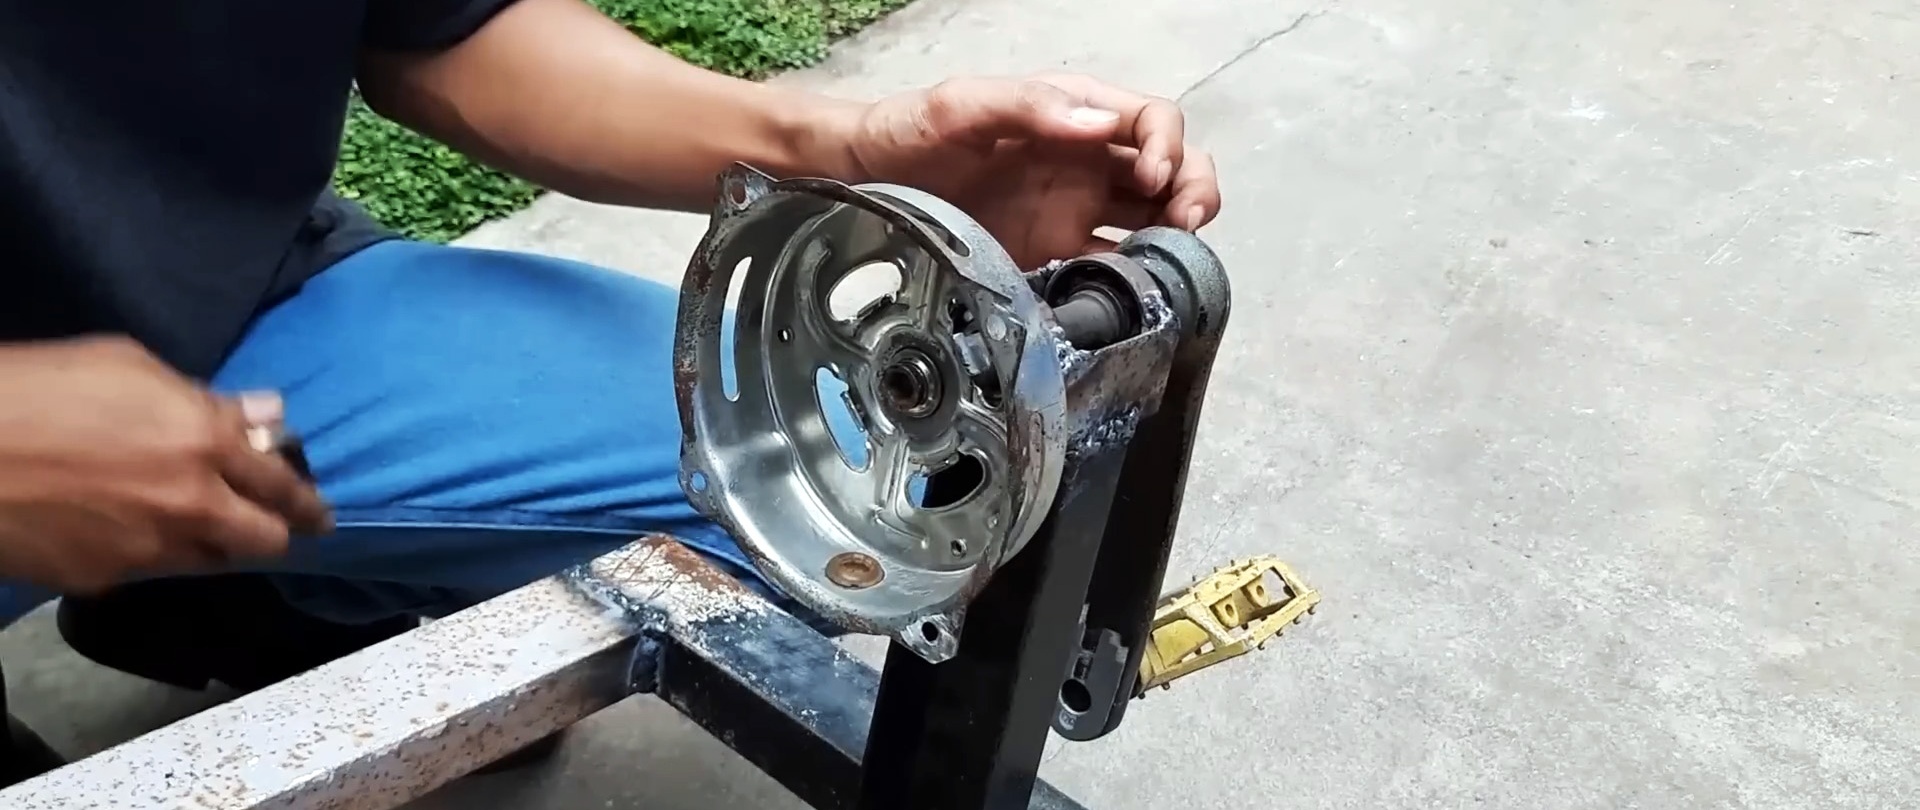
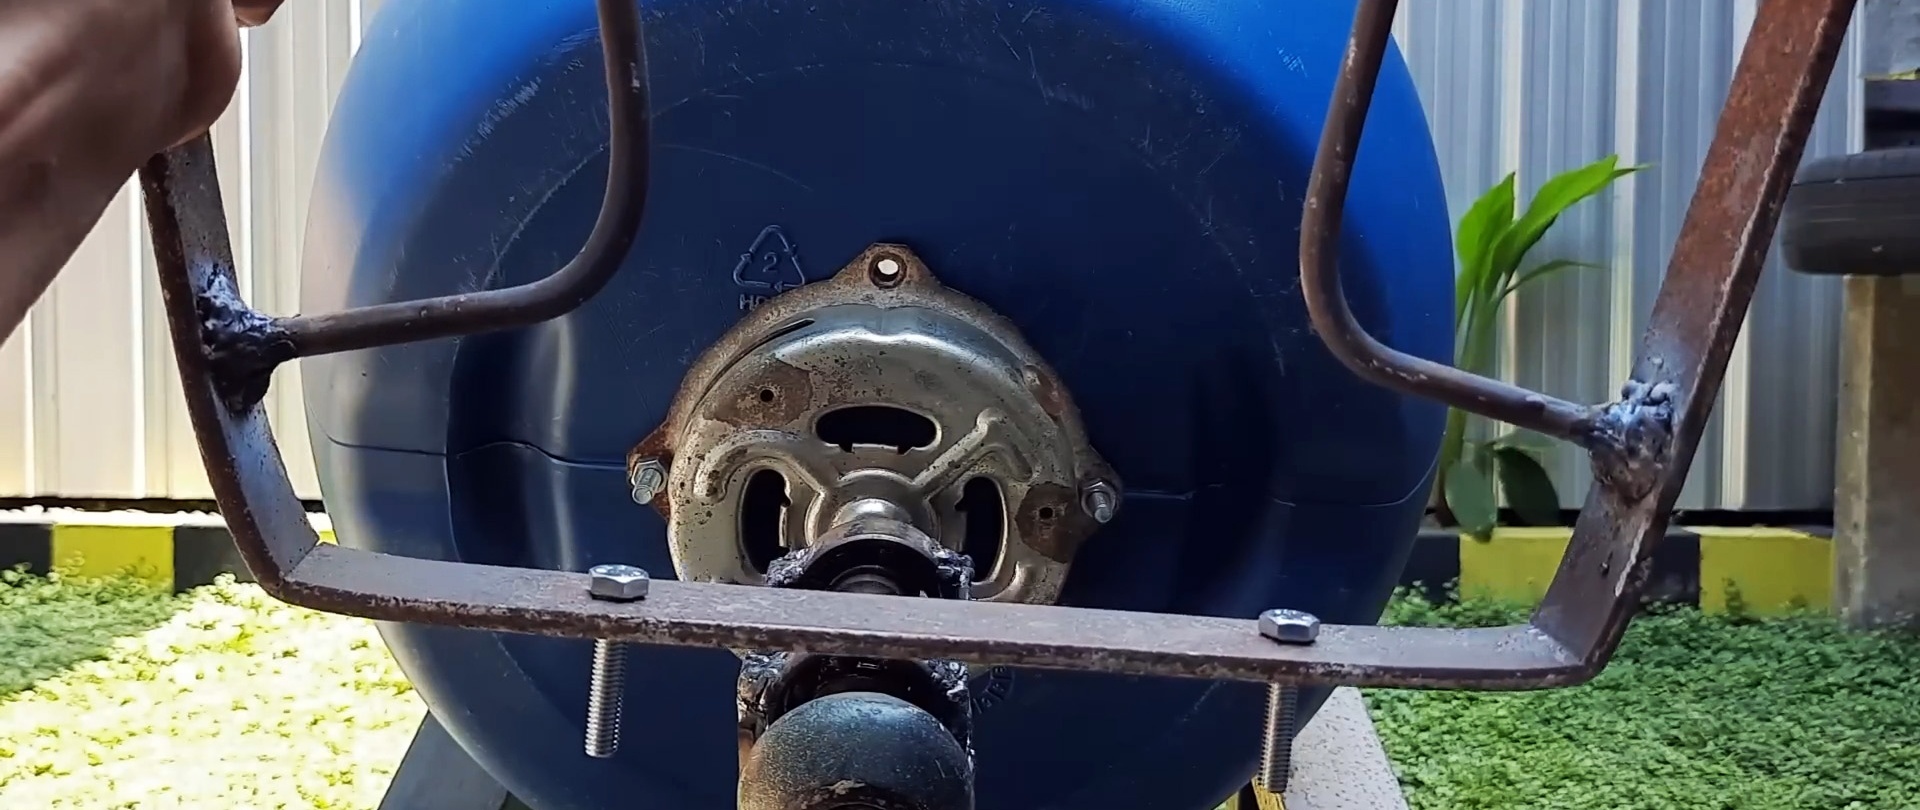
We use a thick-walled plastic barrel of the calculated dimensions as a mixing container. In its bottom we drill holes for attaching a metal flange, which we fasten with a bolt to the inner end of the axis of the rotation unit, and on its other side - a connecting rod with a pedal from a bicycle.
We place the container with a belt on the neck on the support self-aligning wheels, and screw the bottom to the flange with bolts and nuts.

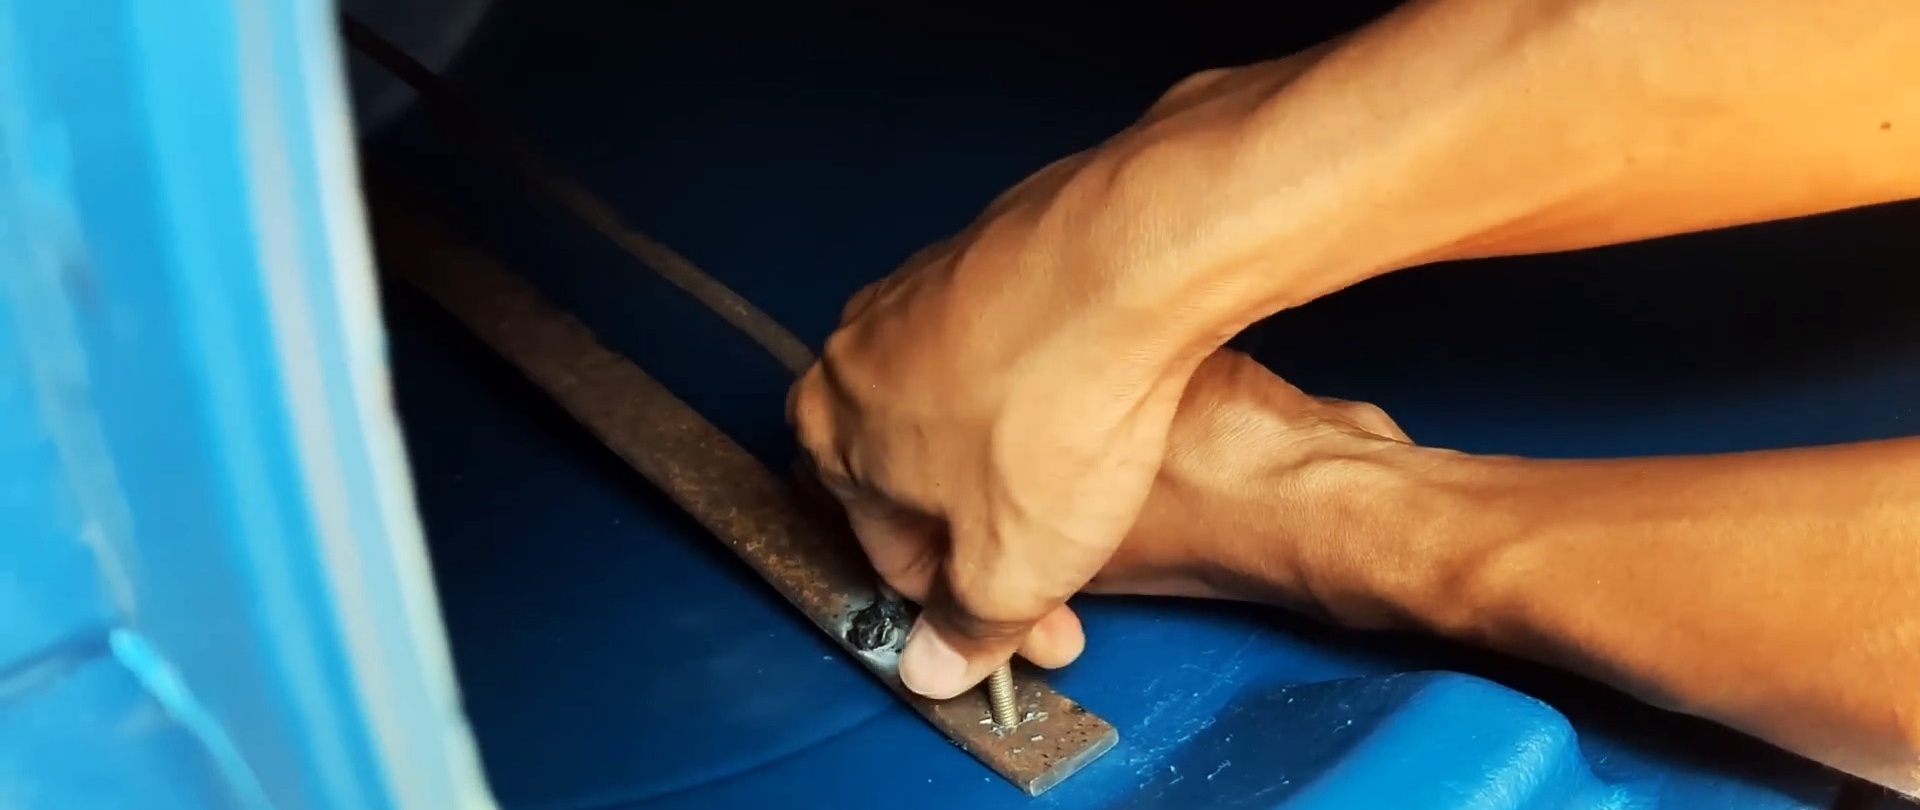
From a steel strip, taking into account the internal dimensions of the container, we bend a U-shaped blank and make holes for fastening to the side of the container and the flange. We weld elongated brackets from a round rod to the inside of the legs in the longitudinal direction.
We place the resulting assembly inside the container and attach it to the container and flange using bolts, washers and nuts.

It will give the container more rigidity, and most importantly, it will mix the contents more intensively when preparing a concrete or building mixture.