1. Satin or black silk, size 10*45 cm;
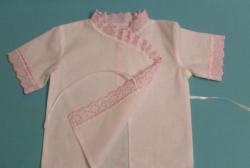
2. Lilac lace with one figured edge, size 8*21 cm;
3. Black satin bias tape, 55 cm;
4. Black elastic band, with one openwork edge, 30 cm;
5. Cotton fabric, 18*15 cm;
6. Lavender, dried flowers, 5-7 g;
7. Cardboard for the pattern, size 10*21 cm;
8. Stationery scissors;
9. Scissors for cutting fabric;
10. Pencil;
11. Threads in the color of the fabric;
12. Needle for handwork;
13. Chalk for cutting on fabric;
14. Tailor's pins;
15. Iron;
16. Household sewing machine.
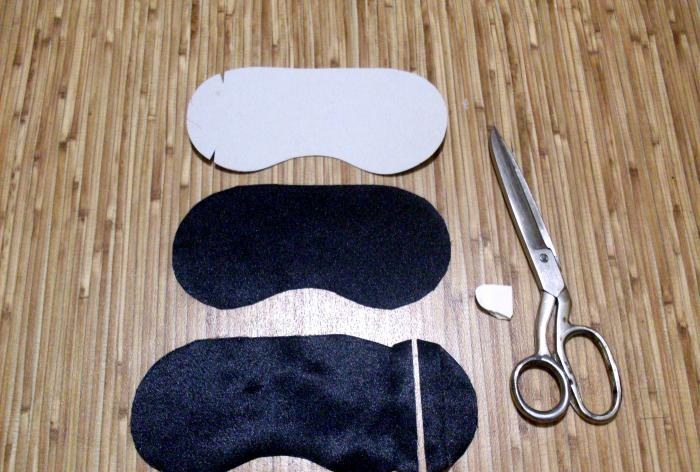
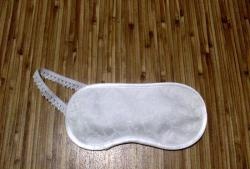
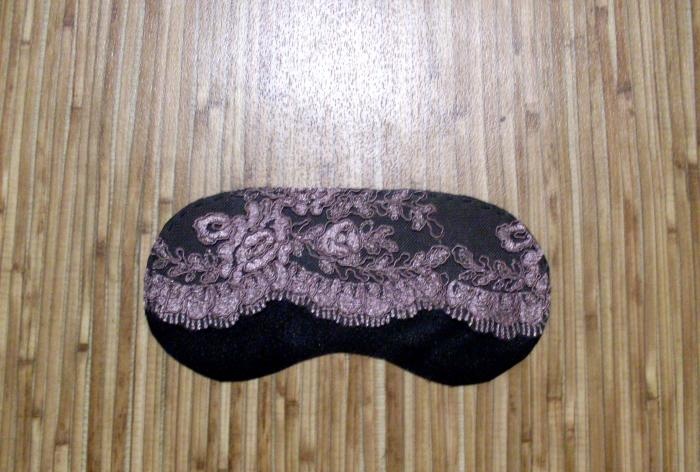
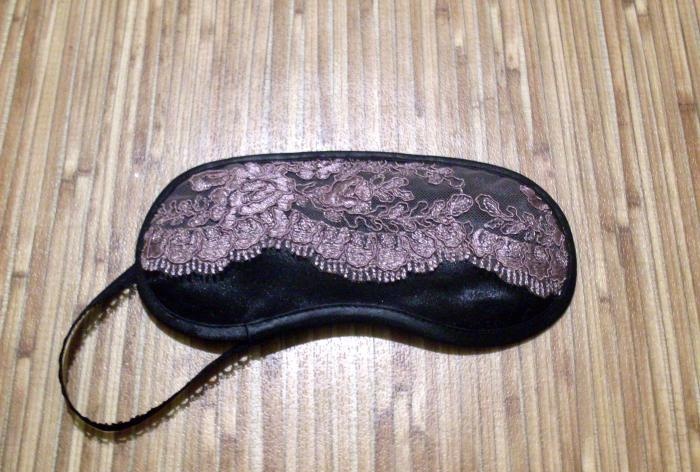
First you need to prepare a pattern for the future mask. It is best made from thick cardboard. When finished, a medium-sized mask is 20 cm wide and 9.5 cm high.
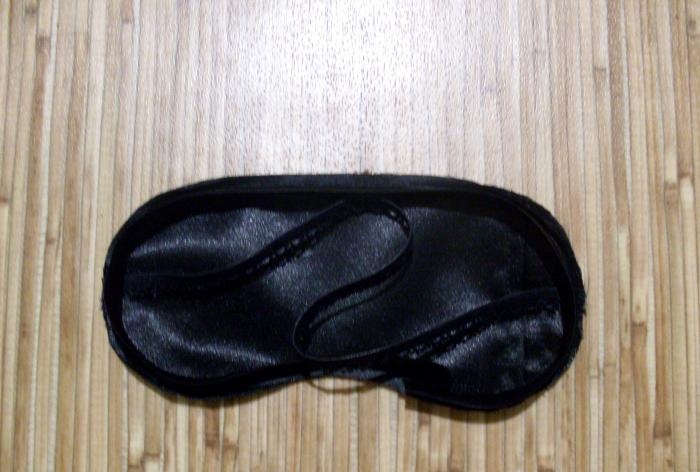
Using the pattern, you should outline and cut out the details of the mask from satin. There is no need to add seams for processing along external cuts, since the external cut of the product will be processed with bias tape. Before cutting, the satin should be ironed with steam.The outer part of the mask must be solid. On the reverse side, additional allowances can be placed on the mask parts and the cut can be processed at a distance of 6 cm from the side cut. Thanks to this design, you can always remove the sachet from the mask if desired, and the product itself can be easily washed and dried.
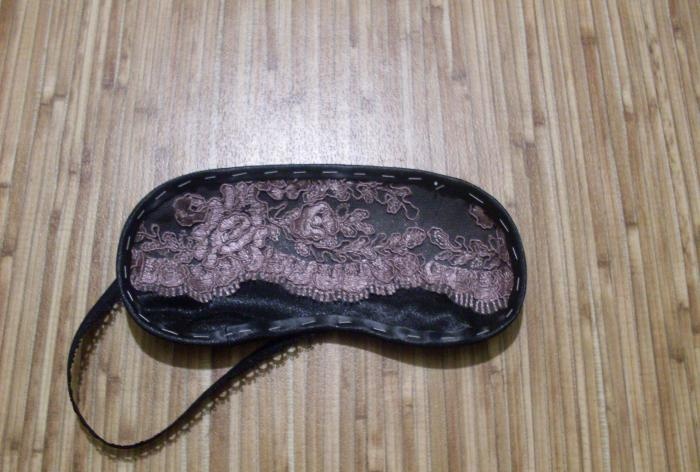
Then you need to cut out the finishing part of the mask from lilac lace. Parts made of satin and lace must be pinned together and then swept along the perimeter at a distance of 2 mm from the outer edges. Then the pins must be removed.
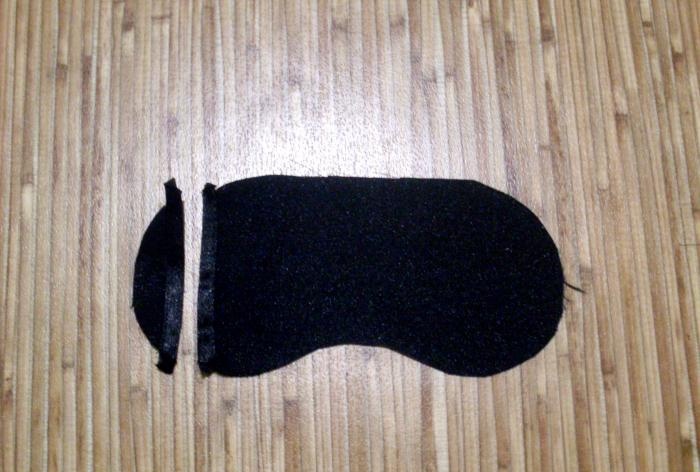
On the reverse side of the mask, you should process the cut under the sachet - sew up its ends with a hem seam with a closed cut.
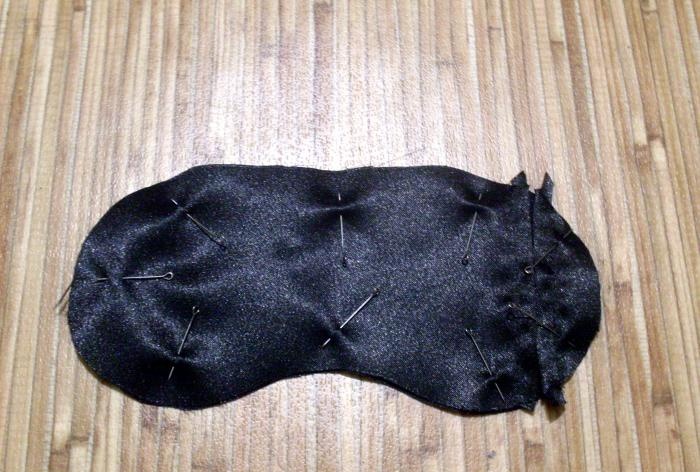
Next, you need to fasten both parts of the mask together, placing them inside out on top of each other and aligning all the cuts.
All layers of the future mask must be connected together along the perimeter with a fine running stitch, after which the pins can be removed.
An elastic band should be attached to the back of the product. After this, you need to sew the edging tape along the outer edge of the mask.
Then the edging must be wrapped on the outside of the product and secured with an auxiliary basting stitch.
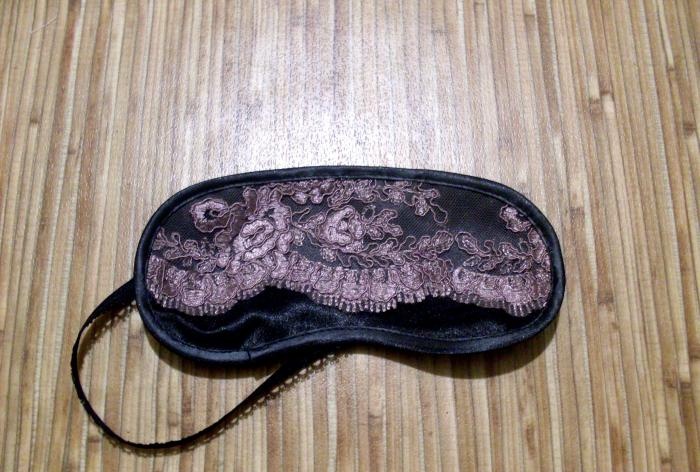
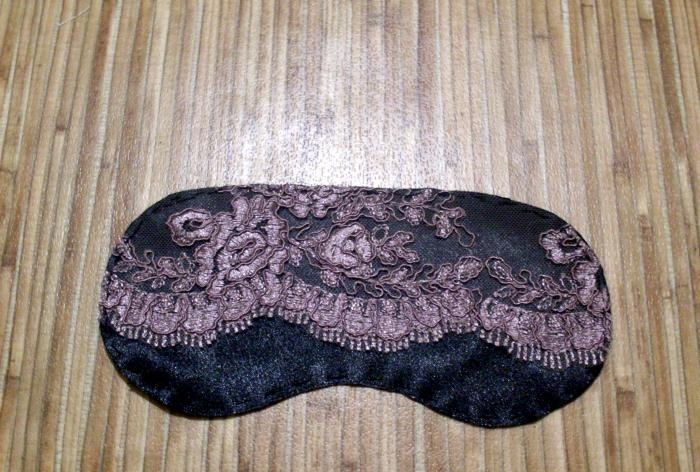
Next, you need to lay a finishing stitch along the edge of the bias tape, after which the basting threads can be removed.
When finished, the mask must be carefully ironed from the face and from the inside.
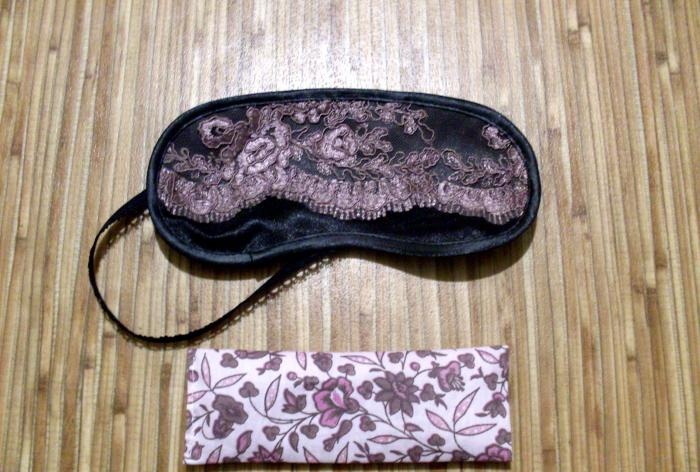
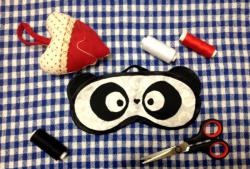
After this, a sachet should be sewn from cotton fabric.
Filled with dried flowers and stitched, the sachet should be carefully placed into the mask.
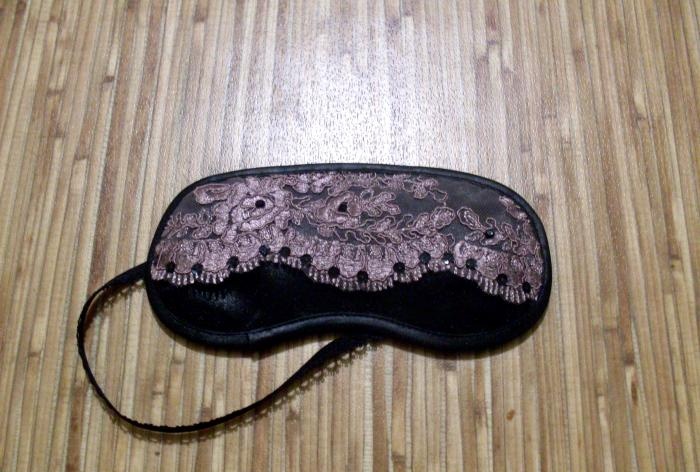
If desired, the finished mask can be decorated with rhinestones and sequins.