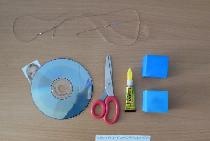
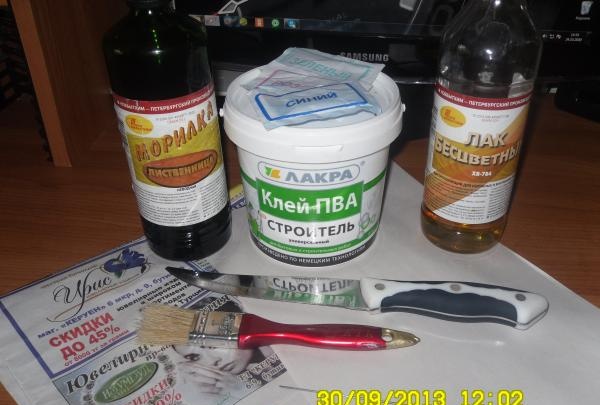
To work you will need:
• Old newspapers or newsprint.
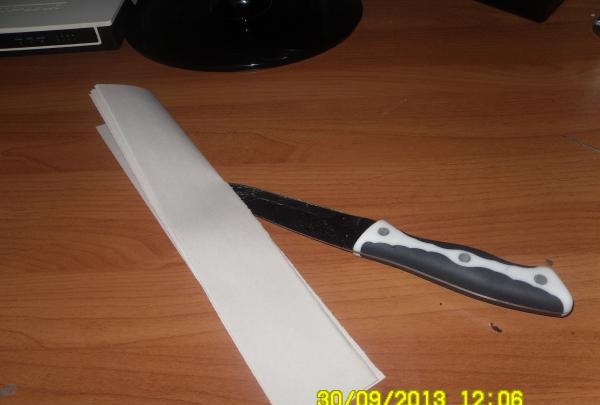
• Regular knife.
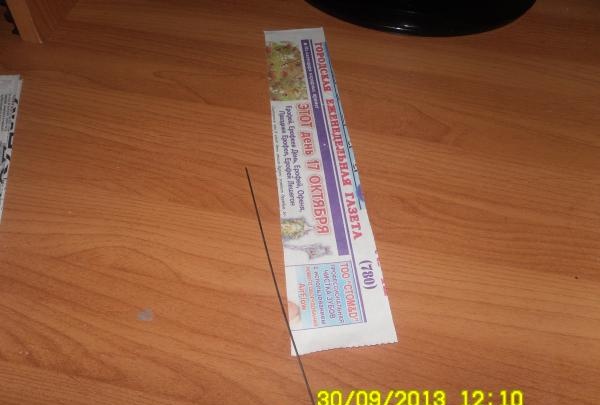
• Thin knitting needle.
• PVA glue.
• Food colorings.
• Clear varnish
• Brush for processing the finished product.
Step-by-step description of making a box.
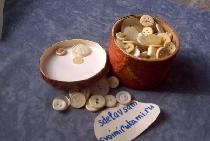
1. Direct weaving of the box will be done from newspaper tubes, of which approximately 200-220 pieces will be required. In order to get a newspaper tube, you need to cut a newspaper or magazine, using a regular knife, crosswise into strips, the width of which is about 5 cm. If you are planning tubes of darker colors, you can use newspaper. For tubes of light and bright colors, you should use newsprint, since the letters may show through when painted.

2.In order for the tube to be long and neat, you need to use a knitting needle as thin as possible. A knitting needle is placed on the edge of a newspaper strip at an angle of 35-40 degrees. The smaller the angle, the thinner the tube. From thin tubes the product turns out neater and more delicate. Pressing the edge of the paper tightly against the knitting needle, you need to twist the tube. Coat the remaining top edge with PVA glue and screw the tube to the end. Pull out the knitting needle. The tube is ready.
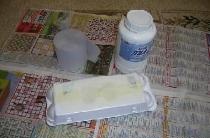
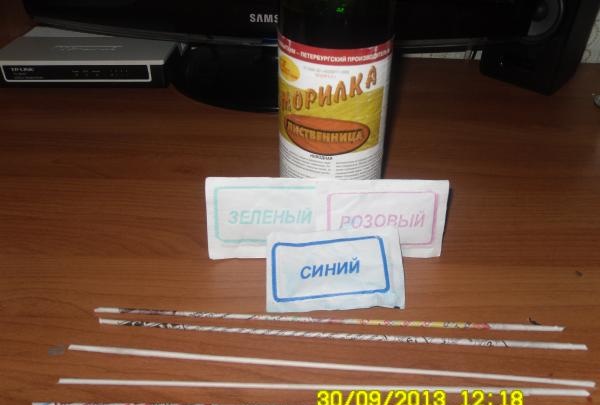
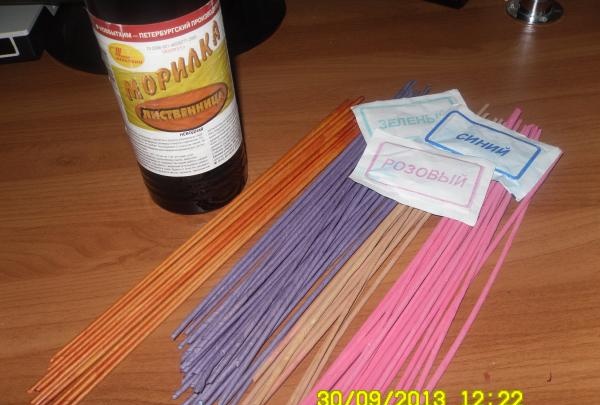
3. To paint the tubes, you can use stain and food coloring.
To paint with stain, simply dip the tubes into a bottle with this solution and immediately remove them. Leave to dry in fresh air for 3 hours.
To paint tubes with food coloring, you need to dilute them according to the instructions and lower the tubes into a container with paint for 5-7 seconds. Dry in a warm place until completely dry.
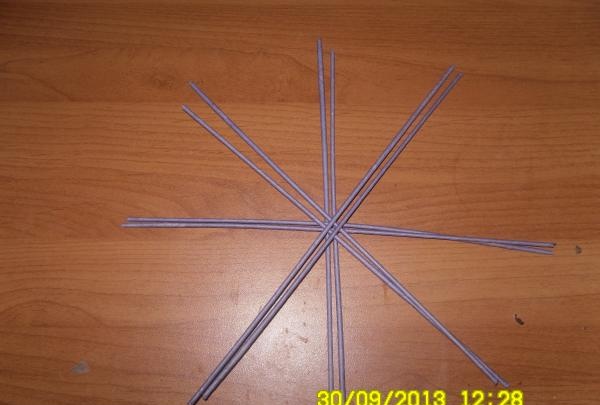
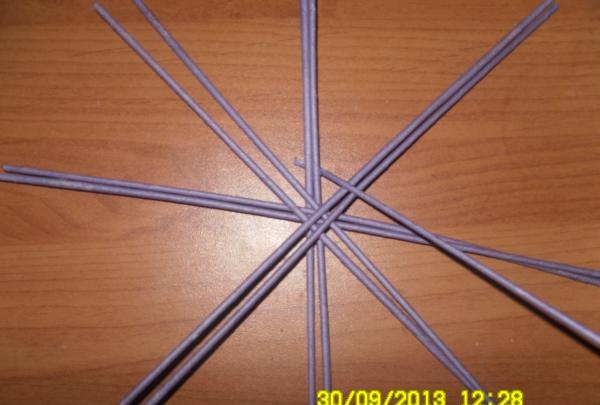
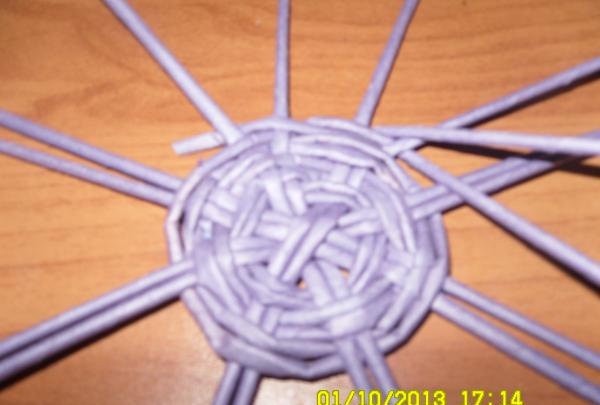
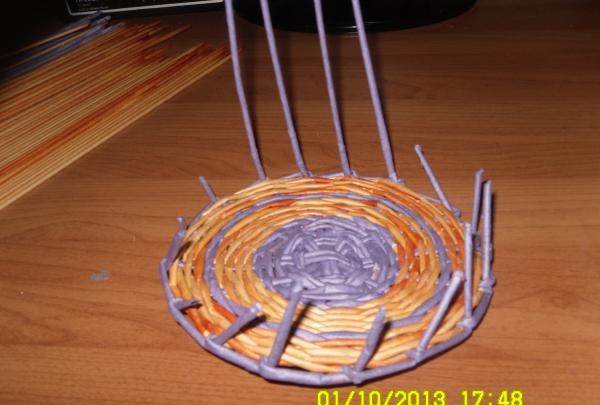
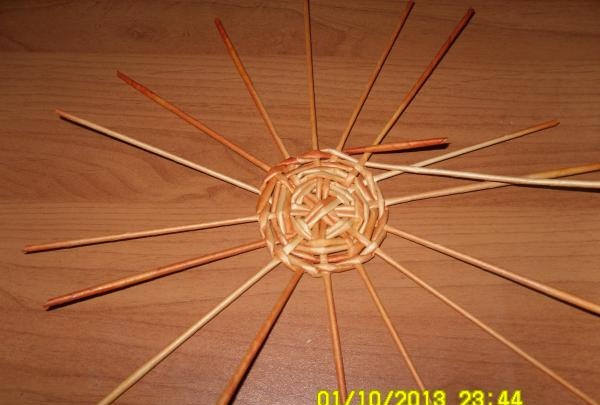
4. To weave the bottom of the box, you need 4 groups of tubes, 2 in each, lay them crosswise on top of each other. These tubes are called risers.
5. Place 1 working tube under the lowest group of tubes and braid each group in turn.
6. In order to extend the working tube, you need to fold one edge of the next in half and insert it into the working one. There is no need to glue anything.
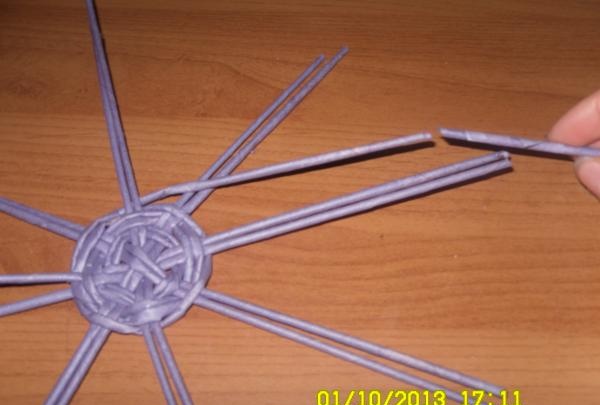
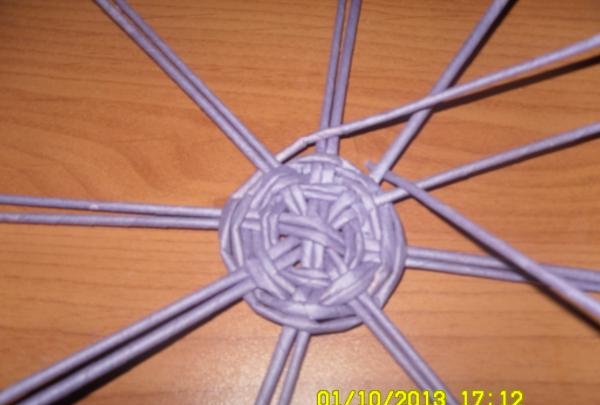
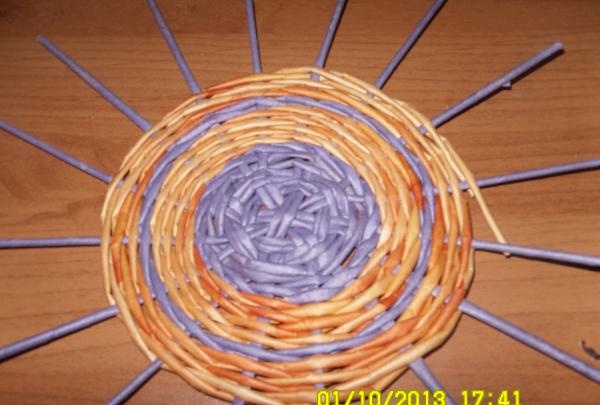
7. After 6-7 rows of weaving, the risers must be divided so that 8 single ones (from 4 groups) are formed. Substitute another working tube in the same way as the first one. Next, weave the product with a “rope”. To do this, you need to wrap the first working tube around the riser from above, and the second from below. Braid the second riser in the same way, only the tube that was on top will go down, and the bottom one will go up.

8.After the bottom of the required diameter is ready, the working tubes must be glued and carefully cut after drying.
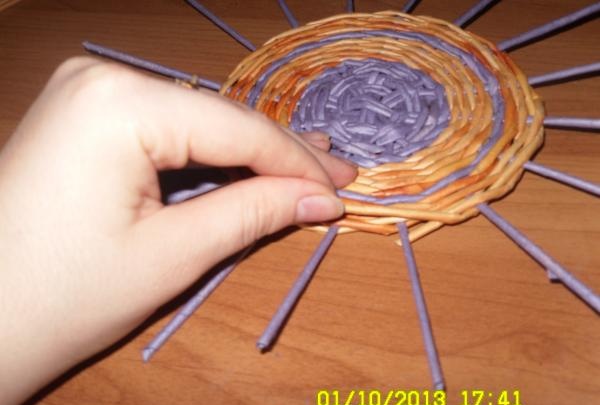
9. To weave the walls of the box, you need to raise the risers up. To do this, we place one riser from below under the nearby one and carefully lift it up. We do the same work with the others.

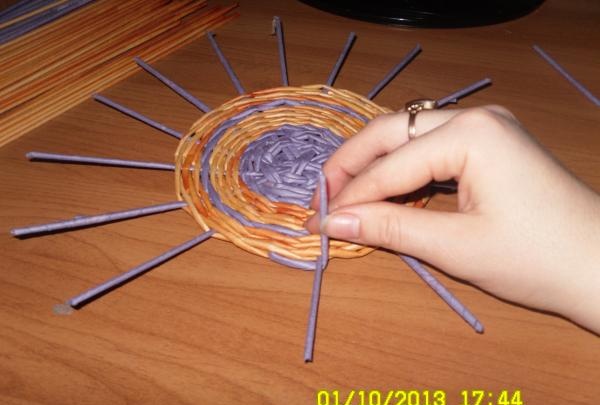
10. If necessary, increase the risers.
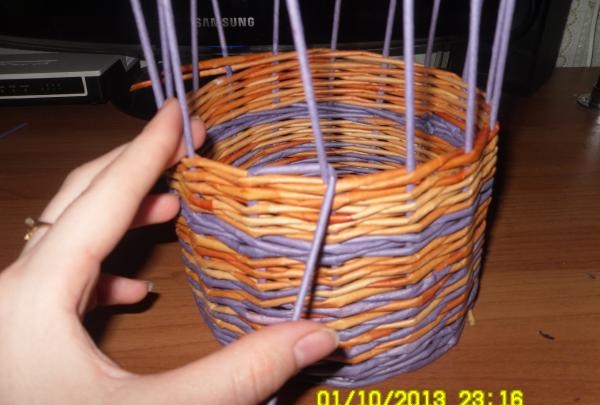
11. Insert the mold into the product. When using it, the product will turn out more neat and even. Place 2 working tubes.
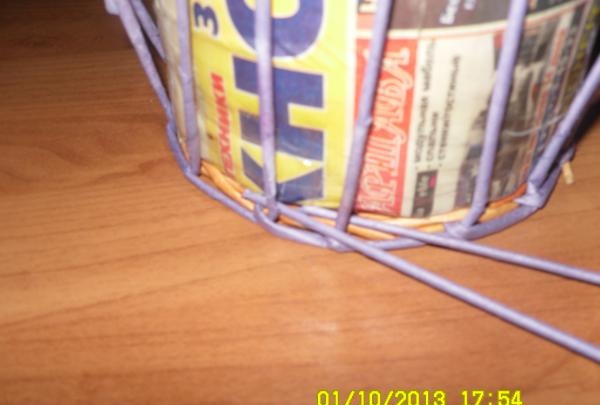
12. Weave 2-3 rows with a “rope”. In order to get a pattern, 1 working tube must be replaced with a different color. Next, weave according to the intended pattern.
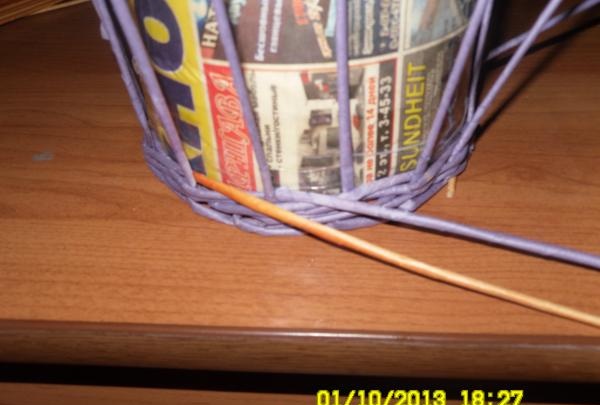
13. After weaving the walls of the box is completed, glue the working tubes and cut them.
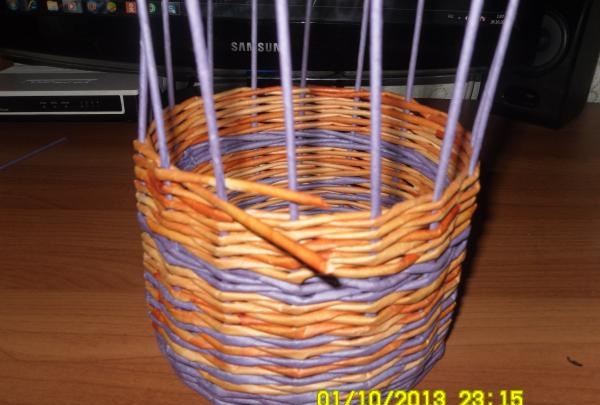
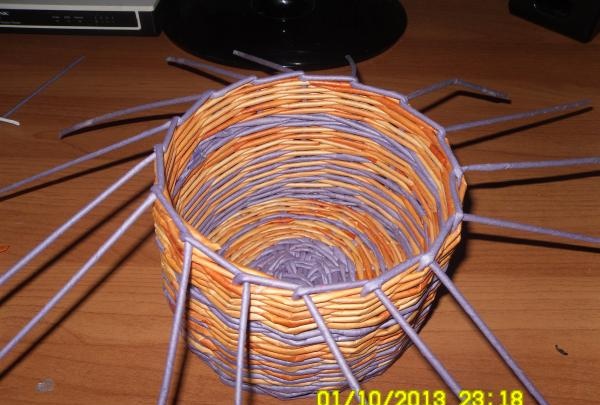
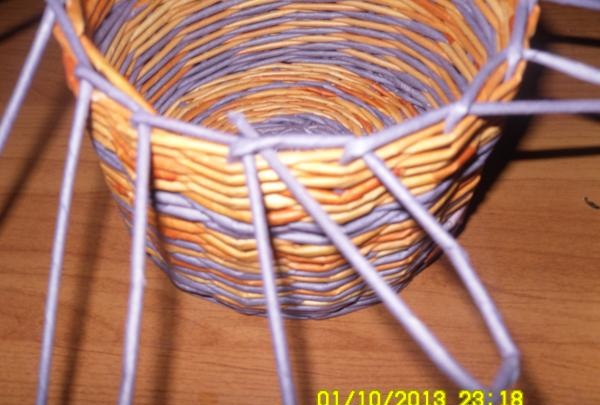
14. Performing bending.
Place the first riser from the inside behind the second one and go around it. Start the second one after the third one. And so on until the end of the row.

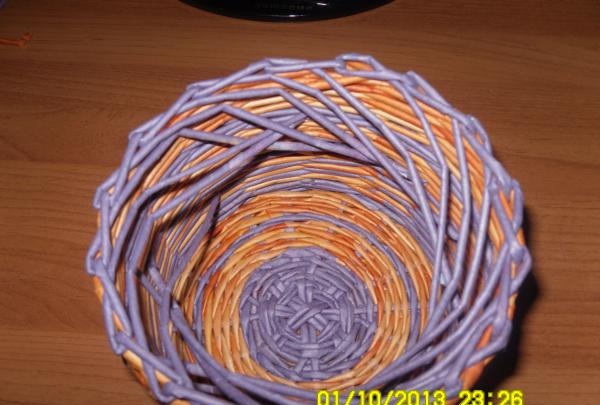
15. Next, insert the tip of the first riser into the resulting hole, after bending around the second, next to the first. Perform this manipulation with all risers. Carefully glue it from the inside, and cut it off after complete drying.
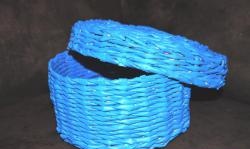
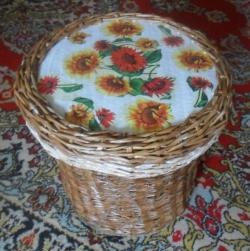
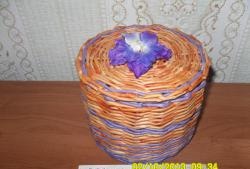
16. The lid is woven exactly like the bottom. At the end, bending is performed.
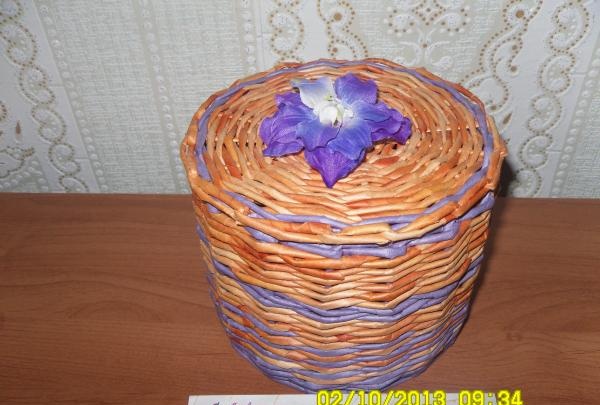
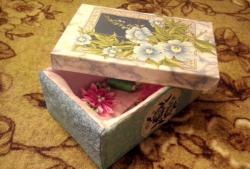
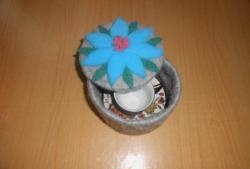
The lid can be decorated according to your wishes and imagination.
17. The finished box is coated with varnish, which will give it shine and strength.