Do it yourself
Life hacks, master classes, useful tips, recipes.
home » Present » Caskets » Leather box
Such a box is quite suitable both for storing various small items and as an original packaging for a gift, and can also serve as a gift itself. This is one of those products that allows you to experience the joy of creativity in the process of making it. We use a spool of tape or yarn as a base. We will also need cardboard, a pencil, scissors, a ruler, rubber glue and pieces of leather or suede. To decorate the inside, you can use paper or fabric that matches the color. Let's cut out the bottom: trace the outside of the coil with a pencil. Let's glue it by coating the end of the coil and the edge of the bottom with glue and drying it slightly before doing so.

Leather box


Next we start working with the skin. Our version uses a square of thin suede. It will give the box additional strength and make the transition from the bottom to the side surface more accurate. Place the box in the center of a square coated with glue and pull the corners, glue them to the side surface. The suede will gather into folds - distribute them evenly. You can apply an additional layer of glue and lay them properly, without rushing.


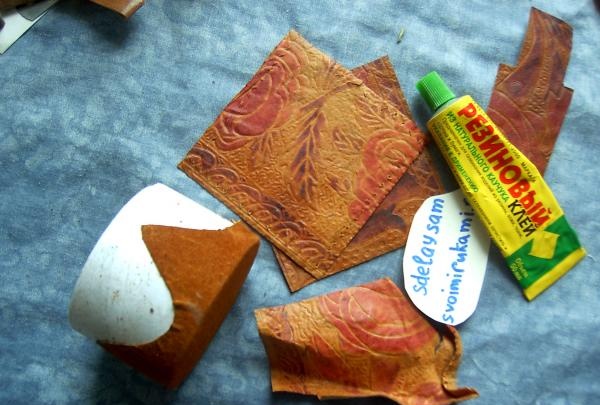
Then you need to fill in the remaining empty spaces. Try to choose pieces of leather that are the same in thickness - then your product will look neater.


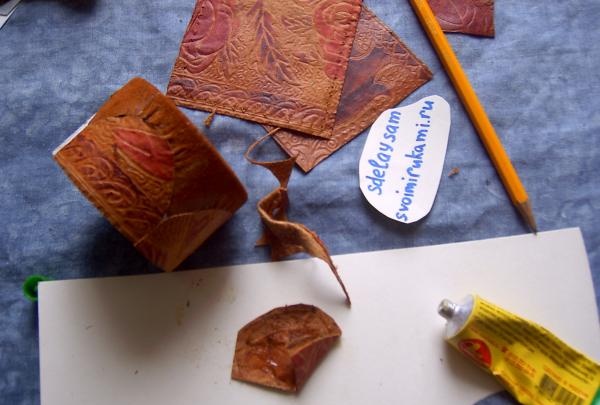
Use a simple pencil to cut out pieces of suitable size - simply lay them on top and trace along the protruding border of the already glued suede.

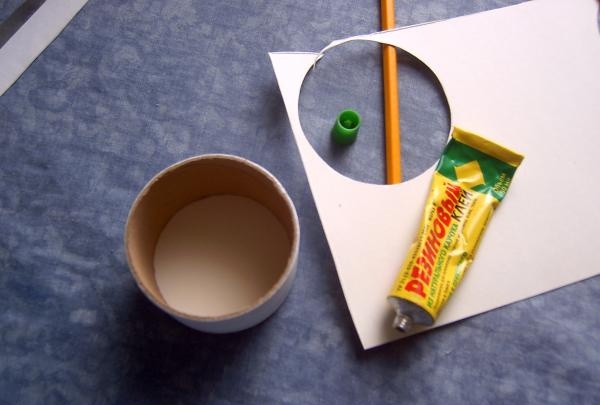
Now you need to make the lid. Cut a strip and two circles (as you did for the bottom). It is better that the cardboard is not thick and rough; it is more convenient for working with glue. We draw a creasing line on the strip using a ruler and a sharp object (it is convenient to use the edge of scissors or the blunt side of a knife, but just do not cut through). Fold the strip along the line you drew, and then cut triangles on it.


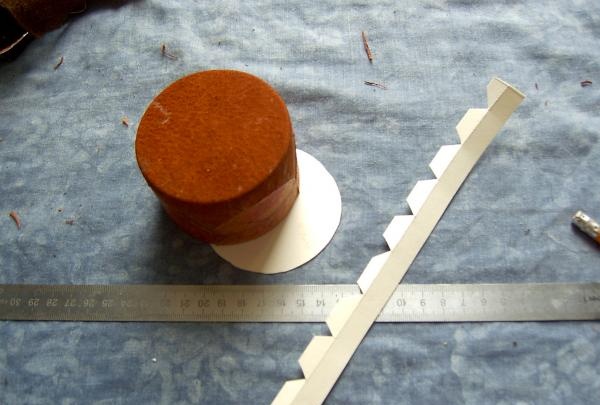
Apply glue to the teeth and the end of the strip, wrap it around the box and overlap it. Also glue all the teeth on top (on the circle previously placed on top).


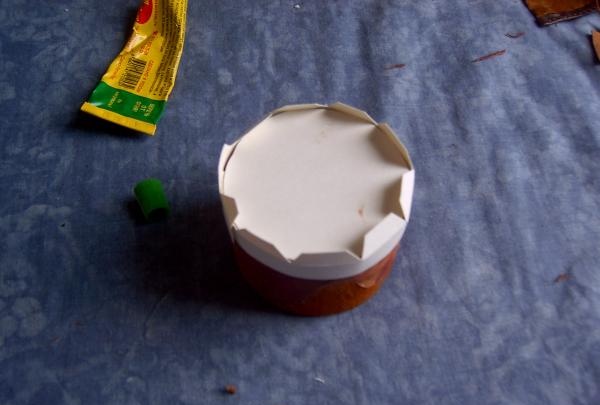
Then glue the second prepared circle on top - you have the base of the lid.

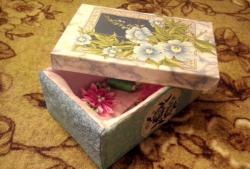
Next, you can use the same technique as when gluing the bottom - place the edges of the glued skin on the side surface of the lid. If you glue the lid with small pieces in the form of a mosaic, try to act in the same way so that the transition of the planes is completely closed. Now you can paste over the inner surface - and the box is ready.

come back
Comment
  • bowtiesmilelaughingblushsmileyrelaxed relaxedsmirk
    heart_eyeskissing_heartkissing_closed_eyesflushedrelievedsatisfiedgrin
    winkstuck_out_tongue_winking_eyestuck_out_tongue_closed_eyesgrinningkissingstuck_out_tonguesleeping
    worriedfrowninganguishedopen_mouthgrimacingconfusedhushed
    expressionlessunamusedsweat_smilesweatdisappointed_relievedwearypassive
    disappointedconfoundedfearfulcold_sweatperseverecrysob
    joyastonishedscreamtired_faceangryragetriumph
    sleepyyummasksunglassesdizzy_faceimpsmiling_imp
    neutral_faceno_mouthinnocent
4 minus one =
Comments (0)

How to make a mobile tool storage cabinet from a steel barrel

Wheel lighting - LED neon | Do it yourself

English chocolate muffin | Do it yourself

Organizer bag for needlewomen | Do it yourself

«Do it yourself - with your own hands» - a site of interesting homemade products made from scrap materials and items at home. Step-by-step master classes with photos and descriptions, technologies, life hacks - everything a real master or just a craftsman needs for needlework. Crafts of any complexity, a large selection of directions and ideas for creativity.

We recommend reading

Washing machine error codes