Do it yourself
Life hacks, master classes, useful tips, recipes.
home » Handicraft techniques » Scrapbooking » Scrapbooking cover » Passport cover and record book cover
Young people nowadays are very advanced, so they treat their belongings especially carefully. As they say, everything should be better than everyone else and accordingly follow the latest fashion. Each item, bag, items should all be selected with taste and not be similar to the others. Take even primitive little things such as covers for documents. What are the most important documents of a young student? This is, of course, a passport and an academic record book. Every student carries these two documents with her every day, so they simply need covers for storage. And here it begins: she’s not like that, she doesn’t like her, but my classmate has one, and that’s already a problem. But it is very easy to solve if you show a little imagination and use this master class and make passport covers and record books with your own hands. Firstly, they will be original and unusual, since you will choose the design and materials for their manufacture yourself, and secondly, the process itself will bring many pleasant impressions.We will make covers using one of the modern techniques called scrapbooking. It is quite interesting, and accordingly the products turn out to be very beautiful and unusual.
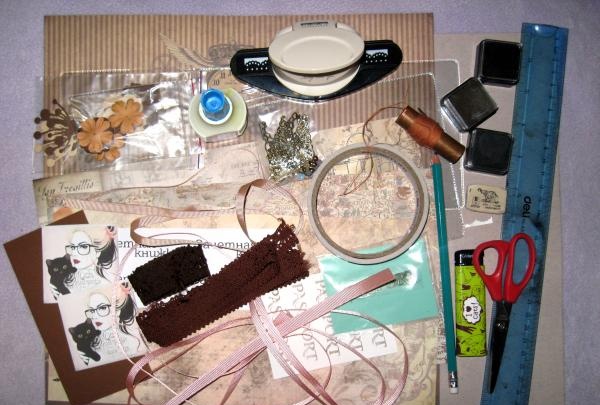
For production we will need:
• A3 sheet of light gray pastel paper;
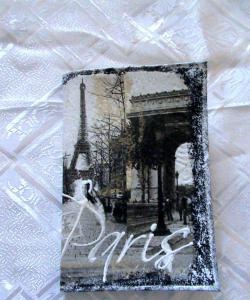
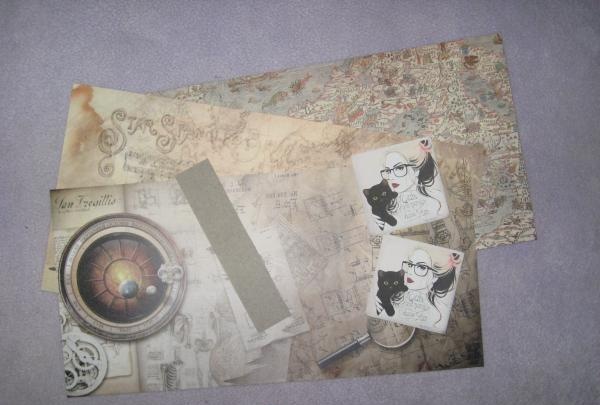
• Two sheets of scrap paper from the theme of world travel;
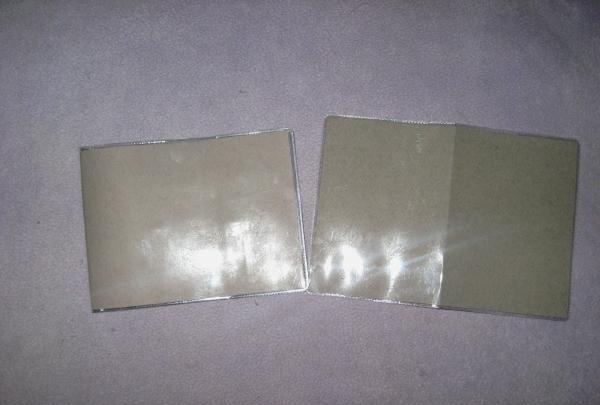
• Two transparent covers, one for a passport 9.2*12.8 cm and one for a record book 11.3*15.4 cm;
• Dark brown openwork lace;
• Brown rep ribbon 0.5 cm wide;
• Two metal corners in silver;
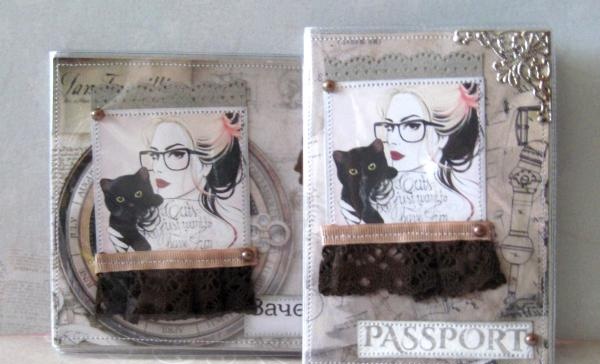
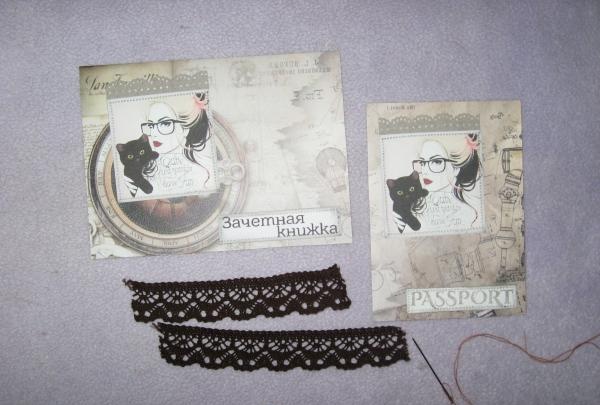
• Two identical pictures with a fashionable girl, size 5*5 cm;
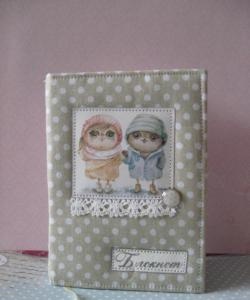
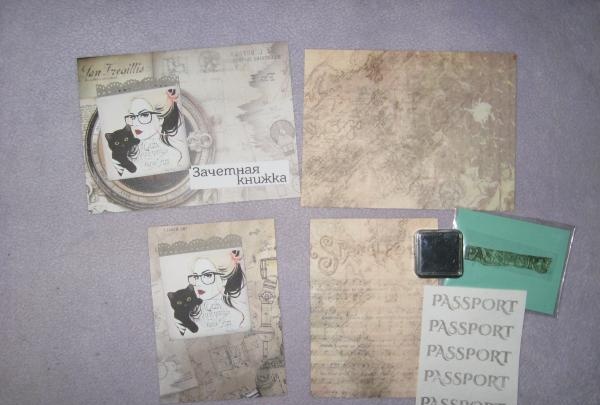
• The inscription “Grade book”;
• Acrylic stamp “Passport” and gold and black ink;
• Brown pearl half beads;
• Curved border hole punch;
• Needle with thread;
• Beige and brown cut flower;
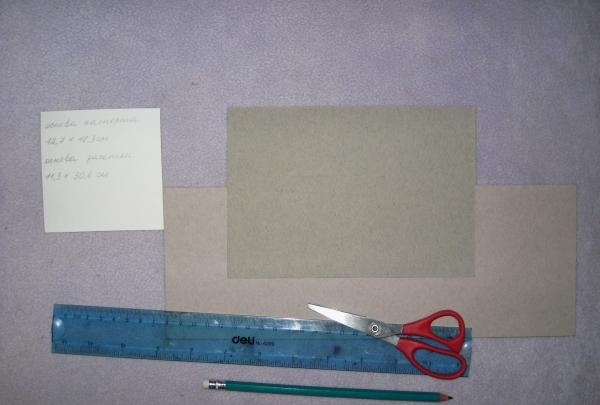
• Tools: pencil, double-sided tape, ruler, PVA glue, scissors, glue gun.

cover

we will need


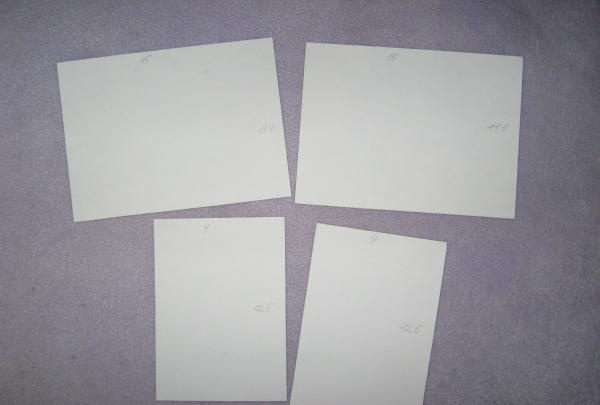
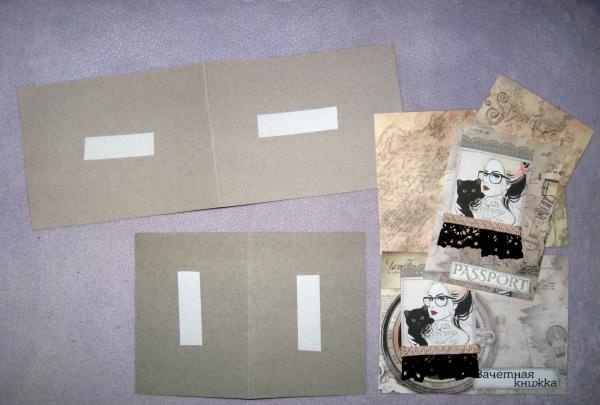
We take the pastel and cut out two rectangles from it measuring 12.7 * 18.3 cm and 11.3 * 30.6 cm. These will be the rectangles for the base of the covers.

cut out

Lay out each rectangle


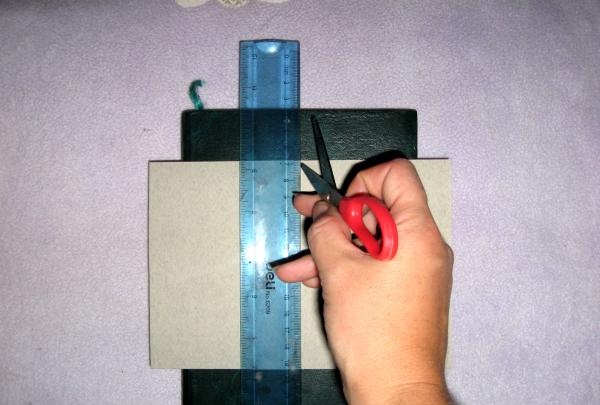
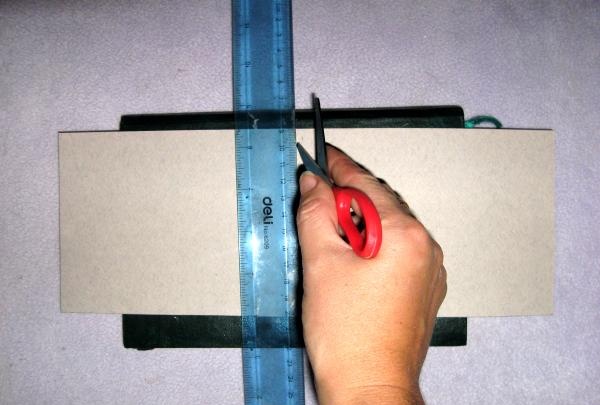
We lay out each rectangle one by one on a hard surface, maybe on a book, and crease it under a ruler using scissors, dividing each rectangle in half.

cut out

cut out


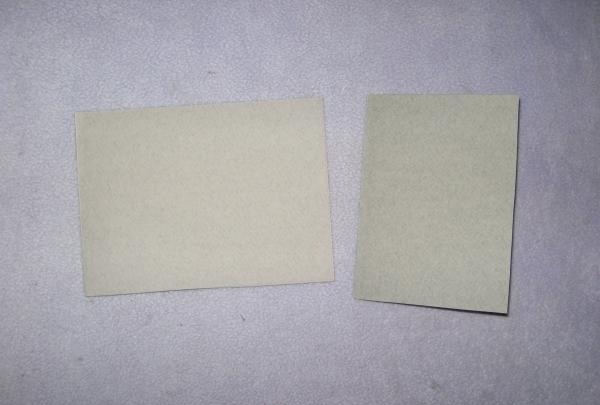
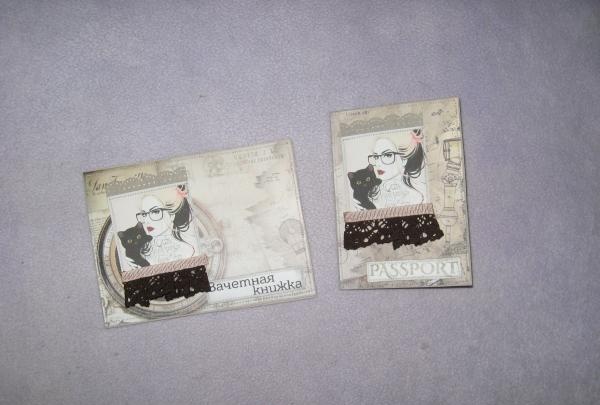
Both bases are ready, let's try them on in transparent covers.

Both bases are ready

Both bases are ready


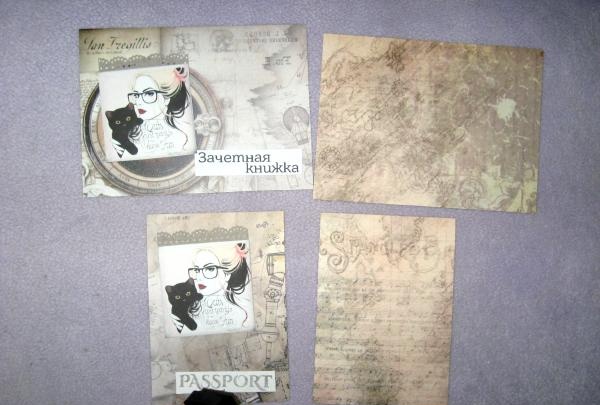
We take two sheets of scrap paper and cut out blanks like these, so from each sheet we cut out one blank for each cover.

blanks

blanks


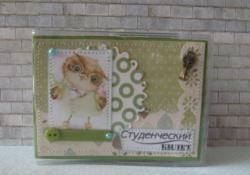
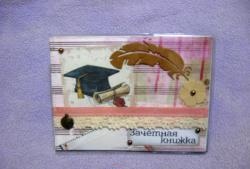
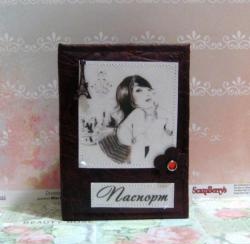
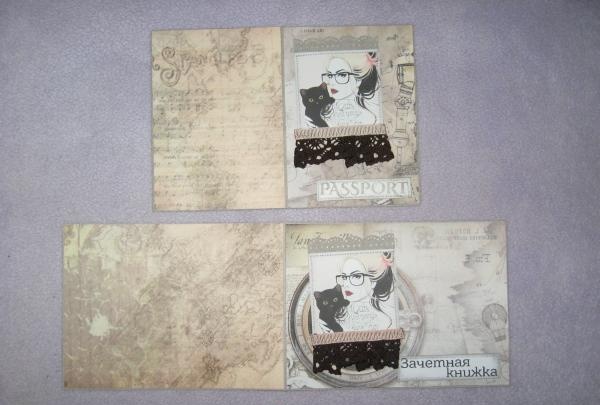
We stamp “Passport” on white cardstock, cut it out and tint it with gold ink. We have a piece of gray paper left from the base, we go along the edge with a border hole punch and get paper lace. We glue a strip of lace at the top of each blank, then a picture with a girl.

stamping

stamping


We age both inscriptions using a gold pad.

We age both inscriptions

We age both inscriptions


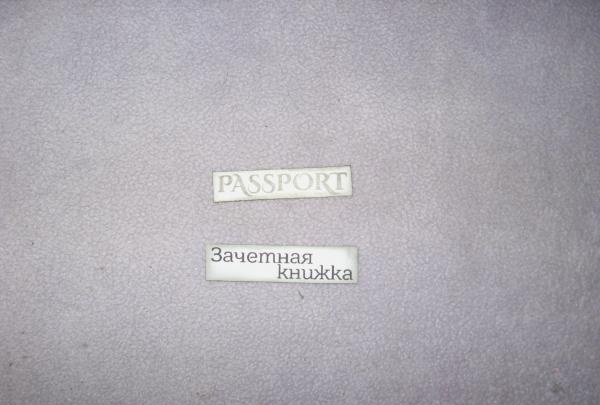
We glue them at the bottom of each cover.We sew the inscriptions on a typewriter along the edge.

We glue them at the bottom of each cover.

We glue them at the bottom of each cover.


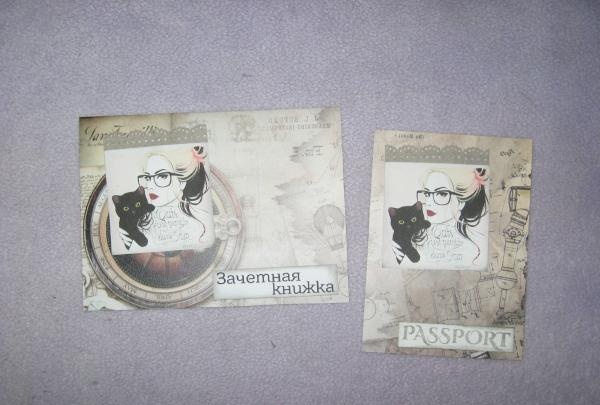
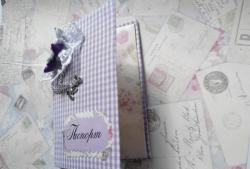
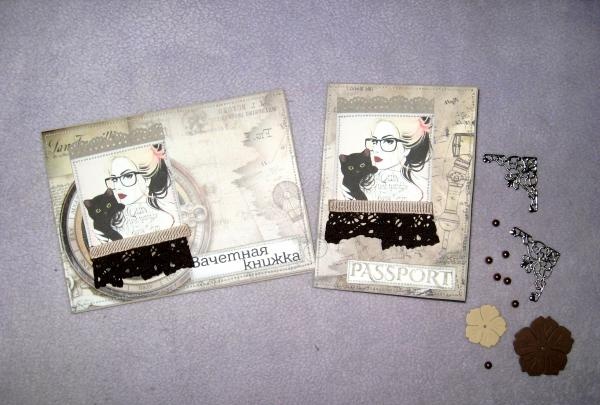
Cut 10 cm strips of brown lace, fold them into pleats and sew them on by hand first.

Cut a strip of brown

Cut a strip of brown


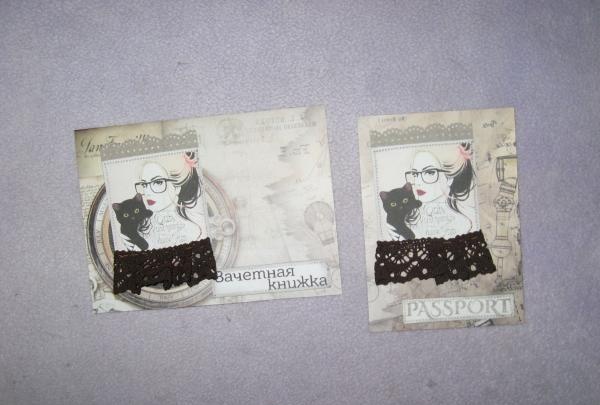
From the top of the lace we cut off 6 cm of grosgrain ribbon and apply it to the lace, wrapping it under the picture. We sew the ribbons and the pictures themselves along the edge. Glue all the prepared scrap paper figures onto the base.

grosgrain ribbon

grosgrain ribbon


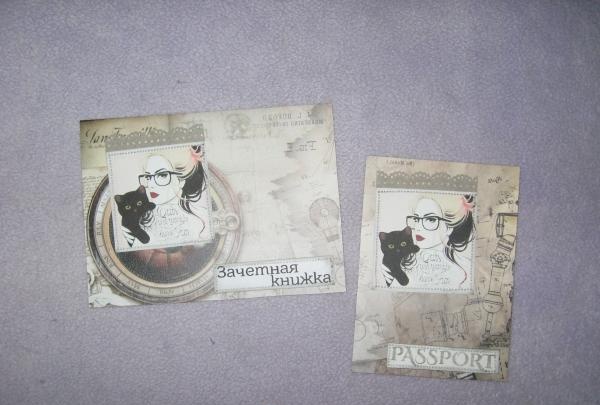
We sew each side separately with a machine.

Each side separately

Each side separately


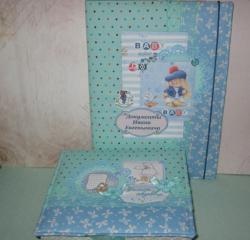
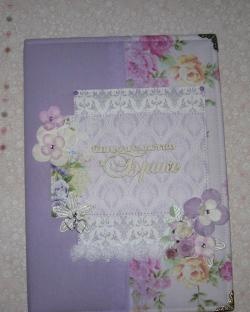
Now we glue the remaining one decor. First glue a large flower onto the record book, then a small one, and a brown half-bead in the center. We glue metal corners at the top of each cover. We glue the remaining half beads as in the photo.

Now we glue the remaining decor

Now we glue the remaining decor


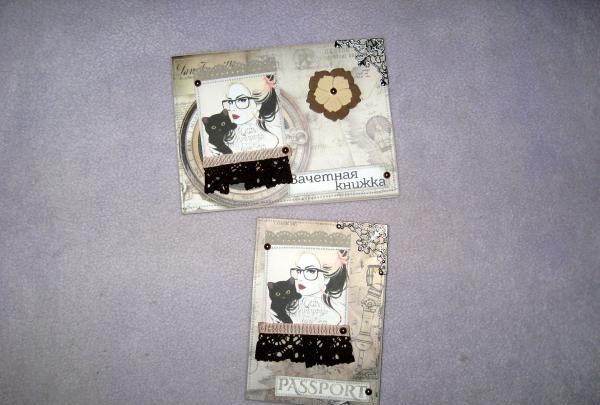
Insert the covers into transparent ones, you're done. We get such fashionable and bright covers for a young girl! Thank you, enjoy with pleasure.

cover
come back
Comment
  • bowtiesmilelaughingblushsmileyrelaxed relaxedsmirk
    heart_eyeskissing_heartkissing_closed_eyesflushedrelievedsatisfiedgrin
    winkstuck_out_tongue_winking_eyestuck_out_tongue_closed_eyesgrinningkissingstuck_out_tonguesleeping
    worriedfrowninganguishedopen_mouthgrimacingconfusedhushed
    expressionlessunamusedsweat_smilesweatdisappointed_relievedwearypassive
    disappointedconfoundedfearfulcold_sweatperseverecrysob
    joyastonishedscreamtired_faceangryragetriumph
    sleepyyummasksunglassesdizzy_faceimpsmiling_imp
    neutral_faceno_mouthinnocent
5+two=
Comments (0)

6 useful DIY ideas for the DIYer

Useful DIY tips for your home and workshop

Mug stand | Do it yourself

How to install a regular or threaded rivet without a rivet gun

«Do it yourself - with your own hands» - a site of interesting homemade products made from scrap materials and items at home. Step-by-step master classes with photos and descriptions, technologies, life hacks - everything a real master or just a craftsman needs for needlework. Crafts of any complexity, a large selection of directions and ideas for creativity.

We recommend reading

Washing machine error codes