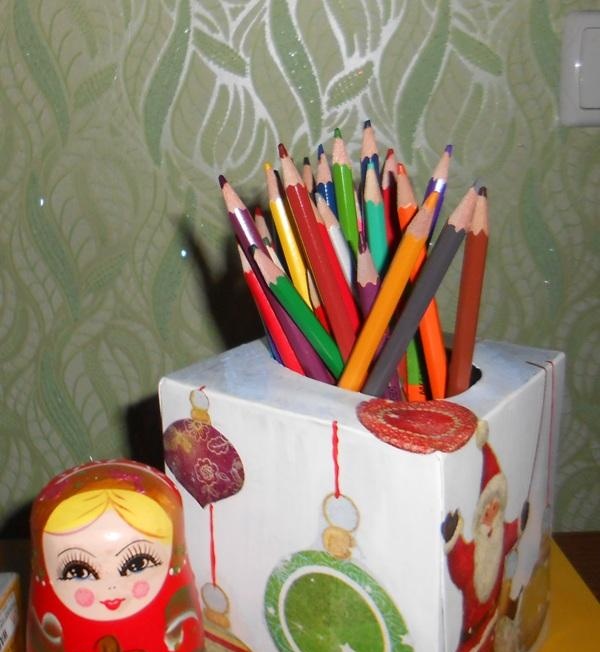
Very often you come across boxes that you don’t want to part with. And they lie there until you come up with a use for them. So it is this time. The napkins have long since run out, and the box will be thrown away without raising a hand. And good. Because it made a wonderful New Year's style pencil holder.
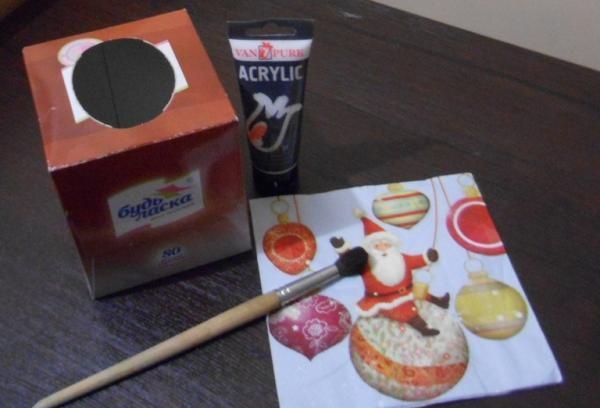
It's not difficult to do. In addition to patience, you will need:
• an empty tissue box;
• white and red acrylic paints;
• wide and thin brushes (soft);
• glue brush (hard);
• PVA glue;
• napkin for decoupage;
• scissors.
First, you need to tear off the core from the box, which did not let the napkins through. Afterwards it is better to wipe it on all sides with alcohol. This will remove grease and dust so that the paint covers the surface evenly. Use white paint to cover all six sides three times. In this case, each layer should dry well.
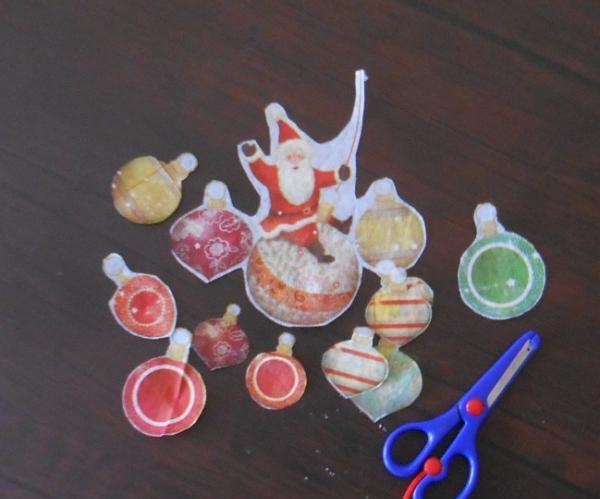
While the box is drying, you can prepare the drawings. The napkin is cut into the necessary parts and separated from the two lower layers. Having distributed the drawing throughout the box, you can begin decoupage.
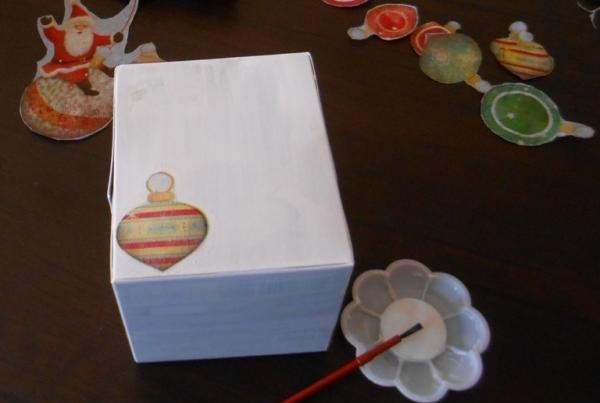
We place the drawing on the surface and cover it with glue on top.A hard brush with artificial bristles is well suited for this. You need to coat it by moving the brush from the middle to the edges so that there are no air bubbles left under the pattern.
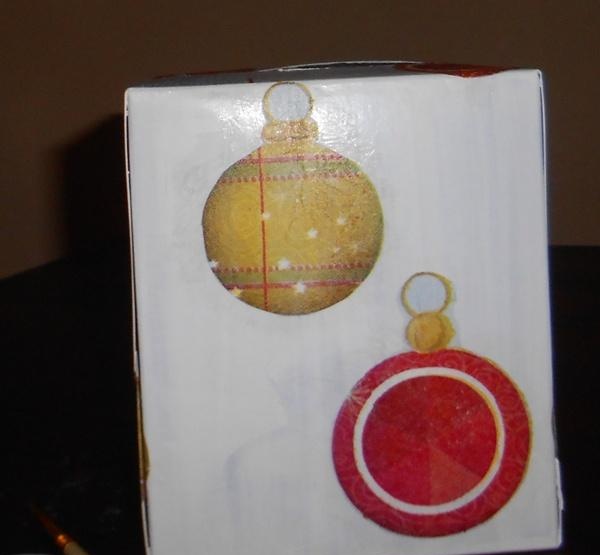
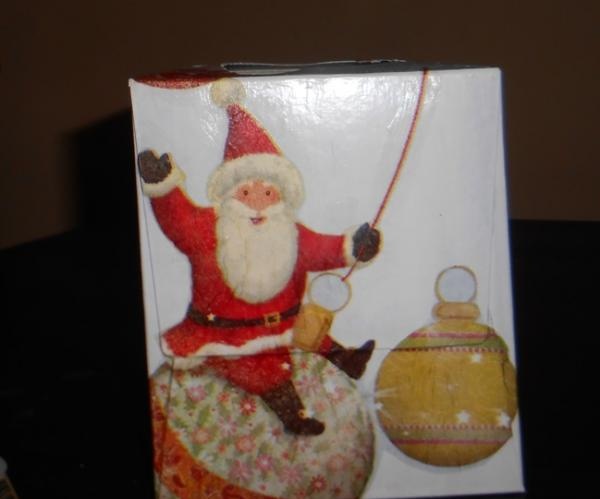
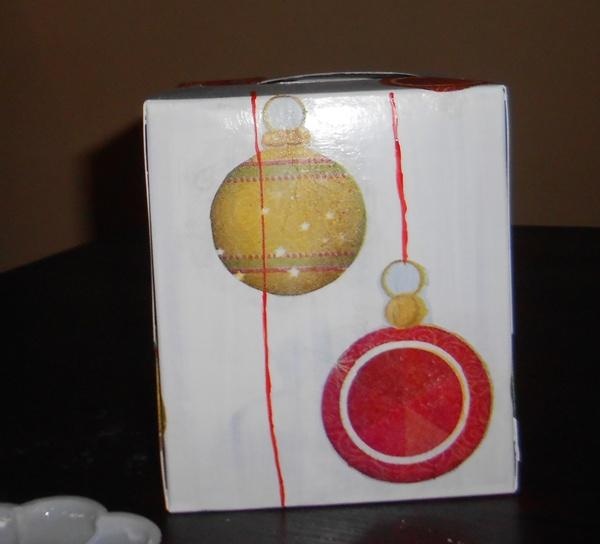
After drying, the work can be touched up with acrylic paints and glitter. You can also varnish the work to make it last longer.
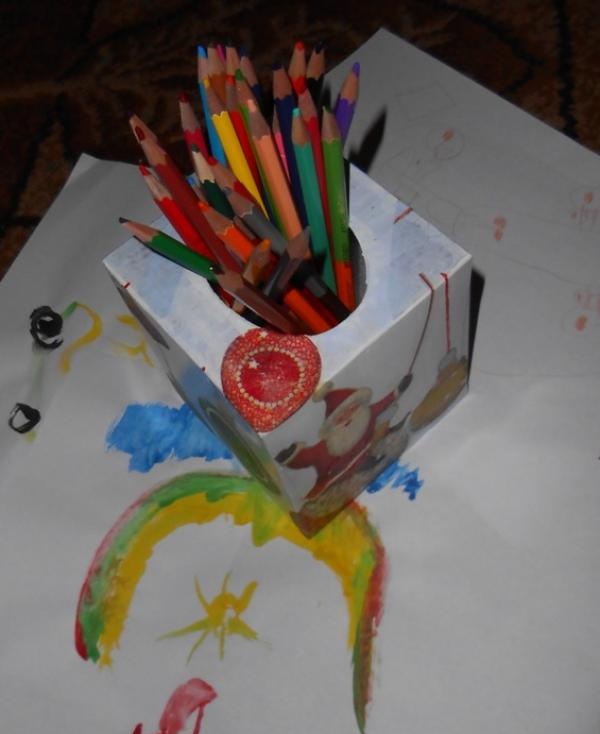
Since this box was designed to accommodate pencils, its bottom had to be reduced. To do this, crumpled sheets of paper were placed inside, and a piece of padding polyester was laid on top. This way, pencils will always be at hand, the box will be handy, and its design will help you decorate your room in New Year's style.
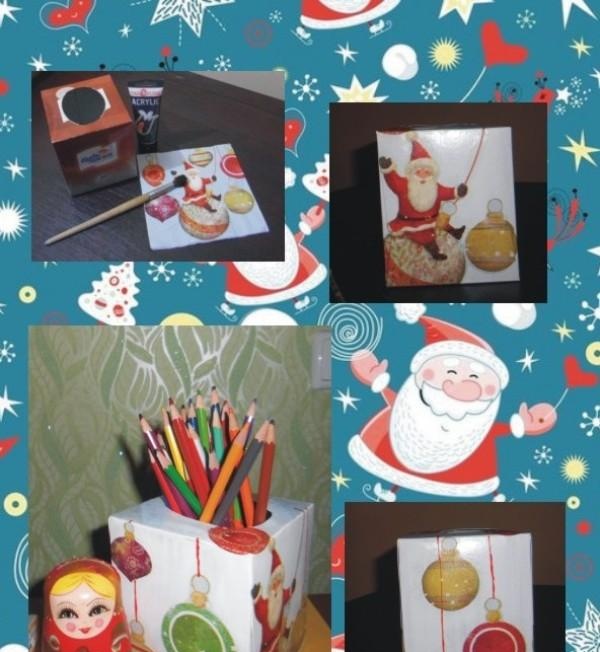
In addition to pencils, in such a box you can store handkerchiefs, small toys, small balls of thread, sweets and much more. The main thing is that there is such a box in the house, and everyone will decide for themselves what to put in it.
