To make this clown mask, you will need:
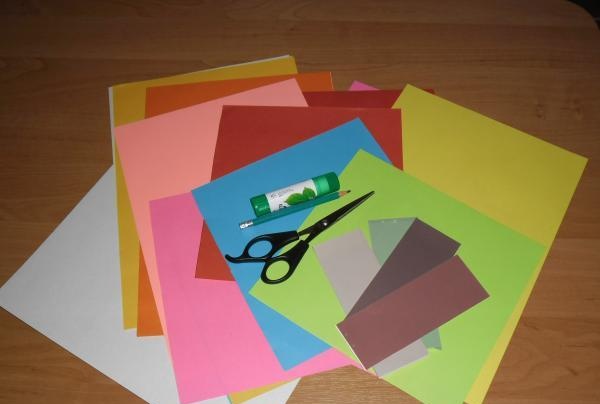
• light gray cardboard in landscape format;
• colored cardboard;
• a set of colored paper;
• glue;
• scissors;
• a simple pencil;
• felt-tip pens.
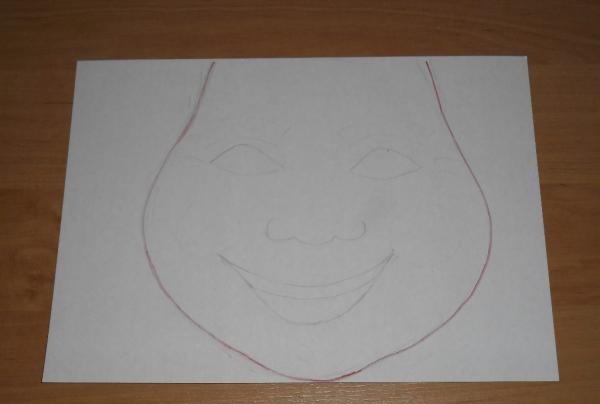
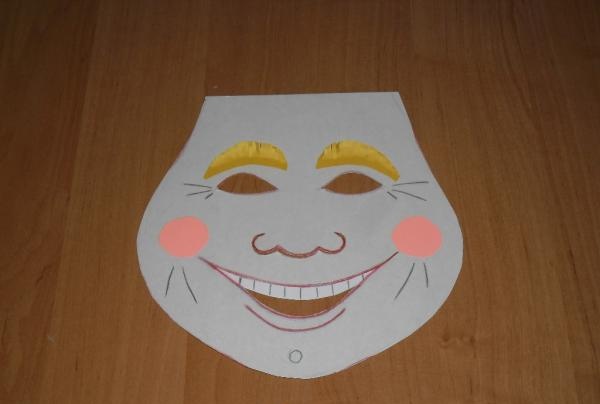
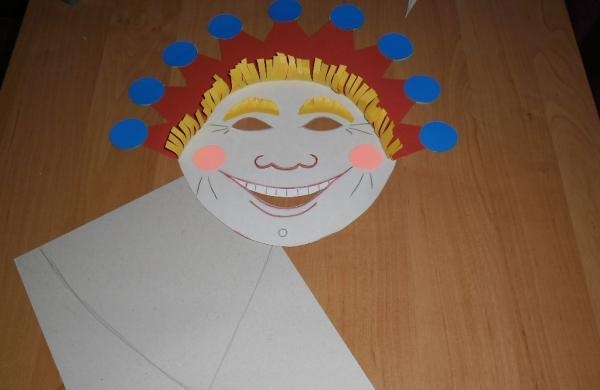
First, on a sheet of cardboard, use a simple pencil to outline the outline of the future face of the clown. Draw his eyes, nose and mouth.
Make slits for the eyes.
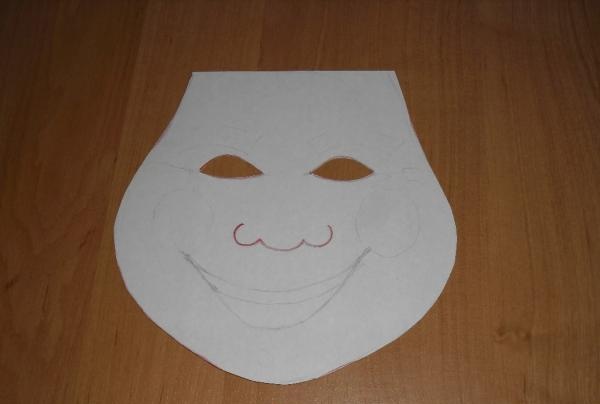
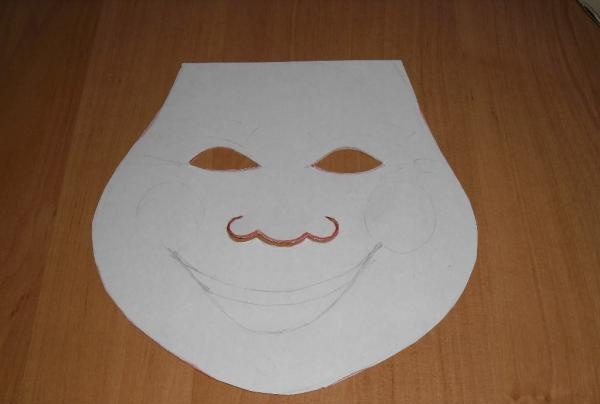
Trace the shape of the nose with a felt-tip pen and carefully cut along the drawn line.
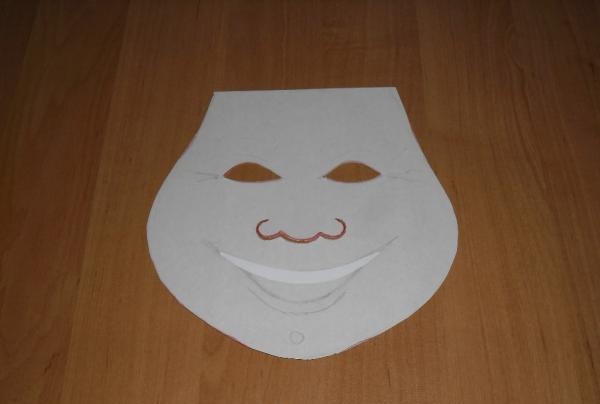
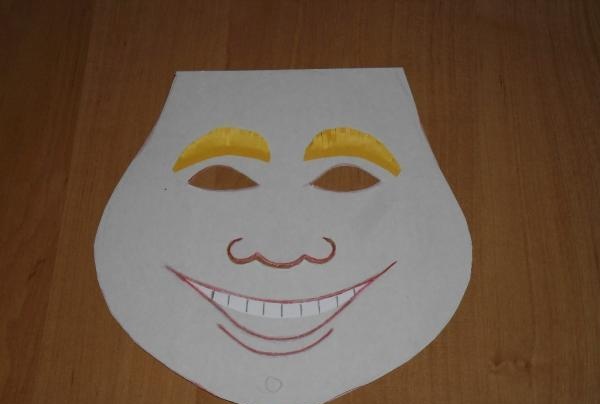
Cut out a strip for the teeth from white paper. Glue it.
Make two strips for eyebrows from yellow paper. Make cuts on one side, not reaching the opposite edge by 0.5 cm.
Glue on the eyebrows, draw stripes of teeth and outline the mouth.
Cut out two circles from pink paper.
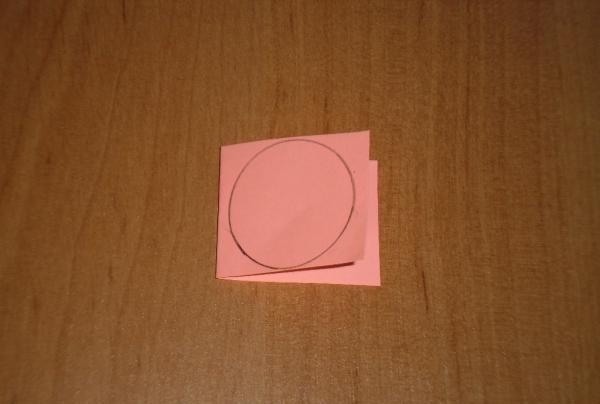
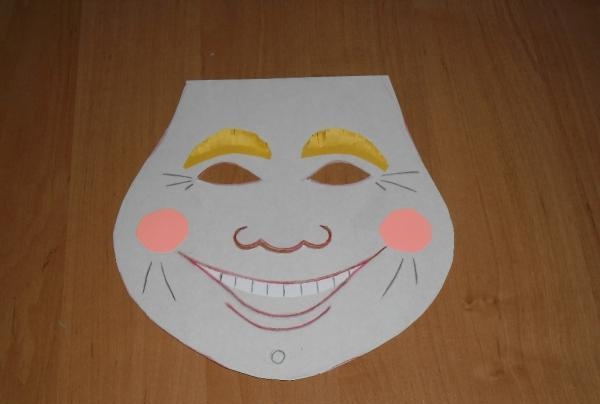
These will be the cheeks. Glue them.
Draw facial wrinkles with a simple pencil.
Make a slit where the mouth should be.
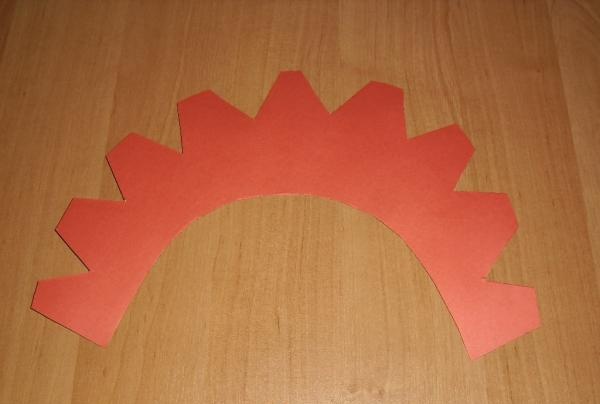
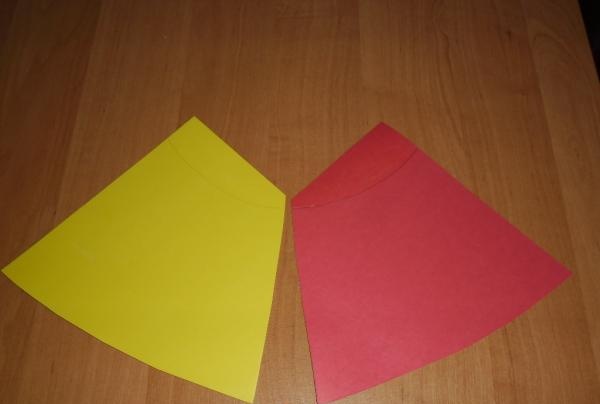
If you have red cardboard, then you can immediately cut the hat out of it.But if you don’t have one, then you need to first make a hat out of cardboard, and then stick colored paper on it.
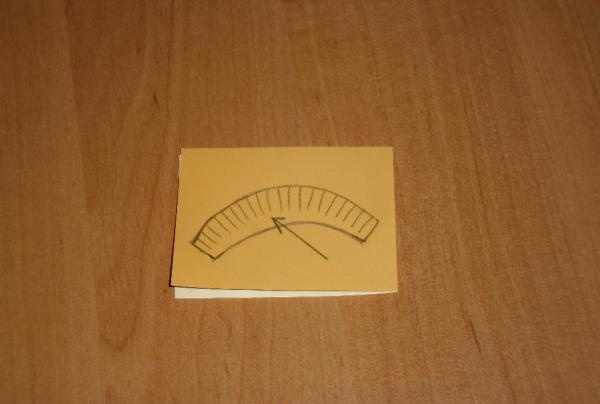
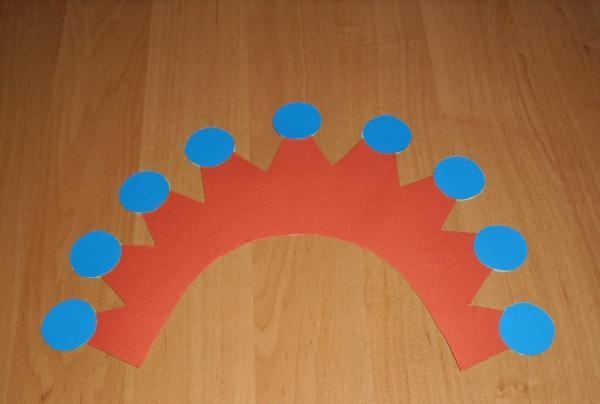
To make a pom-pom hat, take a piece of cardboard and determine the location where the clown's hat will be. Draw it with a pencil.
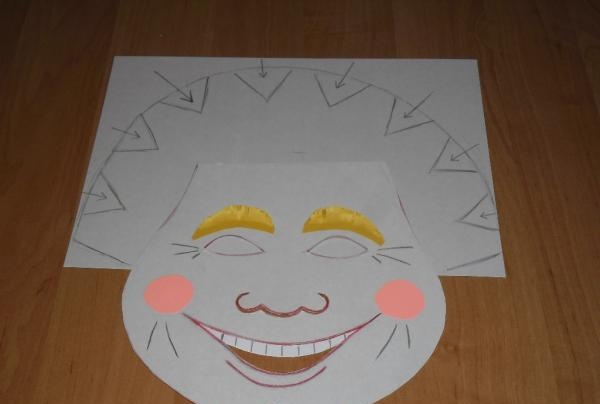
Cut out the places shown by arrows.
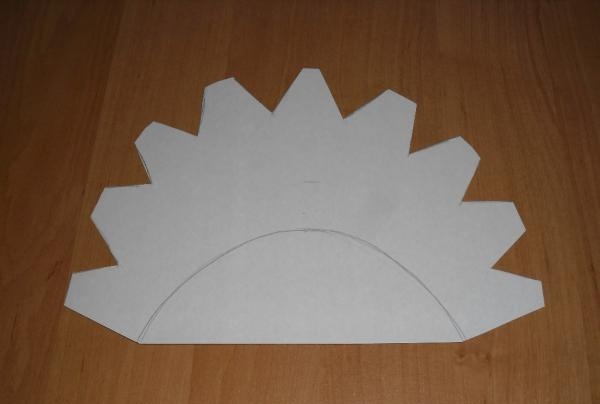
Cut the bottom of the cap so that it goes over the clown's forehead, and you have enough space for gluing the parts.
Try it on, but don't glue it yet.
Place the blank cap on red paper and make markings.
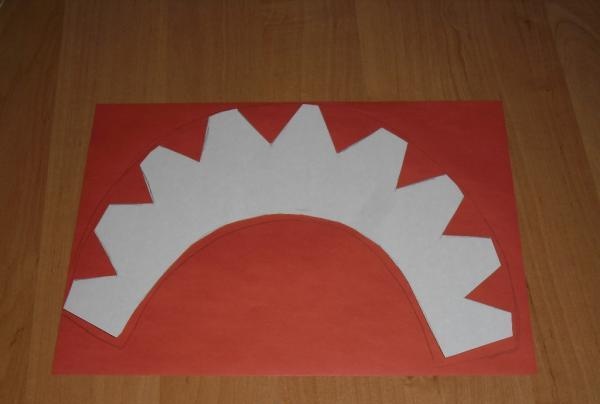
Apply glue to the workpiece and glue it to colored paper. Cut along the outline.
For pompoms, cut out circles from colored cardboard, tracing, for example, the cap of a plastic bottle.
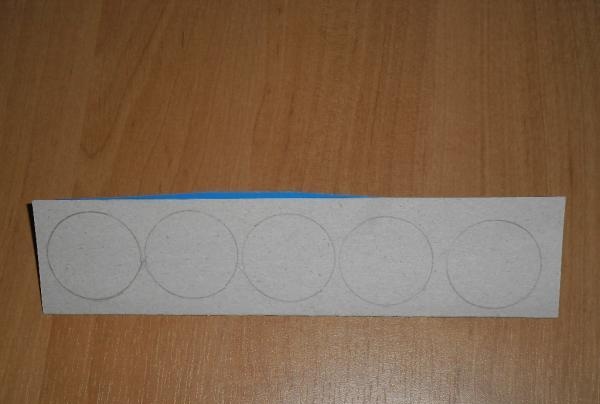
There should be twice as many circles as there are protrusions on the cap.
Spread one circle with glue, attach one of the cones of the cap to it and cover it with another circle, which you should also spread with glue.
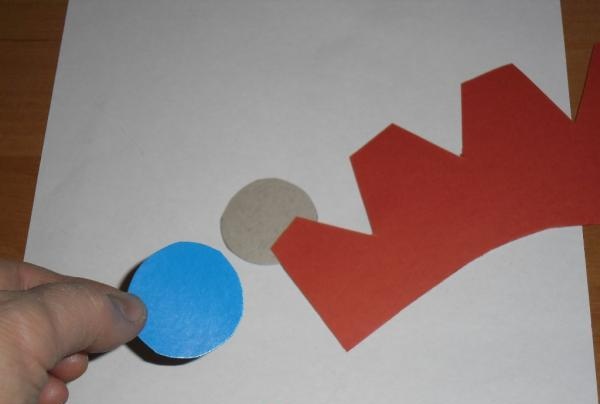
Glue all the pompoms like this.
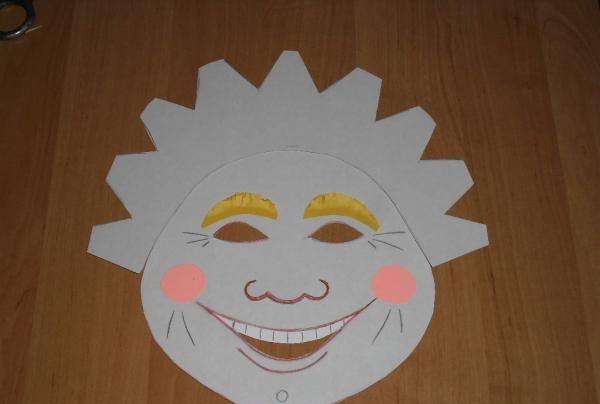
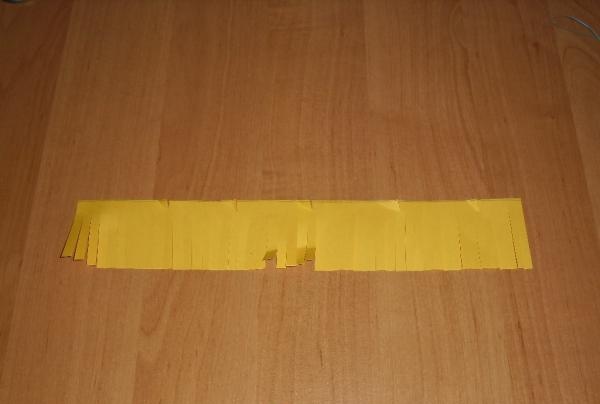
To make hair, cut a long strip of yellow paper 4 cm wide. Make a fringe along the entire length, without cutting 1 cm to the opposite edge, and make small notches on the opposite side so that the strip fits better along the contour.
Apply glue to the edge of the uncut strip along the entire length and glue it to the back of the cap. Comb your “hair” up.
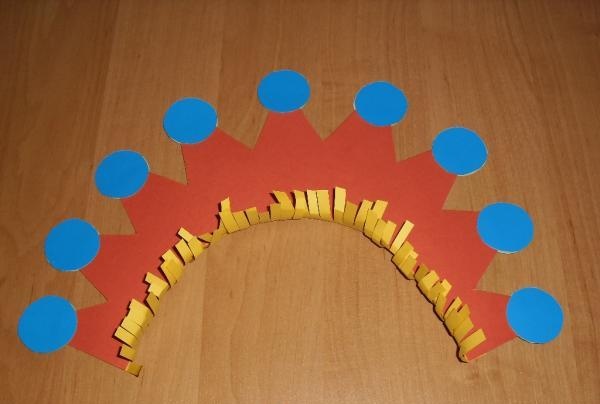
Try the clown on again and carefully glue the cap on.
For the collar, take a sheet of cardboard and attach it as shown in the photo.
Use a pencil to outline the two parts of the collar.
Choose the color as desired. Use a pencil to outline the bottom of the face on a piece of cardboard. Lubricate the top of the collar blank with glue and place the almost finished mask on it exactly to the line.
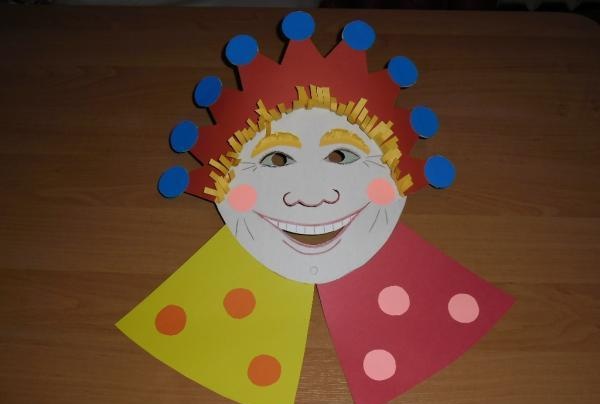
Glue colorful circles onto the collar.
To prevent the eye sockets from appearing empty, take a small sheet of light green or blue paper, make round holes, having first measured the distance between the centers of the child’s pupils.
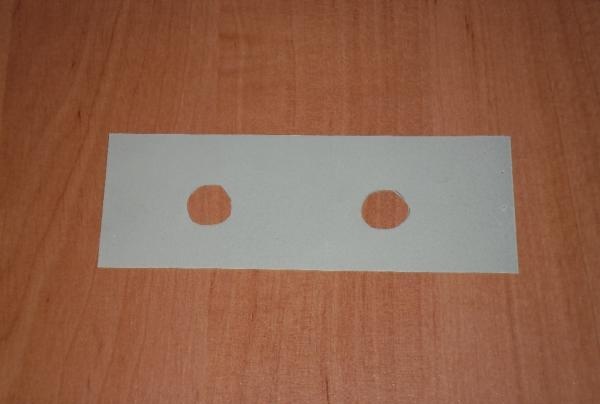
And glue the strip to the back of the mask. Draw small eyelashes.
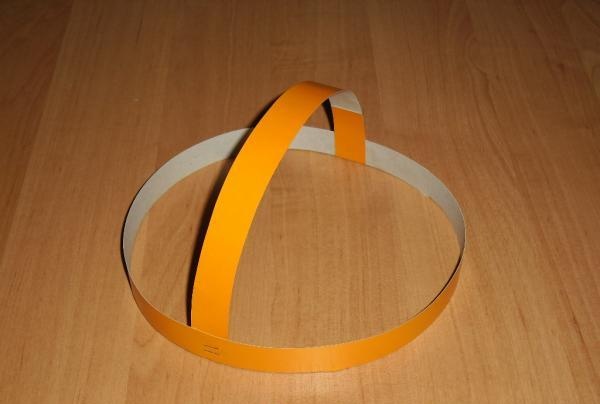
To prevent the mask from moving off the face, it must be secured to the headbands. Cut two long strips of cardboard. On one of them, connect the ends so that it matches the volume of the child’s head. And glue the second strip on top, making it like a hat.
Glue the mask to the strip so that it fits well on your head. You can also glue thin elastic bands on the sides of the mask.
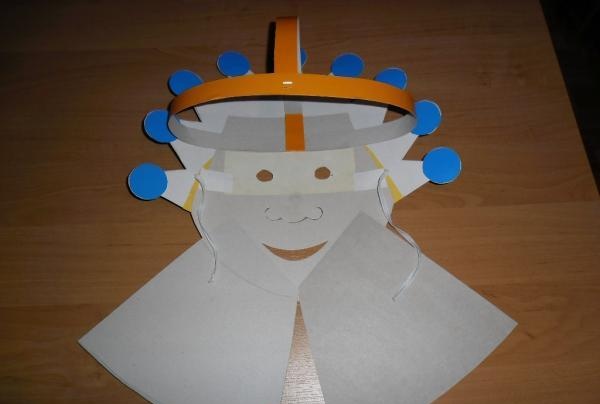
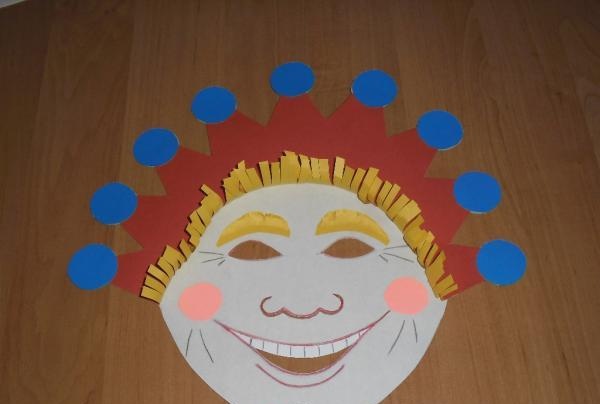
And the final touch. If you want the clown to have painted lips, cut out a mouth from red paper as shown in the photo and glue it on. Place the red circle on the tip of the buffoon’s nose.
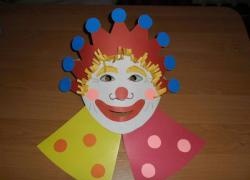
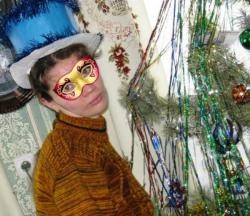
The clown mask is ready!