Do it yourself
Life hacks, master classes, useful tips, recipes.
home » Different » Crafts » Origami » Hat made of newspaper tubes
Once upon a time, people read newspapers a lot. Much less now. However, there are a couple in every home. What fate awaits them? Storage in the attic, recycling... No. With patience and imagination, you can make a hat.

To make an original and wonderful hat we will need:
• newspapers;
• scissors;
• knitting needle (another thin stick);
• glue;
• clothespins;
• cardboard circle;
• suitable utensils;
• dye;
• varnish;
decor.

Stages of work:
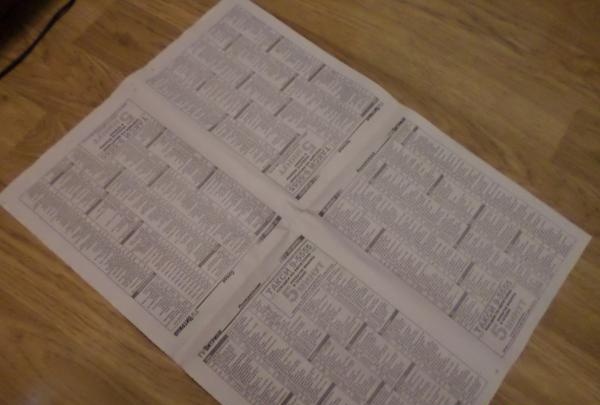
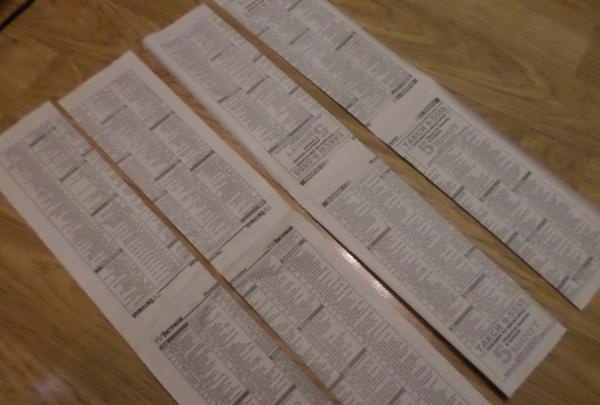
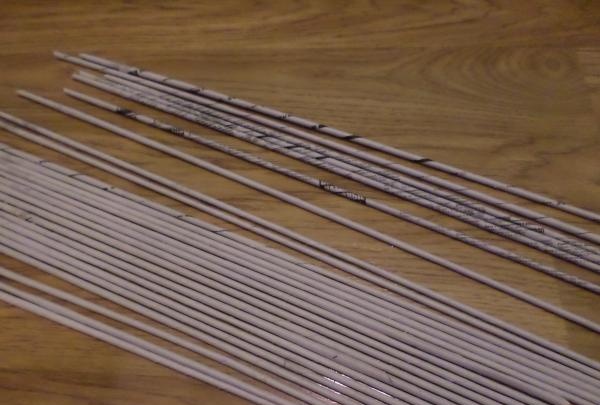
1. You need to make tubes for weaving from newspaper sheets. Cut the newspaper into equal strips. One newspaper from 4 large sheets produces 16 pages.

newspaper

share the newspaper


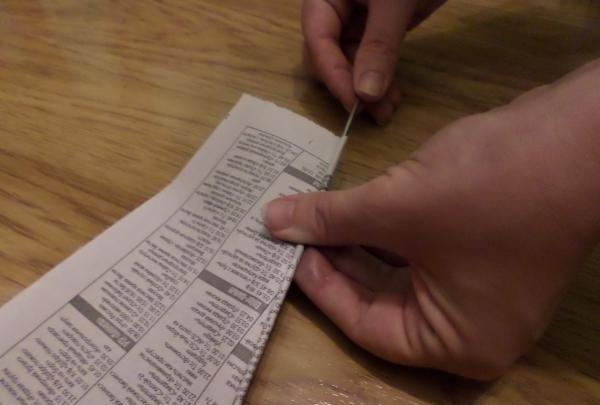
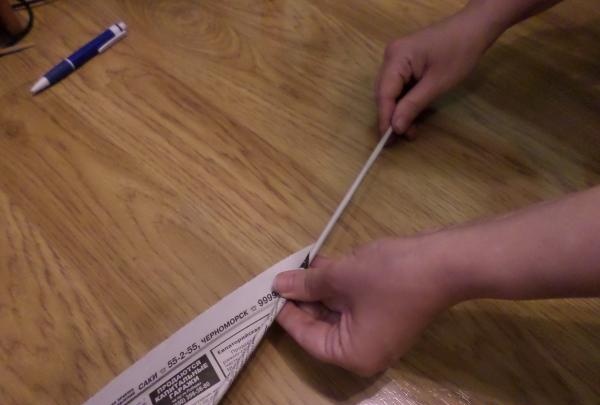
2. Now we begin to make tubes from newspaper strips, winding the blanks onto a knitting needle. A few words about the thickness of the knitting needle. The thinner it is, the more elegant the product turns out. We apply a knitting needle to the lower left corner of the strip, fix it and begin to slowly wind it. The tube should be quite strong.
3. Glue the corner with PVA glue.

roll into a tube

roll a rectangle into a tube

roll into a tube

coat the edge with glue

fix the tube


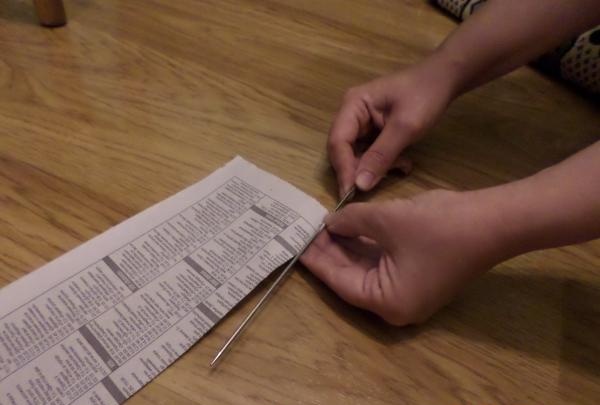
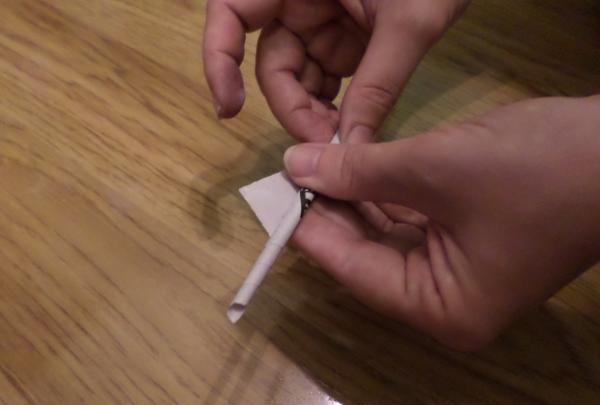
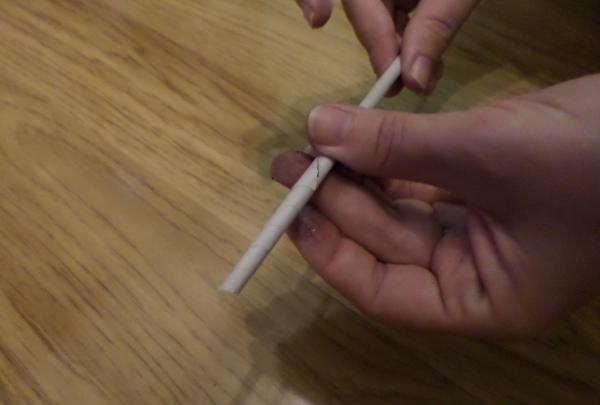
4. If you start twisting from the corner opposite to which there will be a white stripe on the newspaper, then the tube will turn out light, without inscriptions. If there is no white edge on the strip blank, then the tube turns out to be colored.
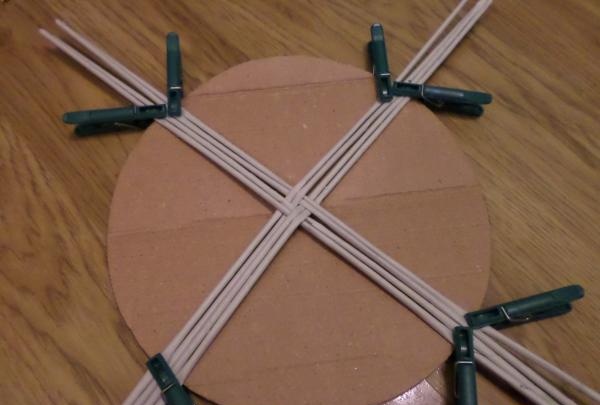
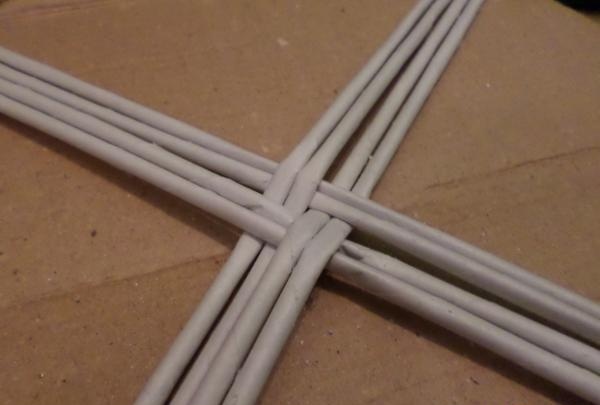
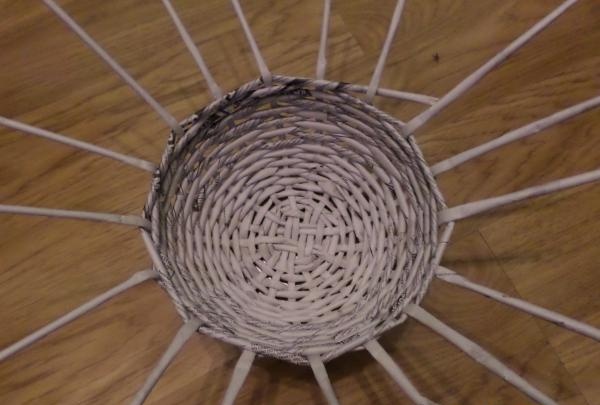
5.Let's start weaving. On a cardboard circle we attach 8 tubes with clothespins in the form of a simple pattern.

newspaper tubes

secure with clothespins

Let's start weaving

in the form of a simple pattern

in the form of a simple pattern


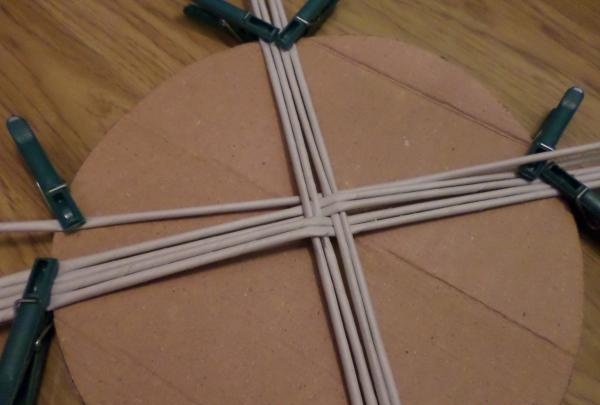
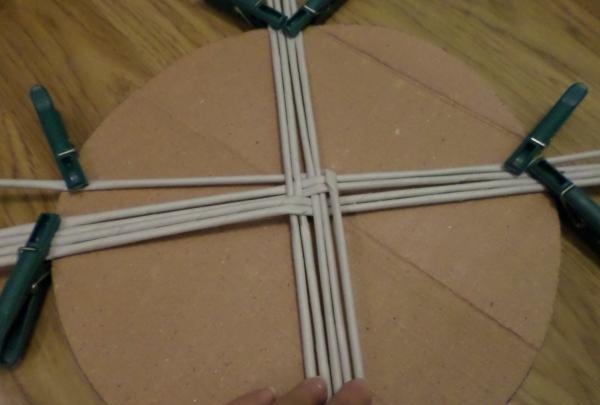
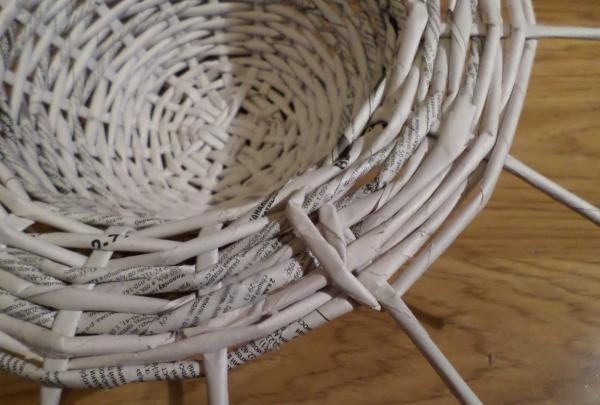
6. Next, insert one tube, also securing it with a clothespin to the base, and begin to braid in a circle.
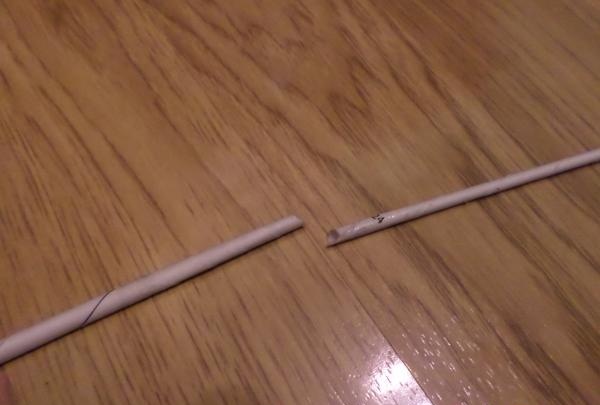
7. While working, we extend the tube: insert the thin end into the thick one, adding a drop of glue.

we begin to weave in a circle

extending the tubes

we begin to weave in a circle

use a plate and bowl

bottom of the hat


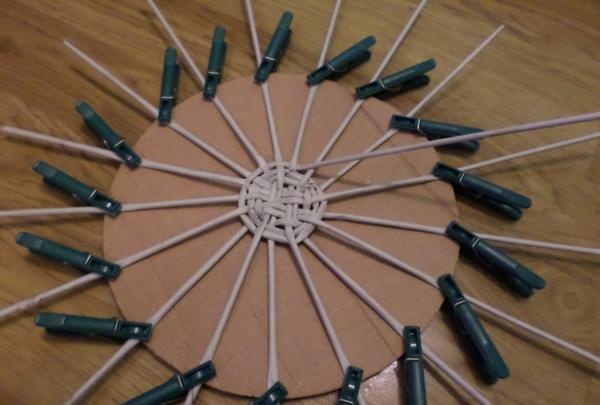
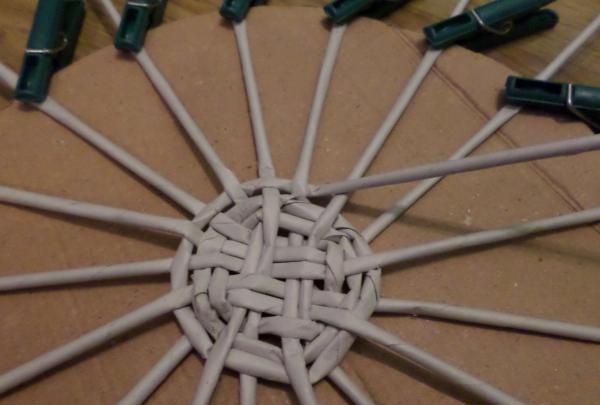
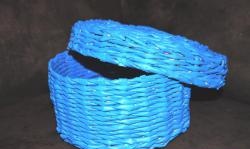
8. The bottom of the hat is ready. All ends are secured.
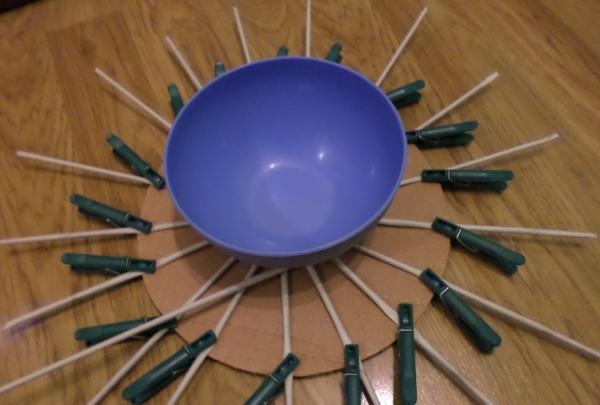
9. Place a bowl. Now you need to secure the ends with clothespins to the edge of the bowl.
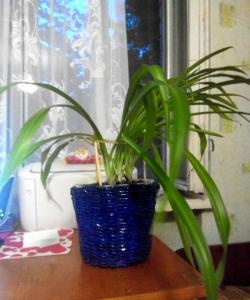
10. Braid the bowl.

the bottom is ready

bottom


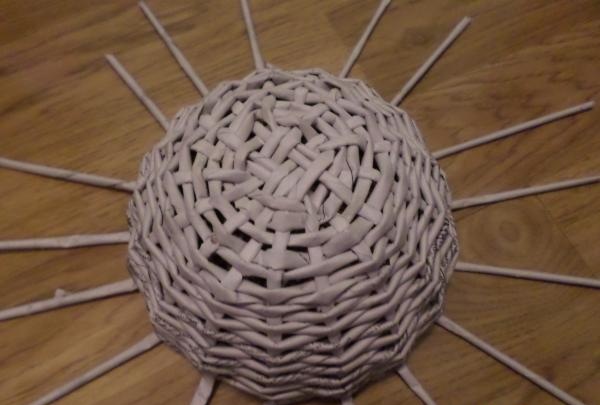
11. Having walked the required distance, remove the bowl. We fix the ends again on a circle of cardboard.

We fix it on a cardboard circle

We continue to weave in a circle


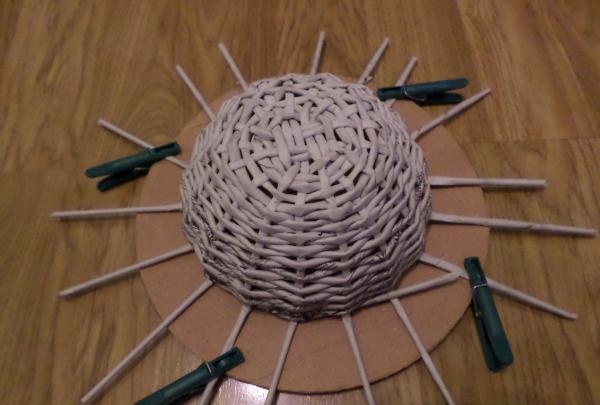
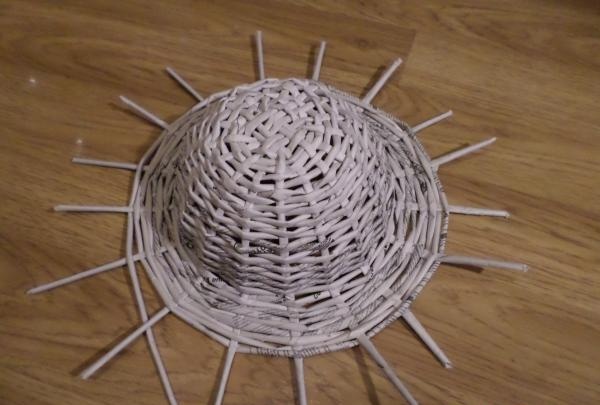
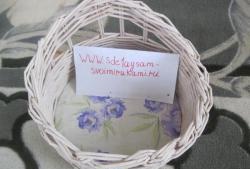
12. We continue to weave the brim of the hat in a circle to the desired size.
13. Remove the product from the cardboard.

Removing the product from the cardboard


14. Secure the end of the tube from the wrong side.

Fasten on the wrong side


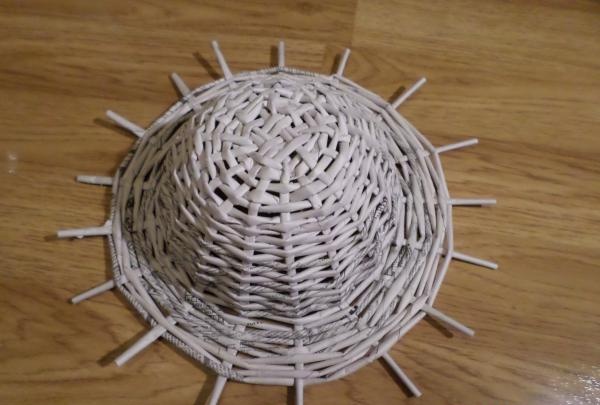
15. Trim the ends a little around the circle.

hat made from newspaper tubes


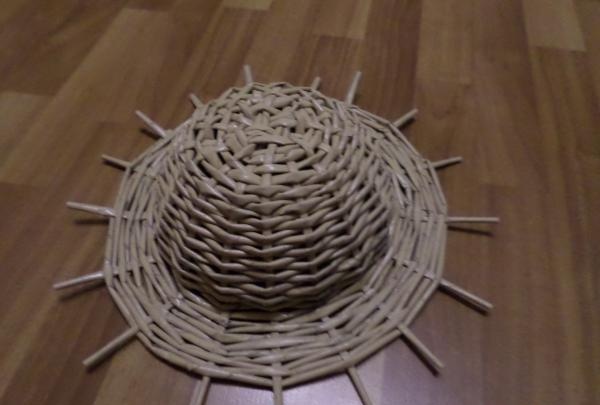
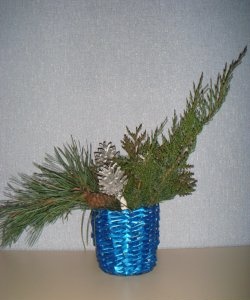
16. If desired, the hat can be painted and varnished.

hat made from newspaper tubes


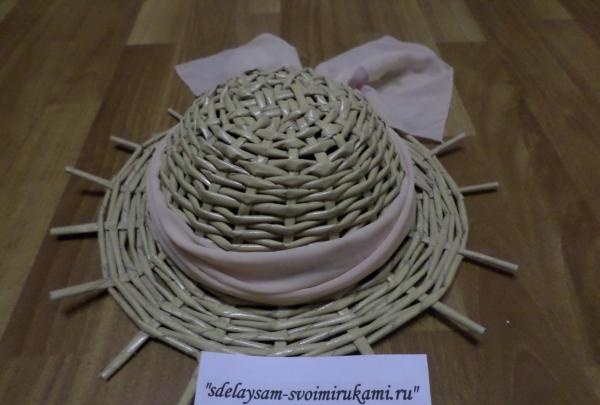
17. Decorate the product. We used a chiffon scarf. The hat is ready.
come back
Comment
  • bowtiesmilelaughingblushsmileyrelaxed relaxedsmirk
    heart_eyeskissing_heartkissing_closed_eyesflushedrelievedsatisfiedgrin
    winkstuck_out_tongue_winking_eyestuck_out_tongue_closed_eyesgrinningkissingstuck_out_tonguesleeping
    worriedfrowninganguishedopen_mouthgrimacingconfusedhushed
    expressionlessunamusedsweat_smilesweatdisappointed_relievedwearypassive
    disappointedconfoundedfearfulcold_sweatperseverecrysob
    joyastonishedscreamtired_faceangryragetriumph
    sleepyyummasksunglassesdizzy_faceimpsmiling_imp
    neutral_faceno_mouthinnocent
4 minus one =
Comments (0)

Electronics | Page 16 | Do it yourself

How to fry pollock correctly

How to extend the life of your washing machine

Don't throw away the soap shards, they'll still serve you well.

«Do it yourself - with your own hands» - a site of interesting homemade products made from scrap materials and items at home. Step-by-step master classes with photos and descriptions, technologies, life hacks - everything a real master or just a craftsman needs for needlework. Crafts of any complexity, a large selection of directions and ideas for creativity.

We recommend reading

Washing machine error codes