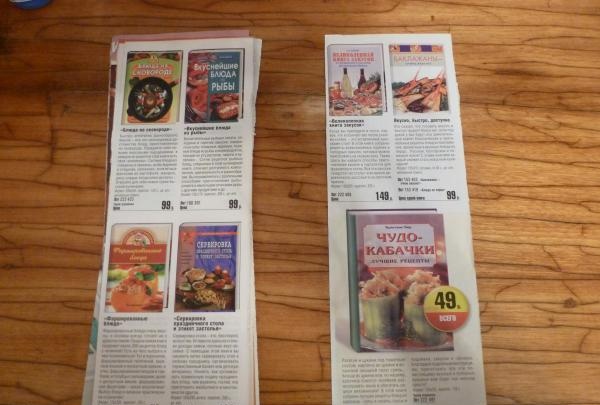
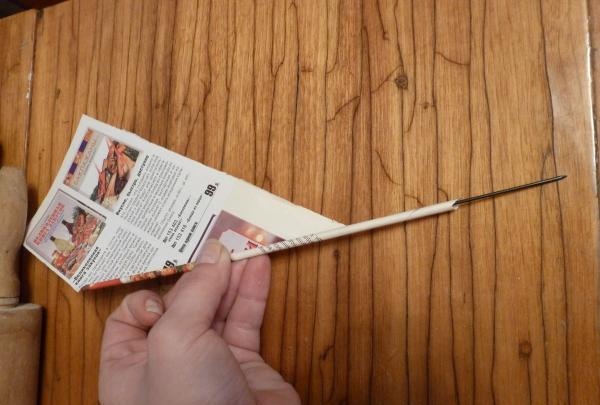
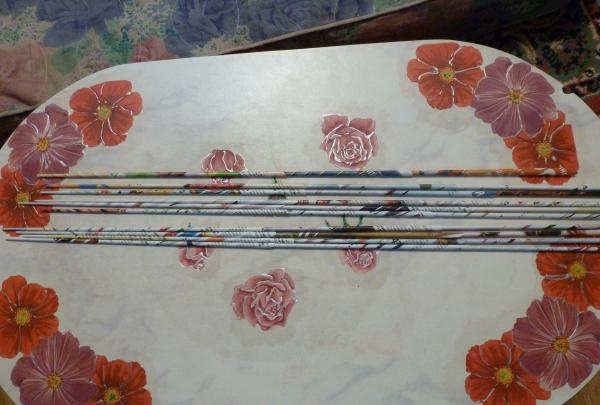
First of all, cut the page in half.
The most suitable dimensions for the future tube will be 27/10 centimeters. According to these parameters, the tube will not be too rigid, but strong enough for the product. In order to twist it, you need to place a knitting needle or paste from a pen on one of the corners of the sheet and screw the entire half of the page onto it.
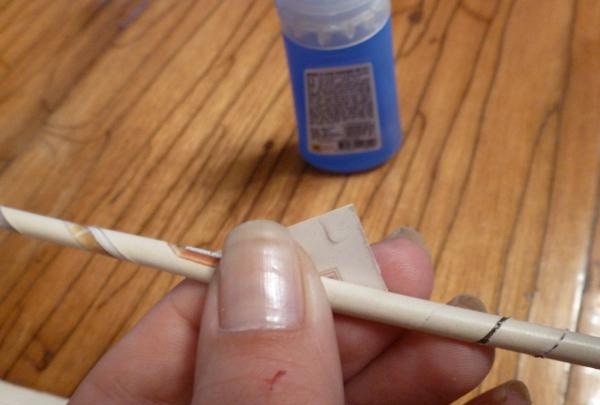
Apply a drop of glue to the remaining small corner and press it well with your fingers.
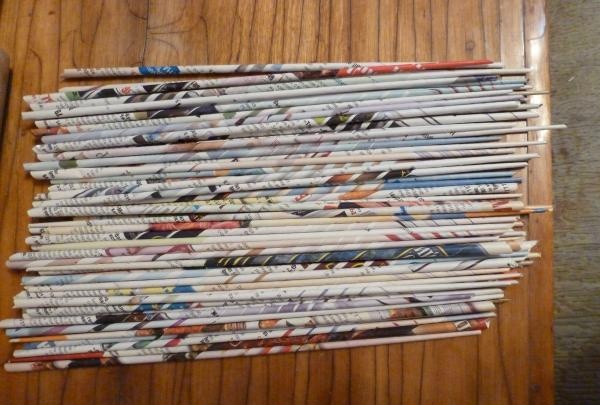
This way you need to make a lot of tubes. I needed 60 pieces for a product 11 centimeters high.
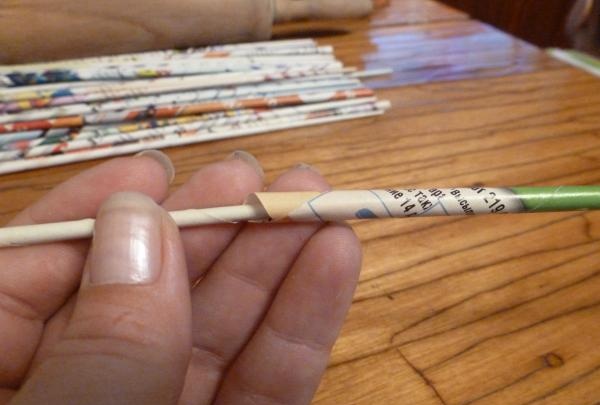
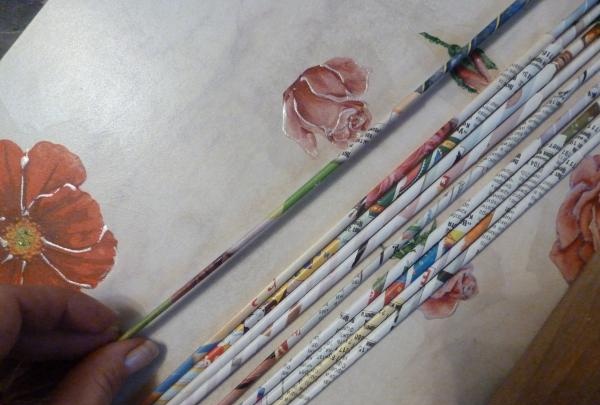
Before you start weaving, you should grow 10 tubes. To do this, you need to drop a drop of glue into its wide end and insert another tube into it like this.
For the base you need 10 triple tubes.
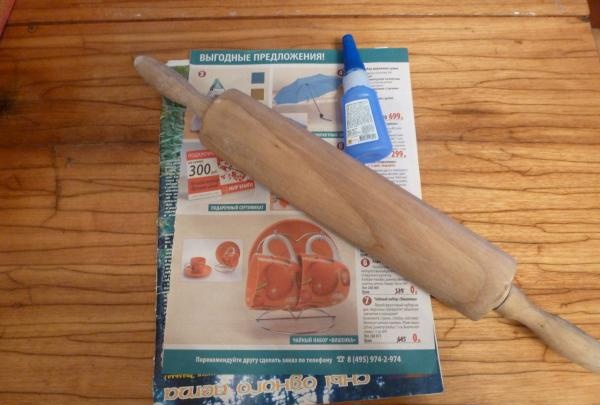
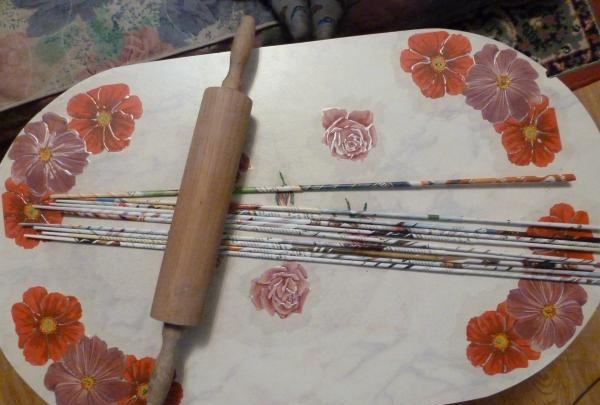
The next step is to roll out the long tubes with a rolling pin.
This will make it much more convenient to work with them.
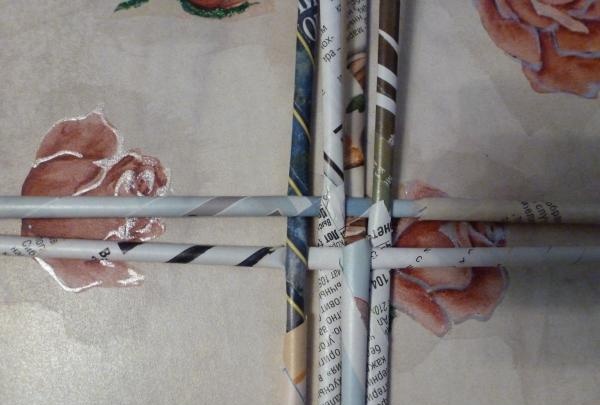
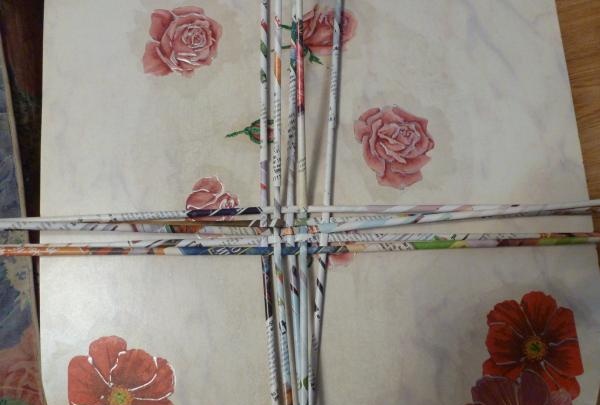
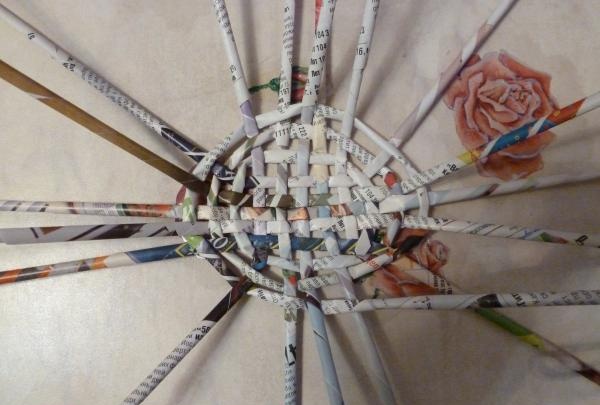
So, let's weave. First you need to weave the bottom. To do this, we intertwine the tubes with each other like this.
Add all the prepared long tubes.
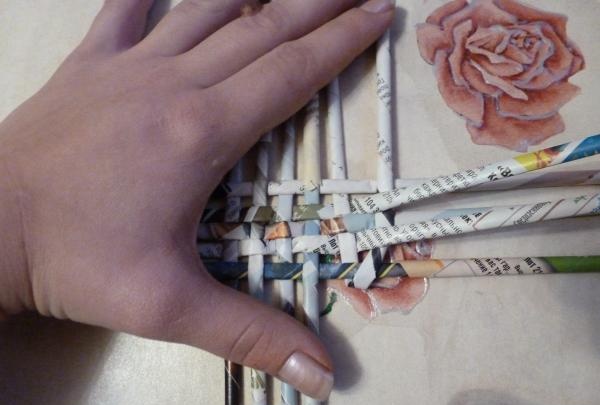
Now, the outermost tube needs to be turned in the other direction and woven.
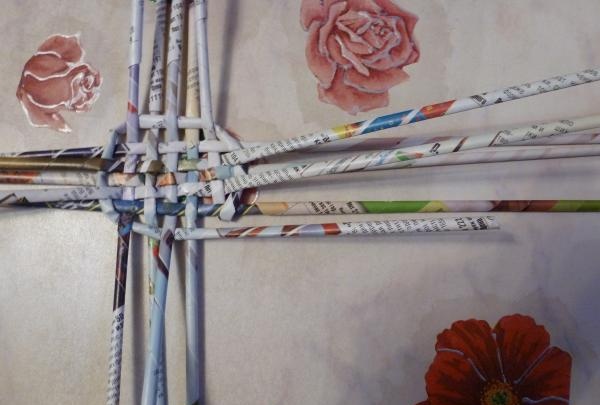
Then we braid it all the remaining ends in a circle.
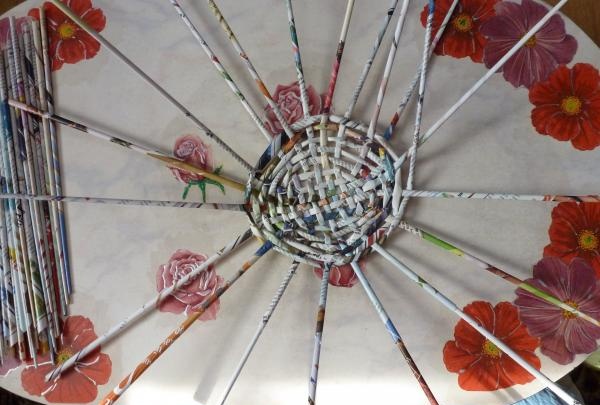
As the braiding progresses, it will be necessary to increase the leading tube. You need to do it in the same way as in the beginning.
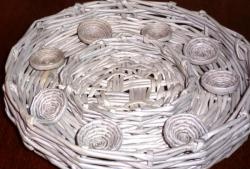
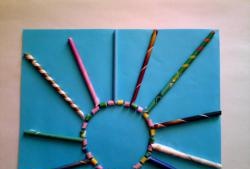
Gradually, weaving around the protruding twigs, they need to be moved apart, giving the structure the shape of the sun.
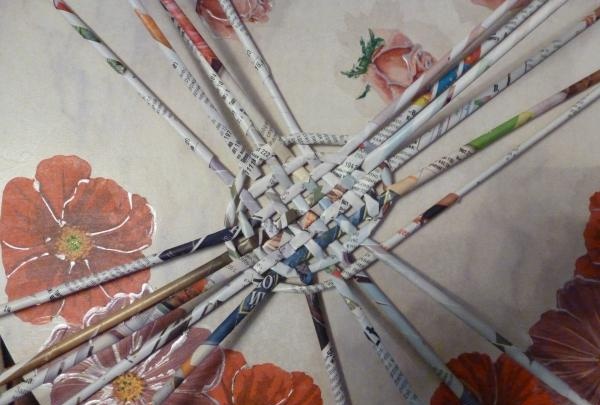
The bottom must be woven flat until it is sufficient for the shape.
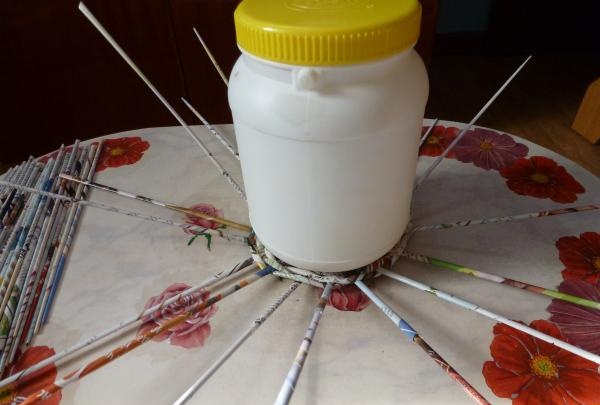
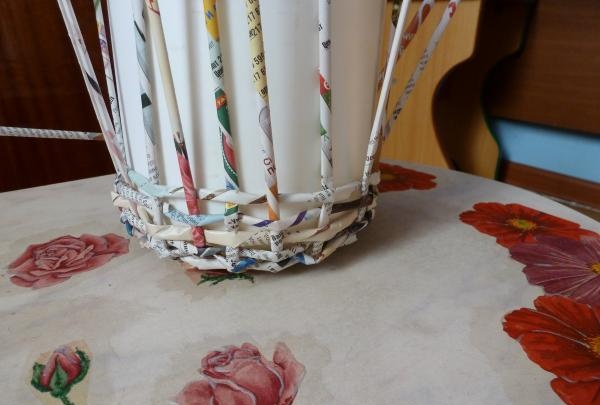
As a prototype for the pot, I took an ordinary mayonnaise concrete block.
As soon as the dimensions of the woven bottom are equal to the bottom of the concrete, we begin to make a rounding. This can be achieved by constricting the rays with a leading tube.
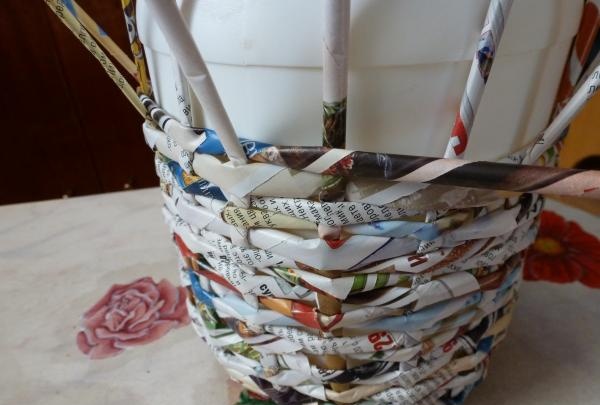
The main mistake is large gaps between horizontal fibers.
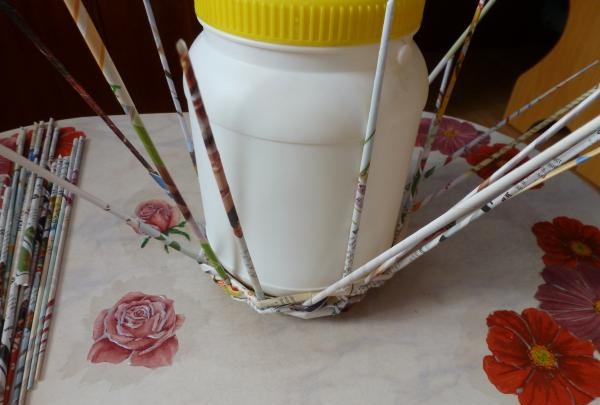
They need to be eliminated during the weaving process, as this will be more difficult to do at the end of the work.
To do this, after going through a couple of rows, use your hands to pull the completed stage to the bottom, only carefully - this is paper after all.

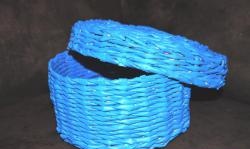
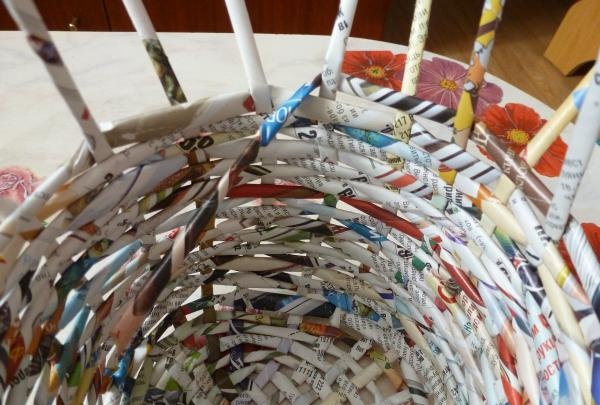
When you realize that the required height has already been reached, you can remove the mold.
Now you need to hide all the remaining ponytails inside, stretching them under several layers.
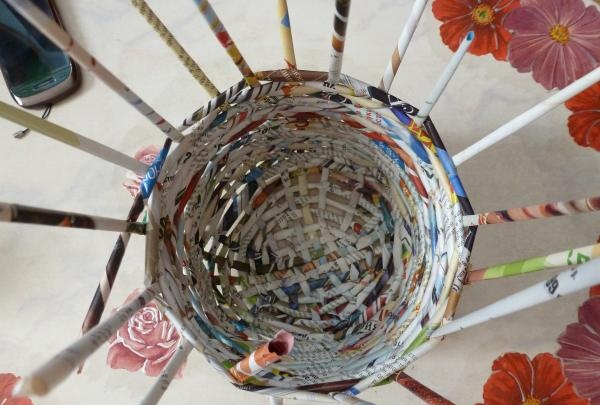
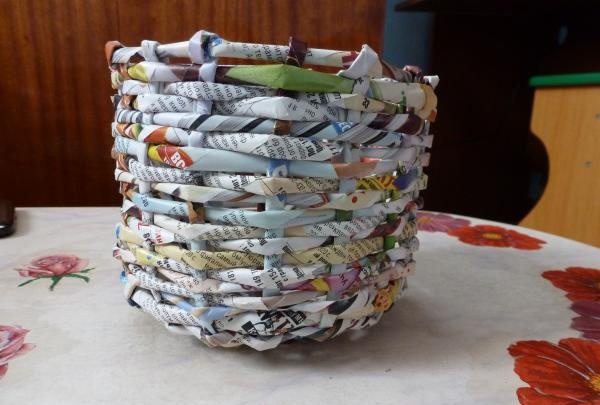
This is what a half-finished masterpiece looks like.
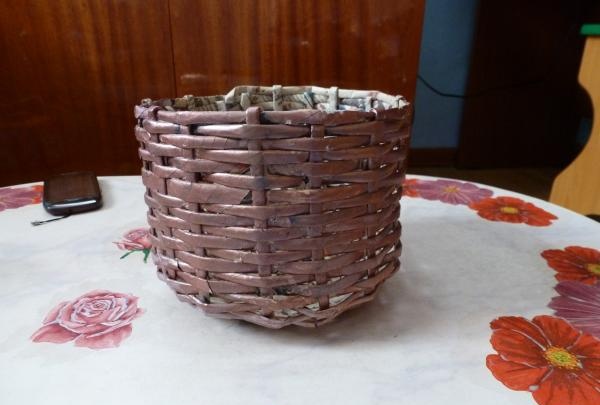
Now you need to paint it with something, or simply varnish it in several layers. I decided not to bother for too long and painted my basket with regular nail polish.
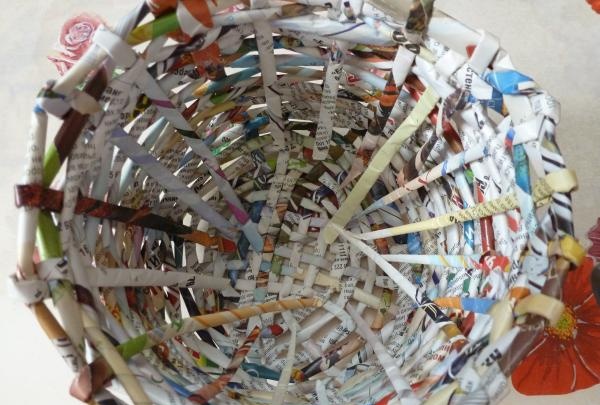
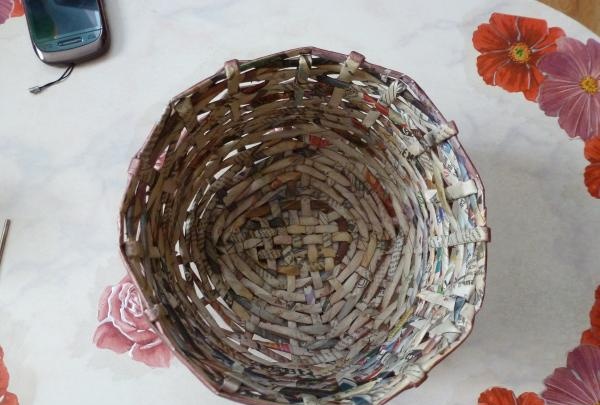
This is what it looks like inside.
I didn't paint it on the inside either.
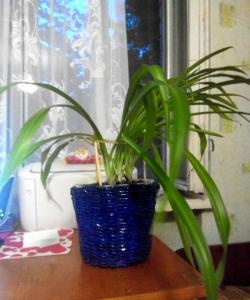
By the way, here is my previous work.
I placed the same concrete block inside, having previously cut it to the required level.
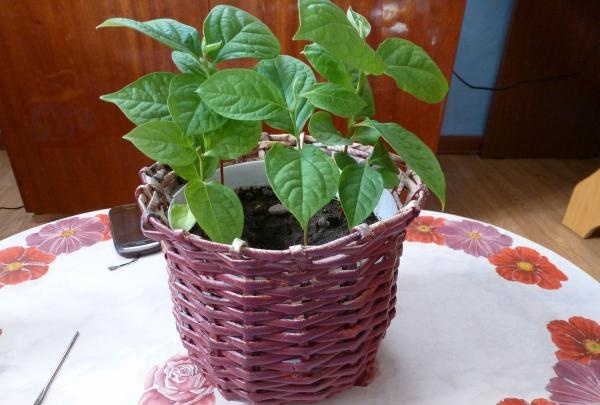
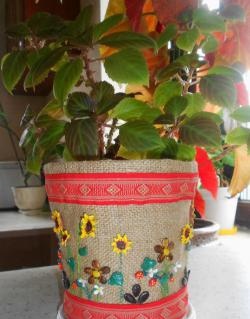
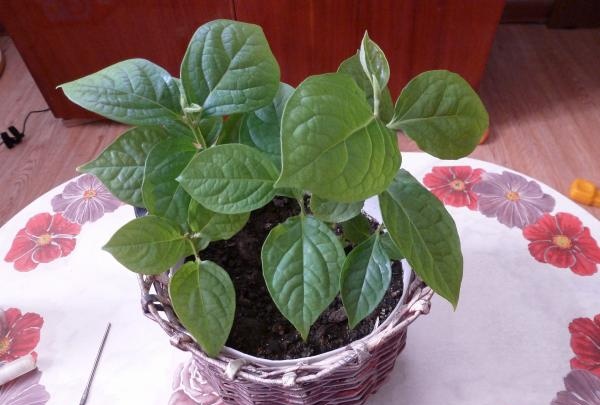
Believe it or not, a real persimmon sprouted in a pot.
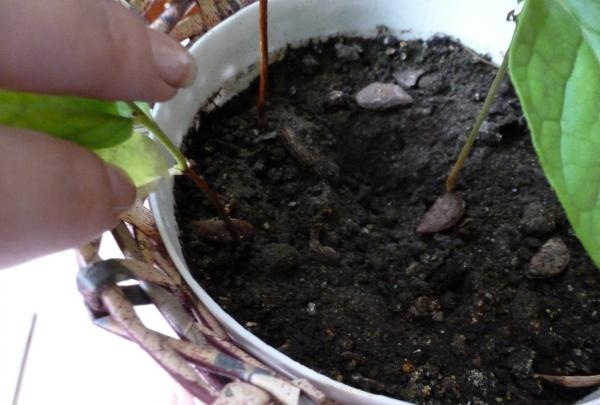
But I just threw the seeds into this pot.