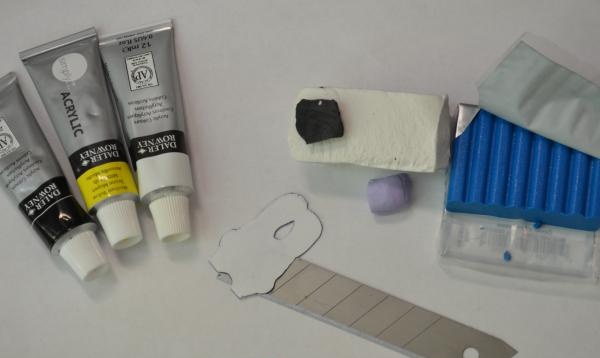
Today we will try to make bunny earrings. For this we need:
1. Blue Sonnet polymer clay (you can use any plastic you have, but I personally like this company);
1. Sonnet polymer clay, white;
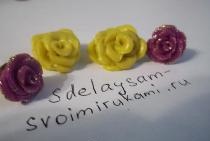
2. Sonnet purple polymer clay;
3. Stationery knife;
4. Acrylic paints in white, black and yellow;
5. Sketch of future earrings;
6. Accessories for earrings.
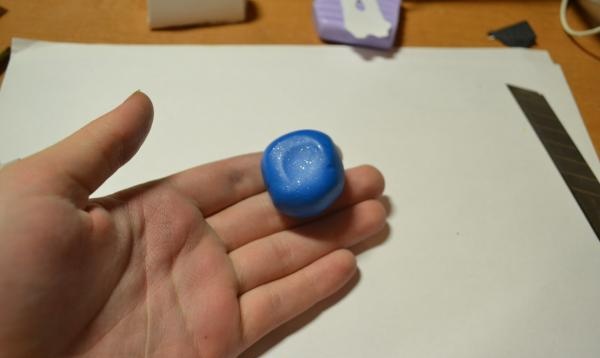
Now you can start creating. To begin, we cut off a piece of blue plastic (this will be our base for the earrings) and knead it in our hands for a long time until it becomes soft and pliable.
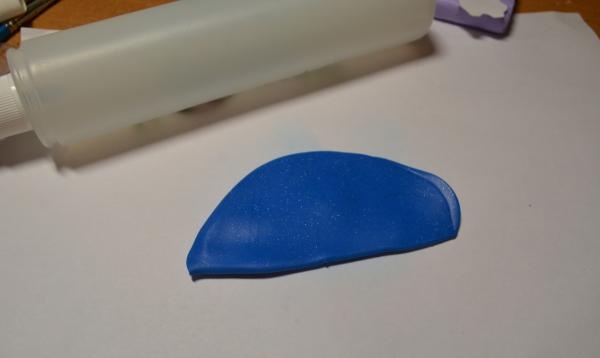
Then the plastic needs to be rolled out into a not very thick layer.To roll out polymer clay, you can use a special silicone roller, or you can use improvised means (personally, I use a bottle of hairspray). This does not affect the quality of the product, and helps beginner craftswomen save a penny.
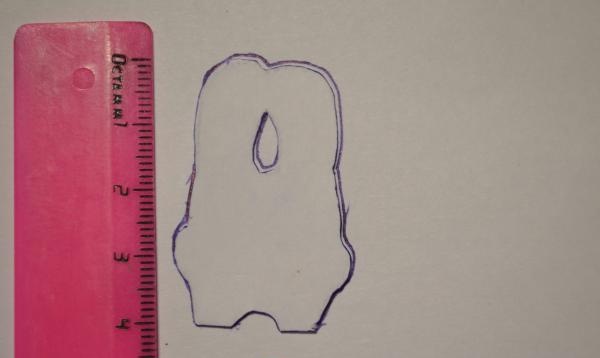
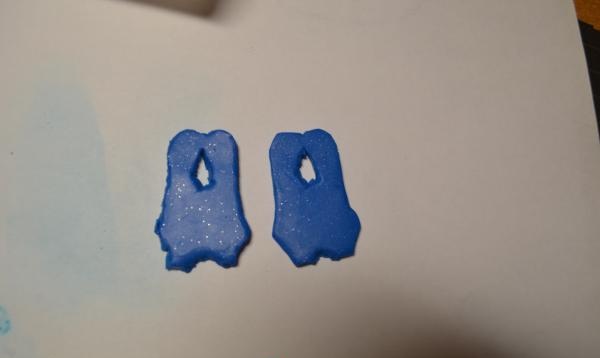
Now we attach the hare blank we have to the resulting pancake (you can make it yourself or use the blank presented below) and carefully cut it out with a stationery knife.
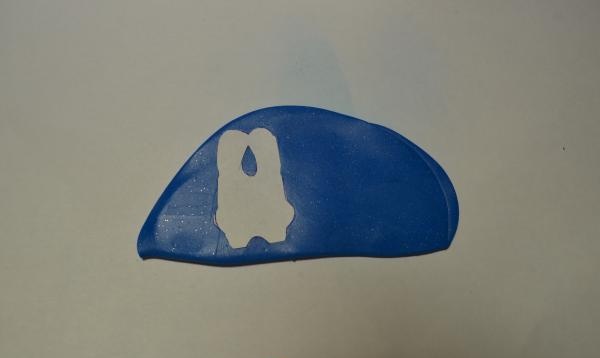
Then we remove the blank and see that no matter how hard we try, our hare still looks more like an incomprehensible blot with uneven edges.
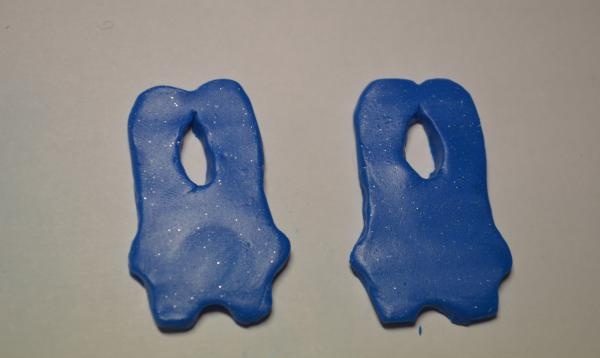
Therefore, we carefully smooth the edges of the base and give it its final shape.
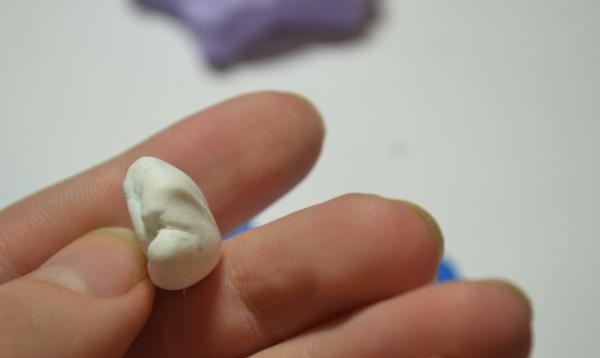
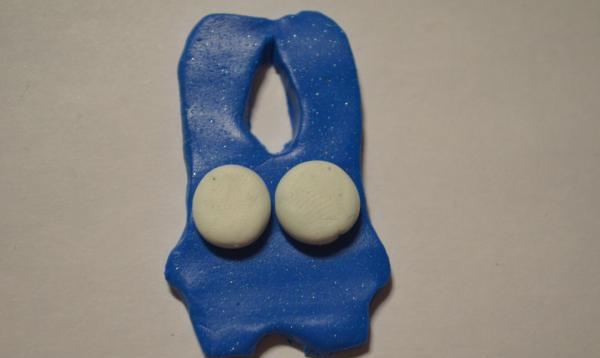
After this, take white clay, knead it in your hands and roll two small identical balls - these are the eyes of our hare.
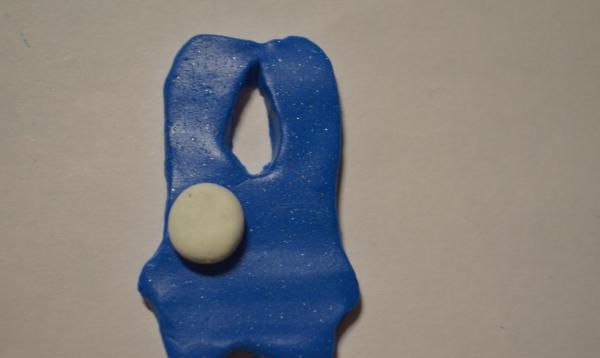
Next, you need to place the balls on the place where the bunny’s eyes will be and lightly press on them.
Take some black clay, roll out very small balls and make pupils for the hare.
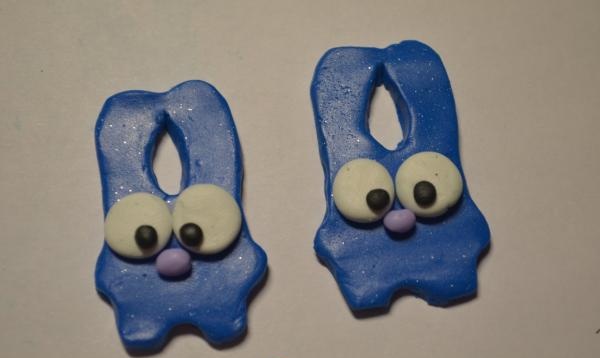
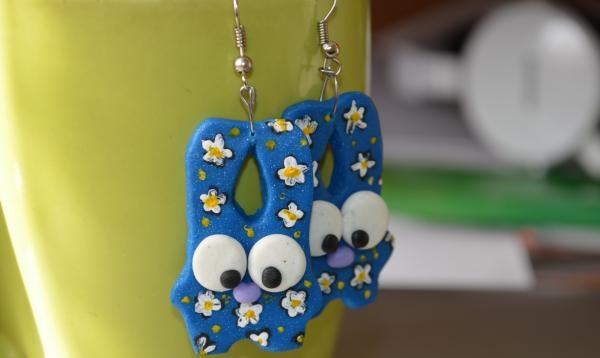
And finally, don’t forget to attach the hare’s nose. The same actions must be carried out with the second earring.
The product is almost ready. All that remains is to bake it and paint it with paints. Place the earrings in the oven for 30 minutes at 130 degrees (the temperature and firing time can be adjusted depending on the type of plastic, but usually the baking rules are indicated on the polymer clay packaging). If you want everything to work out, do not under any circumstances try to bake clay in a microwave oven. After half an hour, take out the earrings and wait until they cool down. Be careful while the clay is still warm, as it can easily become deformed.
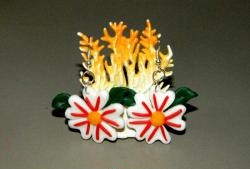
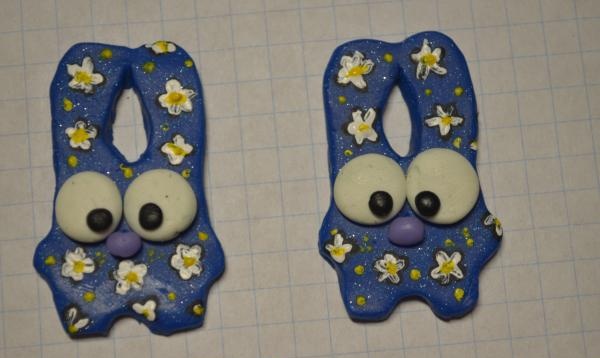
Cooled earrings need to be painted.To do this, take a thin brush and draw flowers. First we draw the flowers with white paint. Then we make a yellow center, and at the end we outline the flower with a black outline. Let the paints dry.
We attach wires to the bunnies. Well, that's all, the earrings are ready. Wear it with pleasure!