Do it yourself
Life hacks, master classes, useful tips, recipes.
Various accessories have always been something more for a girl than just a beautiful thing. It is thanks to various decorations that one can judge a person’s character. The color scheme, the material of the product, its image and many other qualities of the decoration can tell the interlocutor about the true values ​​of a person. In accessories, I especially value not high cost and luxury, but simplicity and originality. The pin bracelet captivated me with just such qualities. It took me about half an hour of free time to create it, and its service life is unlimited. In addition, depending on the circumstances, it can be easily combined with a sporty style or worn for a trip to a cafe. To make it I needed:

I needed


Regular pins;
Elastic band for jewelry;
Beads;
Beads;
Pliers.
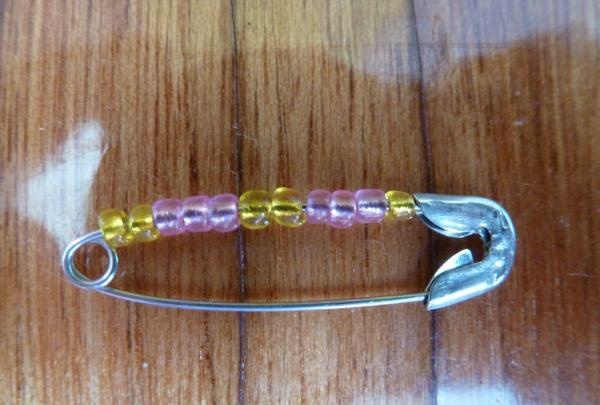
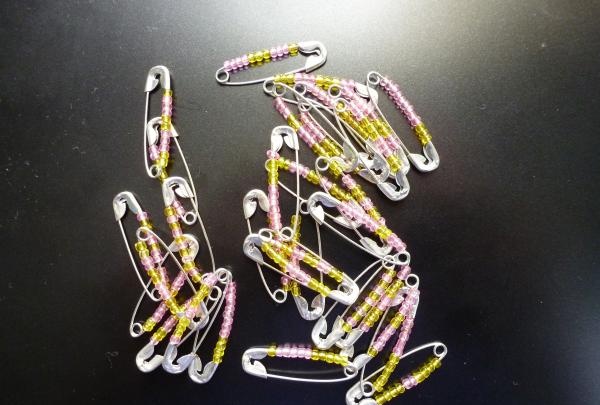
First of all, we collect beads on each pin.

collect beads


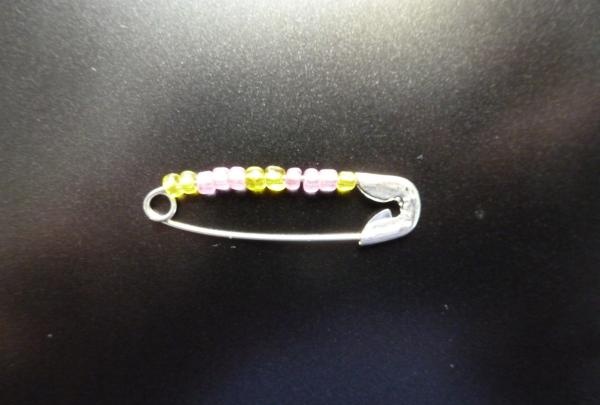
I did this in no particular order, but you could have made some kind of pattern. To do this, it is enough to calculate the number of beads that fit on one pin, and, according to a preliminary sketch on paper, string beads of the selected shades.
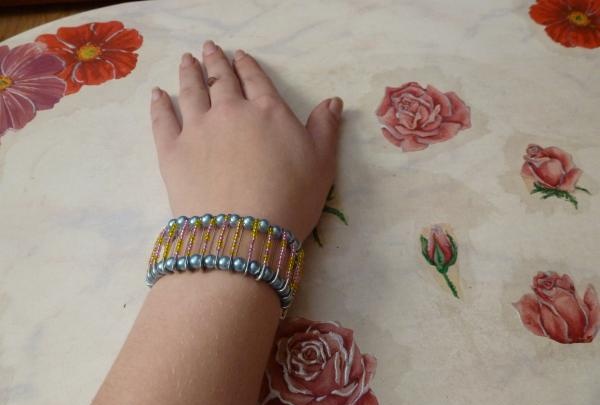
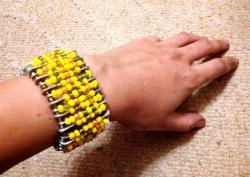
After the opening part of the pin is filled, you need to close it and squeeze the head with pliers.This way you can be sure that while wearing it it will not open and hurt you.

squeeze the head with pliers


On average, it takes about 30-35 pins for a slightly full hand.

pins with beads


When everything is prepared, you can start assembling the bracelet. To do this you will need two pieces of special elastic. It can usually be found in any craft or sewing store. The length of the piece should be equal to the circumference of the wrist + small tails in order to make a knot.

make a knot


Now we begin to string pins onto one of the elastic bands, alternating them with beads.

let's start stringing


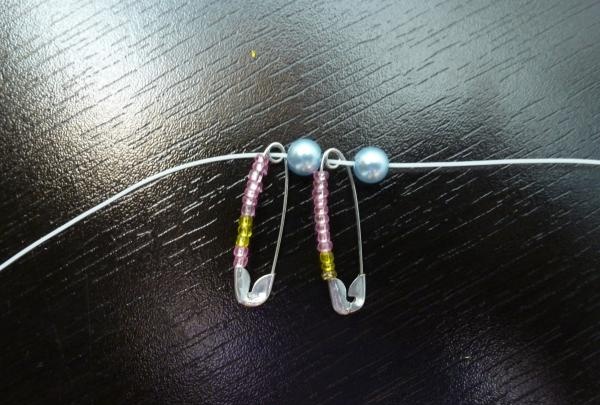
You need to thread the elastic through the holes at the bottom of the pin. In addition, you need to make sure that all the pins are facing the same direction with the beaded side.
You need to string until the size of the resulting fringe in a calm position is equal to the volume of the wrist.

the resulting fringe


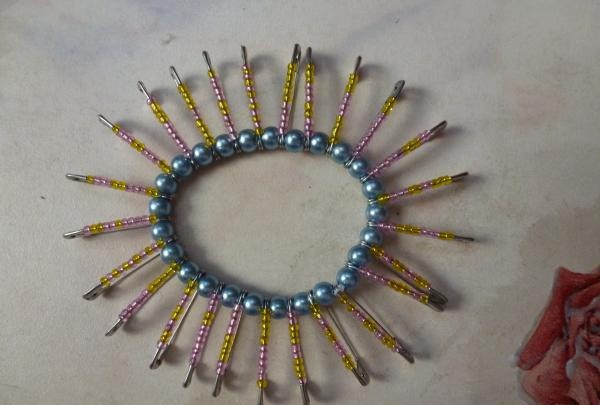
As soon as we realized that there is enough, we tie it all in a double knot and cut off the excess.

tie everything up


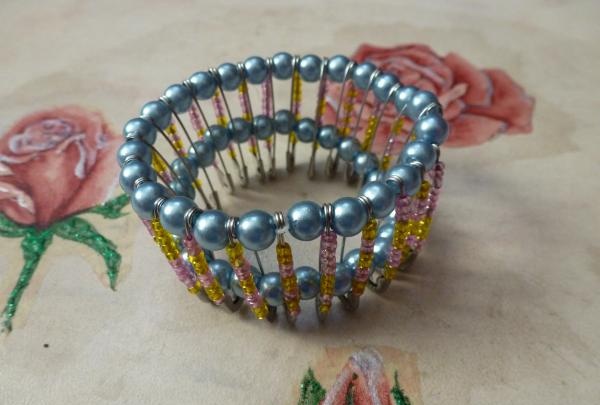
When tying, it is better not to stretch the elastic band, otherwise the bracelet will not fit on your hand. Now we repeat the stringing process for the lower part.

Pin bracelet


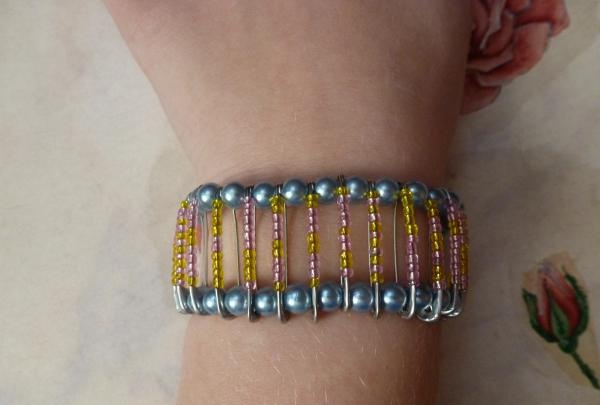
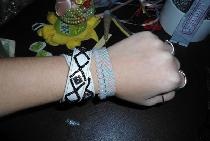
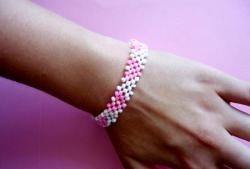
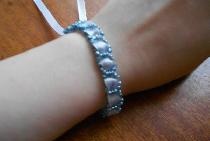
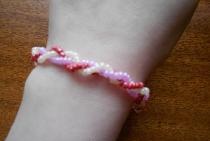
Our pin bracelet is ready.

DIY pin bracelet
come back
Comment
  • bowtiesmilelaughingblushsmileyrelaxed relaxedsmirk
    heart_eyeskissing_heartkissing_closed_eyesflushedrelievedsatisfiedgrin
    winkstuck_out_tongue_winking_eyestuck_out_tongue_closed_eyesgrinningkissingstuck_out_tonguesleeping
    worriedfrowninganguishedopen_mouthgrimacingconfusedhushed
    expressionlessunamusedsweat_smilesweatdisappointed_relievedwearypassive
    disappointedconfoundedfearfulcold_sweatperseverecrysob
    joyastonishedscreamtired_faceangryragetriumph
    sleepyyummasksunglassesdizzy_faceimpsmiling_imp
    neutral_faceno_mouthinnocent
5+two=
Comments (1)
  1. Tanya
    #1 Tanya Guests 11 August 2014 15:36
    1
    :wassat: how many pins do you need?

Master class on creating an alpine slide

Replacement of radiators and individual sections in a private house

Sweet Christmas tree | Do it yourself

4 useful ideas for the home handyman

«Do it yourself - with your own hands» - a site of interesting homemade products made from scrap materials and items at home. Step-by-step master classes with photos and descriptions, technologies, life hacks - everything a real master or just a craftsman needs for needlework. Crafts of any complexity, a large selection of directions and ideas for creativity.

We recommend reading

Washing machine error codes