Well-maintained flower beds are always a special decoration of a personal plot. To create a “mountain corner”, simple inspiration is enough, and the size of the land practically does not matter. You can build an alpine slide with your own hands in the most unexpected place. Oddly enough, such oases are most often created in places where garbage was previously stored or in areas that have not been processed for a long time.
The appearance of a rock garden magically transforms the area. Creating a miniature composition will not require large material costs. All elements of a rock garden can be assembled from available materials, but in order for a landscape composition that imitates a mountain landscape to please the eye for many years, you will need step-by-step instructions for its creation.
What you can't go wrong
When creating a rock garden yourself, you must follow certain rules. The success of the design idea in this case will depend not only on how the plant terraces will be arranged, but also on how correctly the proximity between the plants will be observed.
It is generally accepted that the main inhabitants of a mountain composition should be drought-resistant, unpretentious plants that do not require special care and are not subject to excessive growth. In connection with this statement, the choice of location for a rock garden is most often determined by the whim of the owner, for example, to improve an unsightly area or cover up an unsightly landscape. The presence or absence of sunlight in this case does not matter much. Shade-tolerant plants will survive anywhere, and when planting more demanding species, the alpine hill will simply have to be watered more often.
When planning the topography of a rock garden, it is necessary to visually imagine for which plants the terraces are being created. In accordance with the planting plan, a certain soil must be added. If most of the design corner will be populated with plants with abundant greenery, then when laying the levels it is necessary to think about good drainage.
Arrangement of the first level of a miniature alpine slide
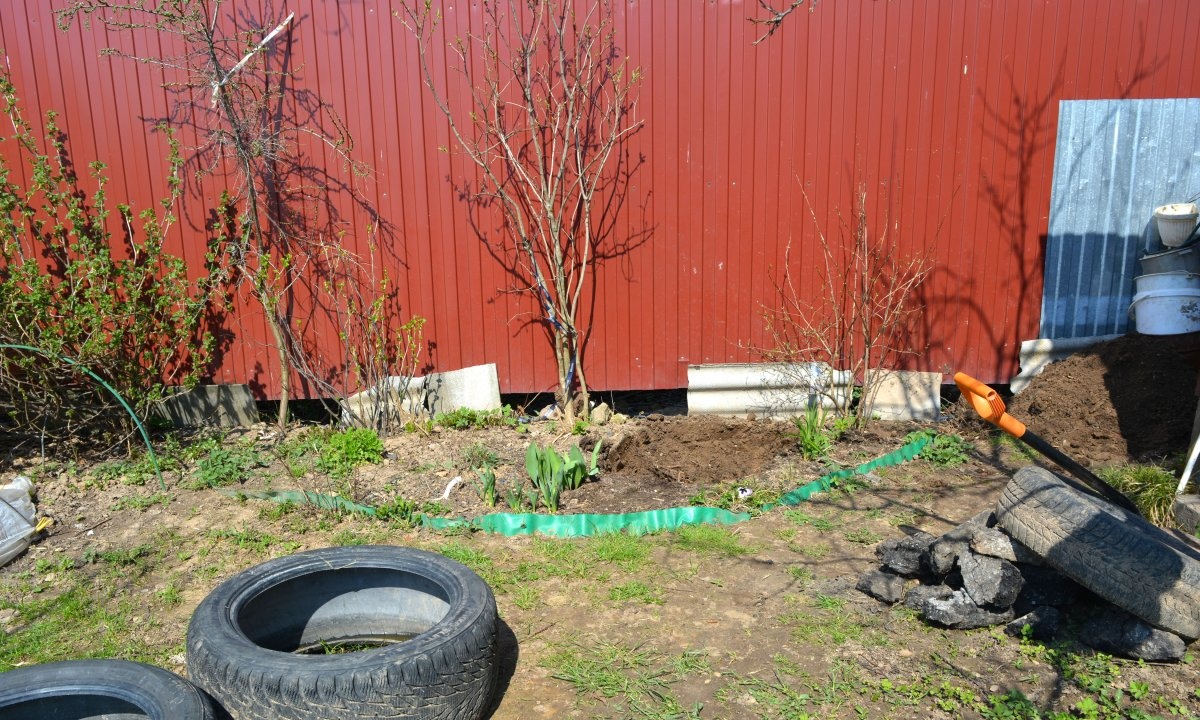
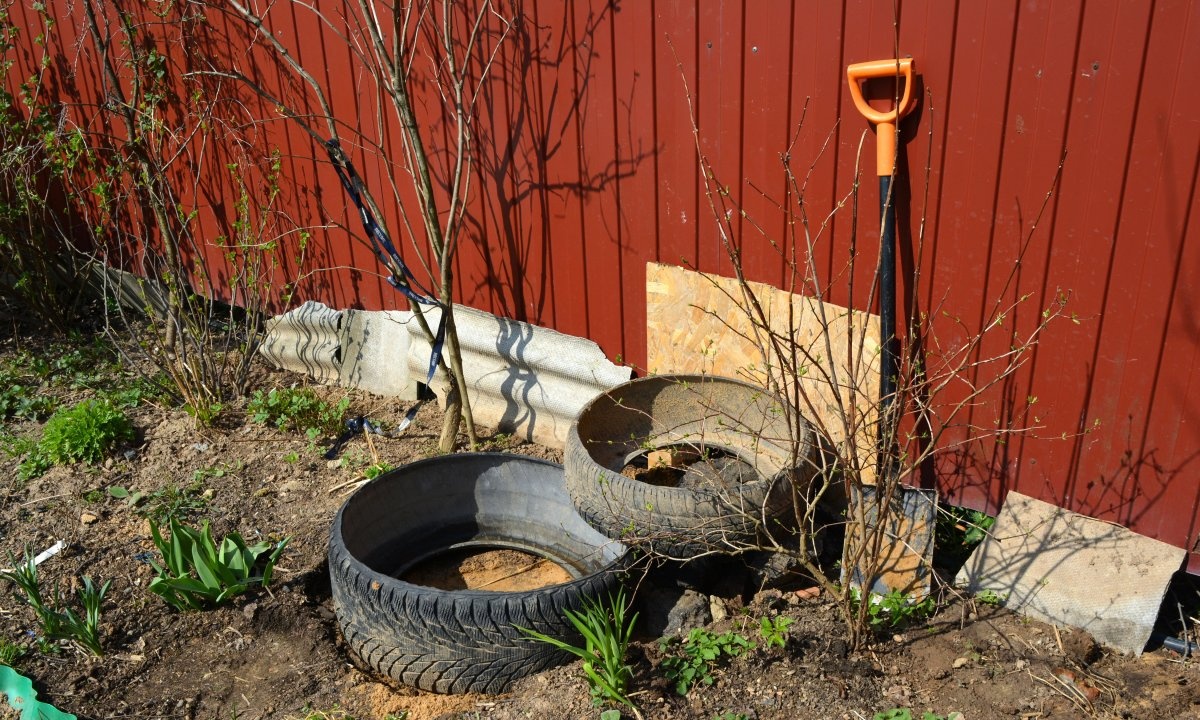
Creating a mountain landscape involves the construction of a multi-level composition, which will be based on good drainage and a strong design of planting terraces. Regular large-diameter car tires are excellent for these purposes. Since the tires will be filled with soil in the future, the top cord should be cut out.
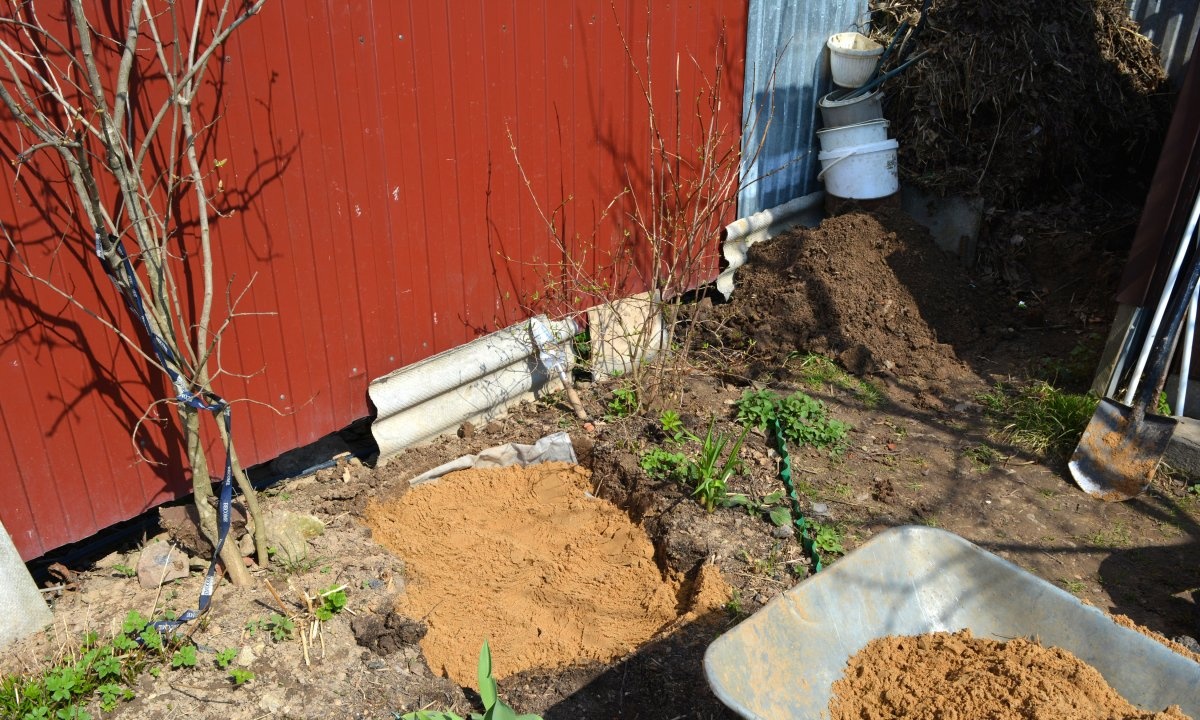
In order for the slide to look harmonious, the lower tier should be slightly deeper. The first tire should be buried about halfway into the ground. As drainage, you need to place various stones under the tire and sprinkle them with sand. It is not at all necessary to put stones in the tire itself, since excess water will flow out unhindered through the lower hole.If desired, you can fill the bottom of the container with sand, onto which fertile soil will later be poured.
Strengthening the second tier of the rock garden
The next step in constructing an alpine slide on your own is to create the second and subsequent tiers. After making sure that the bottom tire is well secured, a second tire is installed on it, but with a rather large shift. This is done in order to increase the landing area. Depending on the intended design of the rock garden, several tires may be needed.
After the second level is installed, it is necessary to secure it well. To do this, you need to fill all the external cracks with sand and thoroughly spill the entire structure with water.
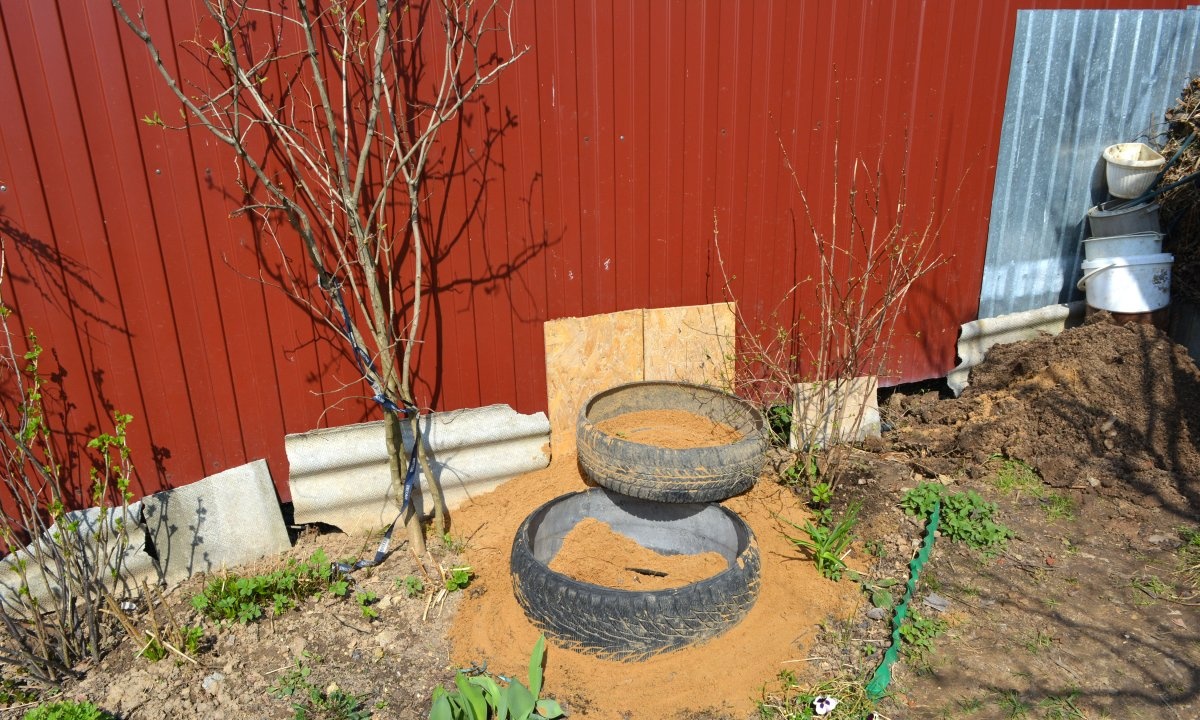
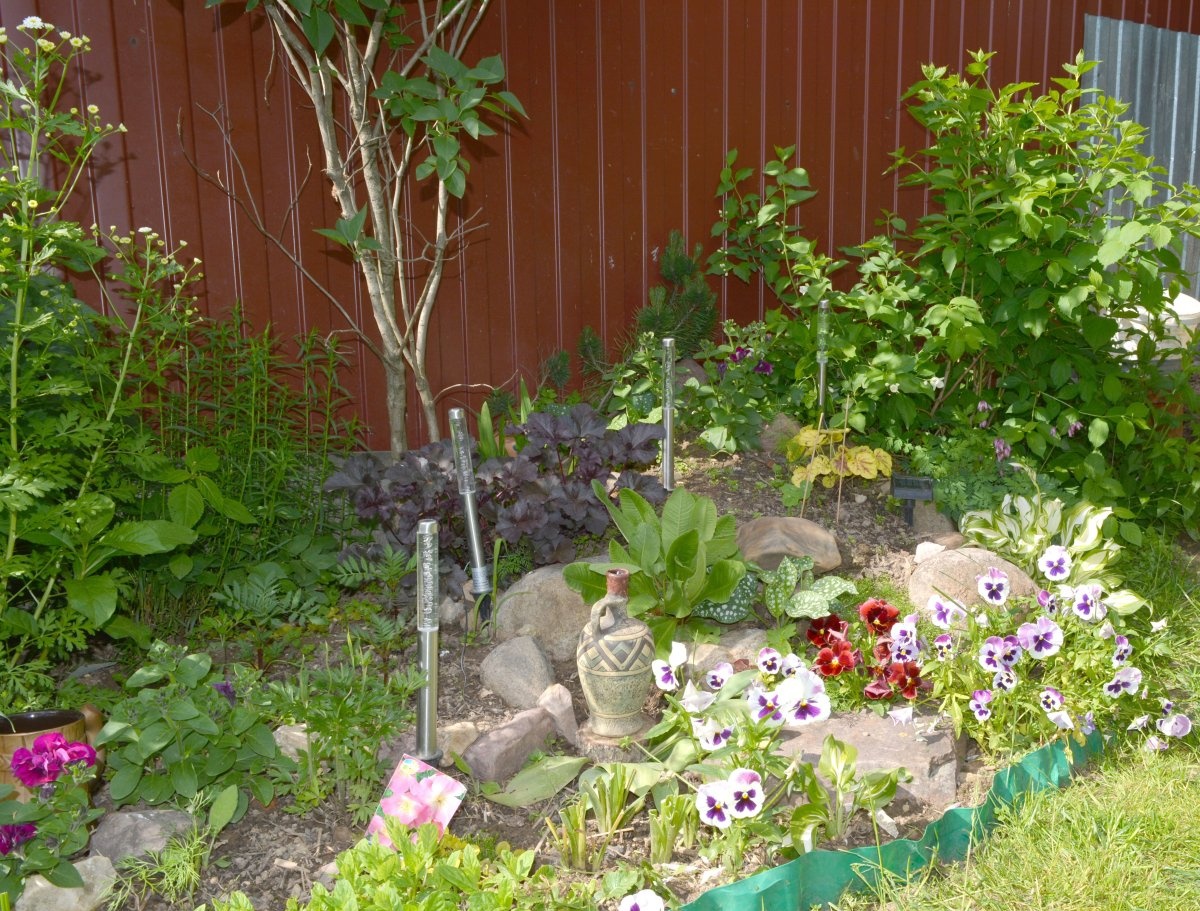
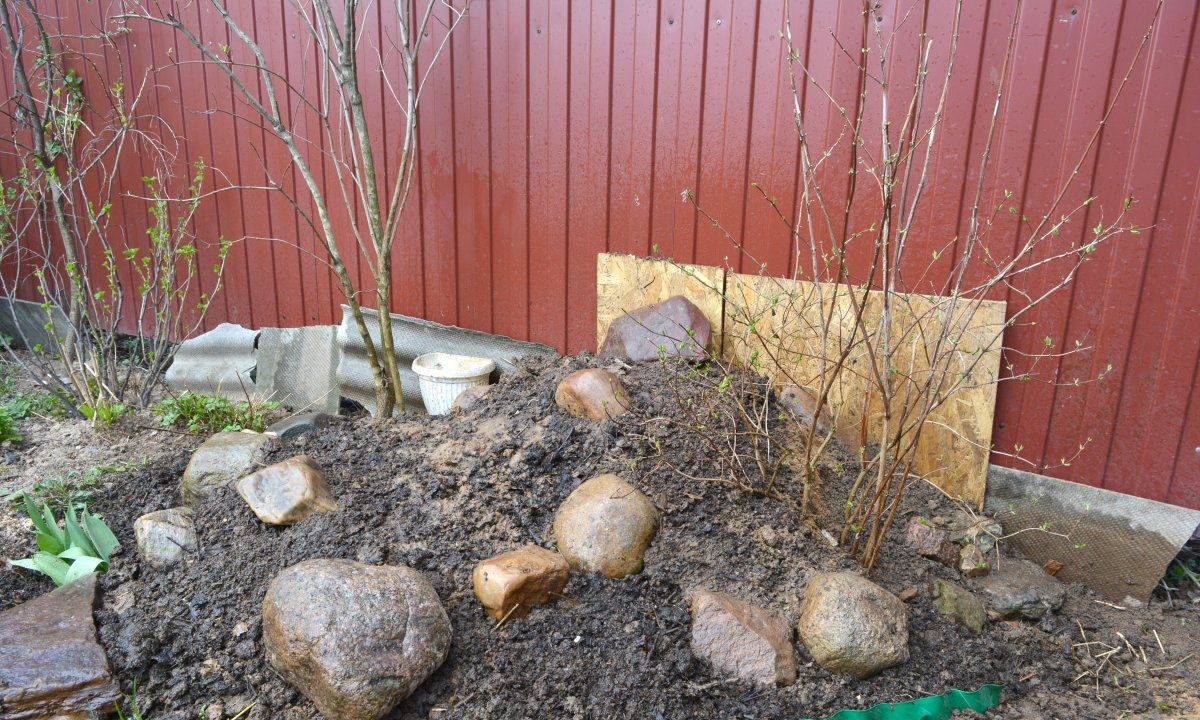
At this stage, decorative stones are also installed. In order for the slide to look natural, design elements should be placed in a chaotic order.
Final stage: arrangement of decorative elements, placement of plants
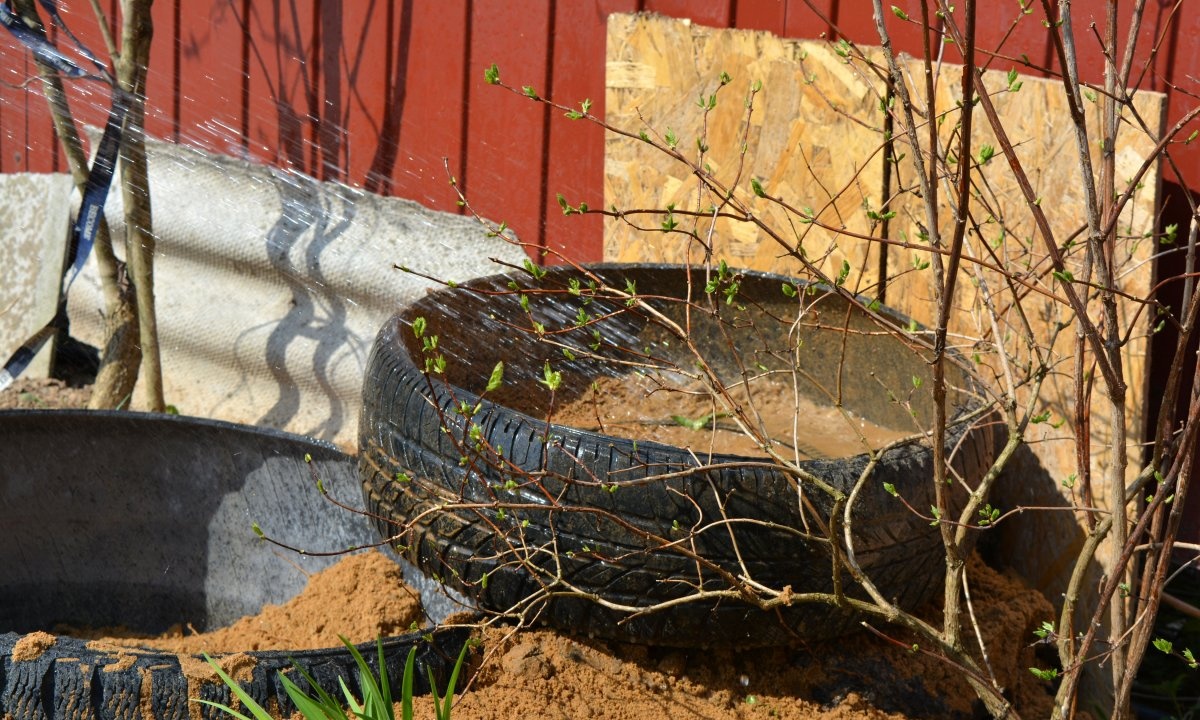
After the entire structure has been assembled and securely fastened, the tires are filled with fertile soil. This may be the top layer of soil removed from another area or a specially composed mixture of turf and compost soil. The containers must be filled in such a way that the rubber base of the alpine slide is completely hidden from prying eyes.
When filling the soil, it must be periodically shed with water in order to prevent the formation of empty cavities.
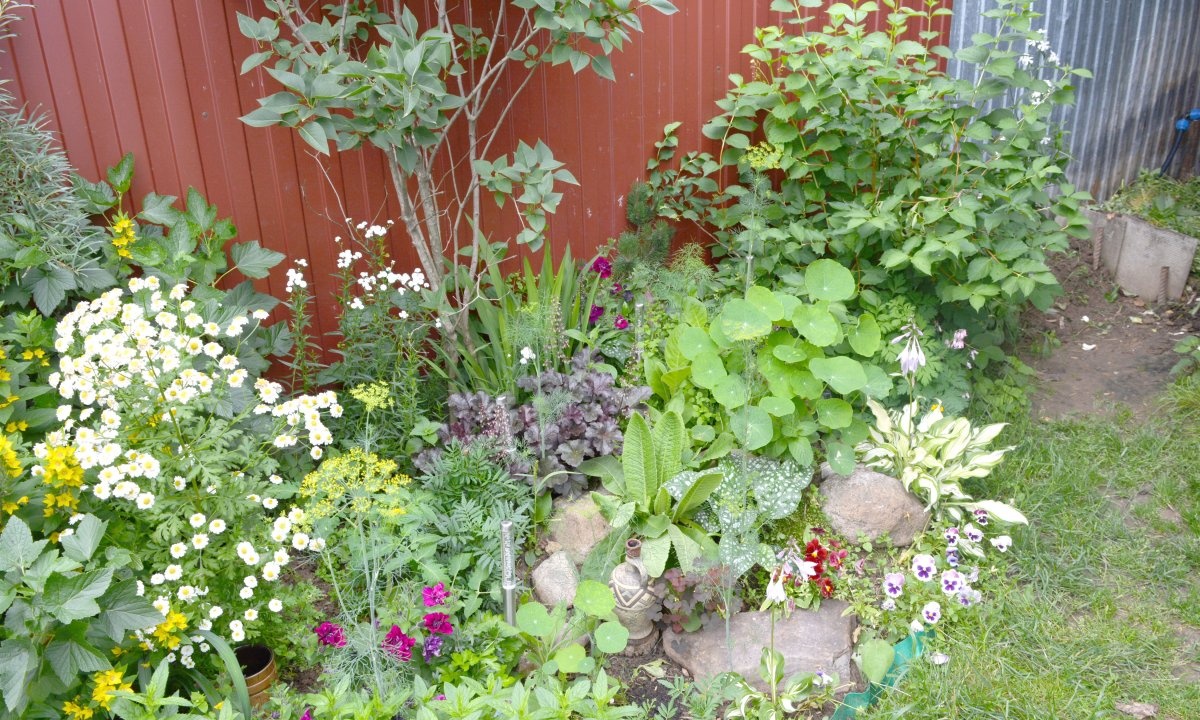
You can start planting plants almost immediately. The upper tiers can be populated by taller species, for example, conifers. Creeping plants also look good on top, which will later imitate a flowing green stream.
Low-growing plants should be placed on the lower tiers or at the foot of the alpine hill. At the base of large stones, bulbous species, primroses and mosses will look good. In order for the decorative island to please the eye throughout the entire summer season, it is necessary to select plants in such a way that they replace each other alternately.
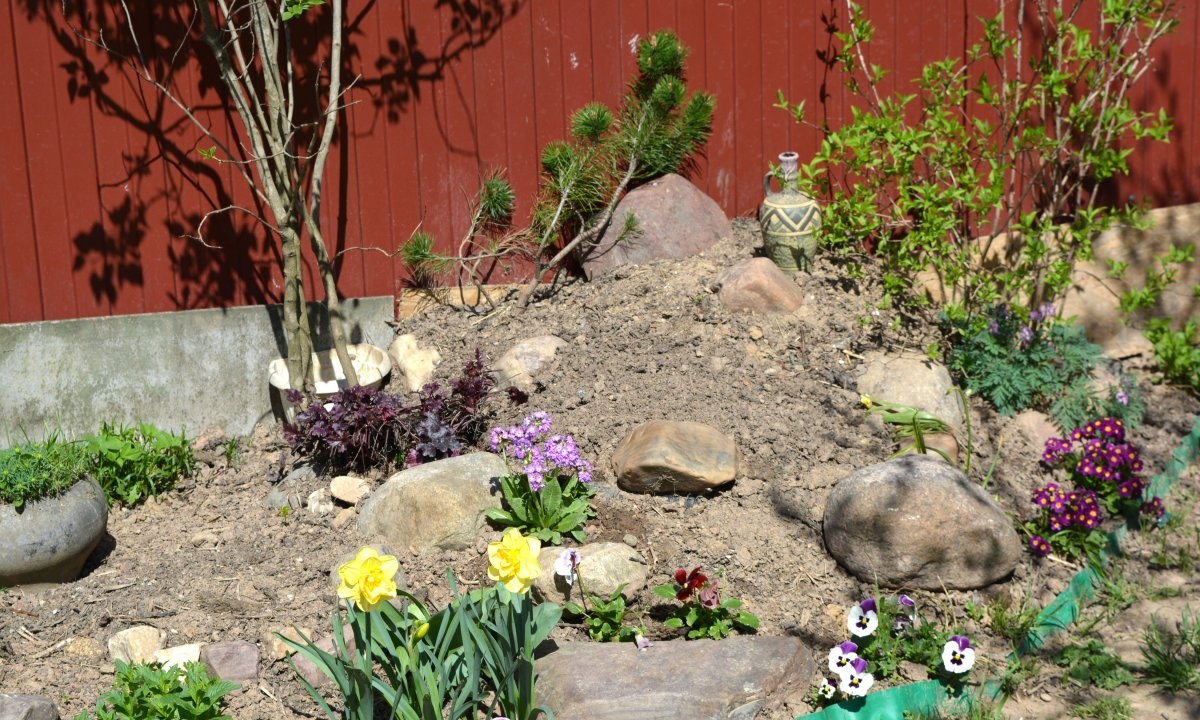
For example, in the spring the hill will be decorated with bulbous tulips, daffodils, crocuses, and in the summer months the rock garden will delight with the flowering of annuals, such as:
- petunias,
- marigold,
- viols,
- nasturtiums.
Plants with decorative leaves also look great on a miniature rock garden: coleus, cineraria, heuchera. If the flower arrangement is made up of annuals, then the landscape will have to be re-arranged every year. For those who do not have enough free time to work on their garden plots, it is recommended to fill the rock garden exclusively with perennial species. In this case, landscape care will be reduced to periodic pruning of overgrown plants and cutting off dry inflorescences.
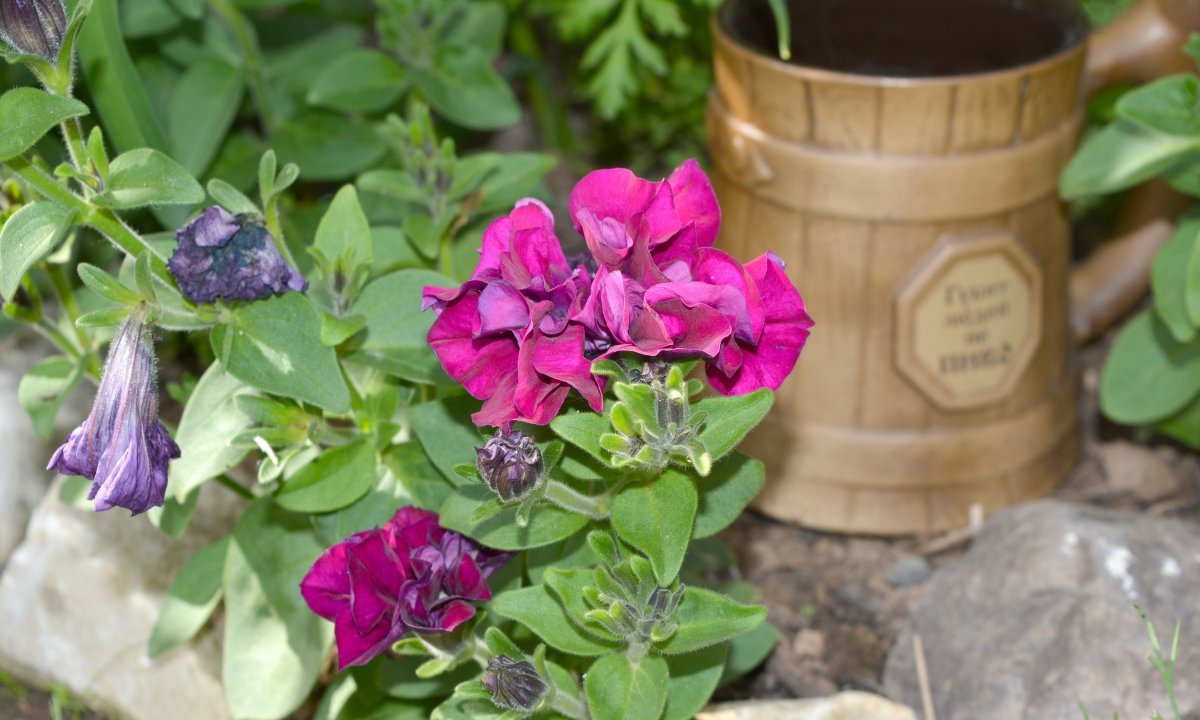
As additional decoration for the rock garden, you can use various vases, fancy bottles and unusual household items. You can also install self-igniting lamps on the hill, which will illuminate the landscape at night.
After reading this guide, the question of how to make an alpine slide with your own hands will not seem so difficult to many. Having simple devices at hand, without the help of designers, you can create a wonderful corner with minimal physical and labor costs.However, it is worth noting that any plant landscape requires some care, therefore, in order for the created masterpiece to retain its aesthetic appearance for many years, do not forget to correct it in a timely manner.