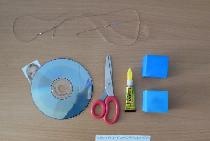
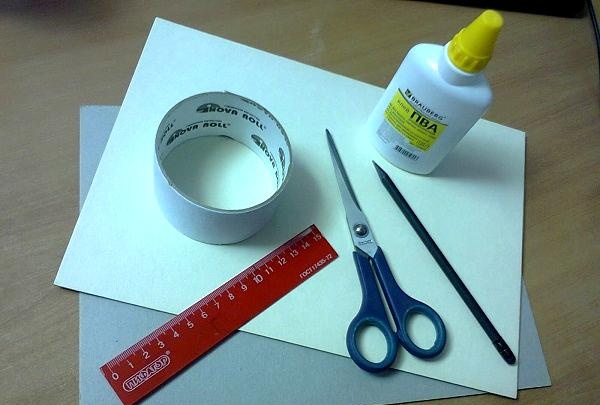
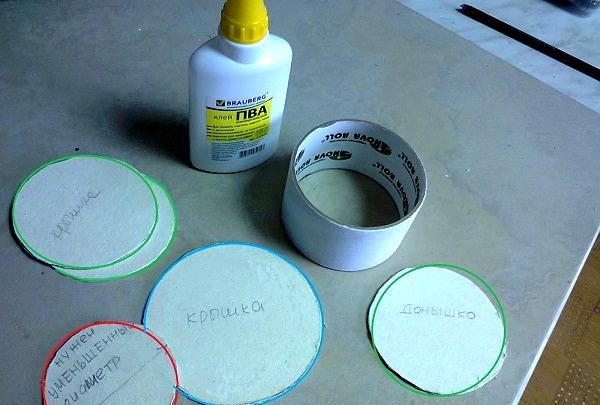
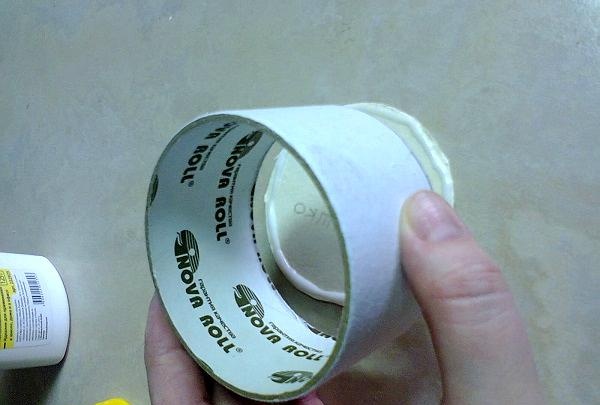
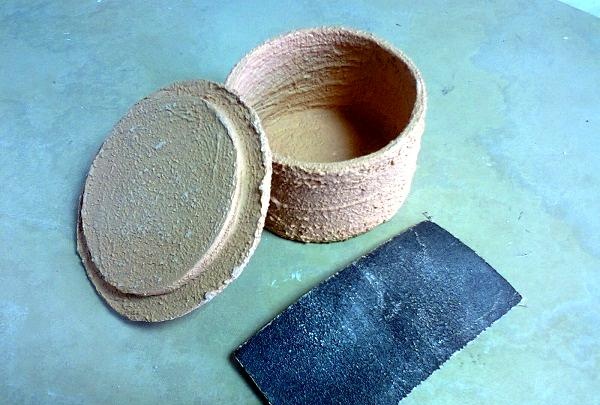
First you need to make the base for the box. Materials you will need for this: a reel of adhesive tape, thick cardboard, a simple pencil, scissors, PVA glue.
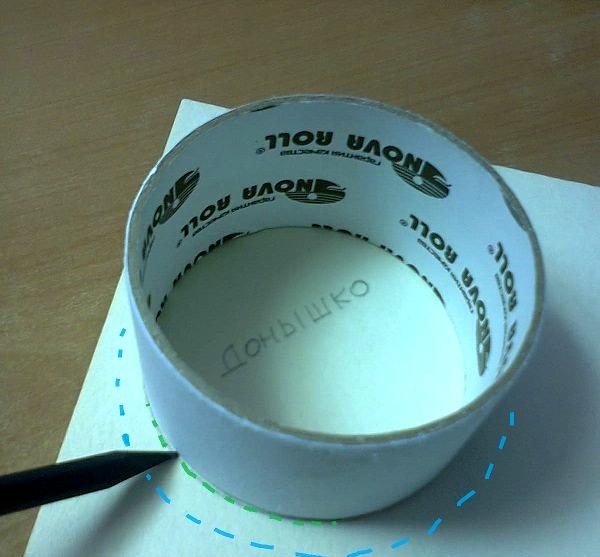
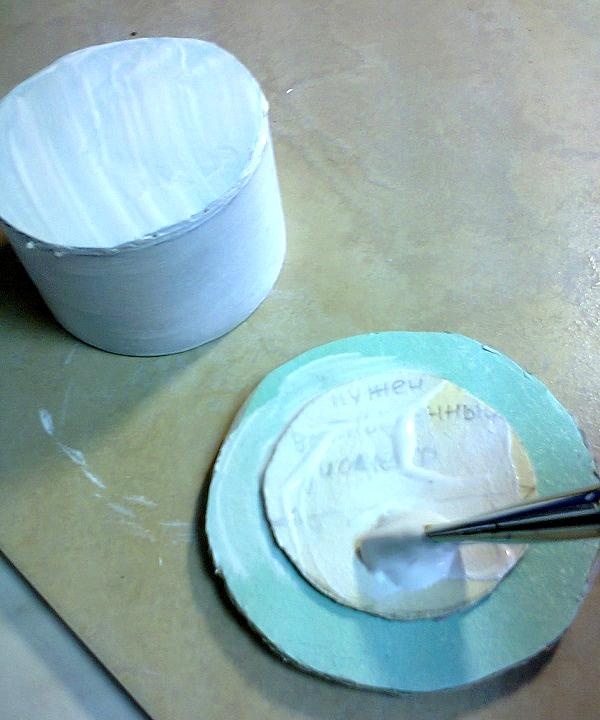
We outline the outer diameter of the reel with a pencil (in the photo it is indicated by a green dotted line). We carry out this manipulation three times. You will get three identical circles. We will leave one for the bottom of the box. The other two will be useful for the top of the lid of our box. The blue dotted line marks the approximate diameter of the circle, which should be larger than the diameter of the bottom - this is the basis for the lid, the largest circle.
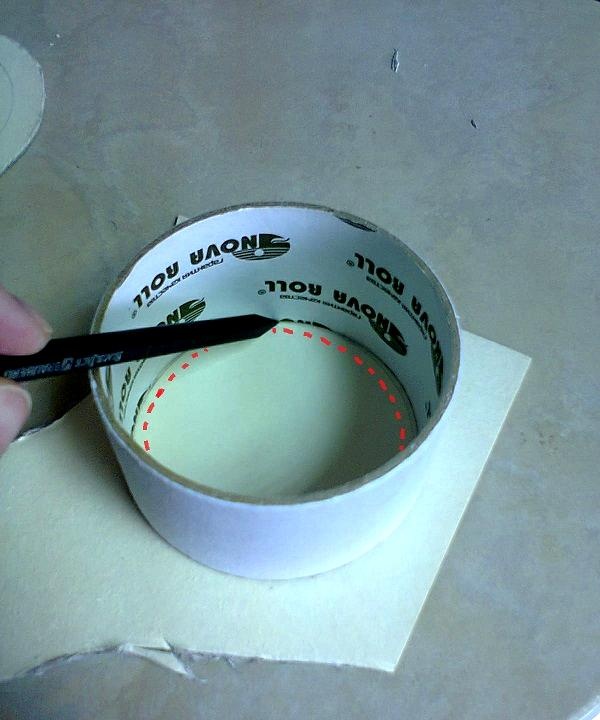
Now we outline the inner diameter to make a circle, which will later be glued to the bottom of the lid. It is needed to ensure that the lid does not slip off the box. And since we will then coat the entire product with plaster, increasing the thickness of the walls, this circle needs to be reduced so that the lid fits freely on the box.The red dotted line shows approximately how much you need to reduce the circumference and cut out the finished part.
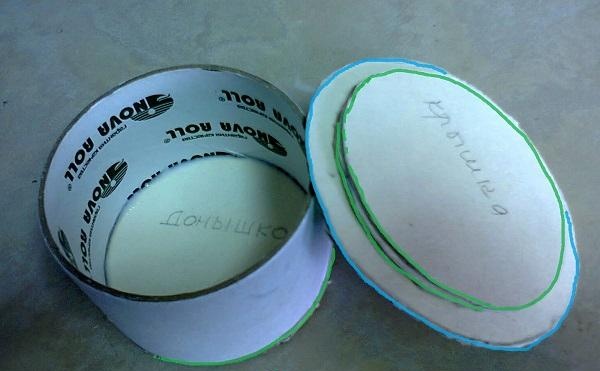
All that remains is to work with glue to get the base for the box. In the picture, three identical circles are marked in green, which we received when we traced the outer diameter of the reel - one for the bottom, the other two for the top of the lid. The blue circle is the one we made when we enlarged the outer diameter of the bobbin to make the base for the lid. In red is a circle that we made by first circling the inner diameter of the reel and then reducing it.
Glue the bottom.
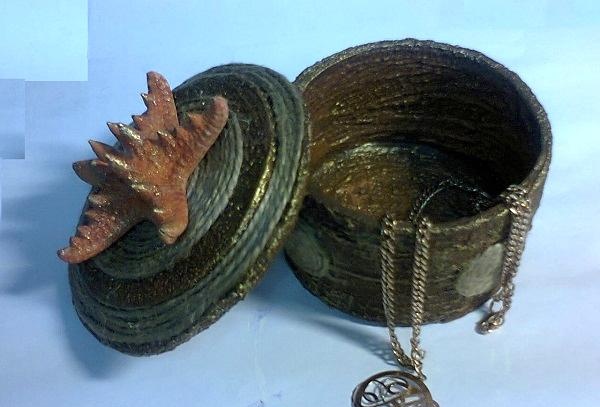
The base for the box is ready. The lid is also glued together - two identical circles are glued on top of the base of the lid one on one for thickness. In the pictures the lid is visible from above and below. In the graphic editor, I showed in color where each circle was pasted.

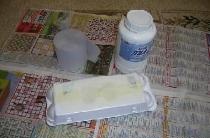
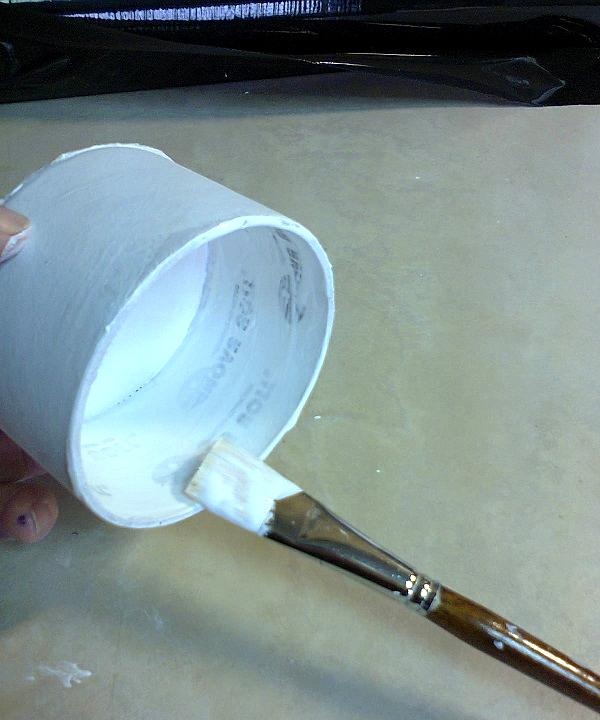
We coat the base with a special primer containing quartz sand. In this example, the soil is water-soluble, does not smell, and dries quickly. Typically, such soil is sold in special construction stores. They cover walls before applying decorative textured plasters (putties) for better adhesion (adhesion to the surface).
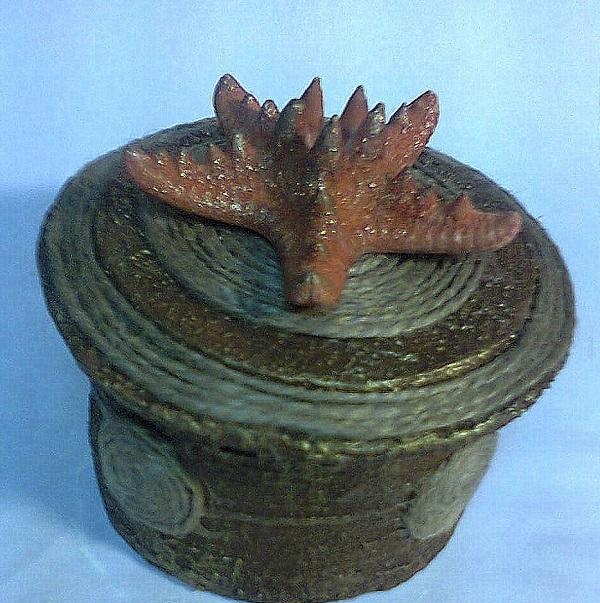
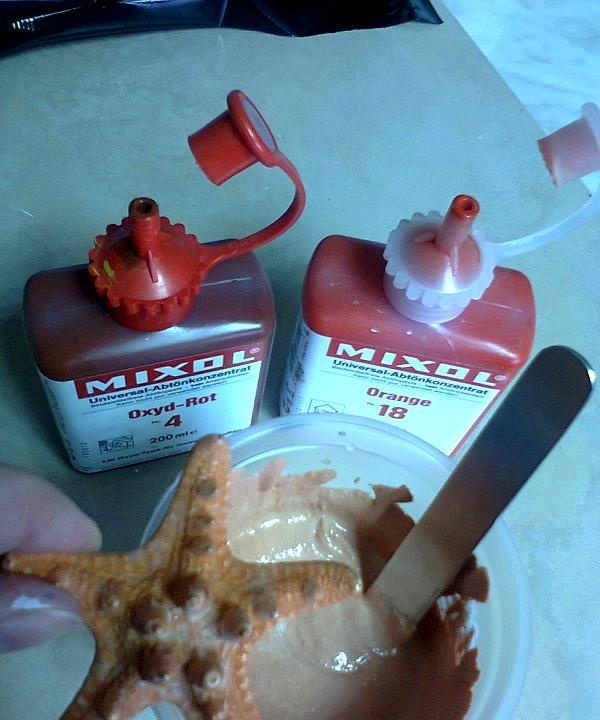
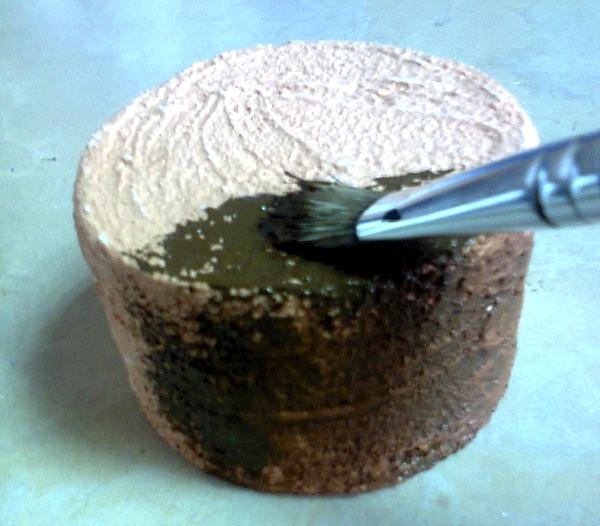
After the soil has dried, decorative plaster can be applied. It usually has the consistency of thick sour cream containing fillers that dry to an uneven, rocky texture. Plaster can be colored by adding special colored tinting pastes, which are sold in hardware stores, or regular acrylic paints. Color pigments from the German brand MIXOL are used in the pictures. The shade was chosen to match the color of the starfish, since that was the original color of the box that was planned.
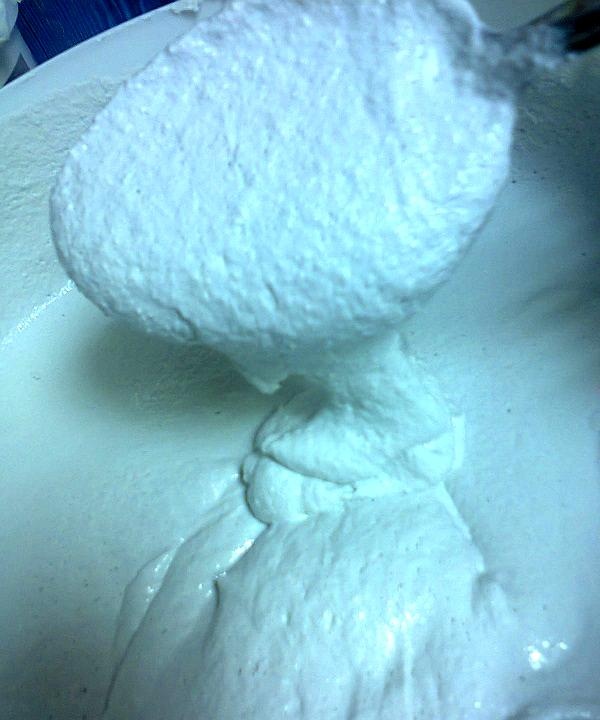
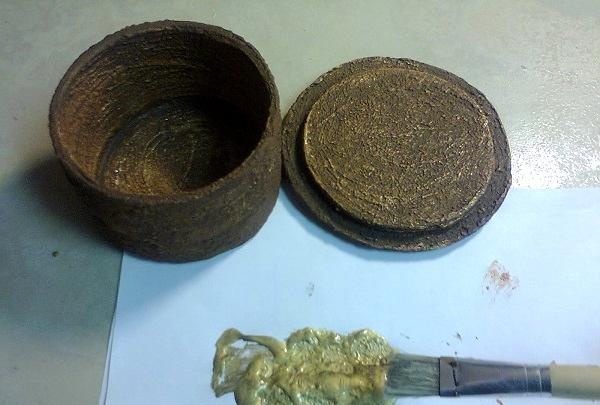
The plaster is applied with a brush, sequentially, with intermediate drying. First we cover the inside and edges. Then, when dry, apply the mixture to the outer surface and leave to dry upside down. We do the same with the lid - first we process one side, then dry it, then the other.
After the plaster has completely dried, it depends on the temperature and humidity in the room - from 3.5 - 4 hours or more, the product must be sanded with sandpaper.
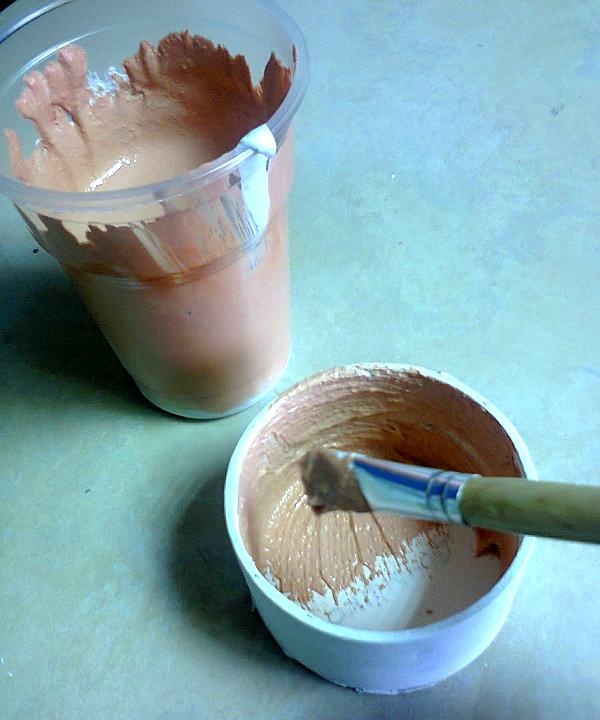
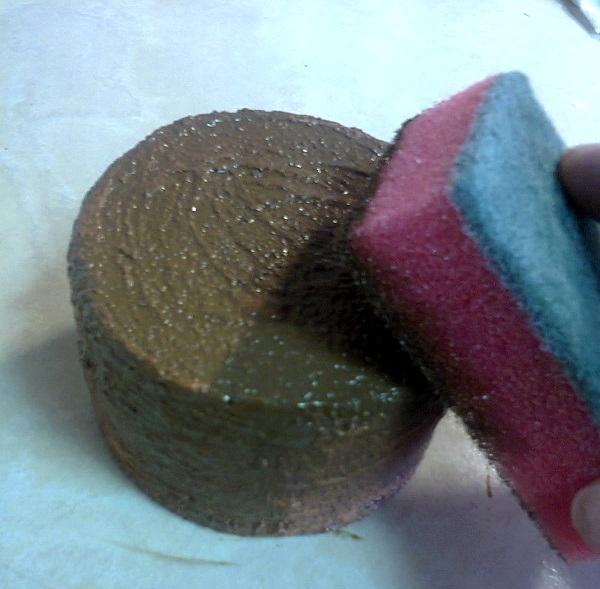
During the process, it became clear that we needed to add some other shade, to complicate the color of the box. Therefore, color pigments of the same brand were used as before - MIXOL No. 22, this is a brown pigment. It has been added to a clear, semi-gloss waterborne paint that dries to a waterproof film. Construction stores usually sell similar glazing compounds based on acrylic dispersions.
Thanks to the glazing composition, which is applied with a brush, the pigment is evenly distributed over the surface. Grouting with a sponge should be done almost immediately so that the relief is lighter than the deeper layers of texture.
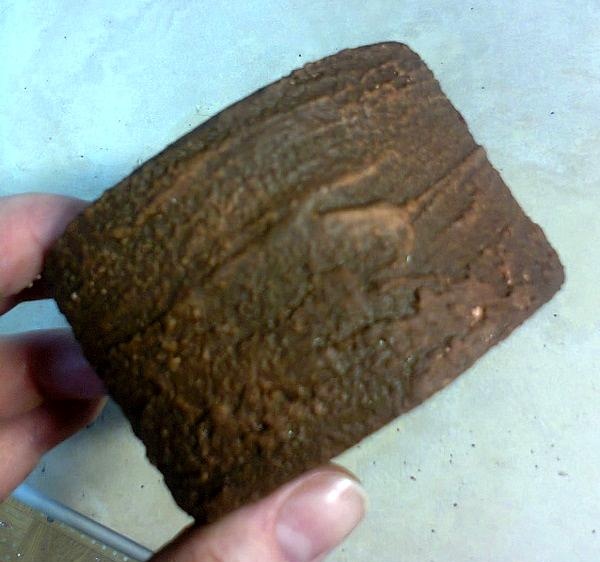
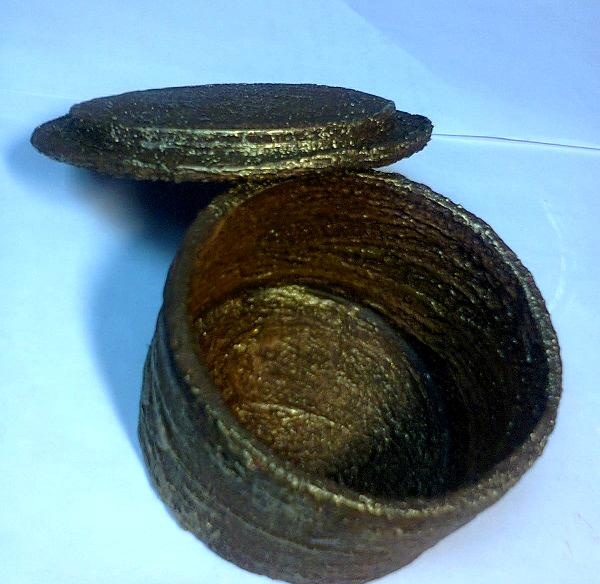
The next stage is patination. Any gold, water-soluble paint is suitable for these purposes; you can take acrylic paint - one of the many gold shades. The picture uses acrylic varnish with the addition of metallized pigment paste. Using a dry brush, pick up paint, rub it on paper, then apply light, multidirectional movements along the very top of the relief. We do not paint heavily or deeply; we remove excess paint from the brush.The result should be an effect as if we were looking at an old, uneven surface, darkened with time, but shiny in places.
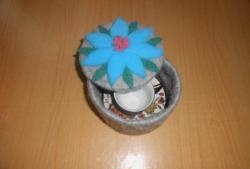
Here's what happened:
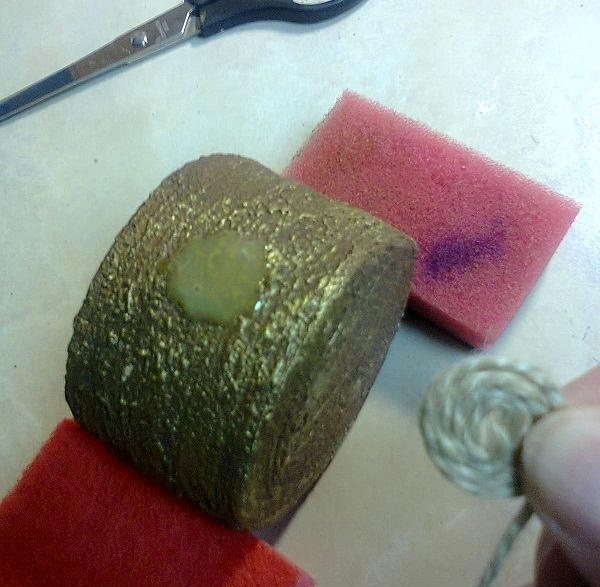
We could probably stop there. If you still have the desire and creative drive, we continue to decorate. For the next stage you will need some part, for example, a dried starfish, twine, super glue.
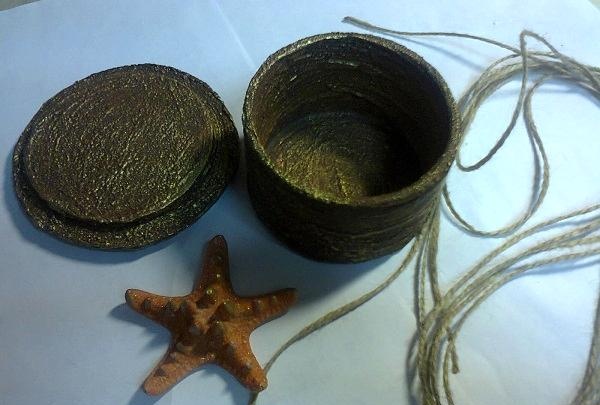
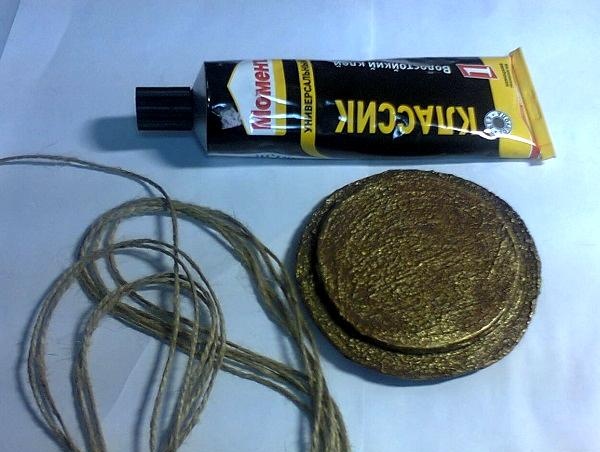
Decoration elements are invented on the fly. While the glue thickens a little, roll up the twine, cut off what is unnecessary and press it to the surface.
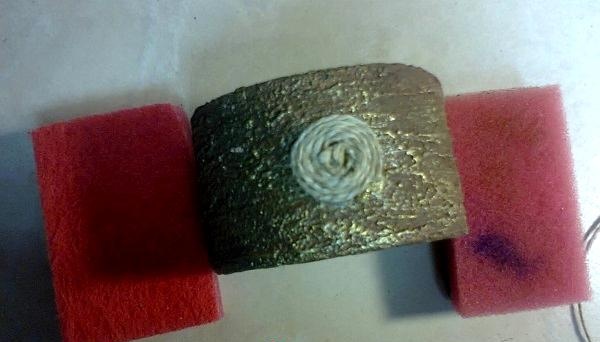
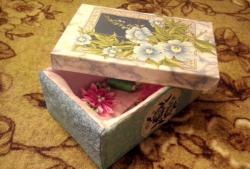
Ready product: