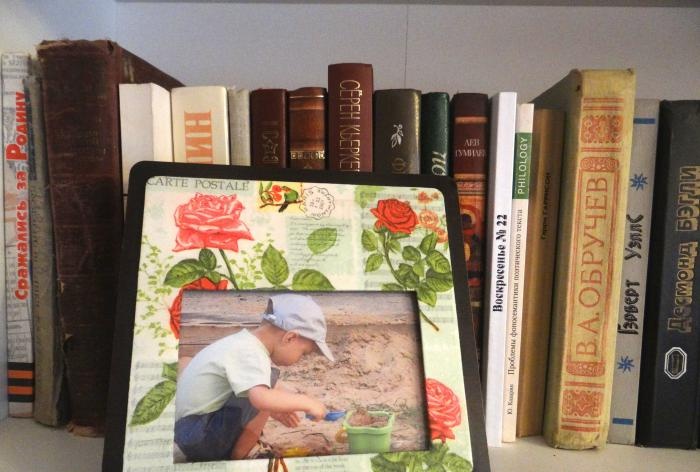
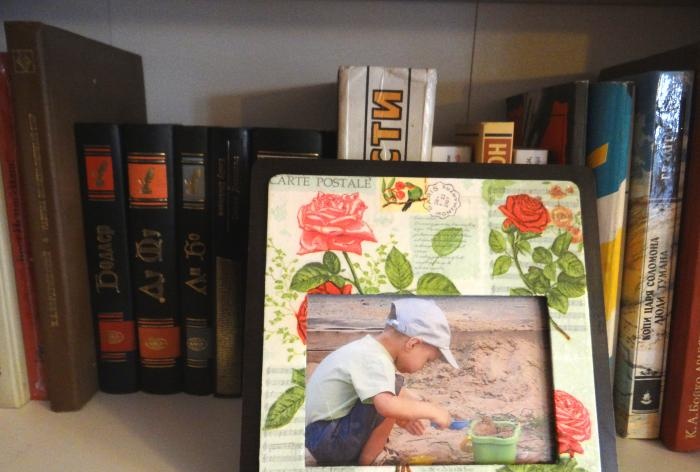
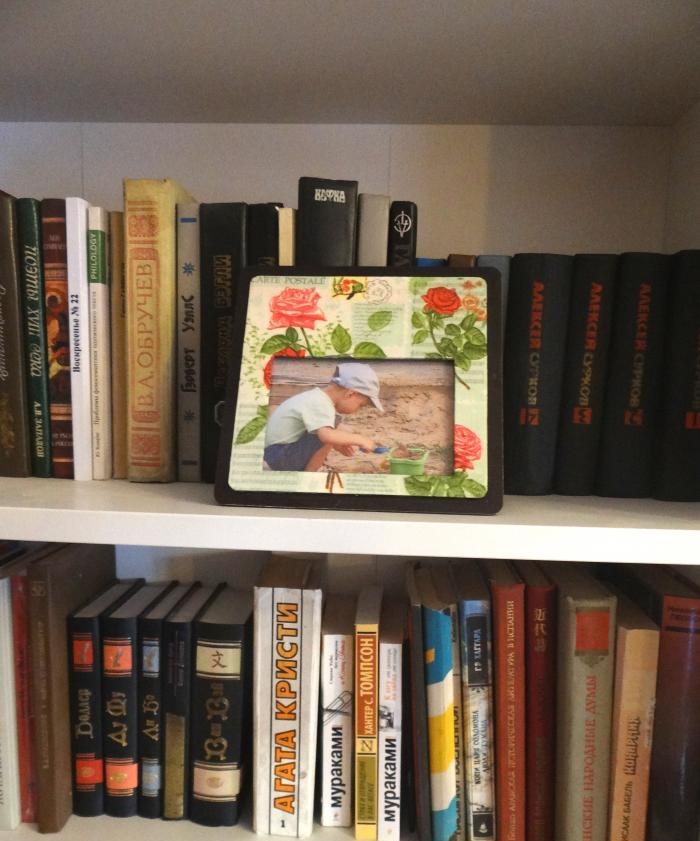
An ideal gift for both women and men is a photo frame depicting a pleasant moment in life or a loved one. We'll tell you how to decorate a frame using the "decoupage».
What kind of technology is this?
Decoupage is gaining increasing popularity among the fair sex. It requires the same care as embroidery, but colorful results can be obtained much faster.
Modern serving napkins are sometimes printed with prints that can compete with painted fabrics. It is not difficult to implant an image from a napkin and discreetly stick it on any surface. You can take individual motifs or a fragment of the entire napkin. More details in this master class.
Tools and materials
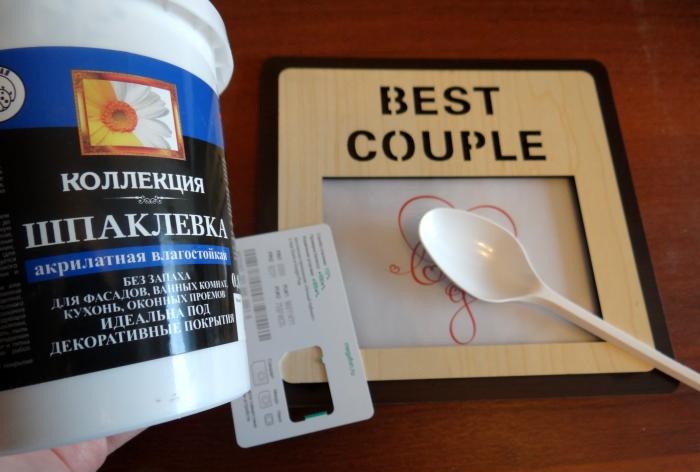
For decoupage, first of all you need to choose a suitable napkin or decoupage card.In addition to the base (photo frame) and picture, prepare:
- White acrylic paint (construction or for design work);
- Dishwashing sponge and clothespin;
- Sandpaper;
- Putty or structural paste;
- Plastic card and plastic spoon;
- Acrylic varnish in a bottle;
- White paper.
Beginning of work
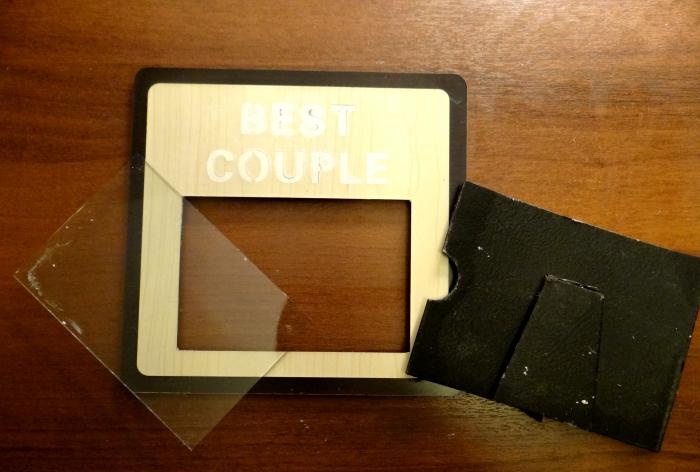
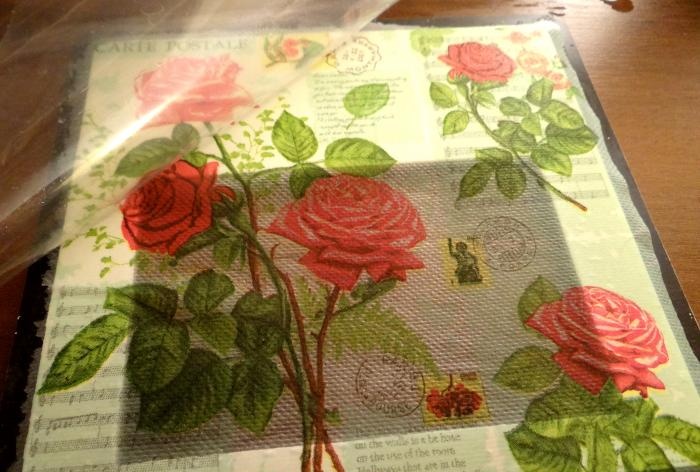
A photo frame with a cut-out inscription “Best Couple” was purchased at the Fix Price store. Decor, to be honest, a little skimpy. Let's liven it up with a napkin with a floral note print.

First, let's take decorative putty or structural paste. You will need a plastic spoon to take the required amount of material and place it on the frame. We will use a plastic card as a spatula, applying pressure, we coat the letters with paste so that all of them (cut with a stencil) are filled with putty. Let the frame dry very well. Apply the cracks that form when the paste dries again with putty.
Of course, it is best to disassemble the frame so that water or paint does not get on the glass.
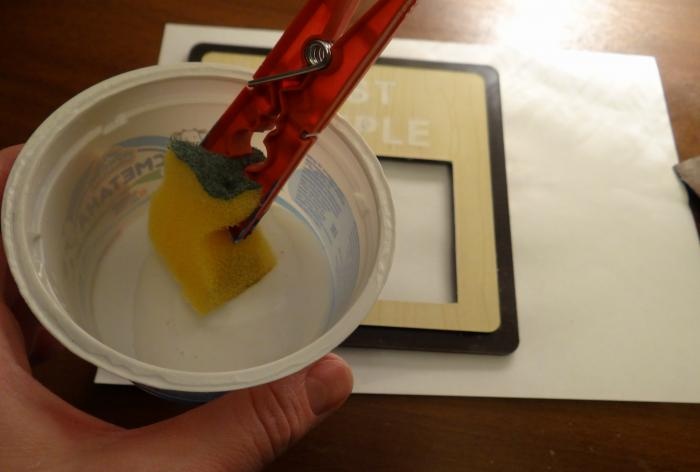
After the letters are completely dry, sand them with sandpaper until they are even.

Using a sponge attached to an ordinary clothespin, apply acrylic paint (movements from top to bottom, soft, as if blotting the surface).
The paint must be applied successively in two layers, and then sanded with sandpaper so that the surface becomes perfectly smooth. If some unevenness cannot be removed, I recommend covering it with the same putty and letting it dry (dries very quickly).
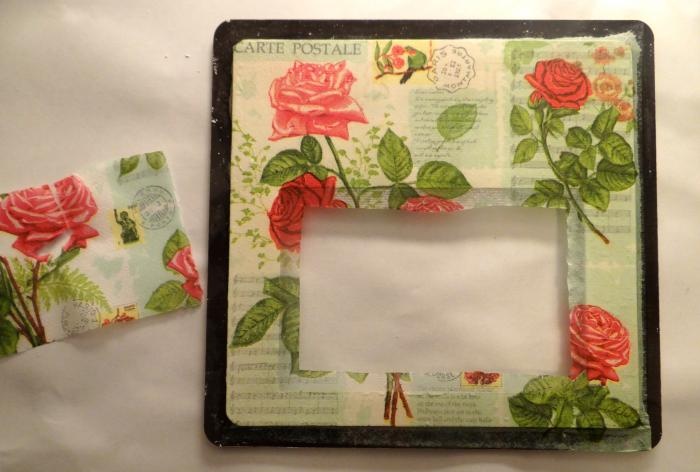
So, the surface is prepared. Let's start decoupage using a file.
Decoupage with file
We tear out the motif from the napkin. In this case, one fourth is useful.
Place the drawing face down on a clean, dry stationery file.It is advisable that the file be dense, it will be more convenient to work with. Drip water from the brush onto the napkin until all the paper is in the water, like in a puddle.
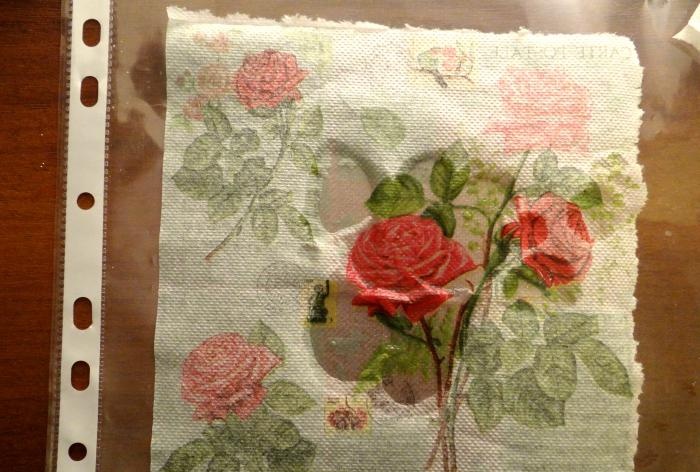
After this, use a soft brush to remove all air bubbles from under the delicate napkin. The drawing will be spread out on the file, drain the excess water onto a towel.
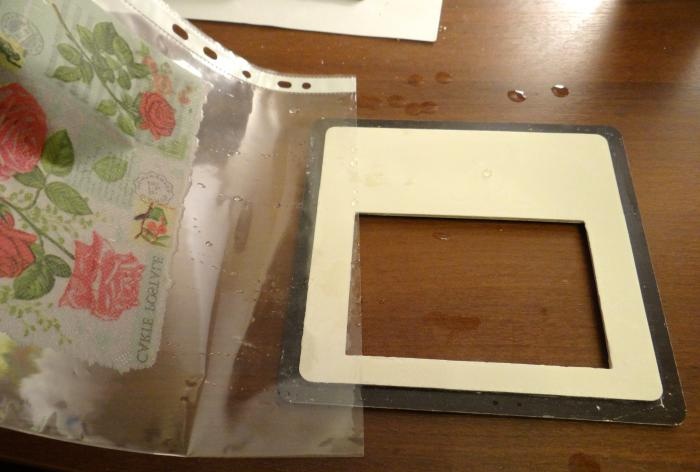
Carefully aligning the edges, place the file with the napkin on the prepared surface of the photo frame. Smooth out.
Carefully remove the file so that the design remains on the frame. It is currently attached only to the water.
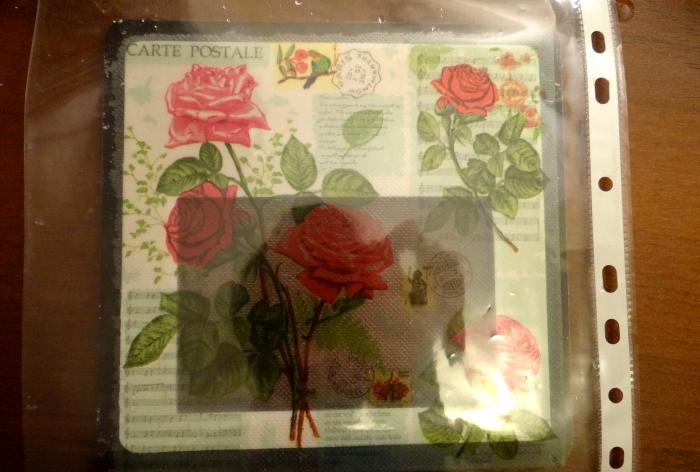
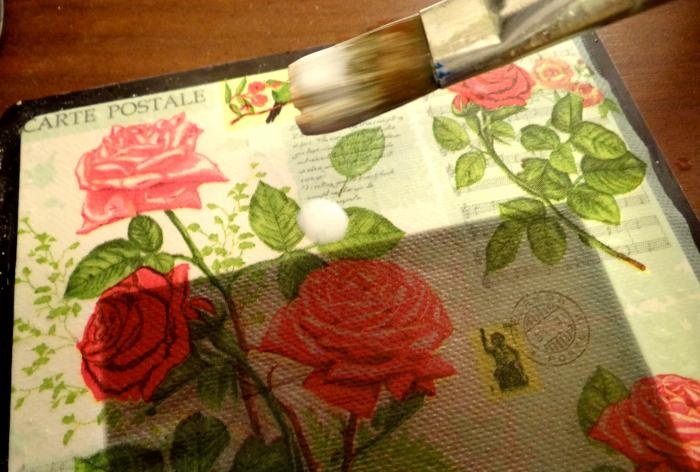
Using the same soft flat brush, coat the top of the design with PVA glue. The napkin is thin, and the glue penetrates through it, securely holding the surfaces together. If necessary, during the gluing process, correct minor irregularities and creases by carefully moving the napkin to the desired place. Your movements must be extremely delicate.
To ensure that the napkin stays in place and is not damaged when it dries, I recommend making a cut in the middle of the “extra” part (where the photograph will be).
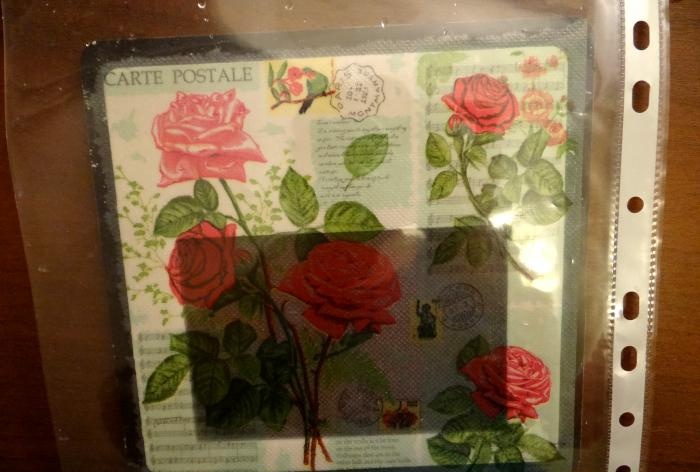
Attention! You should absolutely not dry this work with a hairdryer! When exposed to warm air masses, the motif may move, and it will no longer be possible to align it; you will have to start work all over again.
After the frame dries (you can leave it overnight), the middle part will stretch like a drum.
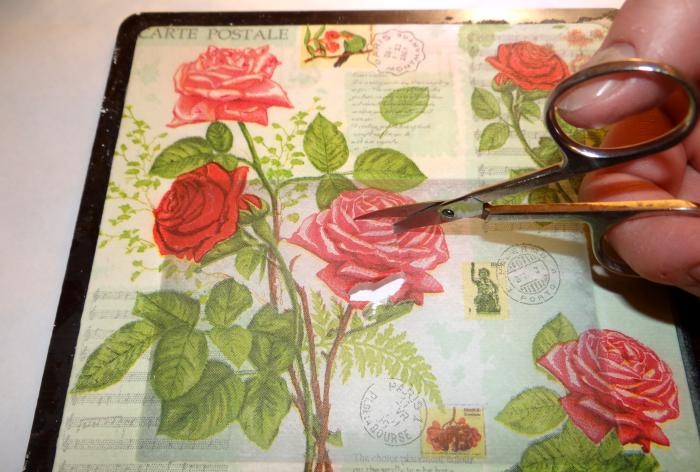
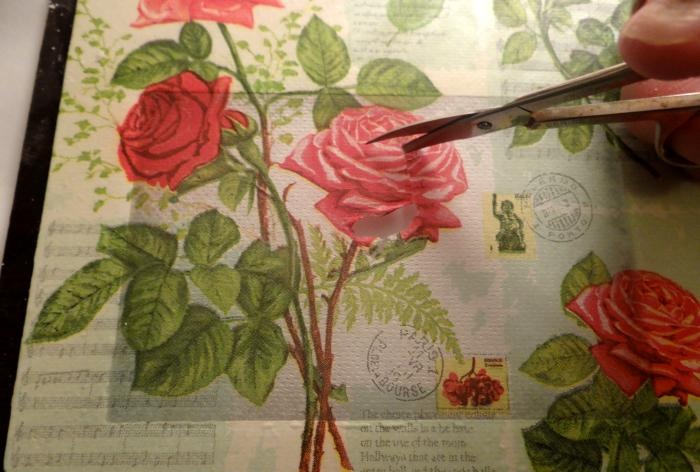
Now you can safely cut it out with a hem allowance of about 0.5 cm on each side.
Carefully fold the napkin onto the wrong side of the work, gluing it onto PVA. Let dry.
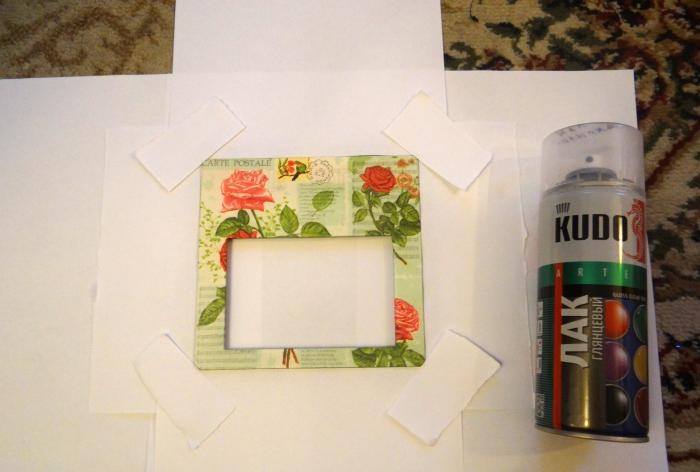
Place the photo frame on paper or newspaper, and close the brown edges as well. Apply a layer of acrylic varnish on top to protect the picture. Let the varnish dry (up to half an hour) and coat the work with varnish one more time.
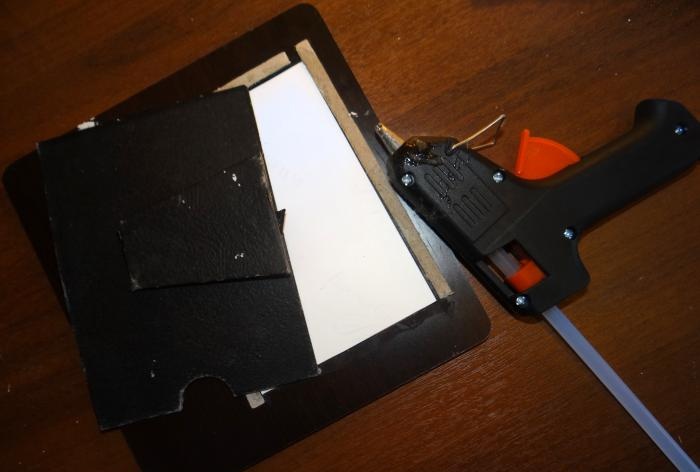
It's time to assemble: put the glass in place, select and place a suitable photo inside the frame, glue the back wall with a glue gun.
A wonderful gift or interior item is ready!