Do it yourself
Life hacks, master classes, useful tips, recipes.
Sometimes you really want to beautifully frame a photo or painting around the edges, but it’s not always possible to buy a ready-made frame. Often such a thing costs much more than its appearance and does not always correspond to your desires. I propose to solve this problem with the help of needlework. To make this flower frame in the shape of a heart, I needed the following materials:
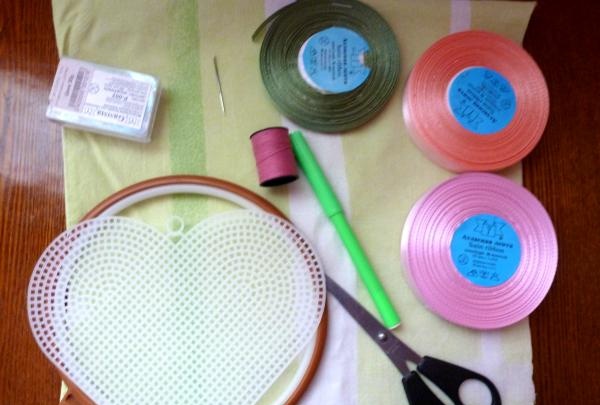
satin ribbons 0.6 and 12 mm;
needle with a wide eye;
textile;
hoop;
regular thread to match the ribbons;
scissors.

satin ribbons


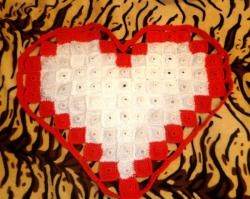
First of all, using a plastic blank (you can do it by hand) we mark the outline of the future heart.

mark the outline of the future heart


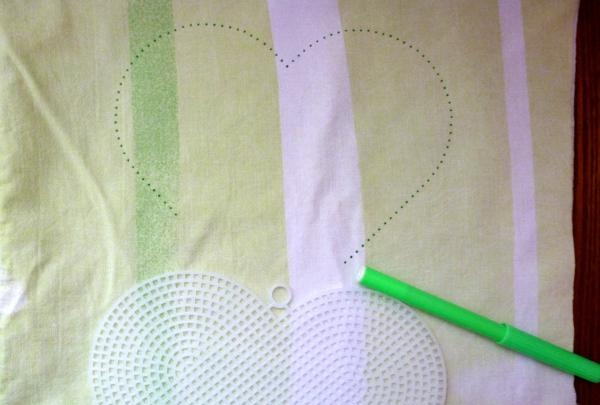
On mine, I decided to use two types of flowers, so I designated them with two types of designs.

two types of drawings


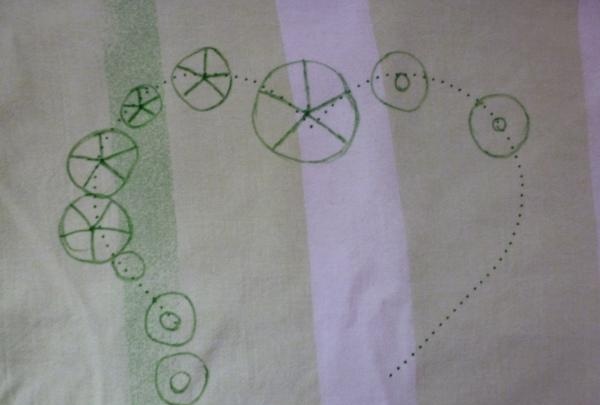
I apologize for the unevenness; I am, of course, not an important artist). I decided to start with spider web roses. To embroider them, you need to make five stitches from the edge to the center with a simple thread in the form of a cobweb.

make five stitches


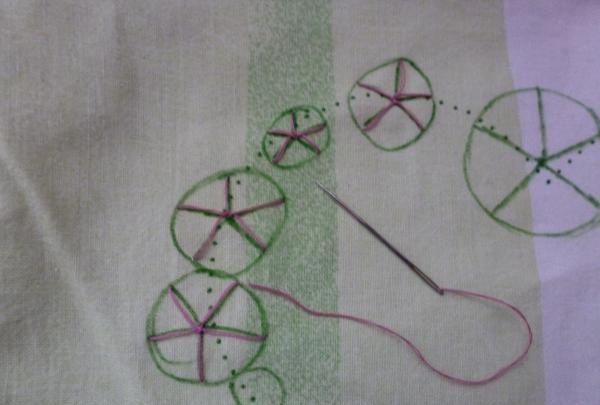
Now let's move on to the ribbons. From the center of the first web we draw a ribbon.

Autinki display the tape


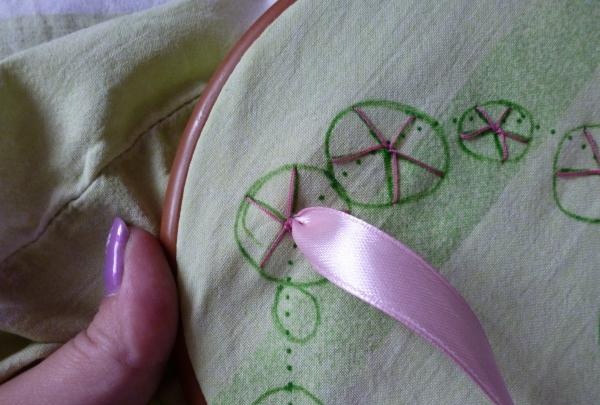
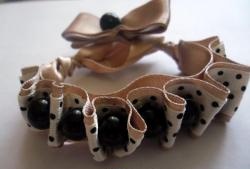
Now we begin to weave the thread with ribbon. To do this, we pass the ribbon over the first stitch, then under the second.

pass the ribbon over the first stitch


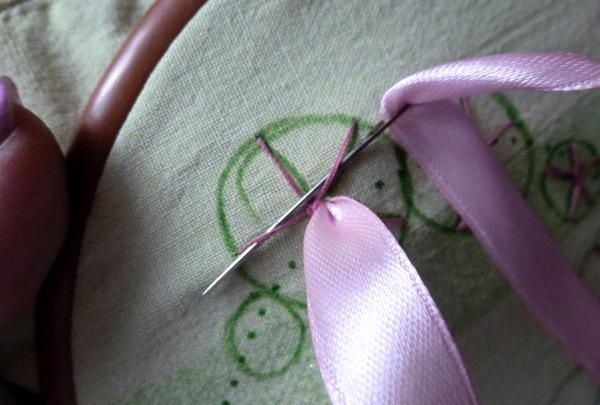
Gradually the first and second stitches will change places.

stitches will change places


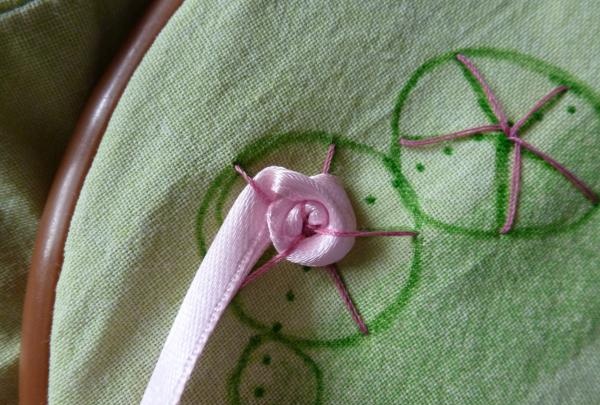
We continue this until the rosette reaches the desired size.

will get the right size


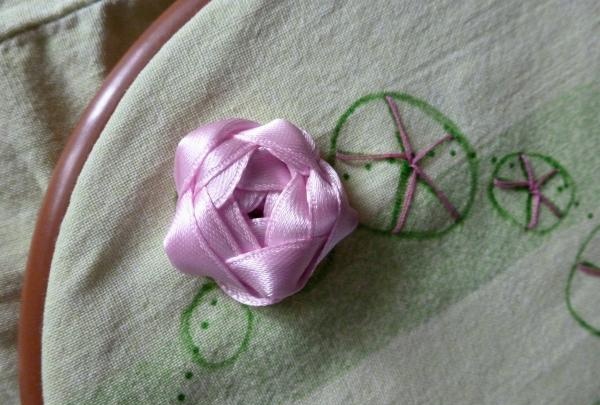
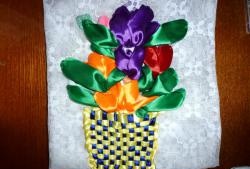
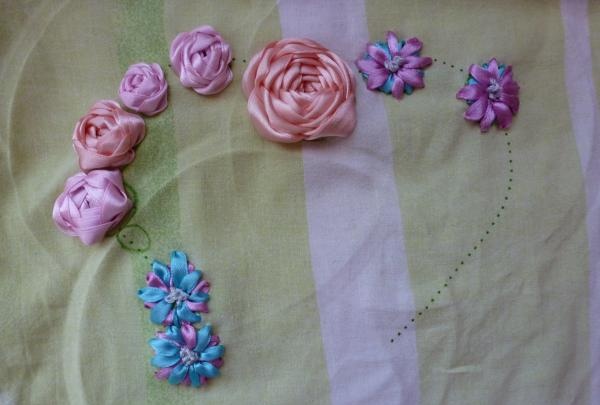
It is not at all necessary to make all the flowers with one ribbon. I decided to make the rest of the roses with a ribbon of a different color.

use a different color ribbon


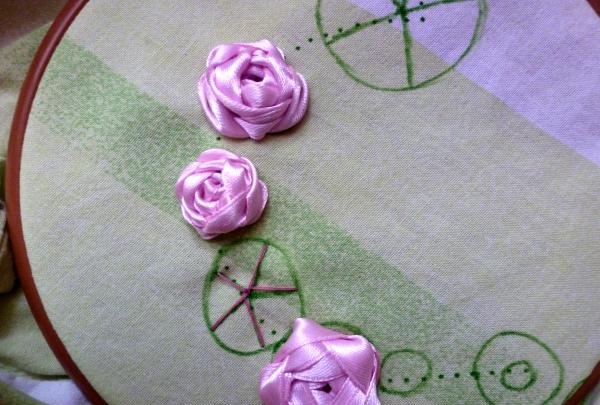
Using the same technology, we continue to make as many roses as planned.

we continue to make so many roses


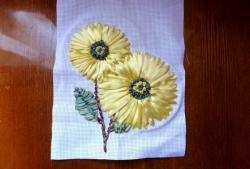
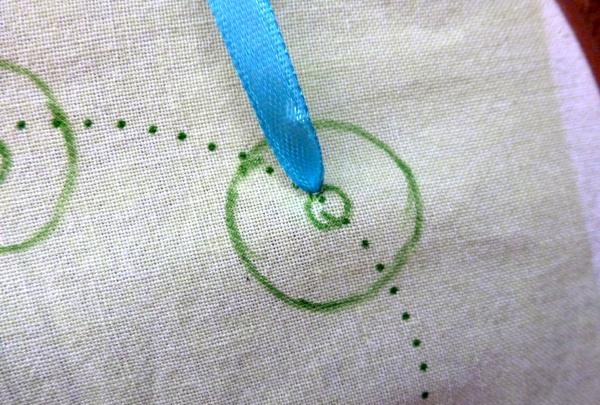
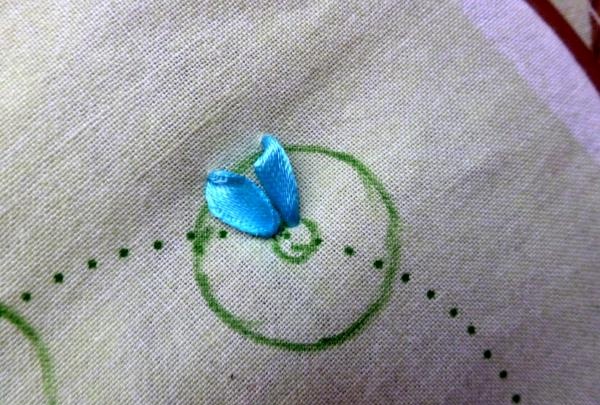
Now you can do the rest of the flowers. To do this, draw a narrow ribbon from the line of the inner circle, and end the stitch slightly behind the line of the outer circle.

a narrow ribbon from the line of the inner circle


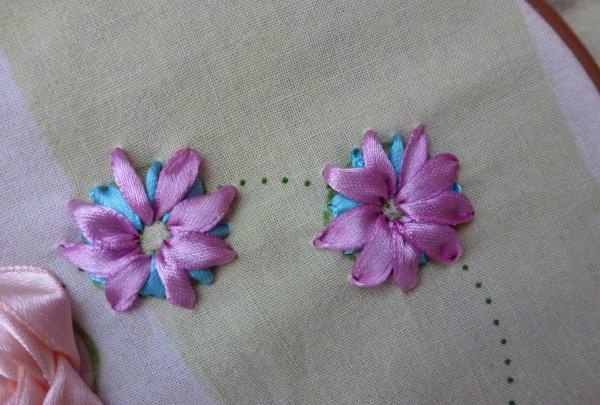
So that such a flower would not lose its beauty against the background of roses, I decided to make it two-color.

finishing the stitch


To fill the centers of these “daisies” I used the French knot ribbon embroidery technique. At the intermediate stage, the work looks something like this.

make it two-tone

french knot


It's time to green up our meadow a little. Using a narrow green ribbon and regular sewing stitches we create leaves and stems.

ribbon embroidery technique


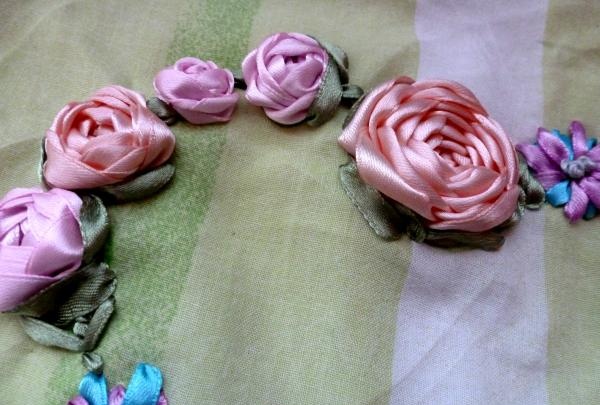
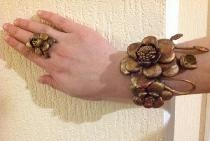
It is important not just to randomly sew stitches in green, but to give the rosebud a finished look. This way the work will look much more real and attract the views of all guests. The work is ready.

Flower heart


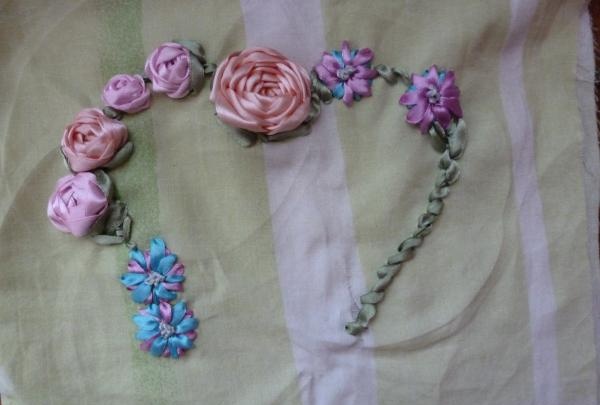
This is how, at the slightest cost, you can easily build a beautiful frame yourself.
come back
Comment
  • bowtiesmilelaughingblushsmileyrelaxed relaxedsmirk
    heart_eyeskissing_heartkissing_closed_eyesflushedrelievedsatisfiedgrin
    winkstuck_out_tongue_winking_eyestuck_out_tongue_closed_eyesgrinningkissingstuck_out_tonguesleeping
    worriedfrowninganguishedopen_mouthgrimacingconfusedhushed
    expressionlessunamusedsweat_smilesweatdisappointed_relievedwearypassive
    disappointedconfoundedfearfulcold_sweatperseverecrysob
    joyastonishedscreamtired_faceangryragetriumph
    sleepyyummasksunglassesdizzy_faceimpsmiling_imp
    neutral_faceno_mouthinnocent
4 minus one =
Comments (0)

Home Salad | Do it yourself

8 useful ideas and life hacks

Spicy cured mackerel “Murmansk salo”

A simple do-it-yourself stand for a drill with a drive based on a chain and timing sprocket

«Do it yourself - with your own hands» - a site of interesting homemade products made from scrap materials and items at home. Step-by-step master classes with photos and descriptions, technologies, life hacks - everything a real master or just a craftsman needs for needlework. Crafts of any complexity, a large selection of directions and ideas for creativity.

We recommend reading

Washing machine error codes