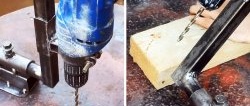
It is almost impossible to drill with a drill at a strictly right angle simply by holding it in your hands. If you need to make precise holes, then you should install it on a stand. Many brands offer similar devices, but even the most little-known of them cost almost more than the drill itself. If you are not ready to overpay, you can make a stand yourself.

What is consumed:
- Sheet steel 6-10 mm;
- pipes 32 mm, 40 mm, 50 mm;
- profile pipe 20x40 mm;
- nuts, bolts;
- compression spring;
- valve train chain;
- strip 20 mm;
- timing sprocket.
The process of making a drill stand
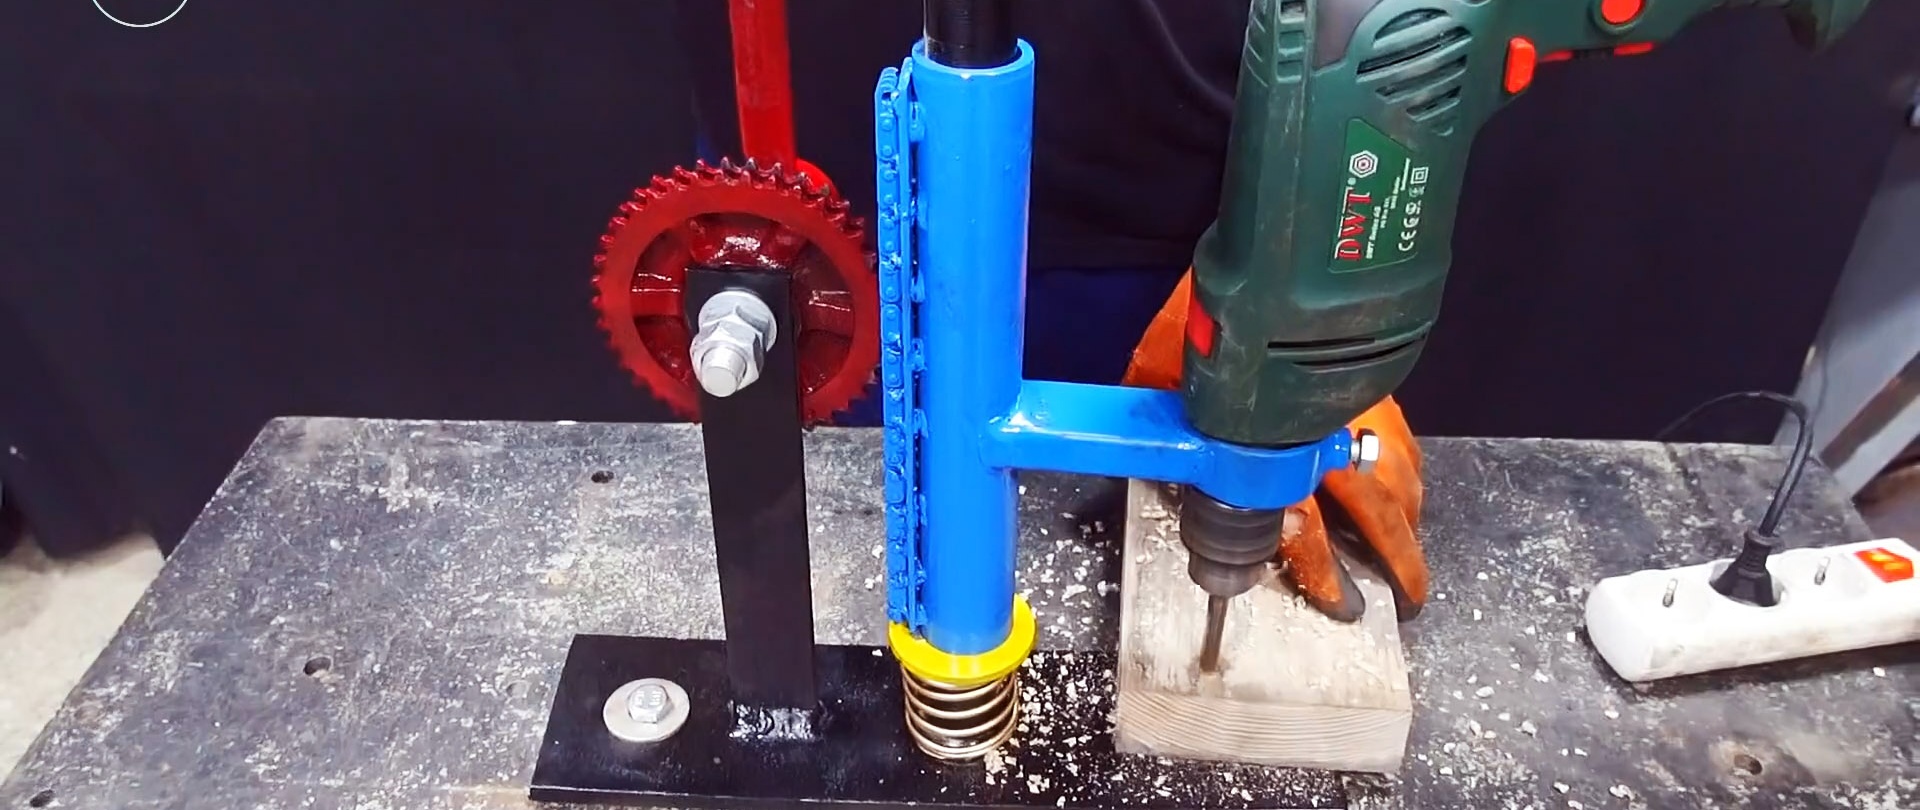
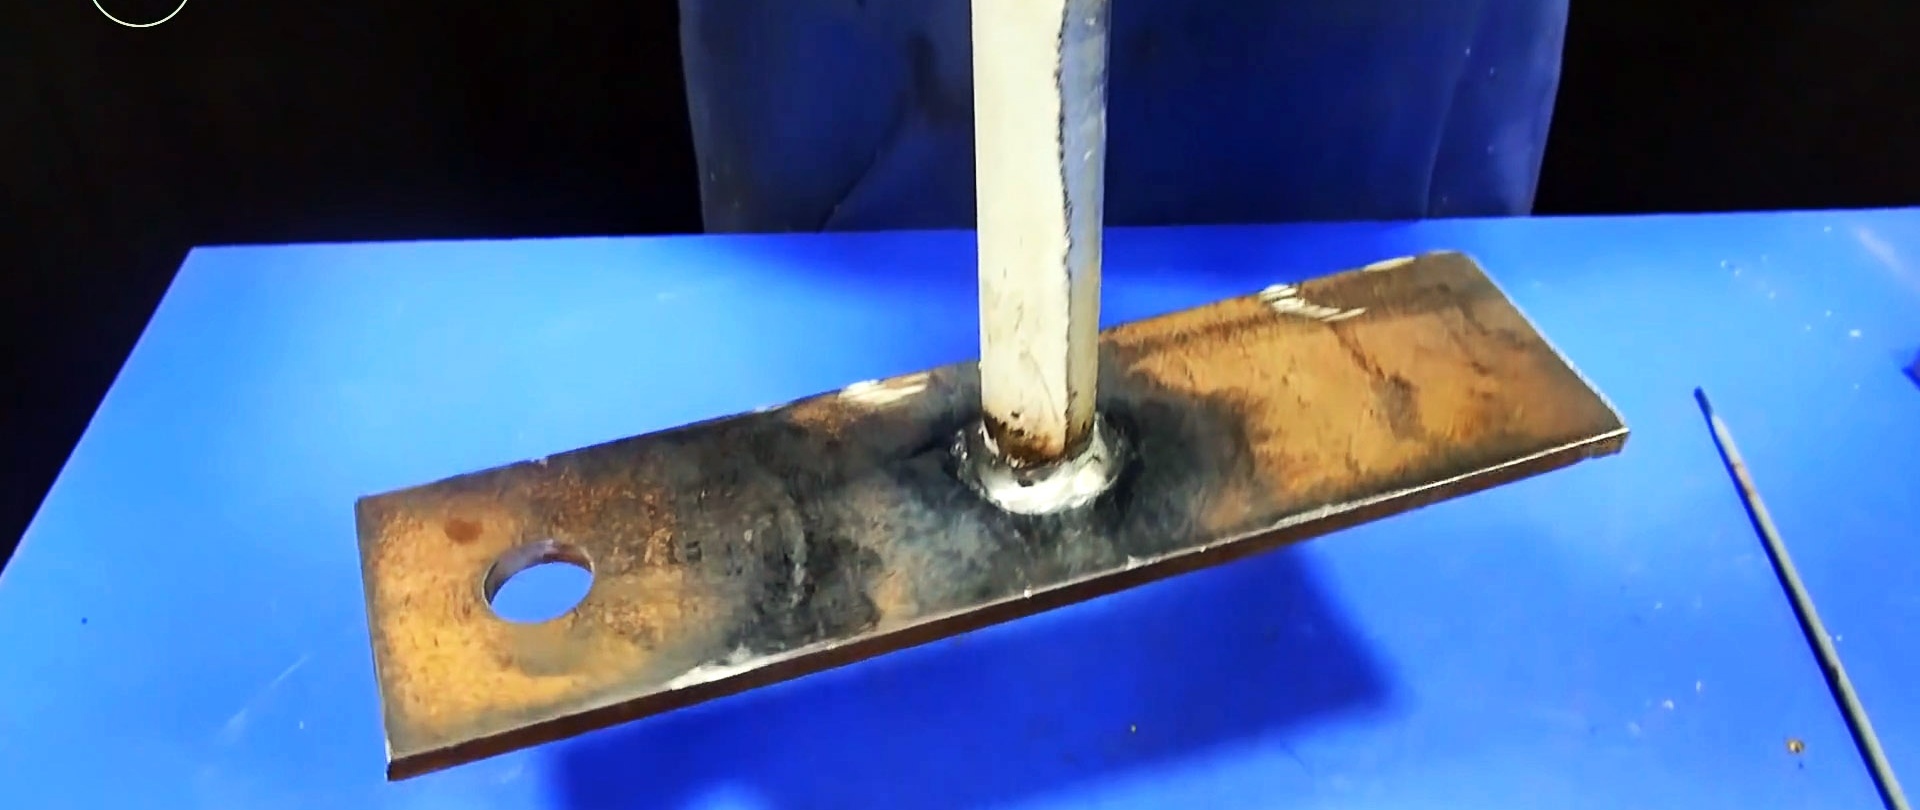
It is necessary to cut a drill sole from sheet steel. The larger it is, the more stable the device will be. A guide post made of 32 mm pipe is welded to the sole at a right angle.
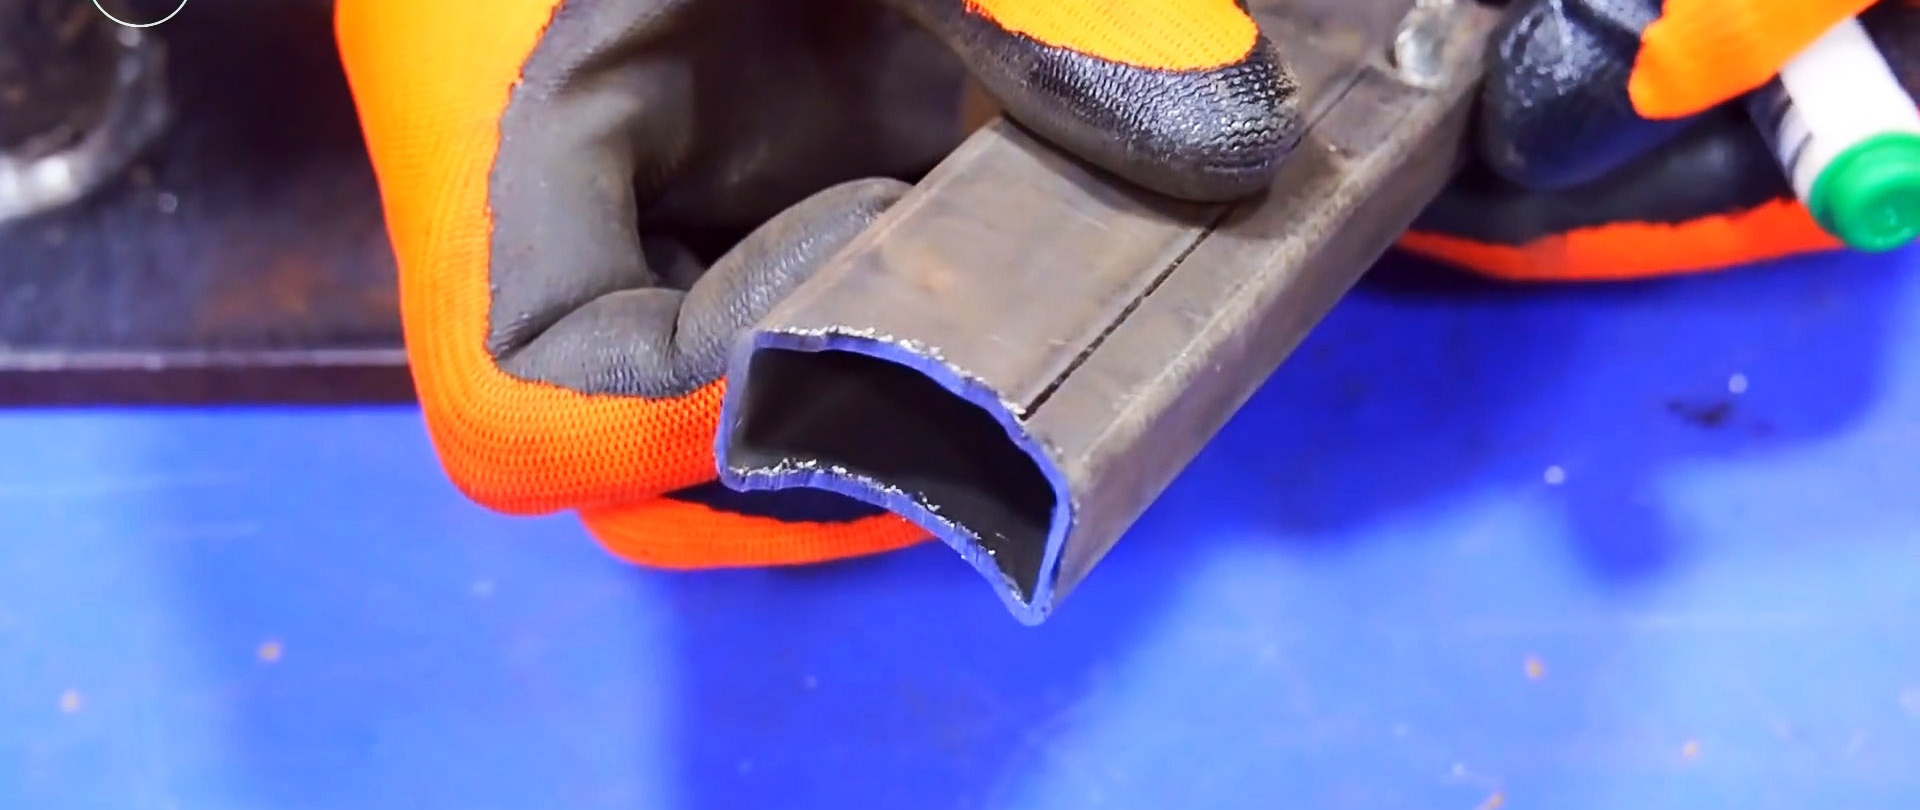
Next, a piece of pipe with a diameter of 40 mm is cut. It will slide along the guide. A section of profile pipe is welded to the center at a right angle.

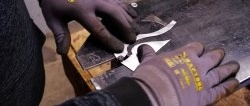
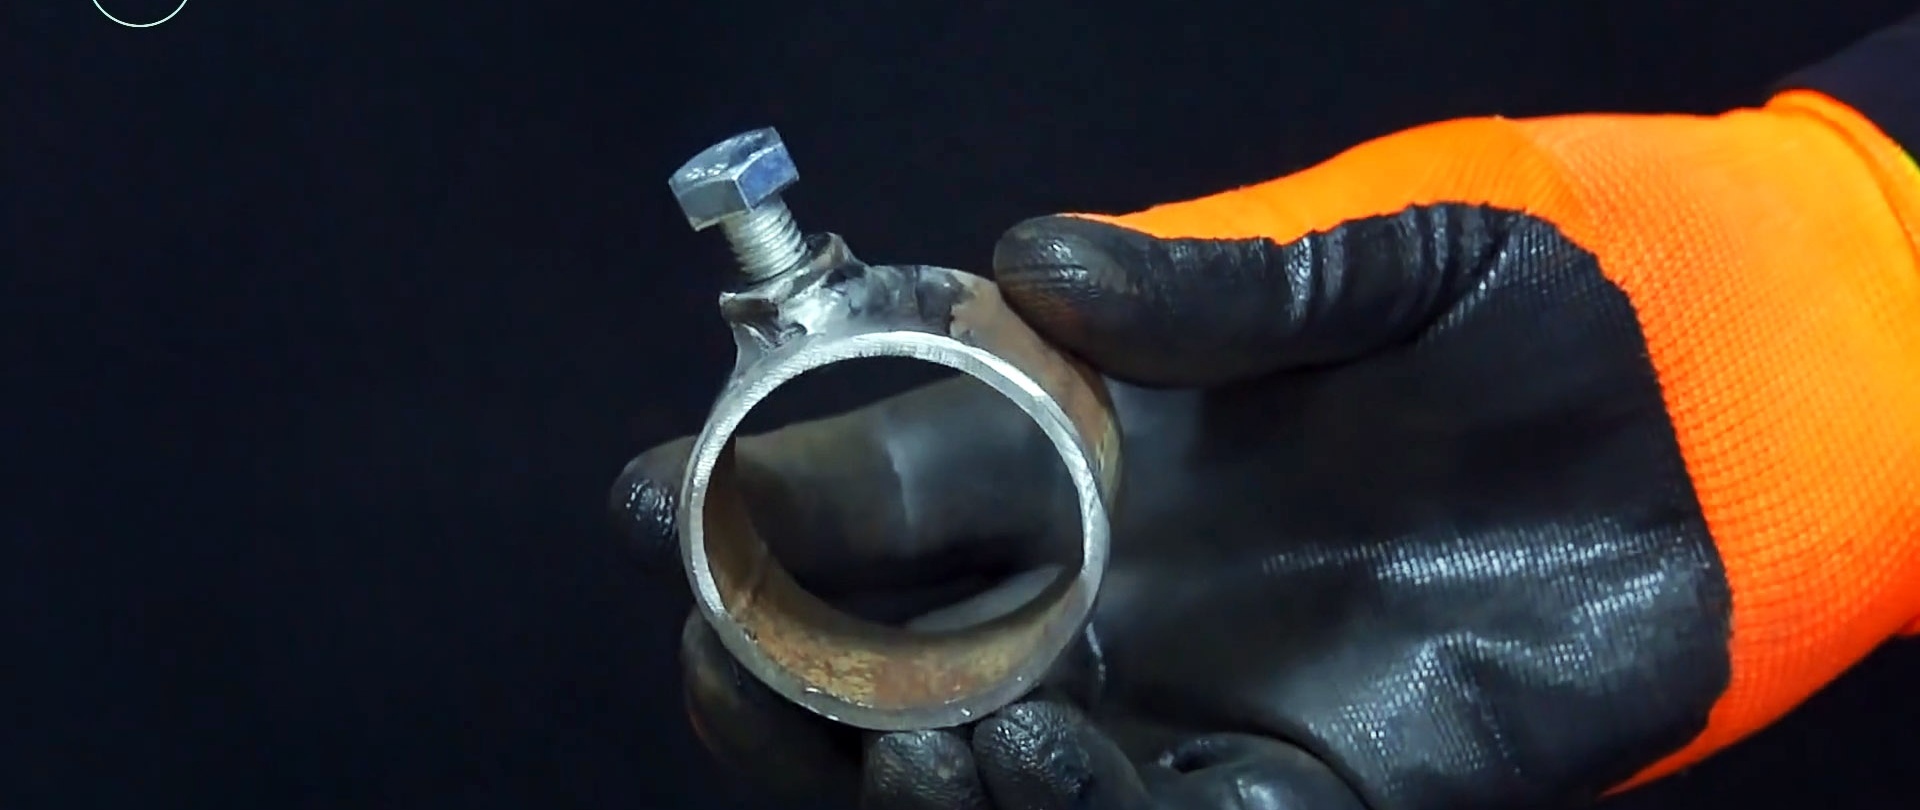
Now you need to start attaching the drill. To do this, a ring is cut from a pipe with a diameter of 50 mm.It needs to be drilled and a nut welded into the hole to tighten the M8 bolt.
The fastening is welded to a previously fixed profile pipe.

A spring is put on the stand. A washer is installed on top, which allows you to spring the tube with the drill mount.

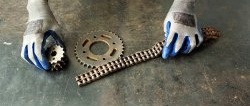
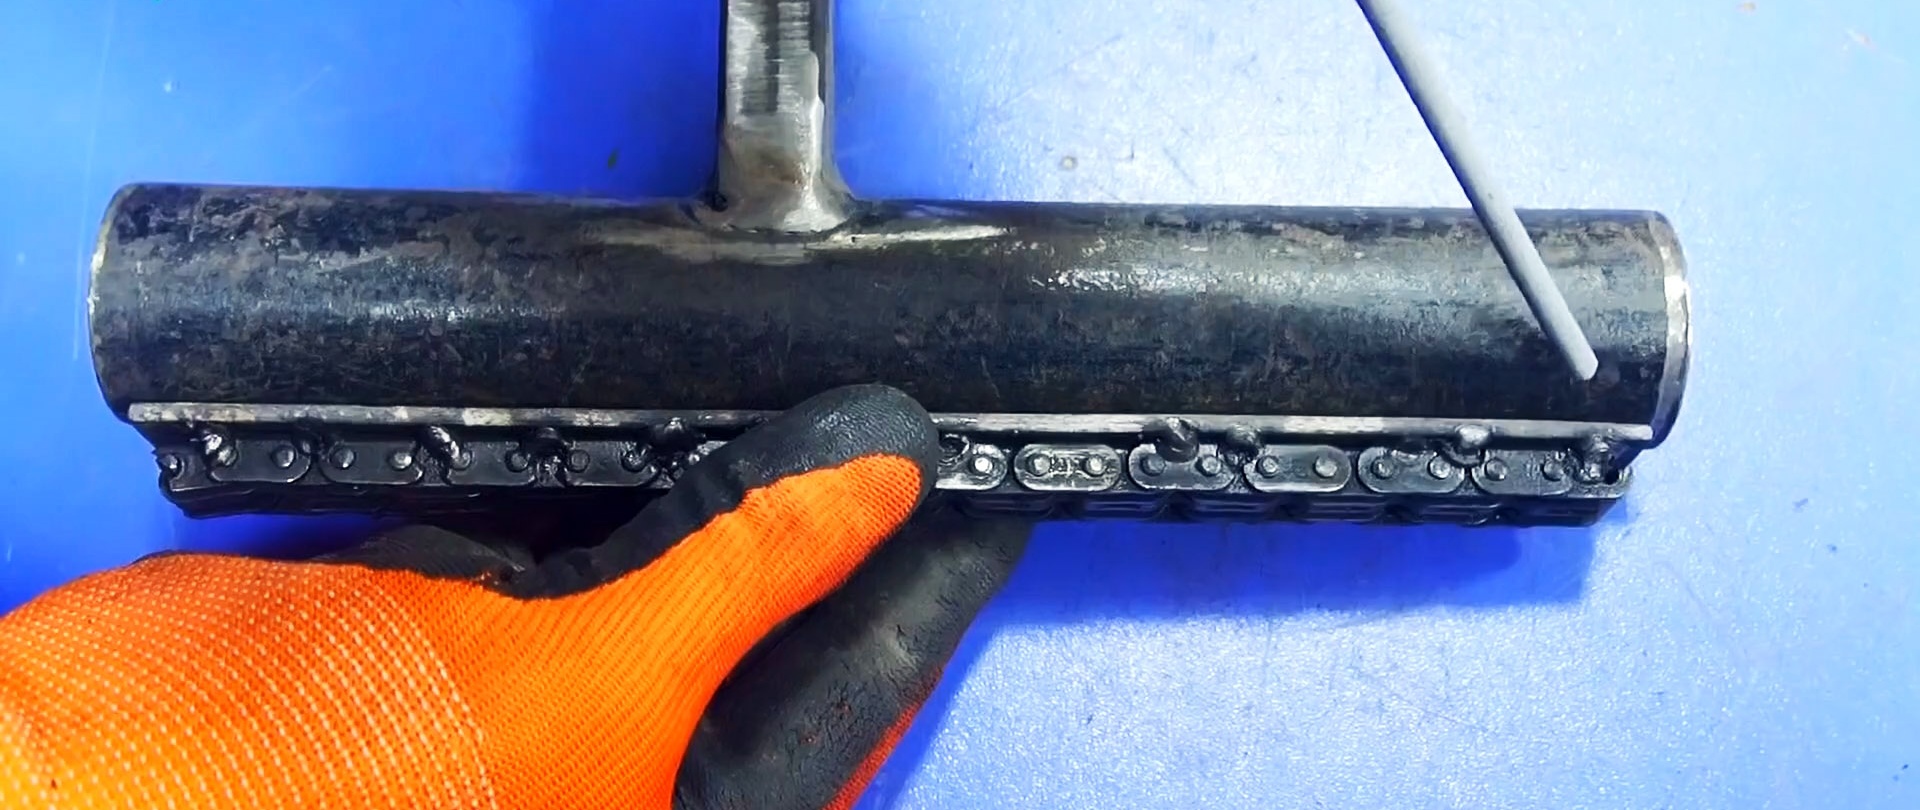
Then a timing roller chain is welded onto a section of strip corresponding to the length of the tube with fastening. The resulting part is welded onto the tube.

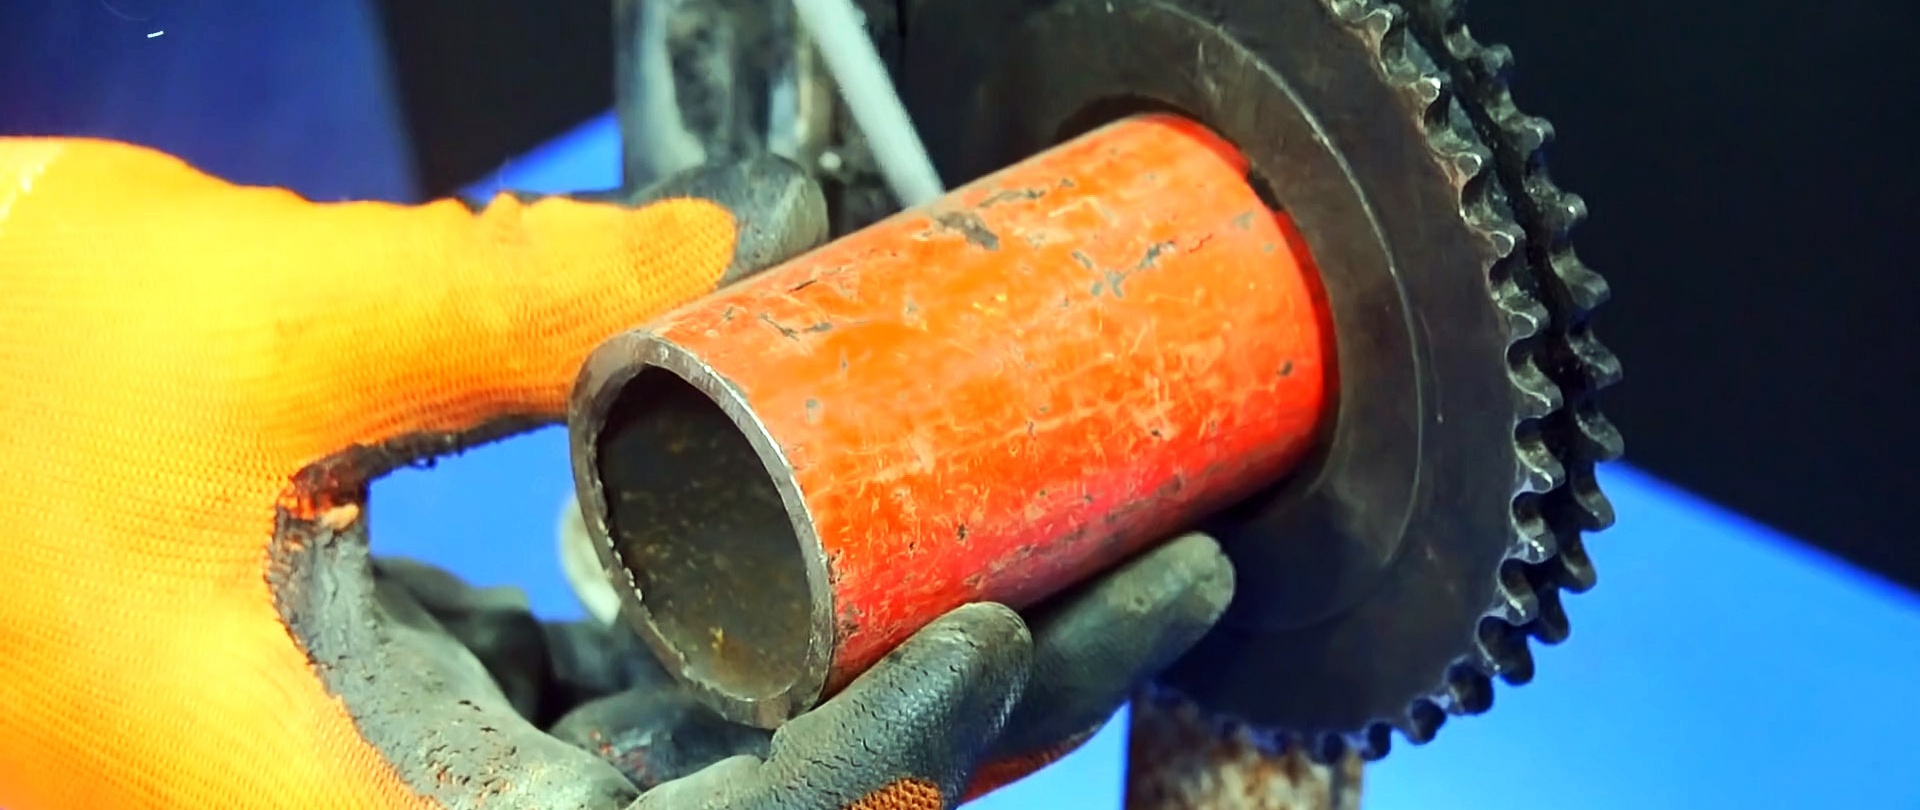
Now you need to deal with the drill control mechanism. To do this, a stand is made from a strip. It is drilled and the timing sprocket is screwed onto it. The stand is welded to the sole. It is necessary that the sprocket is located close to the chain rollers, and is approximately in the middle.


A pipe sleeve is welded to the sprocket. It is needed to weld the drill control lever.

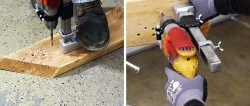
Now the drill can be installed in the mount and tightened with a bolt. To lower it, you need to push the control lever away from you.
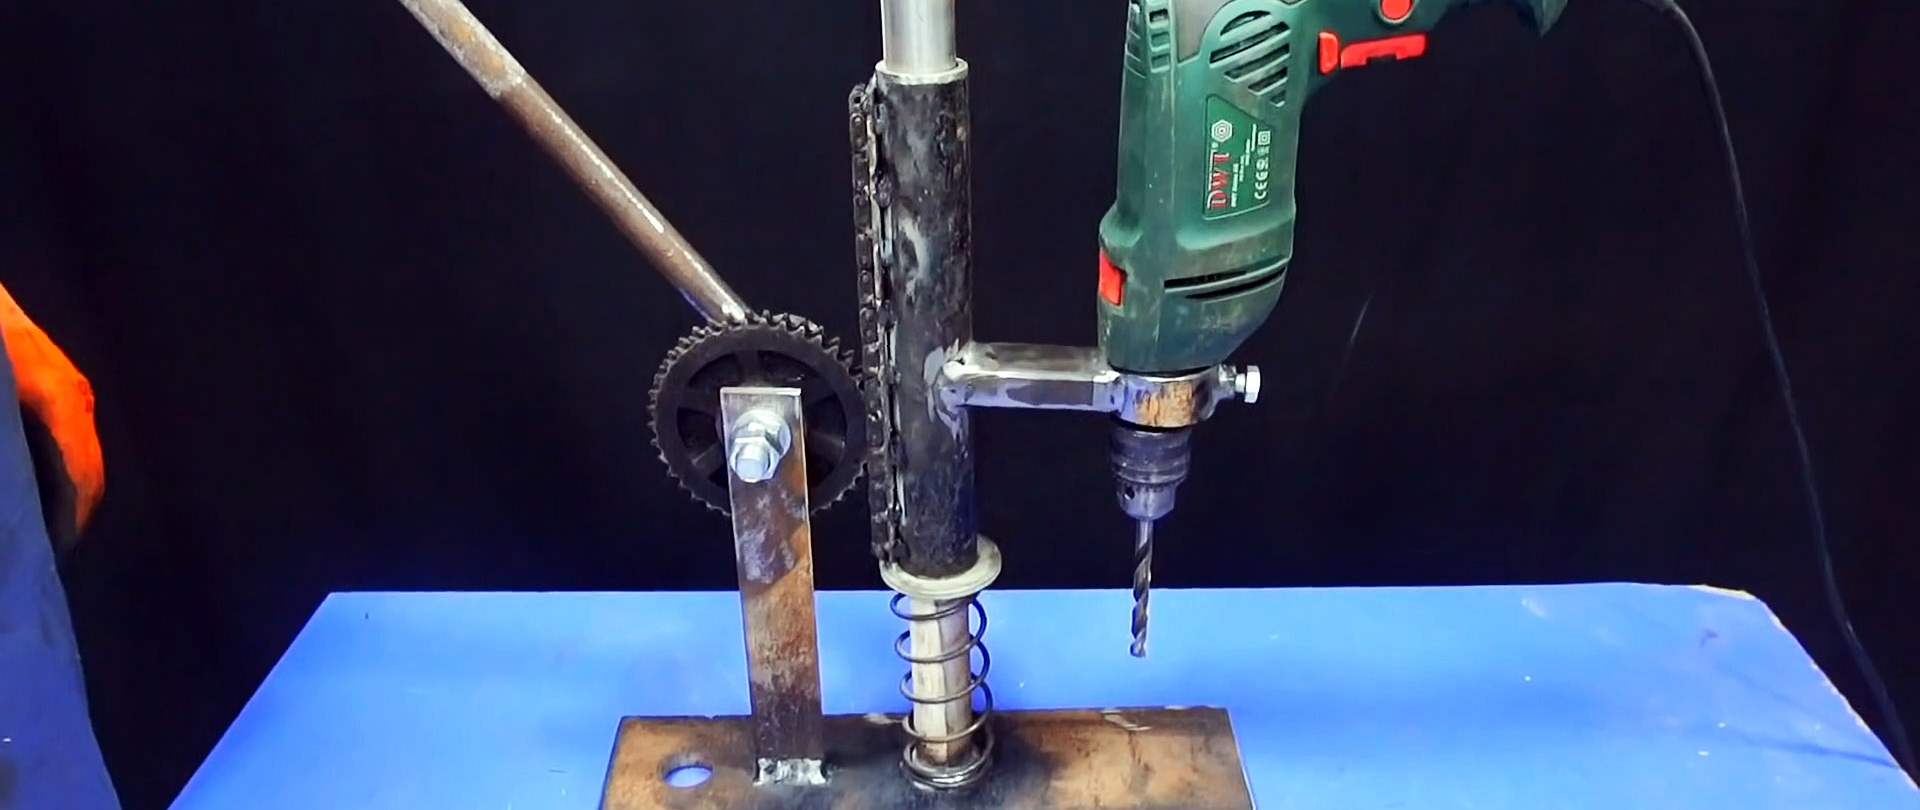
The movement of the drill is smooth, and the drill is always positioned perpendicular to the workpiece it is drilling.