For this we need:
- wooden or plastic blank (plywood is used in this MK);
- universal acrylic primer, any brand;
- artistic and working brushes of various types;
- acrylic paints;
- printing a drawing on photo paper using an inkjet or laser printer;
- PVA glue;
- stationery tape;
- office file;
- acrylic water-dispersion varnish;
- stain;
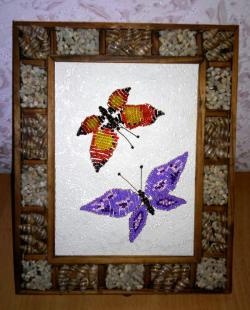
- decorative elements to choose from;
- fine-grained sandpaper.
In order to start working with a workpiece, you need to clear your workspace of all unnecessary things. Then you need to process the workpiece - sand off all the burrs and irregularities from it. Ideally, there may be very few of them. Next, primer must be applied alternately to the panel sanded on both sides.
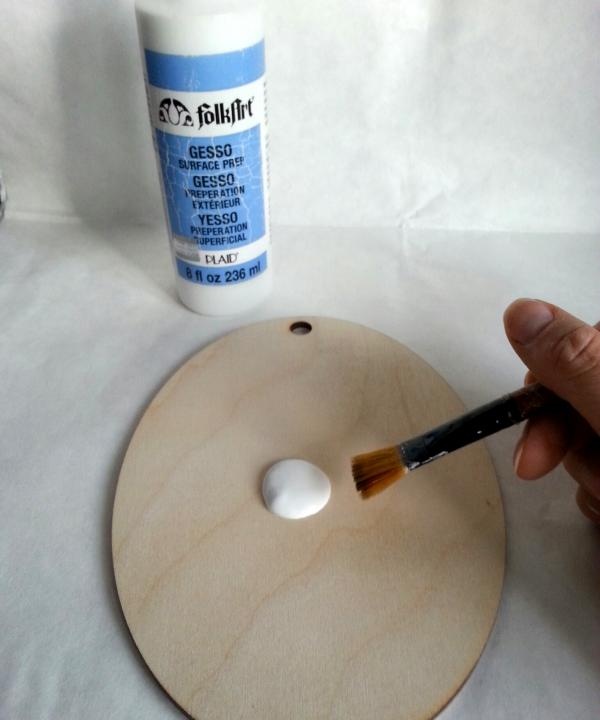
The layer of soil must completely cover the workpiece without gaps, otherwise areas of bare wood will show through the printout.Now you can leave it to dry and, if desired, speed up this process by using a hairdryer.
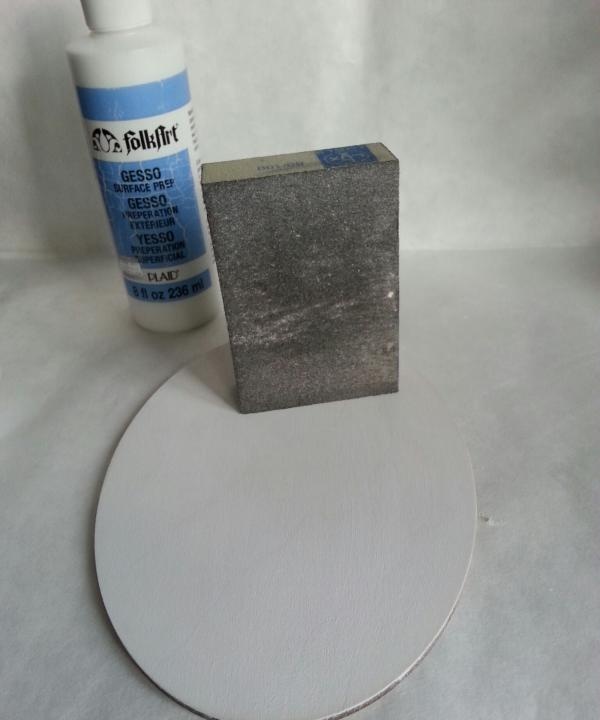
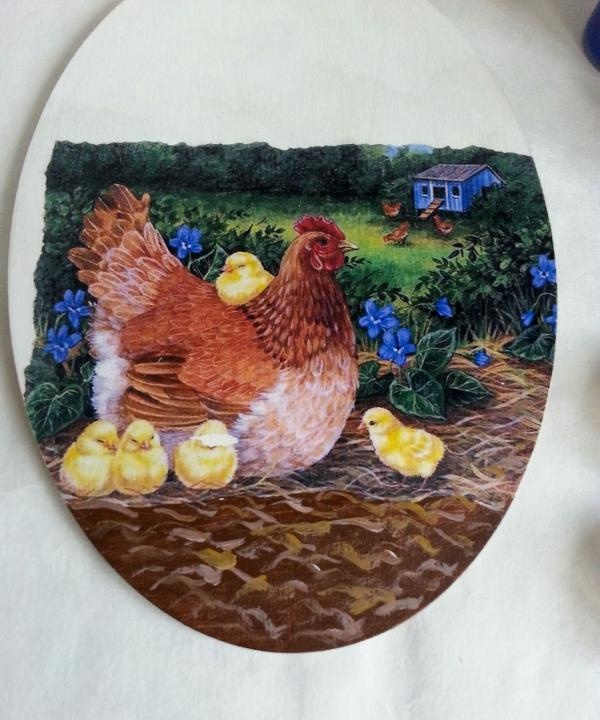
In order not to waste time while the soil dries, you should start printing. It must be carefully applied to the workpiece to determine its correct location.
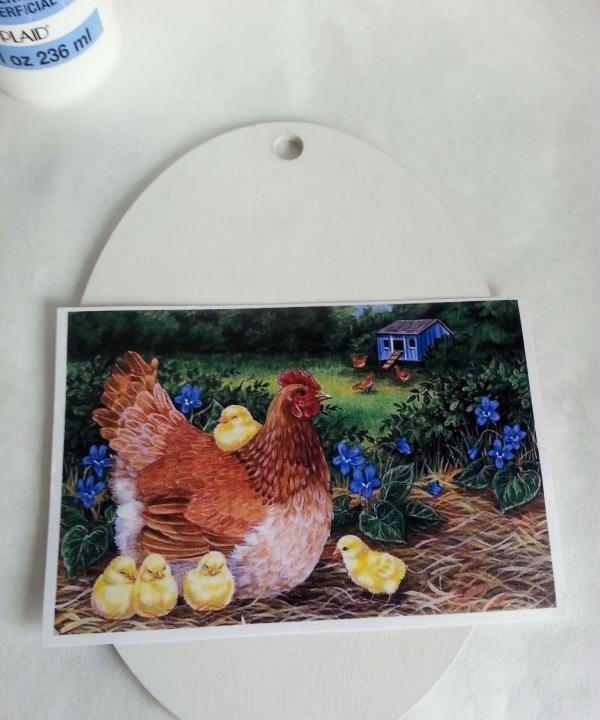
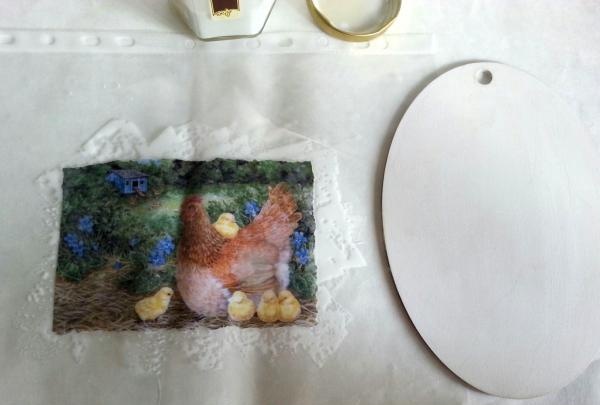
After this, you need to thin the printout in any convenient way. The simplest of them is to use tape. It is pasted onto the clean side of the sheet and the excess layers are carefully removed, making the printout as thin as possible. The next step is to place the prepared drawing face down on a stationery file and carefully coat it with PVA glue. It must also be applied to the selected side of the workpiece. Now you need to connect the glued areas on the printout and on the plywood without removing the stationery file.
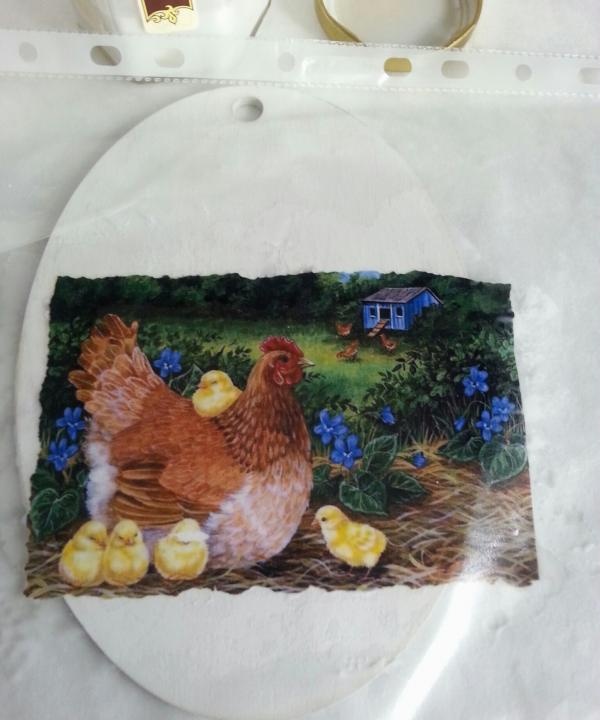
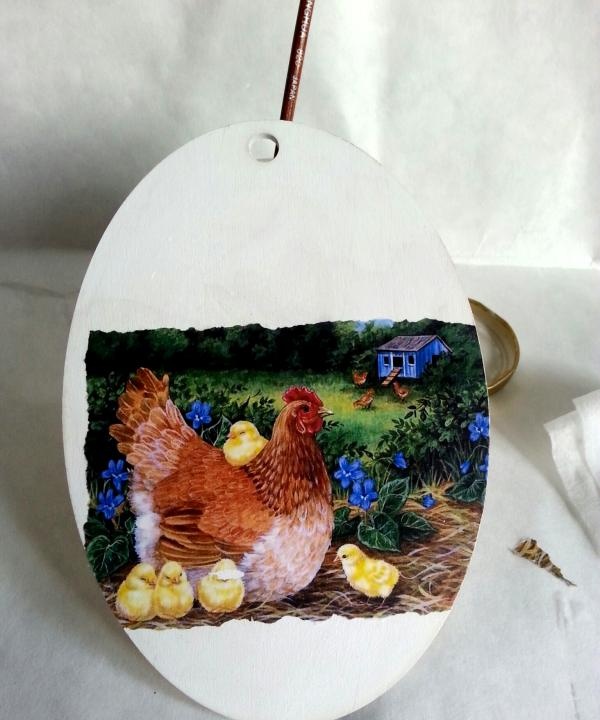
After successful docking, you need to expel all air bubbles. Therefore, first the printout is smoothed by hand through the file, and then a rubber roller or ruler is used for this purpose. Only after this can you remove the file, holding the drawing so as not to move it. The edges of the workpiece should be treated to remove excess paper by walking over them with sandpaper.

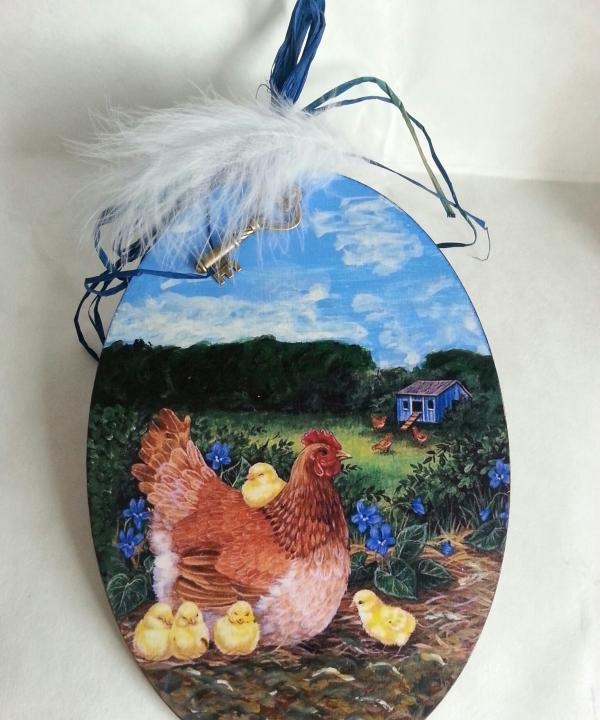
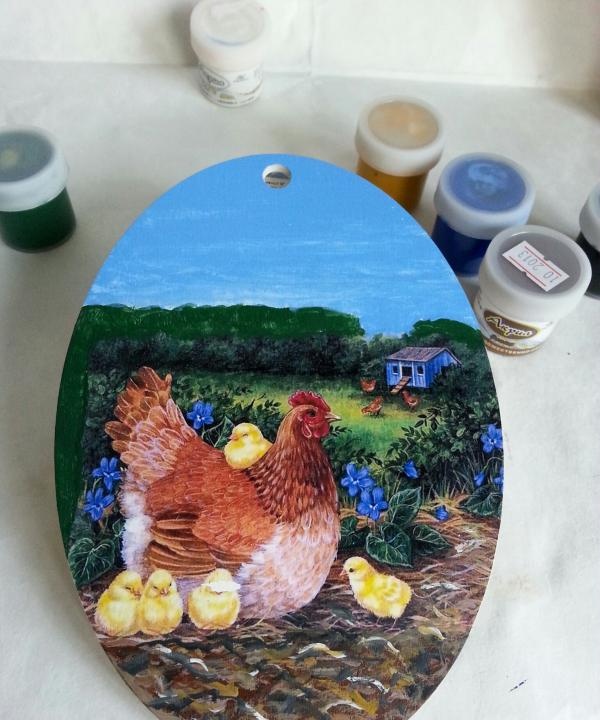
Then leave the future panel alone until the glue hardens. Next comes the most subtle and creative stage of the entire MK - drawing on the printout. This is where brushes, paints and imagination come in handy.
You always need to start from the bottom. First, this part of the panel is painted over with a natural umber color.
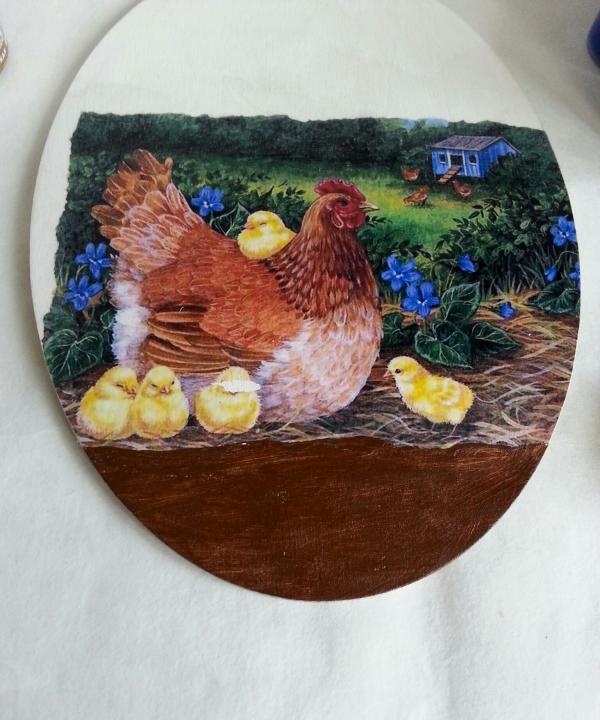
Then you need to select paints that are as close as possible to the original and apply small waves in a chaotic manner. You can also go for a printout to reduce differences in finishing.

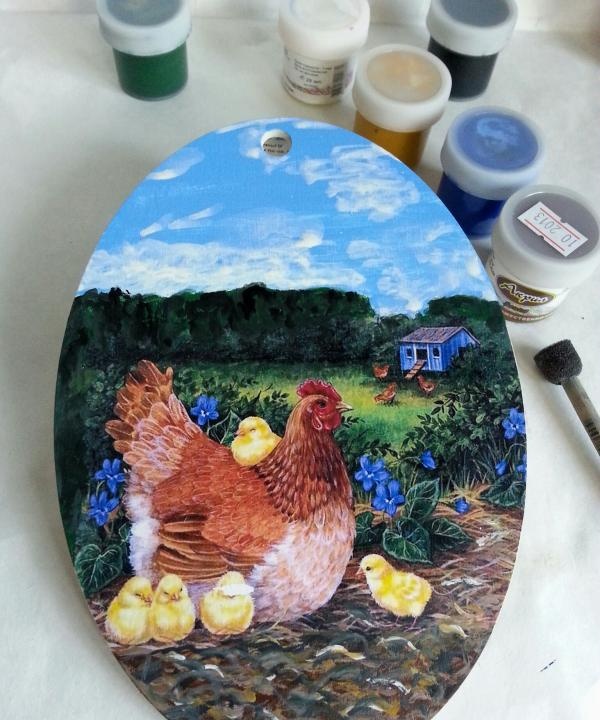
The free space on the left should be painted green and try to imitate trees.

At the top you need to draw a blue sky and clouds.
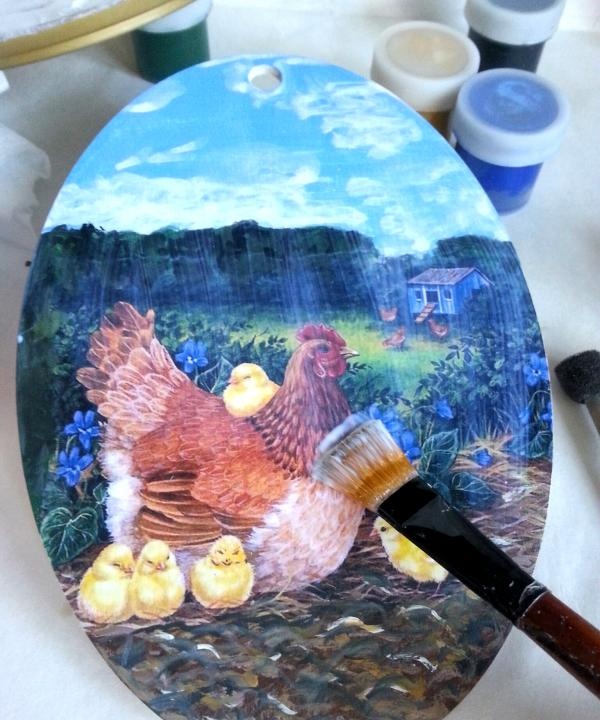
In the end, all that remains is to evaluate the general appearance of the panel and work out all the remaining details. Then coat it with varnish in several layers, completely drying each previous one.
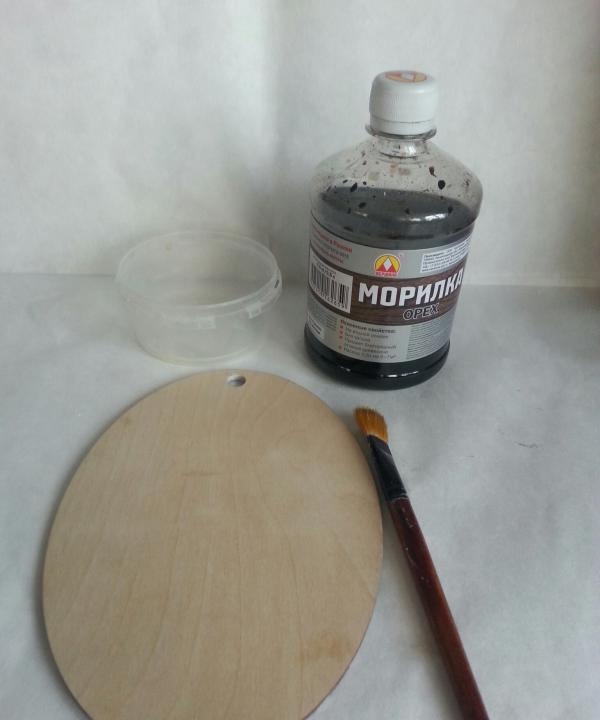
The reverse side also needs to be refined. For example, cover it with stain of a suitable shade.
Then repeat the operation with varnish. And after it has completely dried, add any decorative elements to the panel.