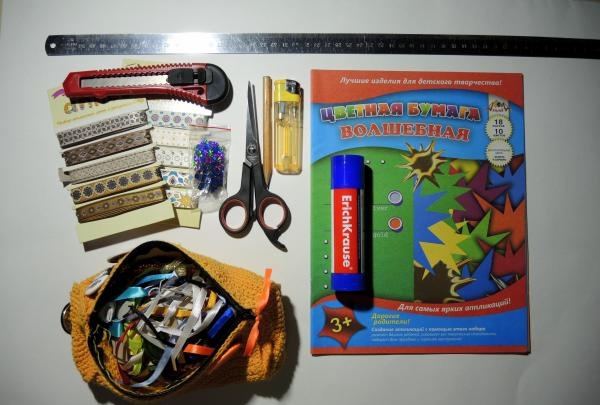
- Whatman paper or cardboard,
- Colored paper,
- Satin ribbons,
- Stationery knife,
- Scissors,
- Glue,
- Pencil,
- Ruler,
- White gouache (acrylic),
- Thin brush,
- Lighter,
- All kinds of New Year-themed decorations,
- A sheet of white paper,
- Hole puncher (if available).
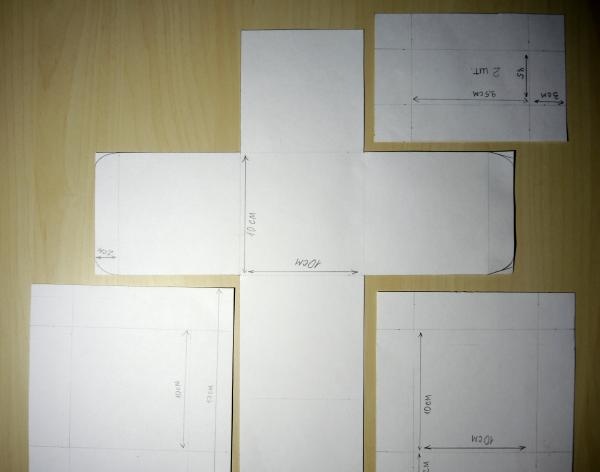
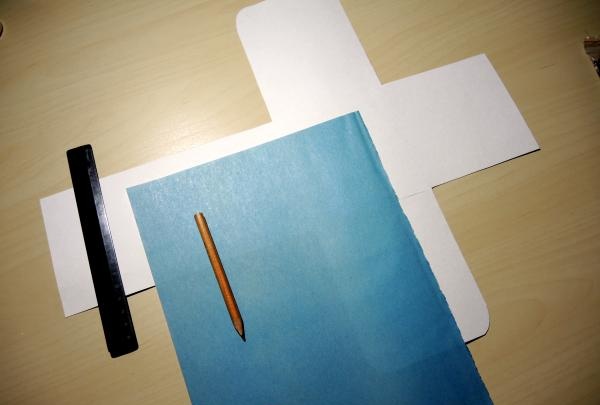
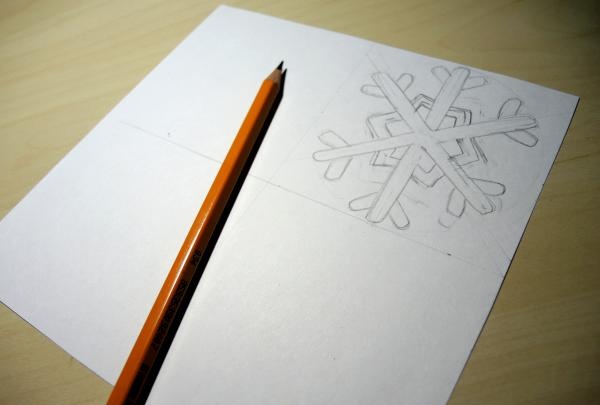
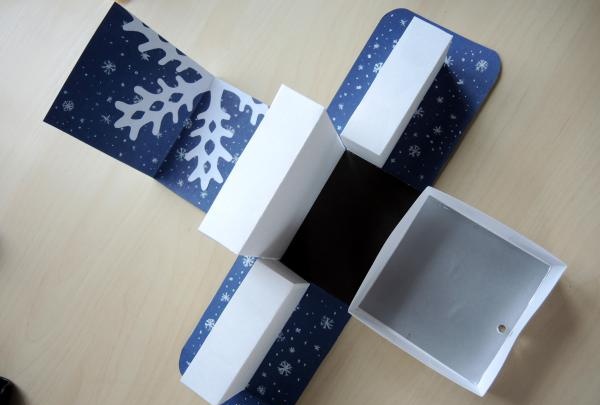
Let's get started. First of all, of course, we will make the “frame” of the box itself. To do this you will need whatman paper, a pencil and a ruler. It is necessary to draw whatman paper in the same way as in the photo below. All sizes are indicated. The middle piece consists of four squares 10x10 cm in height and three in width.
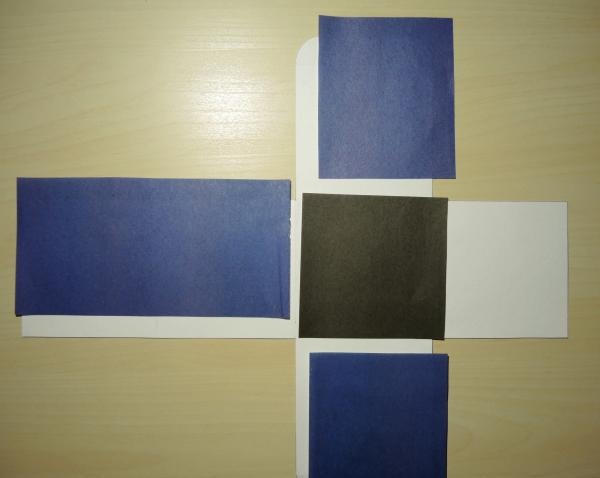
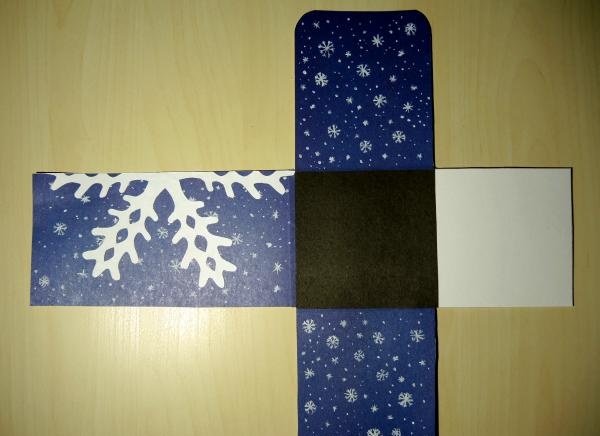
When the main parts are cut out, we move on to the next step - we paste the inside of the box with colored paper. It is better to choose dark colored paper. We leave the right square (in the photo) unglued, since another part will be glued to it.
Now cut out a snowflake from a white sheet of paper. We only need half of it.
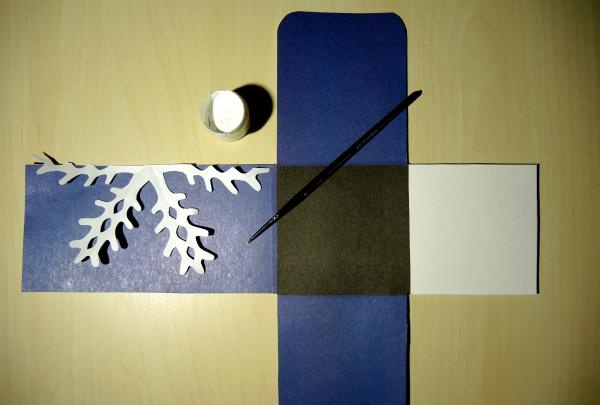
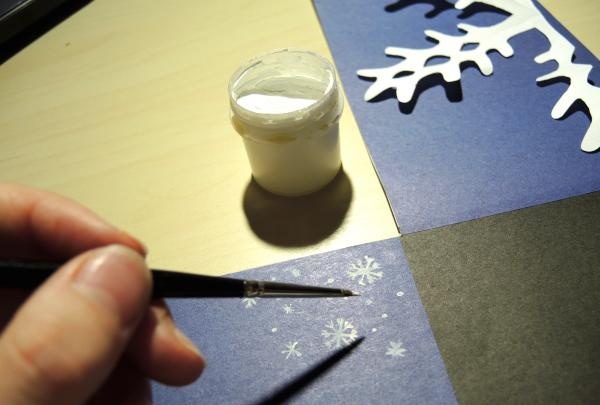
We use gouache to draw any New Year-themed pattern: snowflakes, deer, Christmas trees, Christmas tree decorations, present and etc.
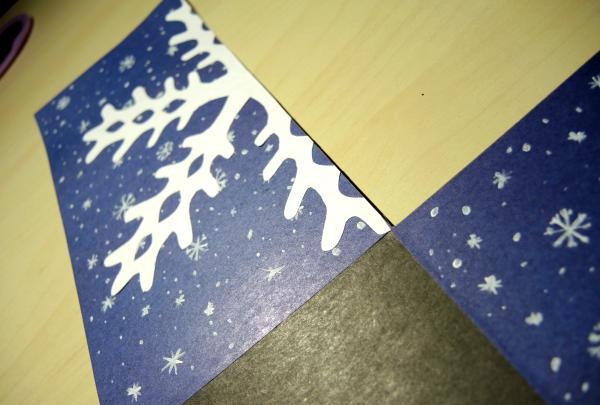
When the drawing is finished, glue on part of the snowflake.
Next, let's start finishing the exterior. Take a sheet of colored paper and cut out four 9.5x9.5 cm squares from it.

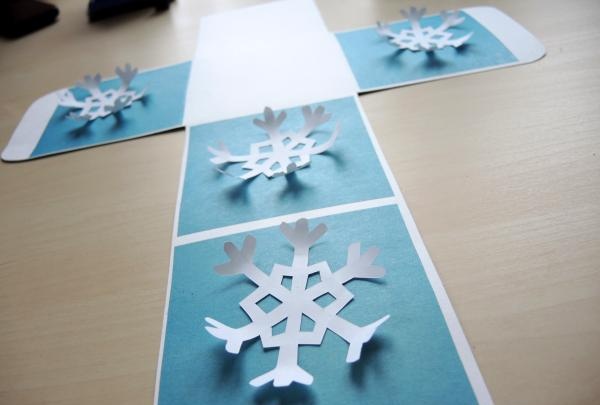
Now let's draw a square of white paper (approximately 12x12 cm) into four equal parts, and draw a snowflake on one of them. Having put all the parts together, we cut out four snowflakes - they will decorate the outside of the box. Using scissors, you can round the edges of the snowflakes. But do not rush to glue them, because they will interfere with further work.
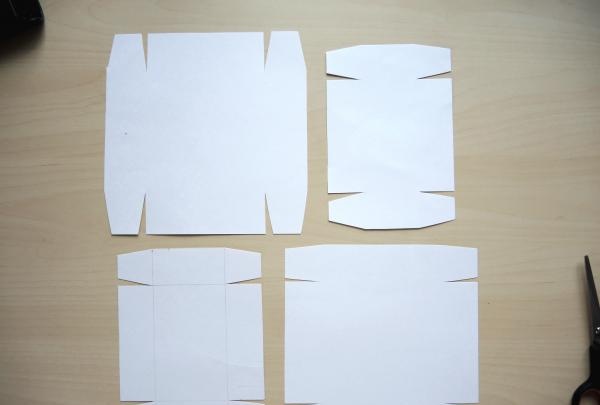
Next, we move on to the departments that will be located inside the box. We cut them out and bend them. Tip: to make it easier and more even to bend whatman paper, you can lightly draw along the fold line with a stationery knife.

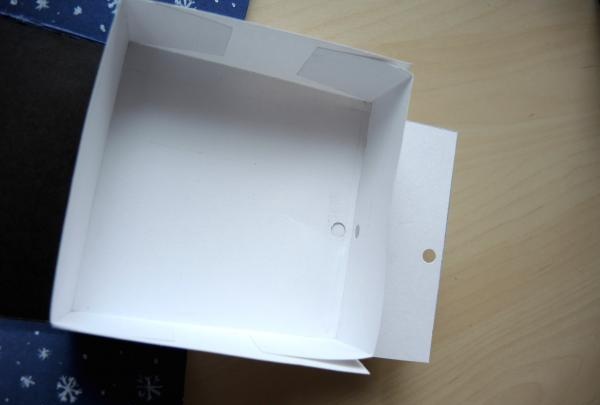
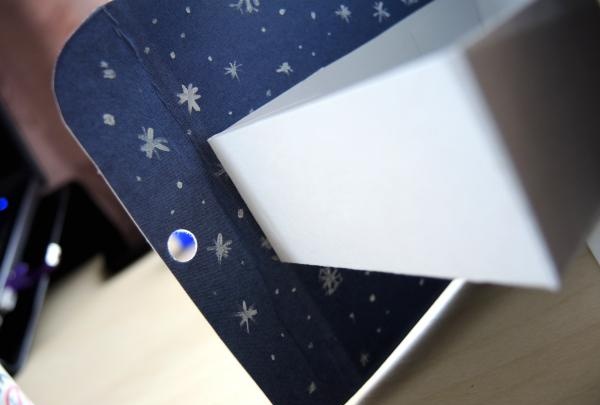
Before gluing all the parts together, you need to punch a hole in the bottom section and bottom of the box, as in the photo below.
When all of the above is done, you can glue all the parts together.
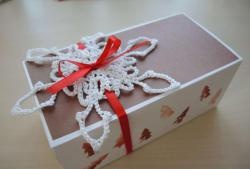
Now you can glue snowflakes on the outside of the box and decorate them.

You also need to punch holes in the flaps of the box.
And connect with tape.
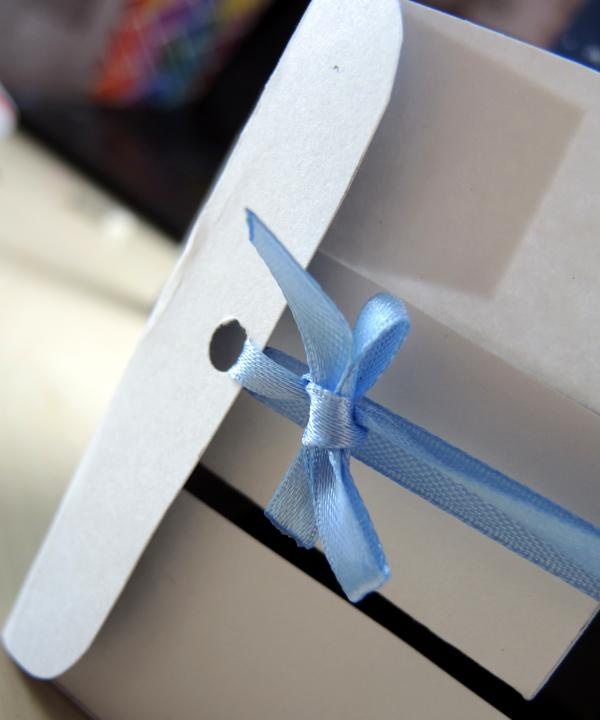
One more hole on the lid of the box, thread the ribbon through and you're done!
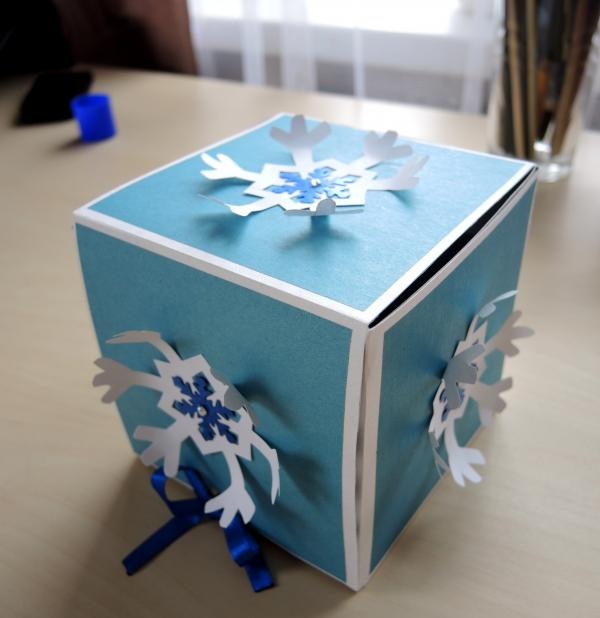
All that remains is to fill the box with sweets or small gifts and give them to the person for whom they were intended.
Good luck to you!