Making flowers from fabric, ribbons and paper has become a new trend in the world of modern needlework. Today we offer you a master class on making flowers from corrugated paper. And put them in a wicker basket.
We would like to note right away that this type of needlework is suitable only for the most patient, because... The work ahead is quite intensive and painstaking.
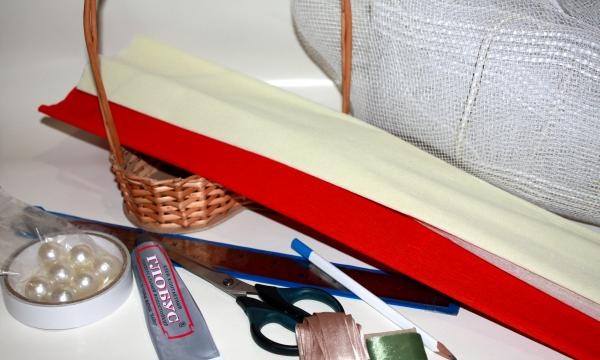
Stock up on the following:
- ready-made wicker basket.
- corrugated paper (I have two colors).
- satin ribbons.
- any fabric for backing.
- large beads.
- toothpicks or skewers.
- double-sided thin tape.
- glue.
- scissors, pencil and ruler
- patience and a lot of time
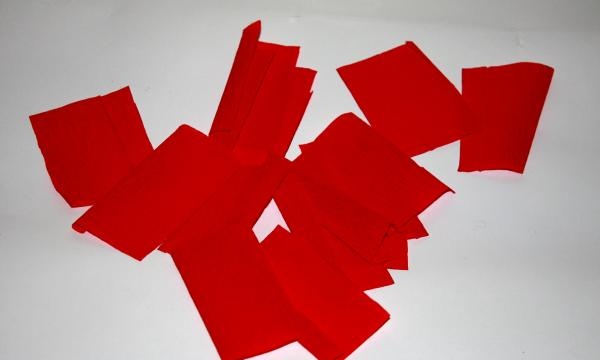
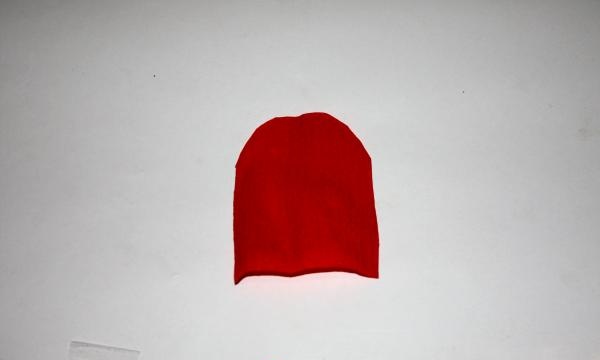
The first thing we need to do is prepare the petals. Their number will depend on how many roses you will make, and what kind of buds you will make - open or half-closed. You will get your bearings as you work. So, cut pieces of corrugated paper measuring 5*7 cm.
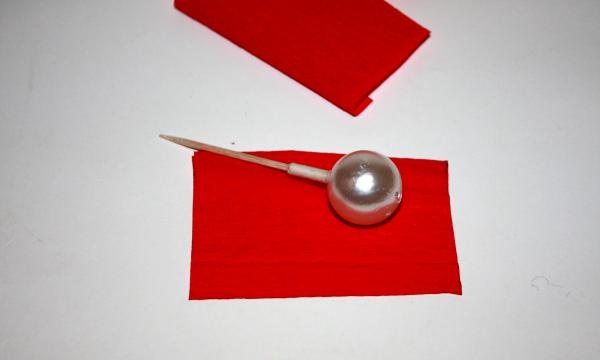
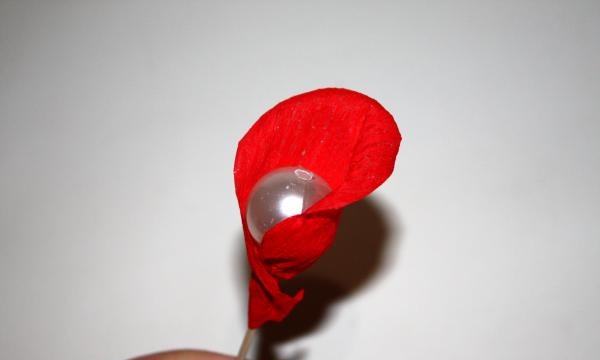
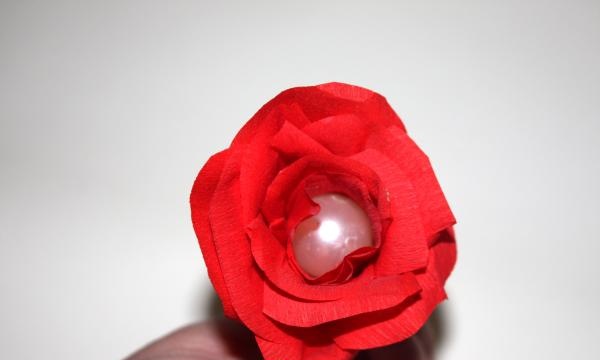
Next, we prepare the core and base of our bud. We string the bead onto a toothpick. My bead is 3 cm in diameter.If you want to make roses on a higher “stem,” then replace the toothpick with a skewer.
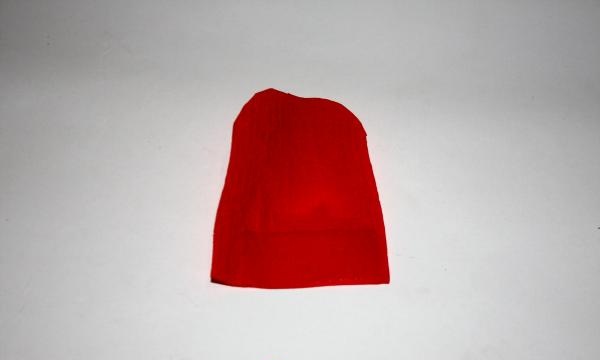
We will need to work on each petal separately. We take the first rectangle of corrugated paper and carefully stretch it with our hands at the base to form a depression, as seen in the photo.
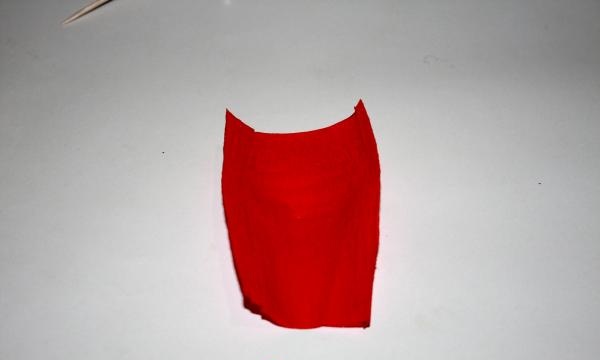
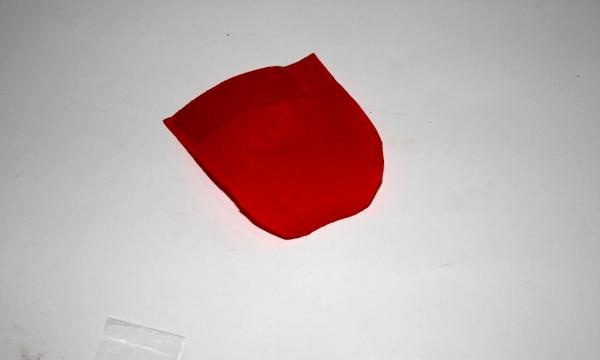
We round the corners on one side.
We glue double-sided tape at the base of the petal. It must be very thin.
Using a thin pencil, round the side of the petal with the corners cut off to give the petal some relief.
Our first petal is ready. Using double-sided tape, attach the petal to a toothpick, smoothly bending around the bead. Make sure the petal is firmly secured. Twist the free edges of the petal using a skewer or a thin pencil.
Do the same with the second petal and secure it with a toothpick.
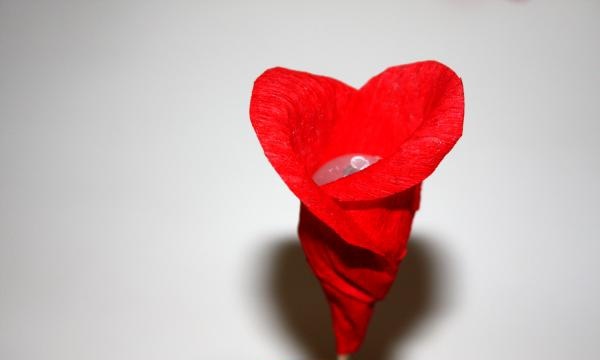
Continue filling your rose with petals until it becomes a bud. Distribute the petals evenly around the bead and do not forget to curl the free edges. The bud may be half open.
Or maybe fully opened.

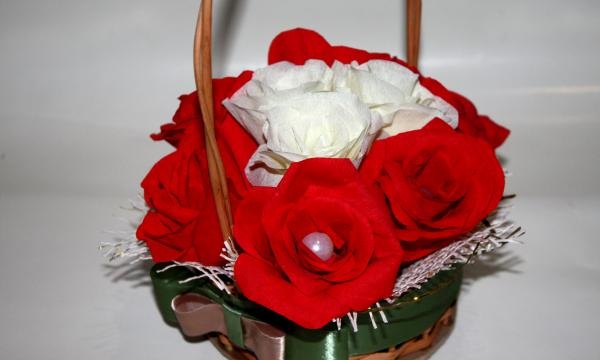
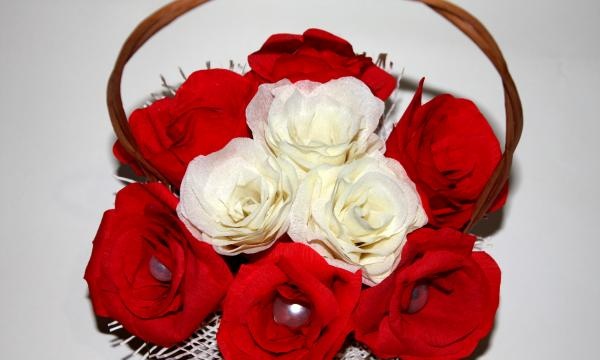
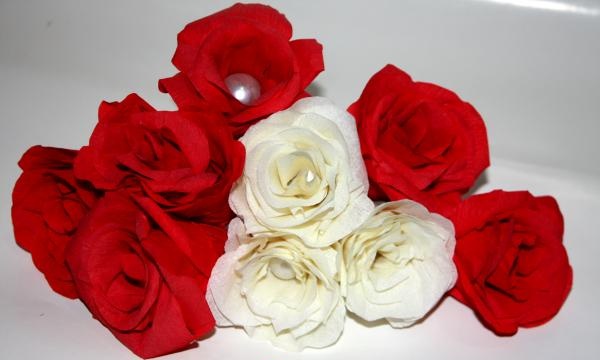
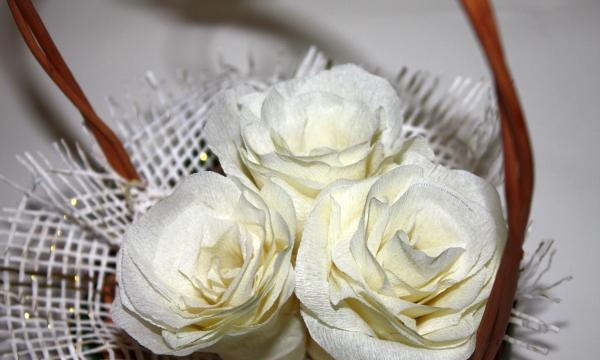
So, 9 roses are ready. We got 6 red roses and 3 white ones.
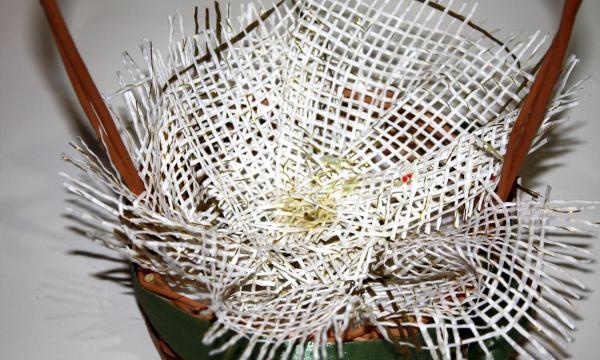
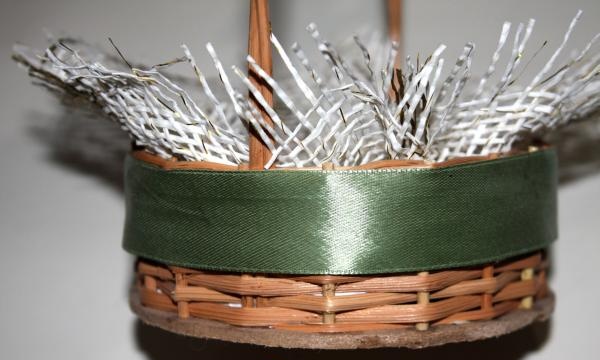
Now let's start decorating the basket. You can purchase the basket itself at any flower shop. Choose any size, but remember: the larger the basket, the more roses you will need to make. We take the fabric that we have chosen for the backing, fold it as our imagination allows, and fix it with glue.
We decorate the outside of the basket with a satin ribbon around the perimeter.
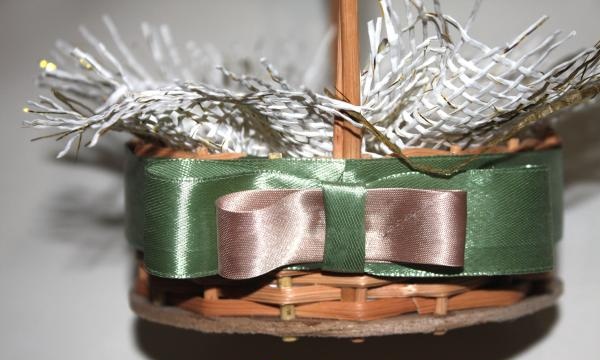
If desired, you can add a bow.
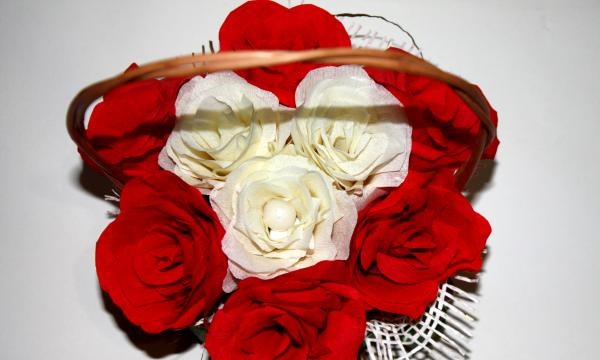
Let's start filling our basket. To begin with, we fix those roses that will be located in the center.Toothpicks acting as rose stems will help you arrange the flowers the way you want. If necessary, fix with glue.
Add red roses. And voila! Our basket is ready. View from above.
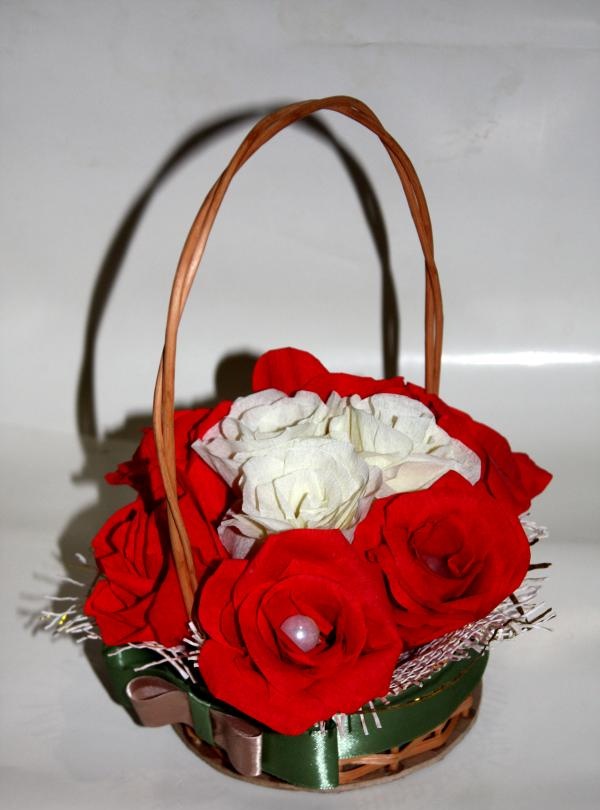
View from different sides.