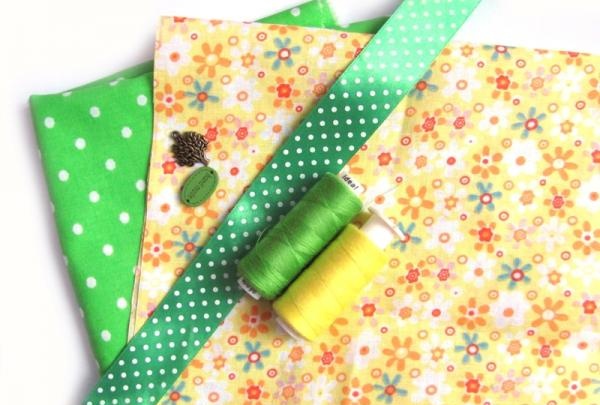
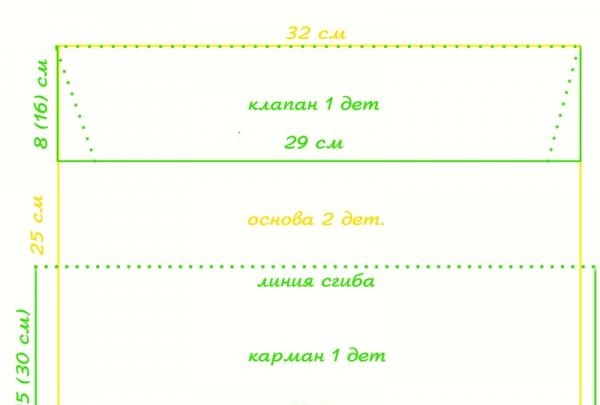
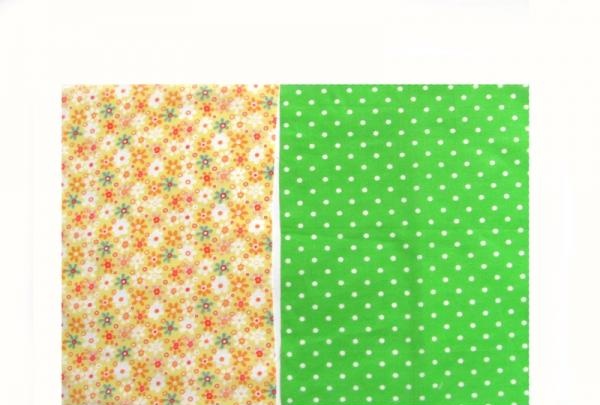
Preparing parts. According to the diagram, cut out one rectangle measuring 25x32 cm from yellow fabric and polka dot fabric.
The yellow rectangle will serve as the cover, and the green one will serve as the basis for the flap and pocket.
To make the latter, cut out a rectangle measuring 30x34 cm from green fabric and bend it lengthwise along the front side. The result will be a blank for a pocket measuring 15x34 cm.For the valve, cut out a 16x32 cm rectangle, which you then fold lengthwise, but along the wrong side and, stepping back 1.5 cm from each edge, cut off the corners.
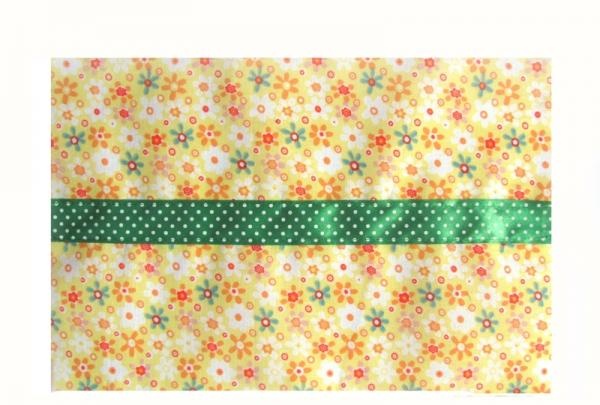
The result is an equilateral trapezoid with bases 32 and 29 cm long and 8 cm high. Assembly of parts. Take a 32 cm long ribbon and sew it to the cover piece.
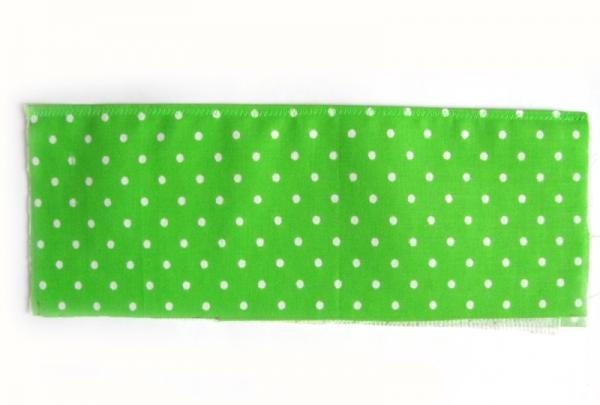
Reinforce the pocket part from the inside with interlining, fold it along the fold line and lay a longitudinal decorative seam.
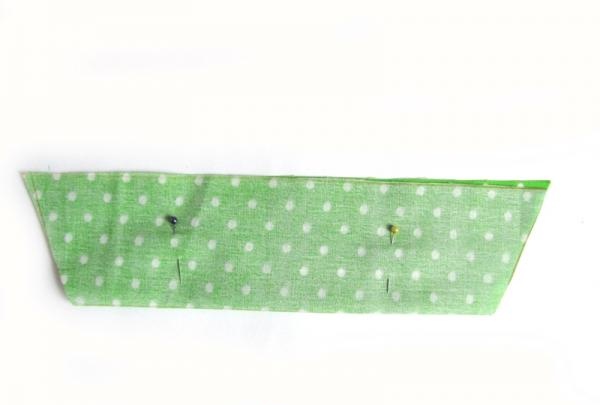
Take the valve piece and sew a straight stitch (a) along the sides and along the short base of the trapezoid.
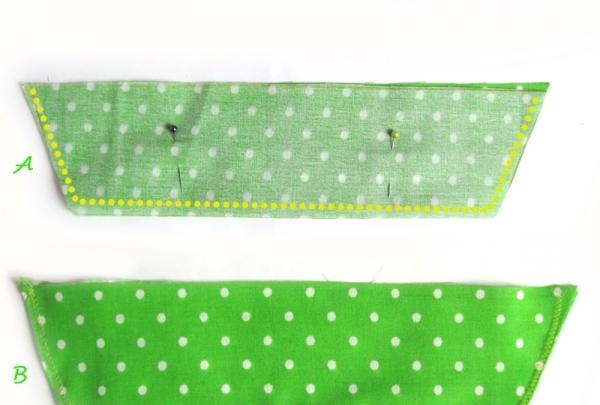
Then turn the part inside out, iron it and again lay a stitch along the same sides, but this time decorative (b). The upper base does not need to be closed, since at the final stage of assembly two fixing seams will pass along it. Using tailor's pins, pin the pocket piece to the base piece (green rectangle).
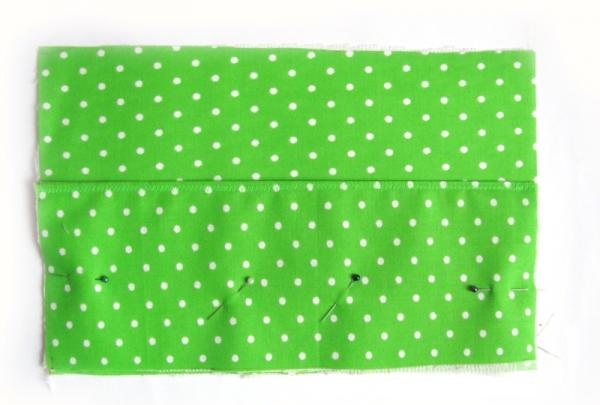
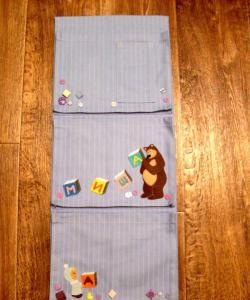
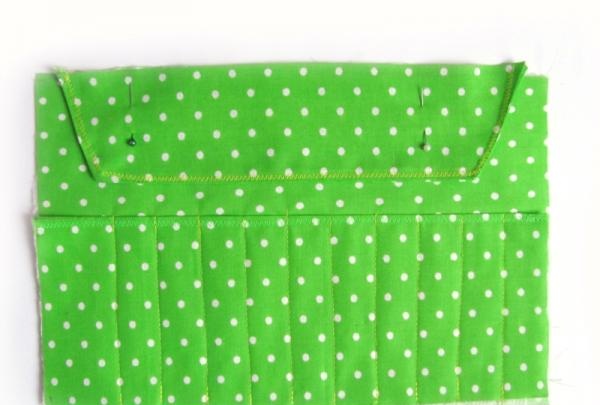
According to the diagram, the length of the pocket detail was 34 cm, and the base was 32 cm. A difference of 2 cm is necessary to create volume for the sections for pencils. Therefore, when attaching the pocket to the base, first align the edges of both parts, and then distribute the fabric evenly. Now make the pencil slots. To do this, lay straight seams along the width of the pocket at intervals of 1-1.6 cm. Be sure to make bartacks at the beginning and end of the stitches (a seam 0.7-0.9 cm long in the reverse mode of the sewing machine). Pin the valve piece to the base.
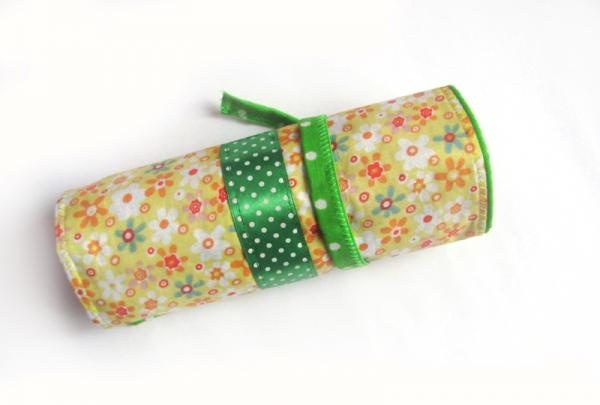
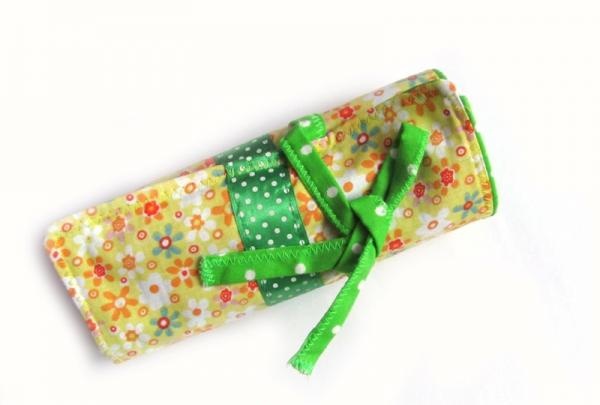
Make ties from fabric. To do this, cut out a rectangle 55 cm long and 4 cm wide. Fold it in the middle and bend it to the fold line of the edge. Sew a straight stitch or decorative stitch along the edge. You can also use cord, ribbon or a knitted chain as ties.
Sew the ties to one of the short sides of the base.

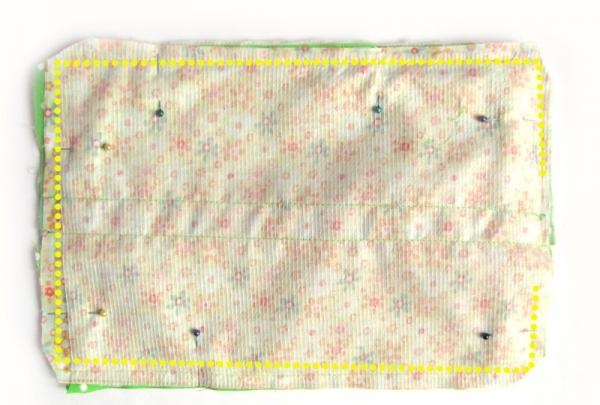
Reinforce the cover from the inside with non-woven fabric or ironed padding polyester. Cover the pocket and flap piece with the cover piece, matching the edges of all pieces. Make sure that the front sides of both blanks are on the inside. Place a straight stitch around the perimeter of the scroll pencil case, leaving a hole on one of the short sides for turning inside out.
Turn the pencil case inside out and steam it, and iron the edges of the hole inward.
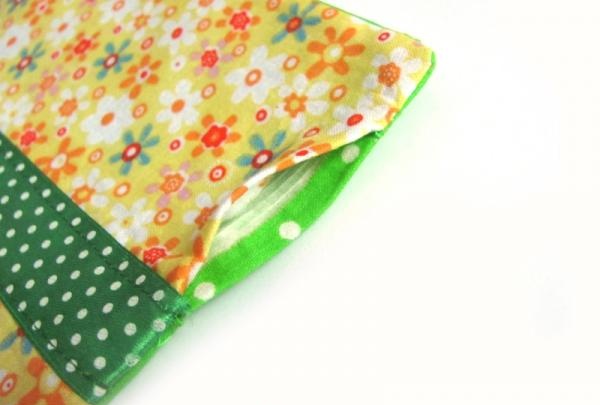
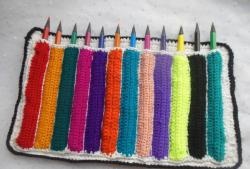
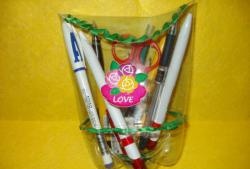
All that remains is to lay a decorative stitch around the perimeter of the scroll pencil case and place the pencils in it.
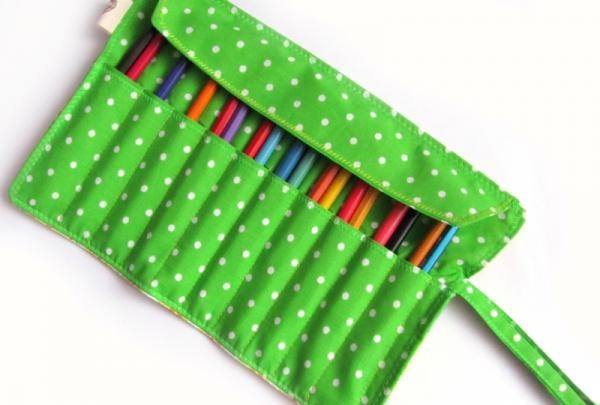
The bright pencil case-scroll is ready!
Author of text and photo: Elena Tregub