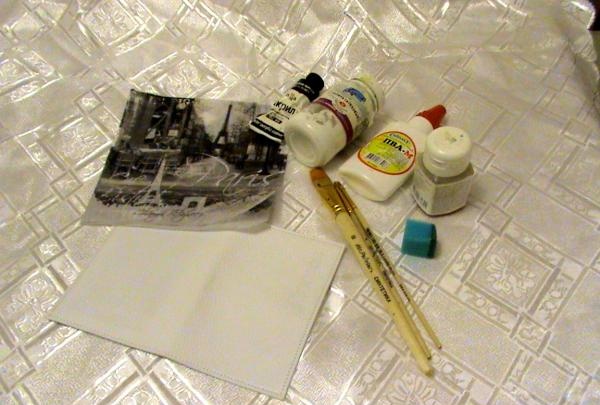
Materials for creativity:
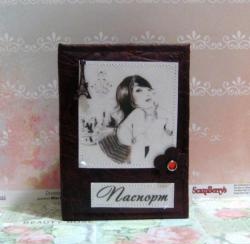
— white leather passport cover;
- a beautiful paper napkin;
- decoupage glue or regular PVA glue;
— synthetic brushes (thick for glue and thin if drawing is needed);
- sponge for washing dishes;
- acrylic or glassy varnish;
- acrylic paints and contours (if necessary).
If you have a high-quality leather cover, you do not need to do any steps to prepare it for decoupage. But you can simply wipe it with a cotton swab or sponge soaked in regular nail polish remover (without acetone).
When decoupage, ordinary two or three-layer napkins are used, which we buy for table decoration.If you need an unusual napkin, you can order it online on specialized websites.
Cut off the excess from the napkin, attaching it to the passport blank. It is better not to cut the edges of the napkin with scissors, but to tear them off with your hands - this way the transition from the napkin to the workpiece will be less noticeable. Remove the bottom white layers from the napkin.
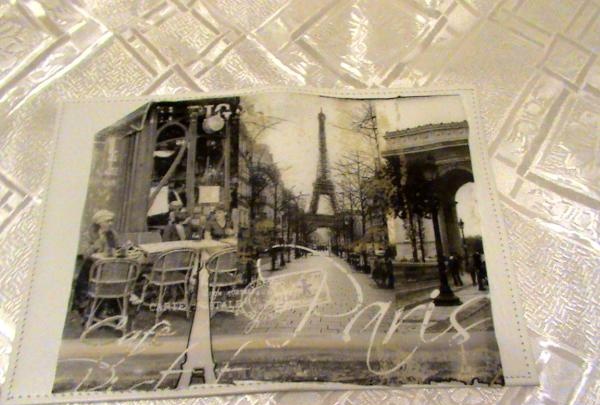
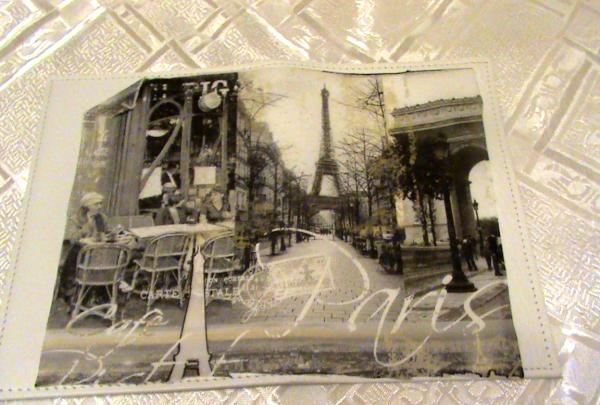
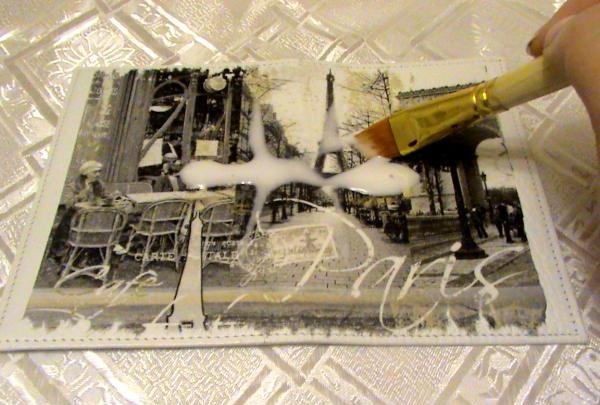
Pour glue (decoupage or PVA) into the middle of the design. Using a thick brush (or your fingers), moving from the center to the edges, glue the napkin to the workpiece. Be sure to take into account the fact that when wet, the napkin tends to stretch, so glue it to the workpiece very carefully, trying to avoid creases and cracks.
If creases do appear in the drawing, wait until the glue is completely dry (at least two hours) and go over the creases with fine sandpaper (zero sandpaper).
If you did not tear, but cut off the edges of the napkin, you can straighten them a little after gluing the design to the cover. This is necessary so that the transition of the napkin into the paint is as unnoticeable as possible.

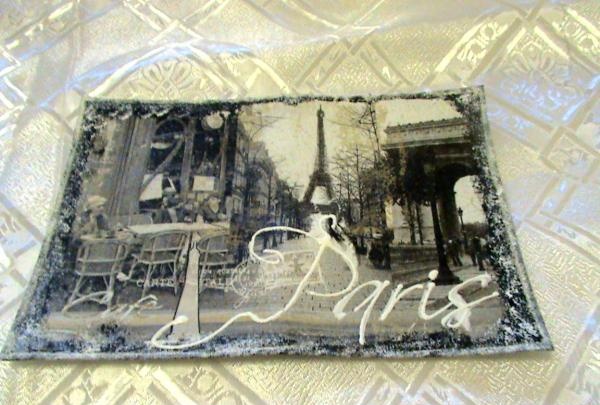
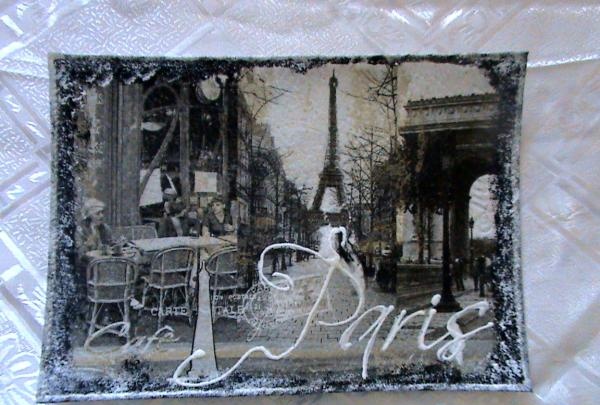
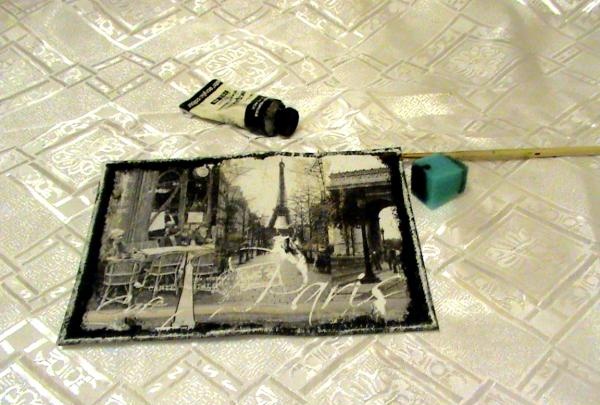
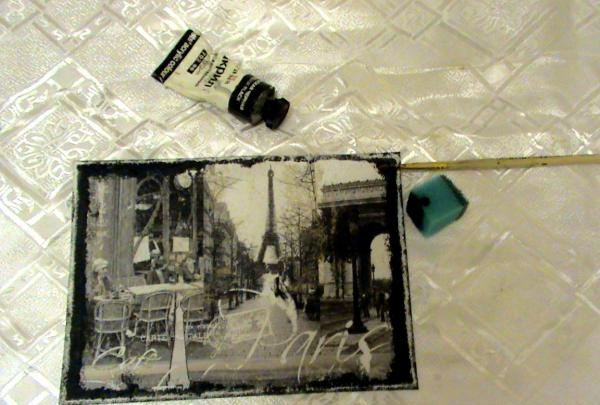
Paint the edges of the cover with acrylic paint to match the color of the napkin. Use a piece of regular dish sponge or a synthetic brush. In this master class, the edges were processed using a sponge with black acrylic paint, and a little white paint was applied on top (using a brush).
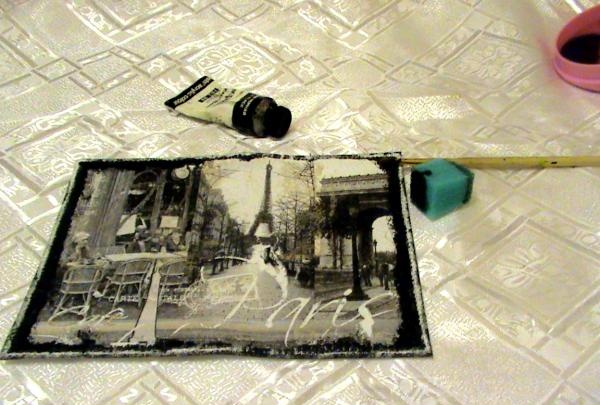
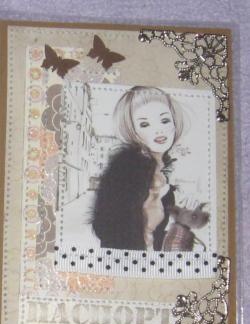
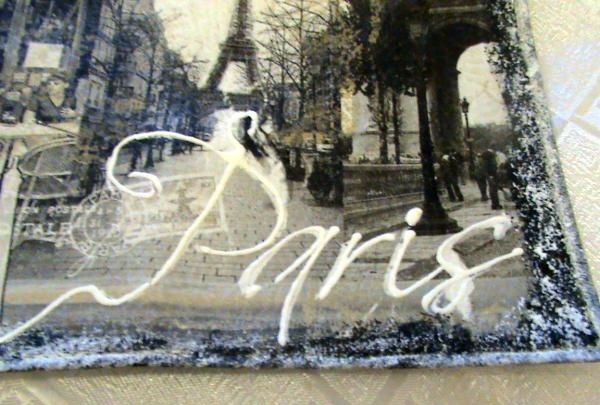
If necessary, touch up the drawing a little with acrylic paints or contours. In this example, the word “Paris” really begged to be contoured.
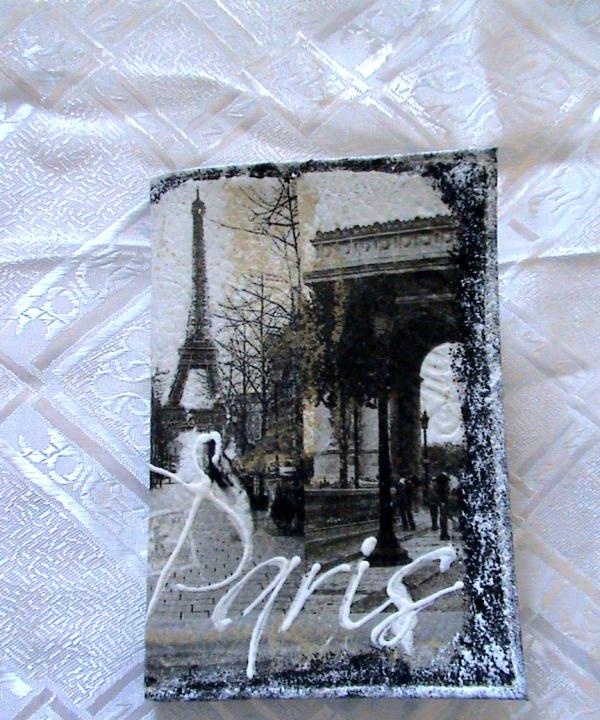
Cover the cover with several layers of acrylic or glass varnish. Acrylic varnish can crack when bending, so apply no more than 3 layers.If you want to use the cover for a long time, purchase a special artistic glass varnish. It can be applied to the cover in up to 10 layers.
The original cover for your passport is ready.