1. To make a chicken with your own hands you need to prepare:
• Yellow threads.
• Cardboard.
• Glue.
• Scissors.
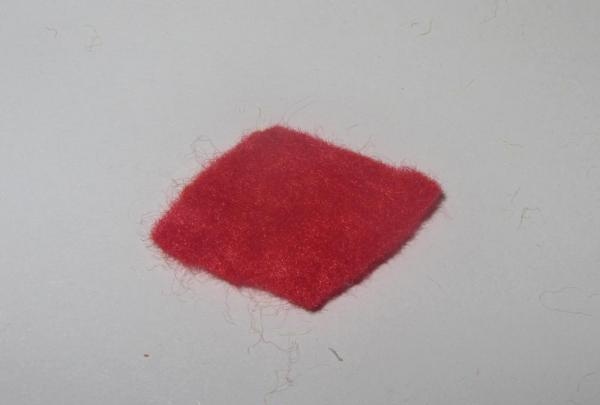
• Red flannel.
• Beads.
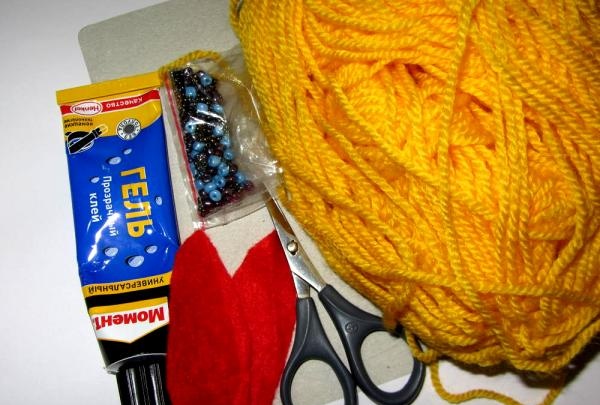
If there is no red fabric and beads, then it doesn’t matter. Make a chicken beak and eyes out of paper.
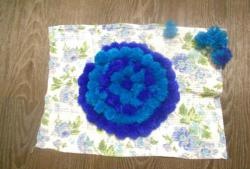
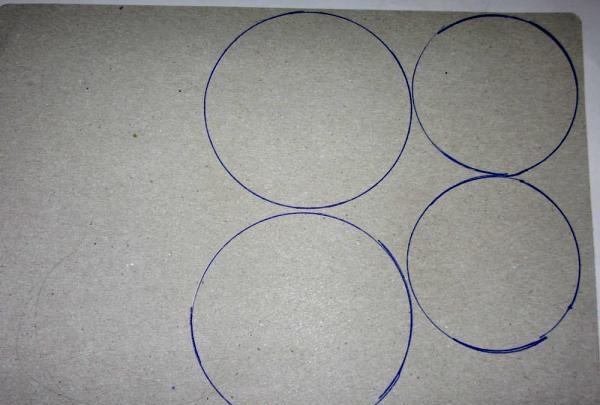
2. Draw circles of different diameters on cardboard. Two larger circles and two smaller ones.

3. Cut out these circles with a hole in the middle.
4. Tie a small circle tightly with thread. For convenience, I take a not very long, but double thread. If you work with a long thread, it gets tangled and your hand quickly gets tired. Well, a double-fold thread significantly saves the needlewoman’s time and effort.
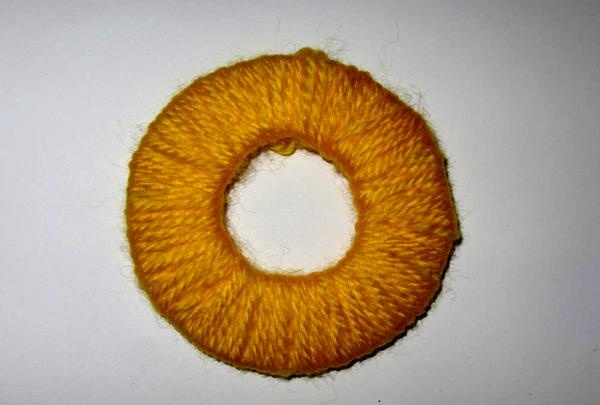
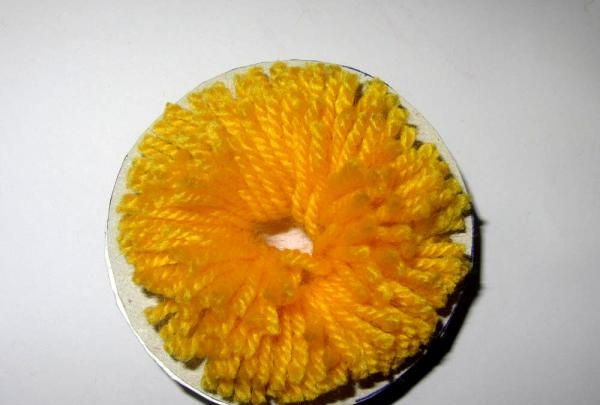
5. We also wrap a large circle with thread. So, we have a small part - the head and a large part - the body of the chicken.
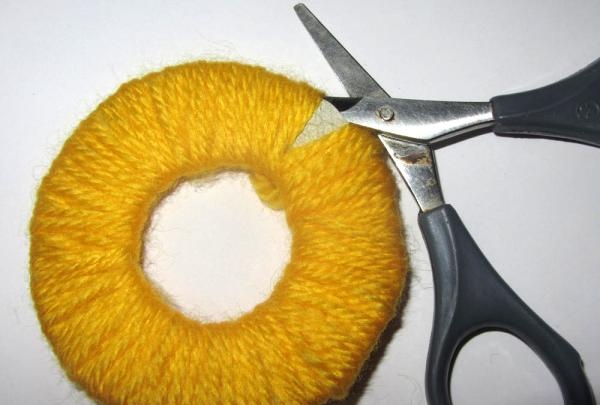
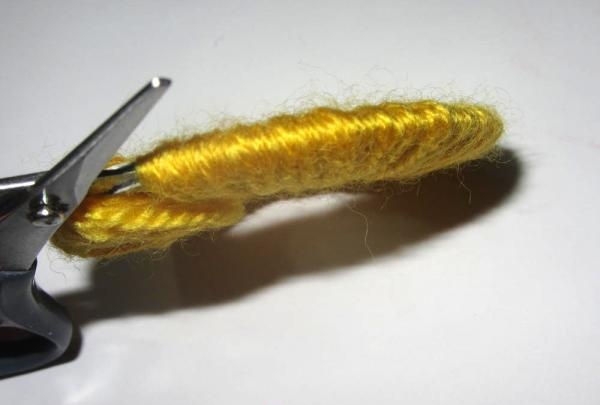
6. Slightly spread the thread and insert the scissors between the cardboards.
7. We begin to cut the threads along the edge of the workpiece.
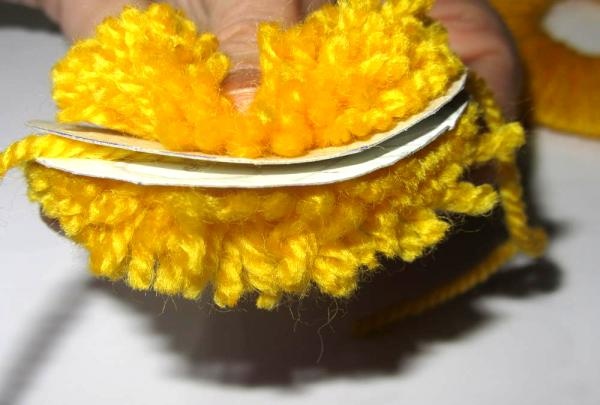
8. Take a piece of thread, preferably longer. Holding the center of the circle with your thumb, carefully pull the thread between the cardboards.
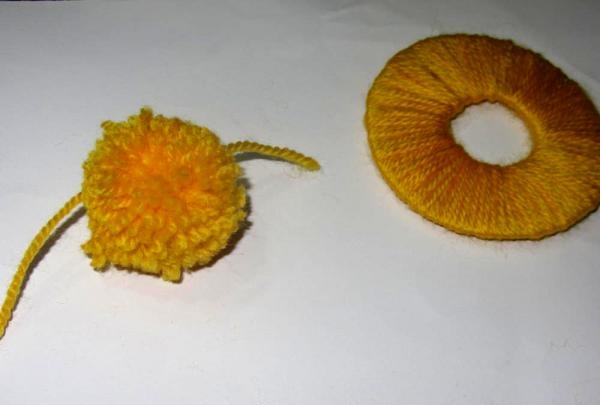
9. Pull the thread and tie a knot.We remove the auxiliary parts from the cardboard. We get the head of a furry baby.
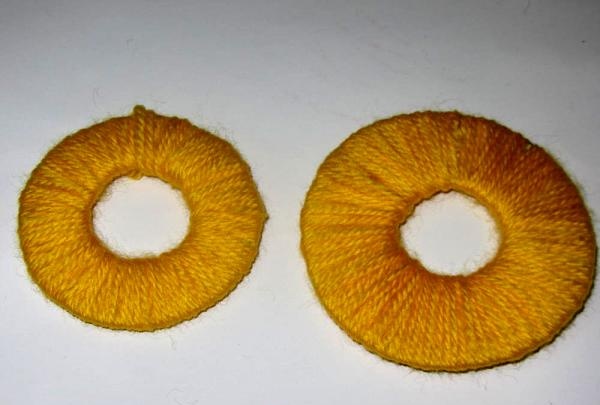
10. We do the same with the second workpiece.
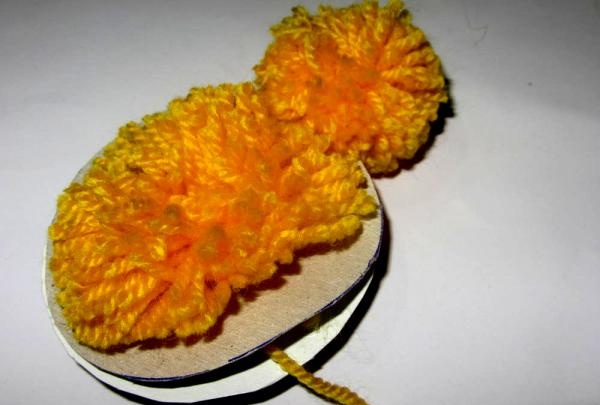
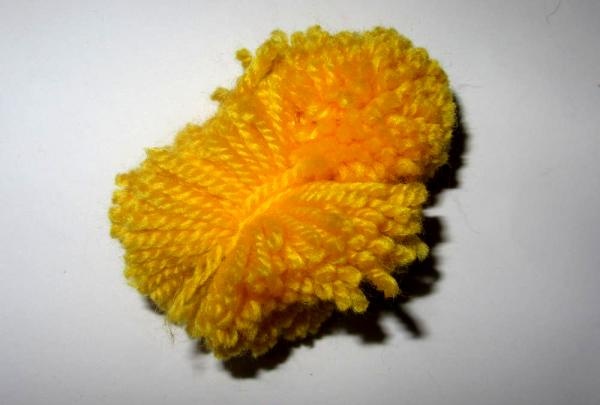
11. Well, now, perhaps, the most difficult moment in all the work. You need to take the head of the chicken and use the remaining thread to tighten the pom-pom body of the chicken. At the same time, you fasten the threads of the body and attach the head to the body.
12. We remove the cardboard and get this blank for the future chicken. You need to fluff the threads a little.
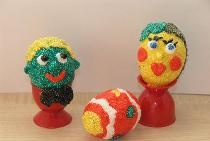
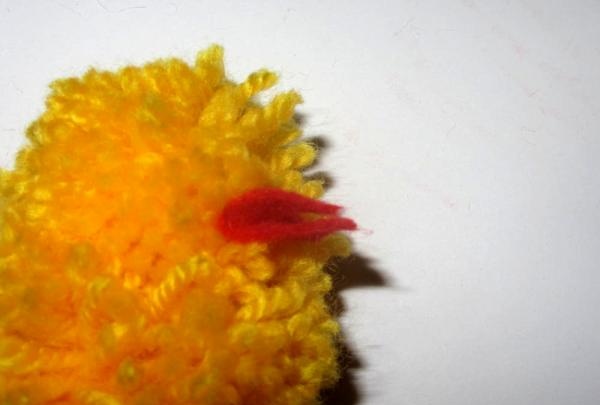
13. Cut out the beak.
14. Fold the beak in half and apply glue along the fold line.
15. Glue the beak to the head.
16. Glue the beads.
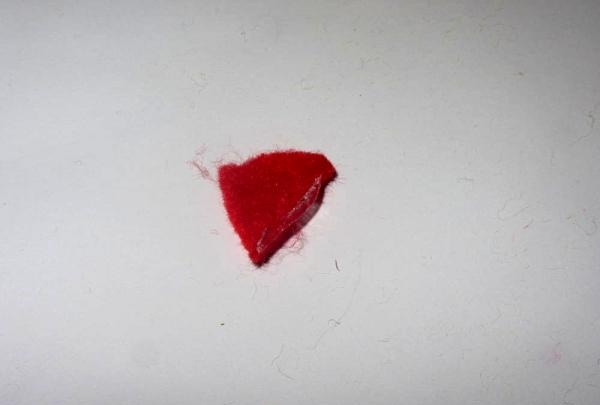
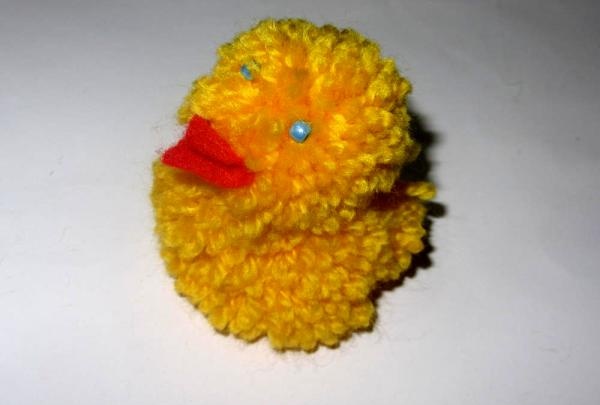
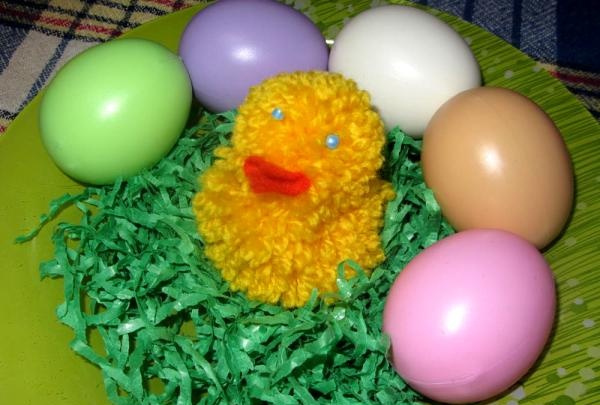
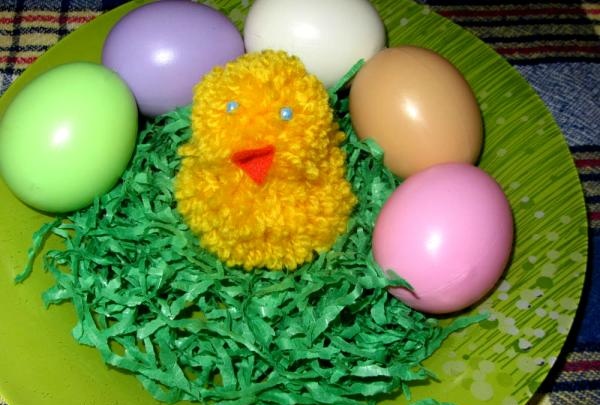
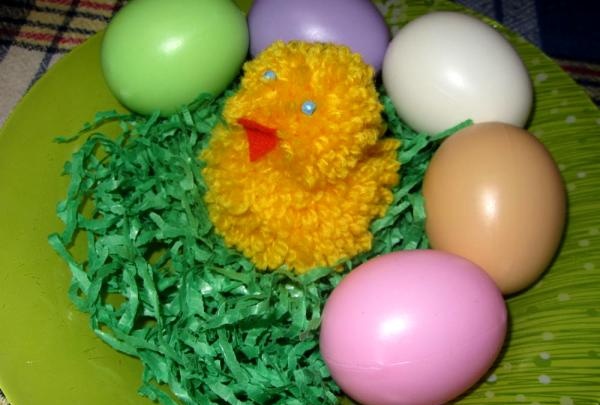
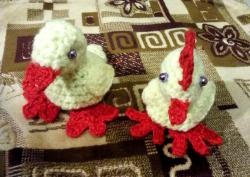
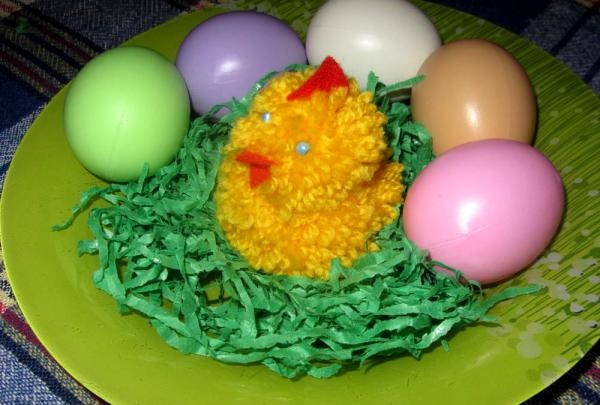
17. After the chicken took its place in the Easter composition, it was decided to slightly reduce the baby’s beak.
18. So, the Easter chick looks cuter. Is not it?
19. Well, at the end of the day, the general council decided to add a scallop to the chicken. Well, the fluffy chick has taken his place in the nest and is ready to decorate the Easter interior of the house.