Materials for work:
• A4 sheet – 1 pc.;
• Colored paper – 2 sheets of different colors;
• Simple pencil, eraser, brush, paints, PVA glue, stationery tape.
Stages of work:
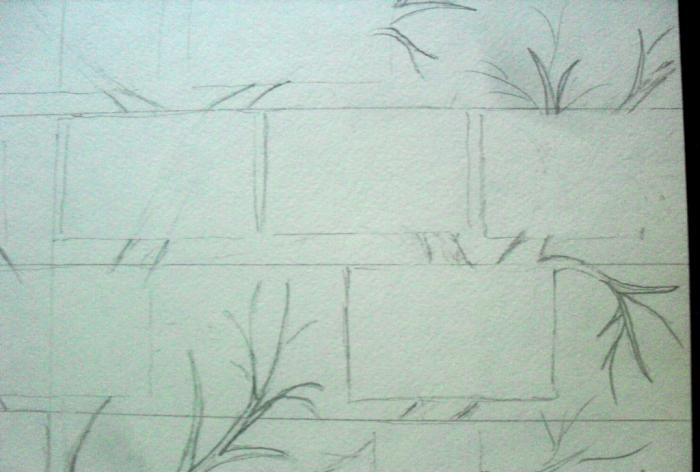
First stage: ruling.
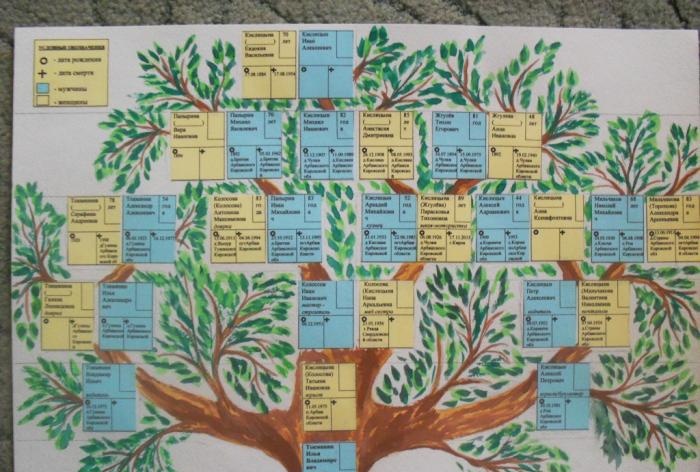
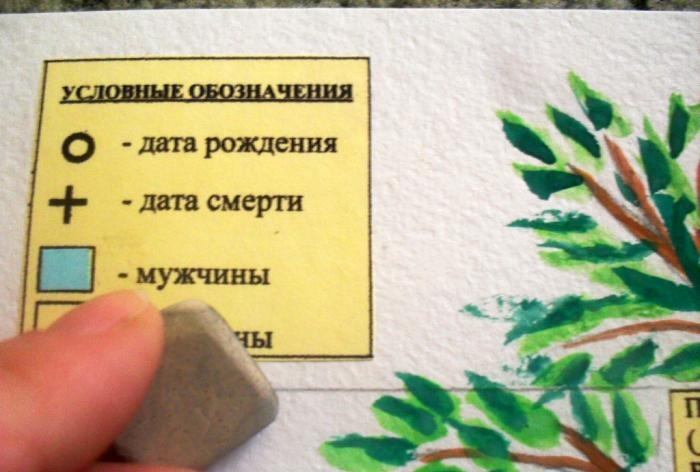
On sheets of colored paper we print out information about our ancestors (full name, dates and places of birth and death, number of years lived). Colored sheets are used to separate information about men and women.Carefully cut out the rectangles and lay them out on an A4 sheet, following the lines of the “rows” (me - my parents - my grandparents - my great-grandparents, etc.).
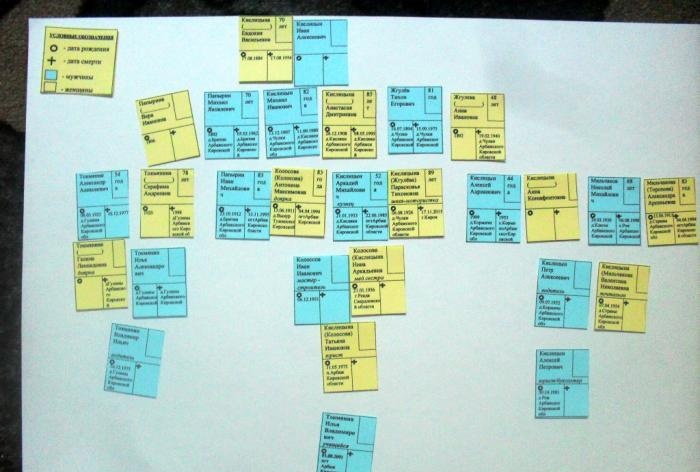
We outline each rectangle with a simple pencil. For convenience, you can also draw row lines.
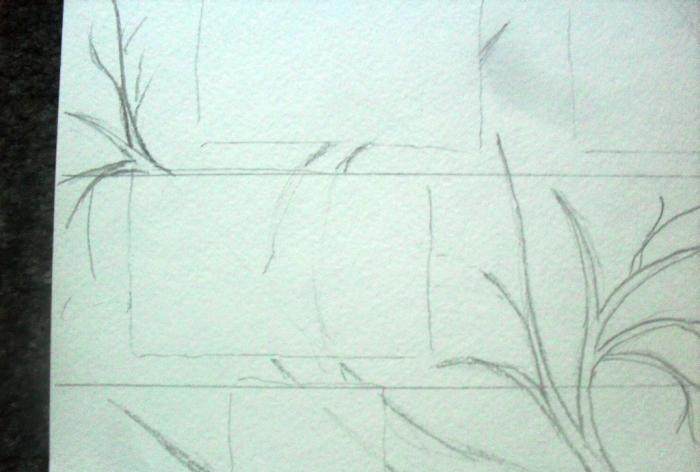
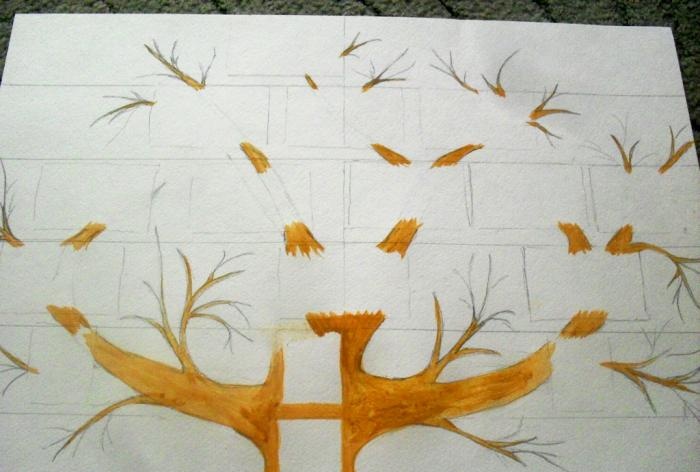
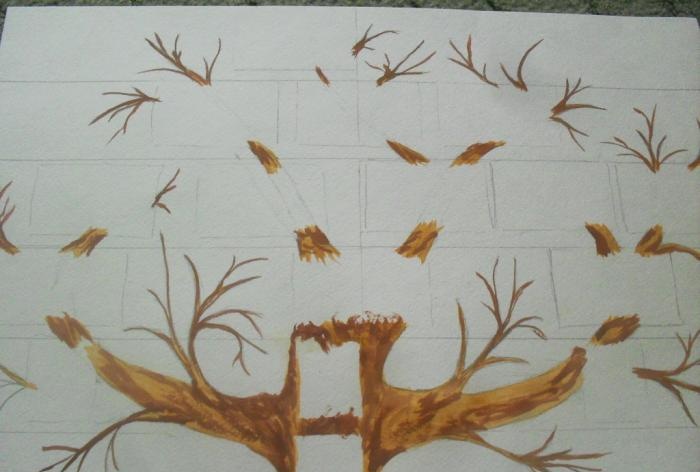
Second stage: draw the outline of the tree.
With a pencil we draw the outline of the trunk (this is me) and branches (thick branches connect me and my parents, thinner branches go from my mother to her parents and from my dad to his parents, then follow the same principle). The further the generation of ancestors is from me, the thinner the branches flowing into each other become.
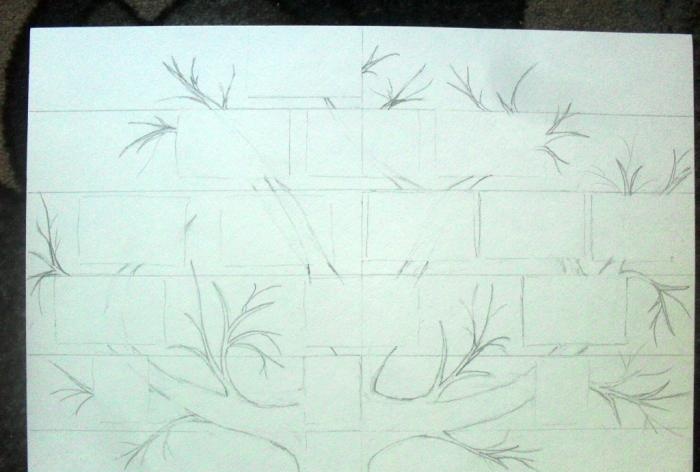
From the edges of the tree (at the end of the generation information) we draw completed branches.
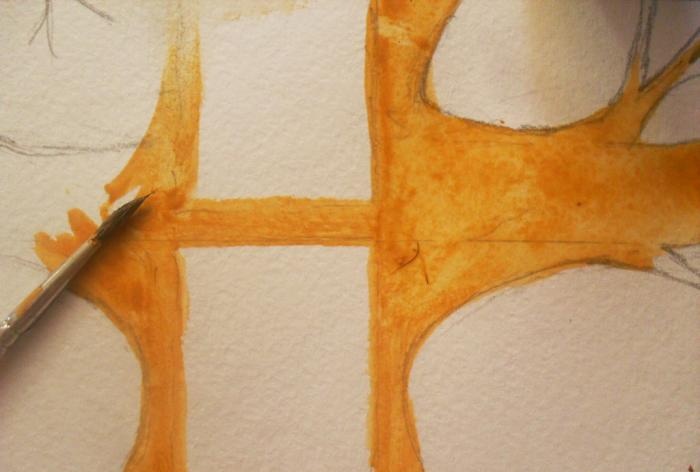
The third stage: we add color to the family tree.
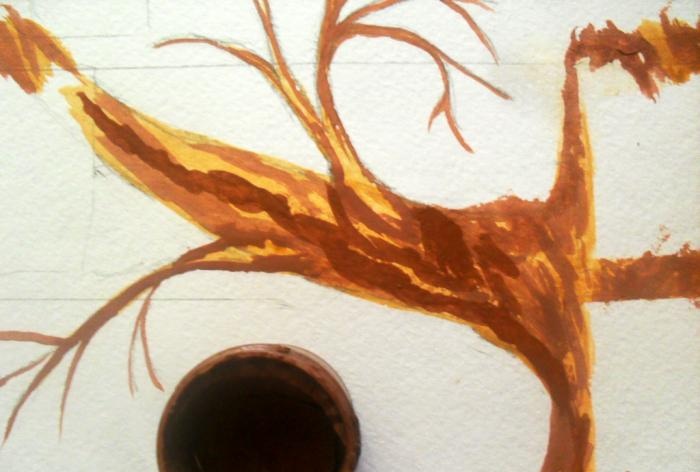
First, we paint the entire tree (both trunk and branches) with light brown paint. Rectangles can be left unpainted so as not to disturb the clarity of the branching. Allow the previous layer to dry completely before applying the next coat of paint.
Then, using long strokes in a random order, apply paint several tones darker than the main one. It is important not to get carried away and not paint over the light paint completely.
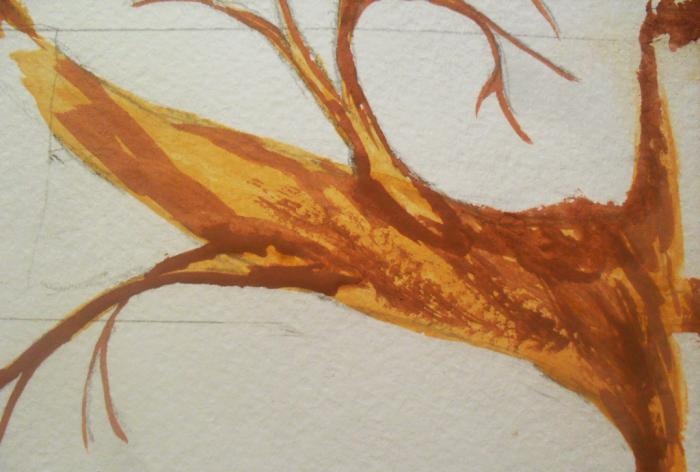
On top of the second layer of paint we also randomly draw lines with dark brown paint. Dark paint does not completely cover the previous color.
Draw the outermost completed branches.

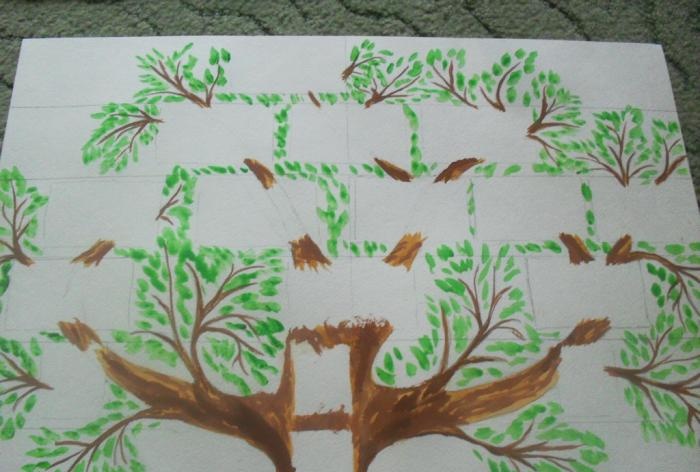
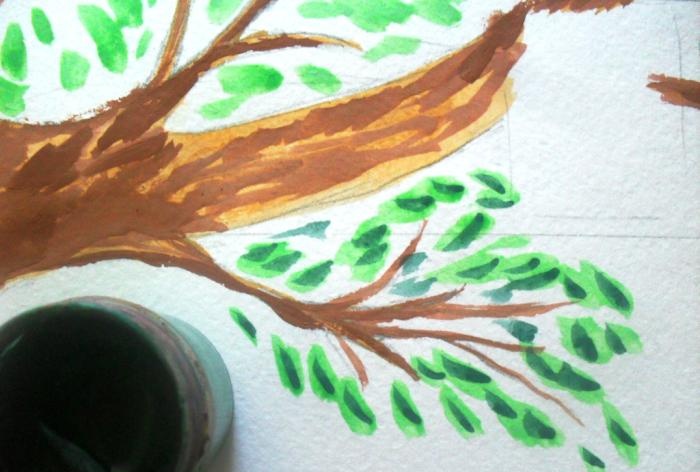
Stage four: draw the foliage.
We form the crown of the tree: we apply foliage simply by applying a brush to the paper next to the branches. Paint with light green paint.
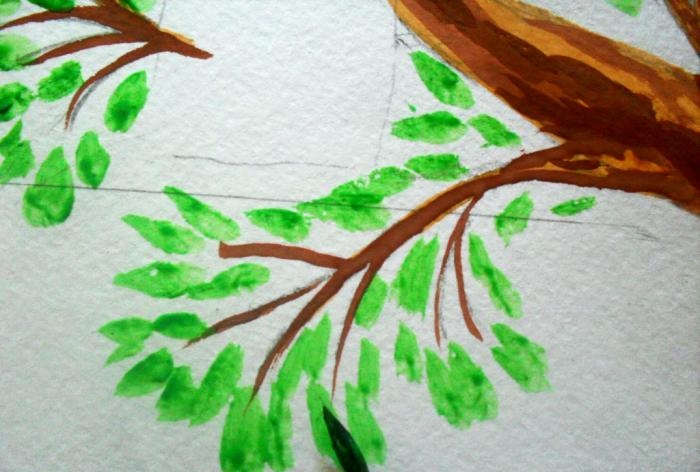
After the paint has dried, apply a stroke of dark green paint to each leaf (or next to it).

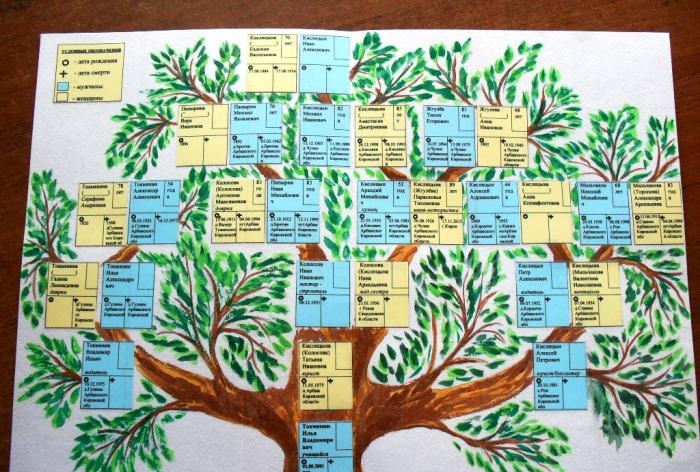
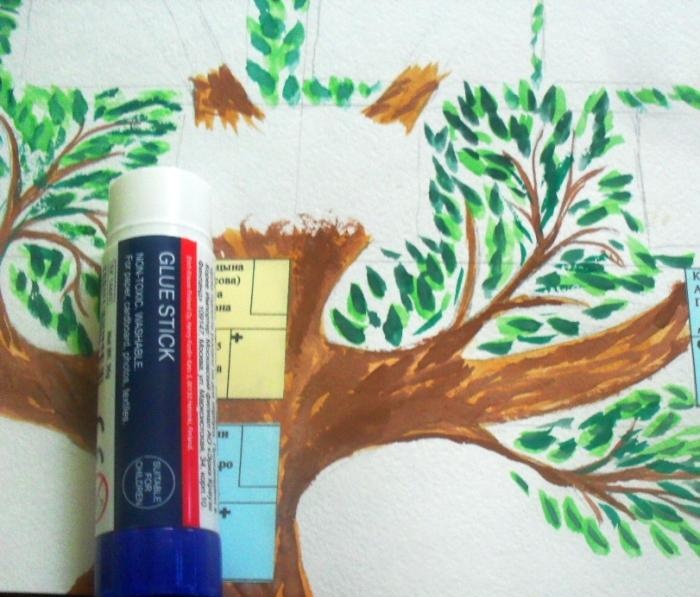
Fifth stage: we form the “ranks” of generations.
We glue the rectangles printed with information about our ancestors to the main sheet (trying to maintain the rows).
Use an eraser to erase all visible pencil lines.
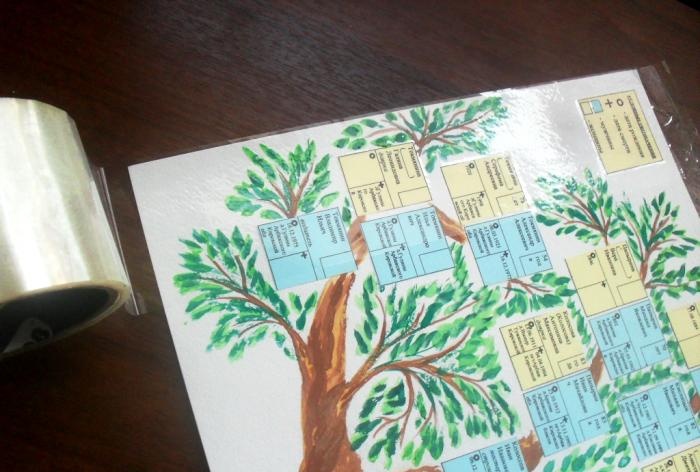
Sixth stage: final.
In order to preserve the information of the family tree and the integrity of the drawing, carefully glue wide stationery tape onto the entire surface of the A4 sheet (trying to glue without folds. If you do get a fold, pierce the air bubble with a needle and smooth it).
The family tree is ready! Information about the roots of the family is not only collected and summarized, but also immortalized.