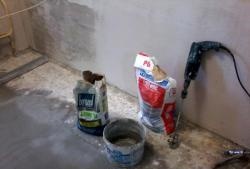
Checking the foundation.
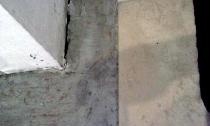
Even if you know for sure that the surface is close to ideal, an additional check still won’t hurt. Check the base for the tiles using the plaster rule and the building level. If you are very picky and demand that your work comply with GOSTs and SNiPs, then a deviation from the level of 1 mm per 1 m is quite acceptable. The gap is assessed similarly when checking the plane using the rule.
Of course, the requirements may be even higher. However, it must be understood that the tiler's desire for the highest quality will most likely be limited by the quality of the tiles. And it, as a rule, does not always correspond to the same GOSTs. For example, expensive imported tiles are often curved, like a propeller. And attempts to put these specimens aside will not always help to maintain even the simplest tolerances.
Advice:
The base must not only be level, but also durable, dust-free and grease-free. If there is any doubt about the strength of the surface, it should be carefully primed with a deep-penetrating primer.
After making sure that the base for laying the tiles is close to ideal, you can proceed directly to the installation itself.

First row image.
Working with tiles usually begins with drawing rows. You can draw not only a line of the first row, but also one perpendicular to it. And there is no point in drawing too many lines, since it is almost impossible to predict the run of the seams - due to the inaccurate dimensions of the tile itself.
Before drawing lines, you need to remember a few rules:
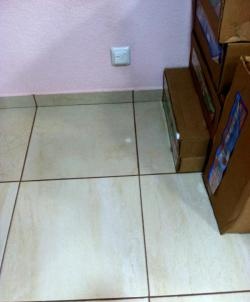
1. Start installation from the most visible and accessible place - mainly from the entrance to the room;
2. The gap between the tile and the wall should not exceed 15 mm, otherwise it will not be covered by the plinth;
3.Walls are extremely rarely perfectly parallel and perpendicular;
4. Cutting and pasting narrow pieces, especially in the shape of a “carrot”, is extremely undesirable;
5. If the proposed drawing is a panel, then it should be placed in the most visible place - in the center of the room, and lines should be drawn based on this.
Usually the tiler tries not to cut the tiles of the first row, which, as a rule, depends on the curvature of the starting wall. Having identified such a wall for yourself, you should find protruding places on its lower part - zeros. This is done using a rule.
It is from these zeros that you need to set aside the size of the tile when starting to draw. Usually add another 5 mm so that the tile fits exactly. This creates several marks on the floor. It is clear that not all of them are on the same straight line.However, you can choose something in the middle and as close as possible to the perpendicular of the transverse wall without any problems. It remains to make sure that the wall gap will be covered everywhere with a plinth. And now the first row is drawn.
Advice:
When diluting tile adhesive, you need to understand that there will be several batches, and they should all have the same consistency. If the surface is of really high quality, then the mixture can be made thinner - like yogurt. An important point is the absence of non-mixing.
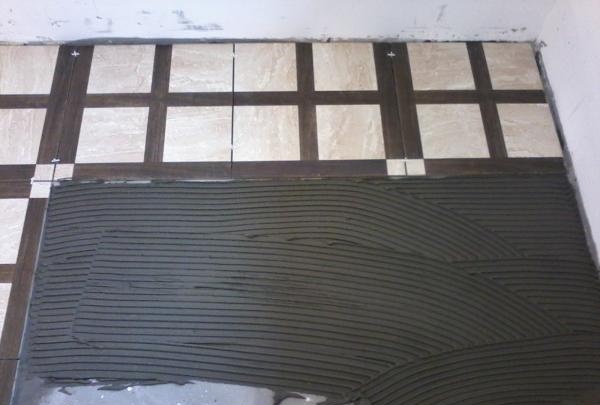
Laying the first row.
Starting from the entrance, you should not lay the very first tile so that it does not interfere with walking. Simply mark it with a pencil. And under the remaining tiles in the row you can apply glue.
Advice:
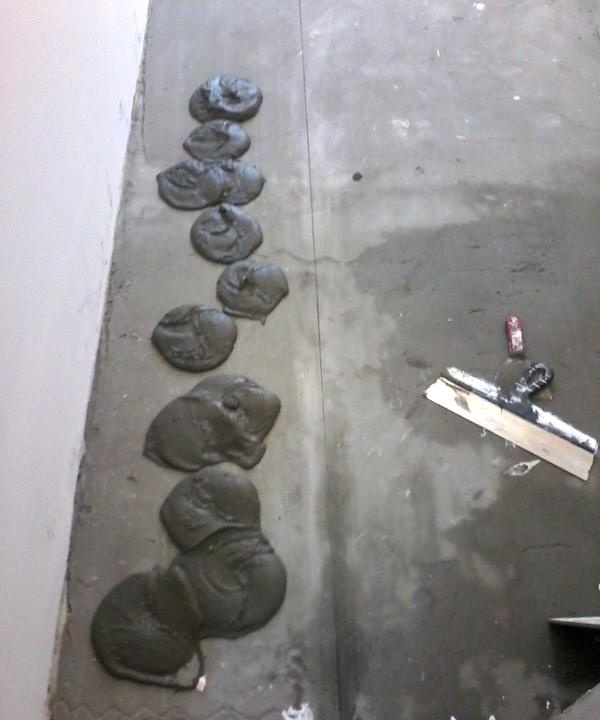
It is most convenient to apply the glue carefully under a specific number of tiles. The bigger, the better. The main thing is that you can reach each of them.
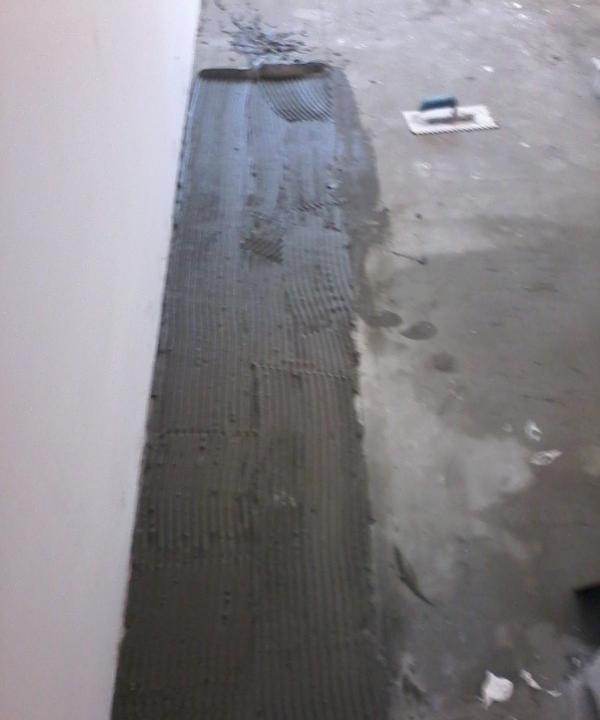
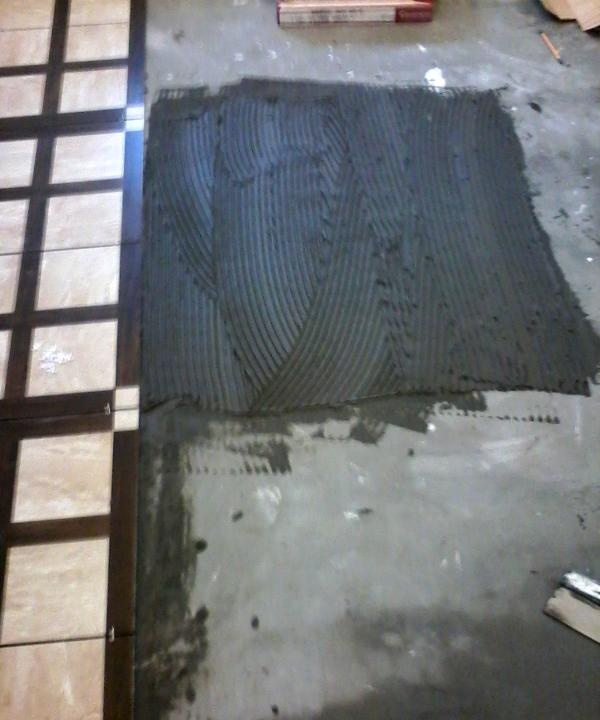
Having thrown several “cakes” onto the floor, they are leveled with an ordinary spatula and all excess is removed with a “comb”, that is, a notched spatula. By the way, the size of these cloves depends on the quality of the base and the size of the tile. The most popular “comb” has teeth measuring 8 - 10 mm. When applying glue, you need to try not to cover the line at least partially.
Advice:
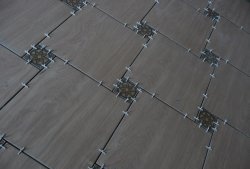
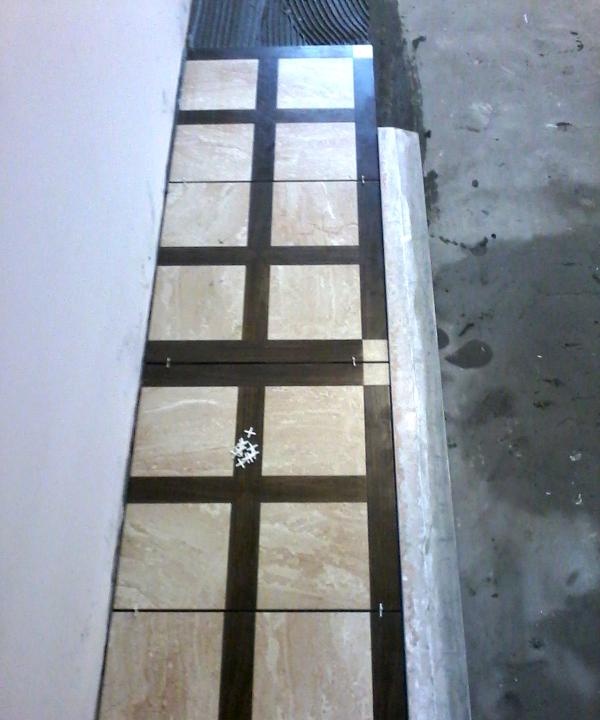
The size of the crosses used depends on the quality of the tile. For average quality floor tiles, 3mm crosses are usually used.
Now you can lay the tiles. This should be done without pressure, immediately leaving gaps for the crosses. Having laid out the tiles on the area of the floor with glue, you need to insert crosses for the tiles. Then the plaster rule is taken and applied to the face plane being tested. If necessary, some tiles can be slightly pressed down or lifted.But it is undesirable to add a significant amount of glue, as this will definitely affect it in the future. It is better to move several tiles on the problem area.
Advice:
In order to slightly raise one corner of the tile, you need to slightly press down the other - the opposite one diagonally.
After checking the face plane of the laid tiles, you need to make sure that all the tiles lie along the line. To do this, you simply need to apply the plaster rule to the end of the laid row of tiles. In addition, it would be useful to look at the plane’s compliance with the level. And it’s okay if the base surface is a little non-horizontal. If only the tile was strictly parallel to it.
Advice:
To check the parallelism of the tiles and the base, you can use a beacon. For this purpose, a piece of gypsum fiber board, gypsum board or something else with a thickness of 9-10 mm is suitable. This beacon is simply placed on the base surface, and then the plaster rule is taken into hand.
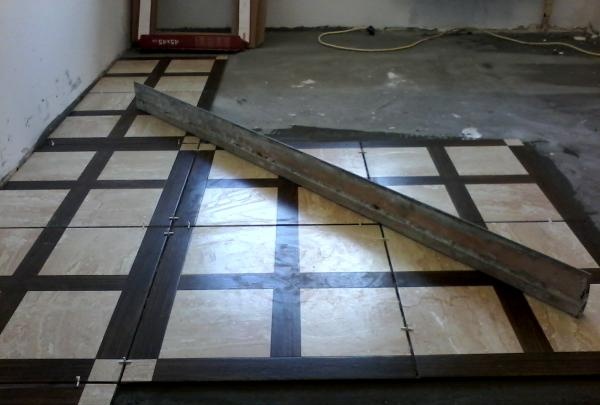
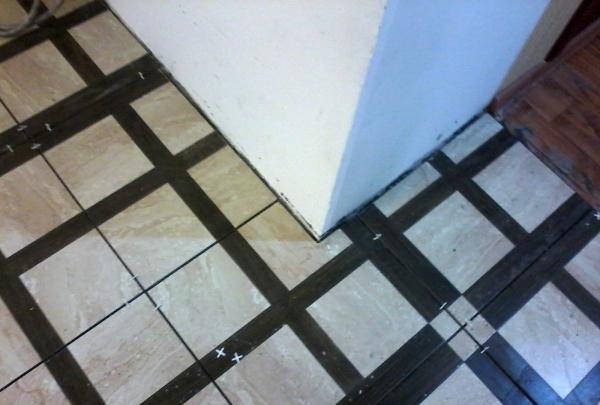
Laying the central part.
Having laid the first row of tiles, they begin to install the most voluminous and visible part of the surface. The fact is that any ceramic tile is imperfect in its dimensions. Even in the same package, copies may differ in size. Of course, with the help of crosses this drawback is somewhat mitigated. However, as a rule, the clearest and most beautiful section is obtained precisely at the starting point. This area should be located in a visible place. And it is better to move all shifts towards unnoticeable edges.
Advice:
Crosses for tiles are usually thinner at the end than at the front. Thanks to this, each cross has two working sizes, which is a great help when adjusting joints.
Floor tiles are often quite large.Therefore, if you apply adhesive under a large number of tiles, it will be difficult to reach them. However, it’s quite possible to master six pieces. And the tiles glued in one fell swoop are very convenient to adjust and move as needed. In addition, having laid such a decent section of floor, you can immediately lay the same one next to it. The first one, in this case, will not have time to set, which means that, if necessary, any tile can be corrected.
Advice:
There is no point in checking the flatness of each tile; its unevenness will interfere with an objective assessment. You can place a plaster rule on the front surface when the tiles lie in a rectangle. If only they didn't have time to grab each other. Then it will be possible to eliminate the shortcomings.
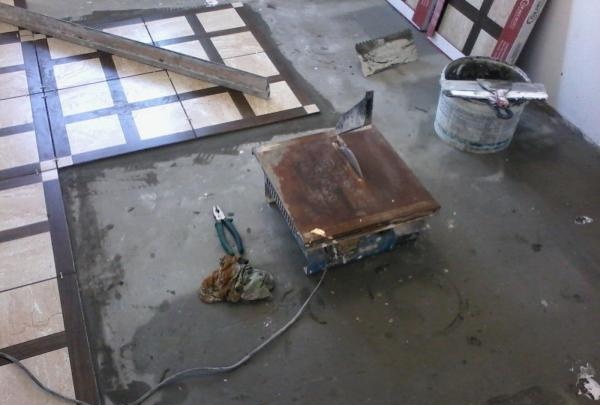
Cutting and laying pieces.
Many tilers leave trimming until the next day to ensure the tiles dry thoroughly. However, when working with a well-prepared surface, laying the main volume will take very little time. For example, a medium-sized kitchen can be laid out in just a couple of hours. The question is, why not do the pruning right away?
And in order not to trample on fresh tiles, trimming is done simultaneously with laying the main volume. Of course, in some places you will have to leave paths, which will also be paved with tiles along the way.
Advice:
Often the glaze pattern does not allow you to cut and rotate the pieces in any order. However, to avoid overuse of tiles, you can find completely invisible places, for example, under the kitchen unit.
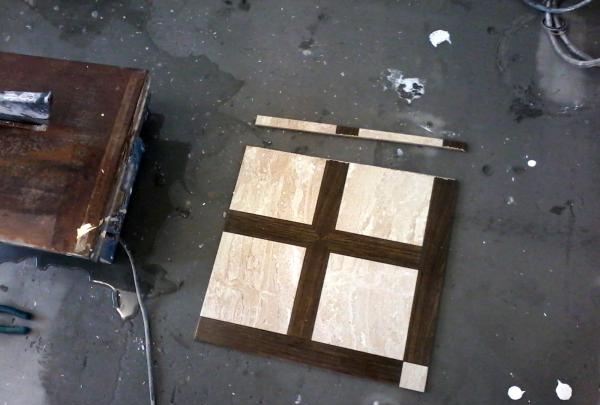
The actual cutting of ceramic or porcelain tiles is carried out using various tools and technologies:
• Angle grinder (grinder);
• Electric tile cutting machine;
• Manual tile cutting machine;
• Exotic methods (glass cutter, tungsten wire, jigsaw with tungsten file).

For an inexperienced tiler, it will probably be most convenient to work with an electric tile cutter. True, it is not always available, but a positive result from its use is guaranteed. Moreover, all the cut edges, as a rule, are hidden under the baseboard.
But an ordinary small grinder is the easiest to get. And finding circles for cutting porcelain tiles is not a problem. True, using this tool requires some skills, but you can just practice.
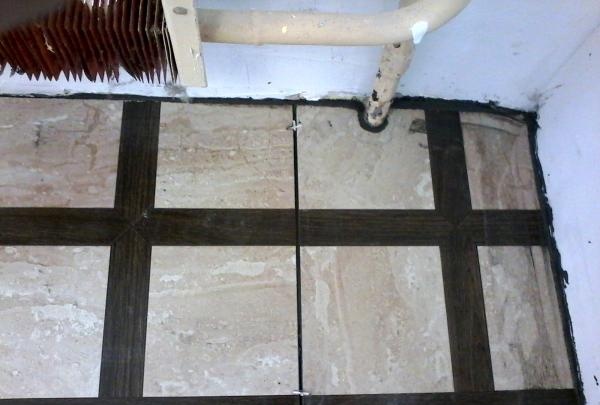
Advice:
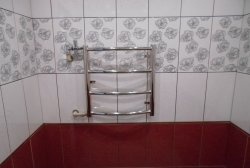
Problems may arise with cutting holes, say, for heating risers. But, in fact, this difficulty can be solved with ordinary pliers or a small gas wrench. They just need to bite off the tile little by little. The main thing is not to try to bite too much, so as not to break it incorrectly.
The pieces are glued, as a rule, without problems. By the way, it is often easier to apply glue to a piece rather than to the base surface. The main thing is to moisten it with water.
After allowing all the tiles to dry, grout the tile joints.