What do you need for work? Minimum materials. Collect leftover knitting threads of different shades and textures from your neighbors and friends (the more, the better). Buy a sheet of hardboard and have your husband cut it into rectangles and squares - this will be the basis for the pictures. Also buy a tube of PVA glue and well-sharpened scissors. To make it convenient to glue the threads to the base, you also need a thin wooden stick (long skewer). That's all the material and tools.
Where does any craft begin? Of course, from an idea. Choose the image you like best. If you can draw beautifully, then there is no problem. But even for those who are a little struggling with fine art, there is a helper - the Internet. In the “Coloring” sections there are many graphic drawings that will be very helpful in the technique of thread printing.Print the image you like onto a sheet of paper, and then transfer it to a thick base.
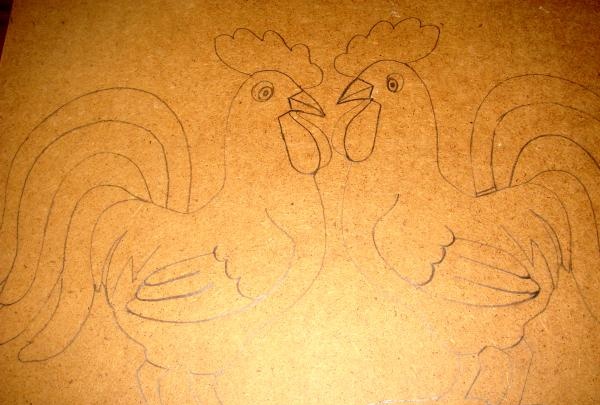
For example, here's a rooster.
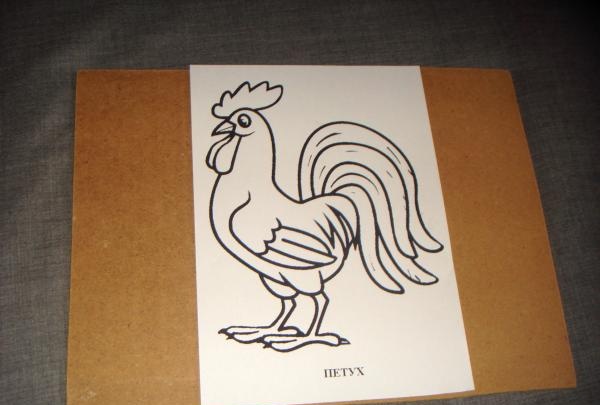
You can draw two identical drawings of this bird. This idea is suitable for a birthday gift for a married couple in which the husband and wife are the same age, born in the year of the Rooster. The work can be called “I look at you like in a mirror” (if the couple lives in perfect harmony), or “Who wins?” (if in a relationship the husband and wife quarrel a little, like two roosters in a village yard).
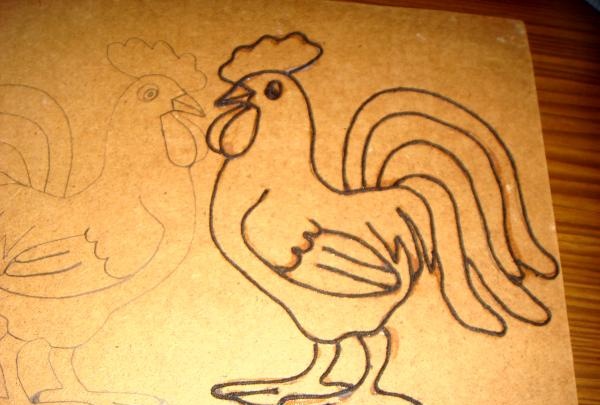
Next you need to glue a black thread all over the graphic design. This is necessary in order to clearly draw the contours of the images. If you don’t like clear boundaries, then you don’t have to do this stage of work.
The knitting thread is easily fixed to the base using PVA glue. So that it does not move and sticks evenly, you can guide it with a thin wooden skewer or a rod from a pen.
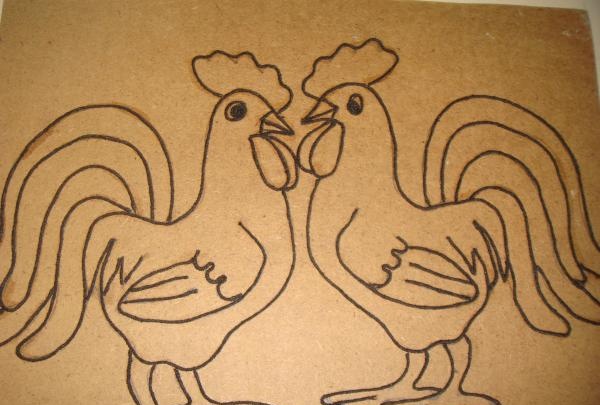
This is how the contours of the roosters are clearly visible.
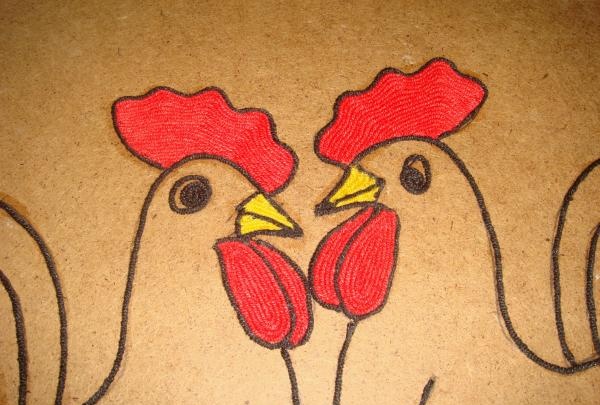
Now it's time to “color” the image with colored yarn. Choose thread colors and fill individual elements of the design with them. For example, roosters' combs should be red. Gradually glue one thread next to the other, cutting to size.
Glue is applied to the base in a small amount.

Then fill the birds’ beaks with yellow thread.
Gradually moving towards the body and feathers of the roosters. The alternation of colors can be either smooth or contrasting.
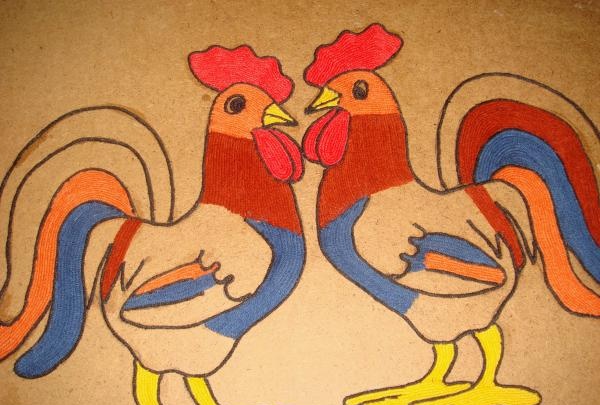
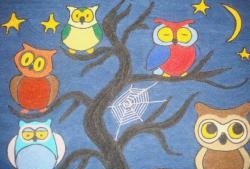
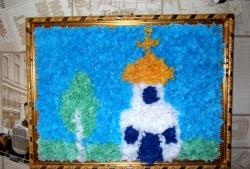
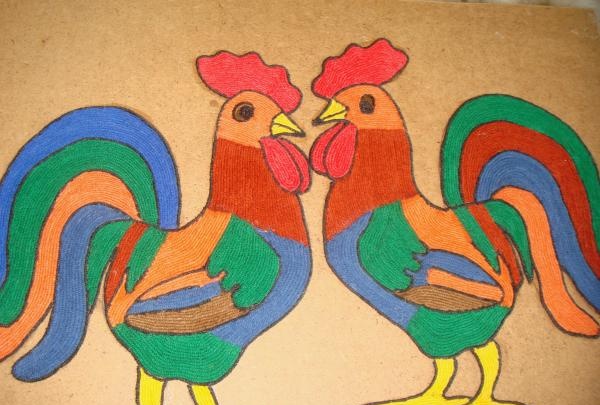
This is what the image looks like, completely covered with stripes of colored knitting threads.
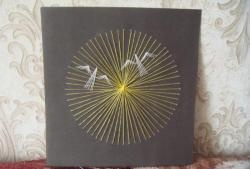
All that remains is to sketch the background. If you want, you can do this with a pencil, but a background made of threads will look better.
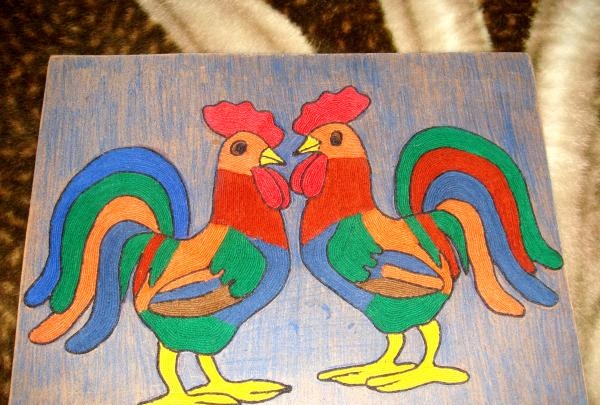
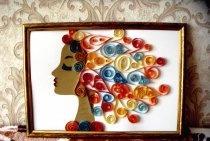
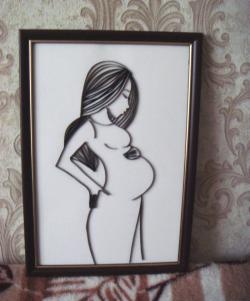
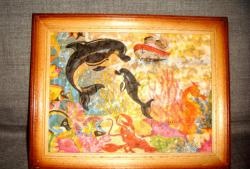
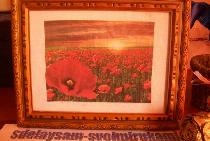
You can give a picture in a frame, but only without glass, so that the texture of the work is noticeable.
If you use yarn of different thicknesses and textures, the picture will be more embossed and voluminous. When using threads of the same quality, a more uniform and smooth surface results.
Don’t be afraid to try something new and unusual, go for it and you will succeed!