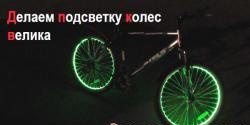
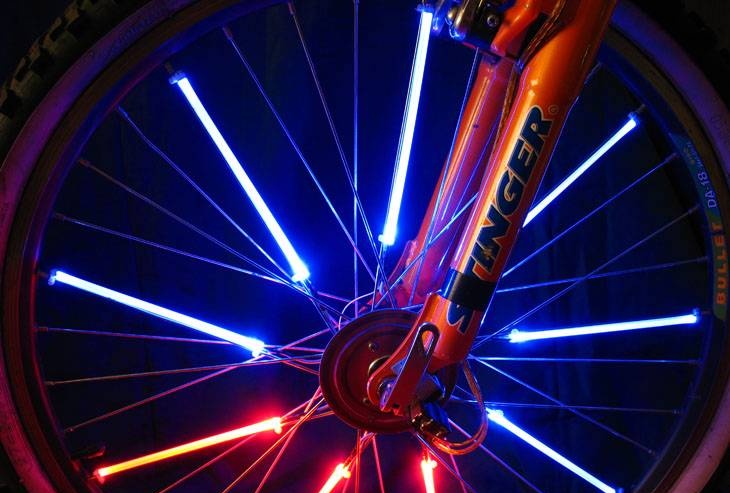
This is so awesome LED backlight Anyone can make one for their own bike with their own hands. There is no trick, and the result exceeds all expectations.
In fact, I have long dreamed of such lighting, but store-bought devices were beyond my means, and, in principle, not only me - expensive and stupid!
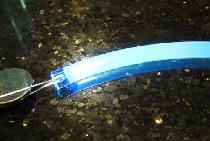
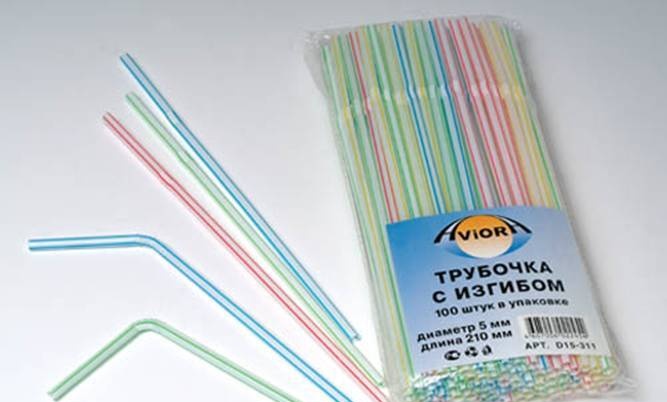
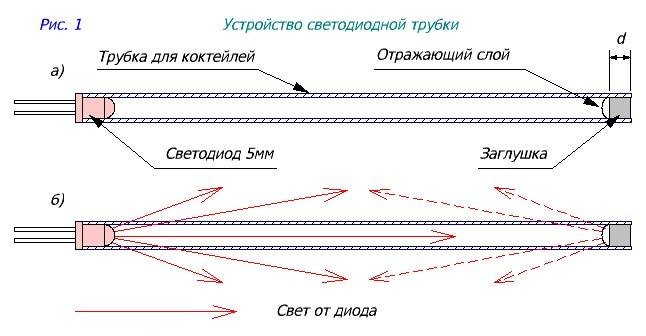
But one day a cocktail straw fell into my hands and I immediately stuck 5 mm into it Light-emitting diode. Light-emitting diode sat like a glove! Next, my brain came up with a way to attach it to wheels and a way to transmit electricity!
Necessary things
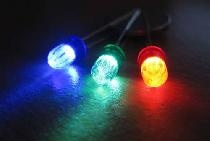
1. LEDs increased brightness (color to taste), 5mm in diameter. - the quantity is at your discretion, I took 18 pieces, 9 per wheel.
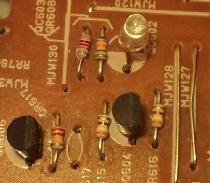
2. resistors by quantity LEDs.
3. heat shrink - 1 meter
4. installation wire - 1 meter
5. foil fiberglass ~ 120x120mm - 2 pcs.
6. clamps (ties) 100 mm - 1 pack.
7. 4 batteries (AA)
At an auto parts store:
8. generator brushes for VAZ 2101 - 2 pcs.
In food:
9. cocktail tubes by quantity LEDs
Let's start assembling
It is necessary to cut off the corrugated section of the tube with scissors.
We insert an LED and a plug into the resulting tube.
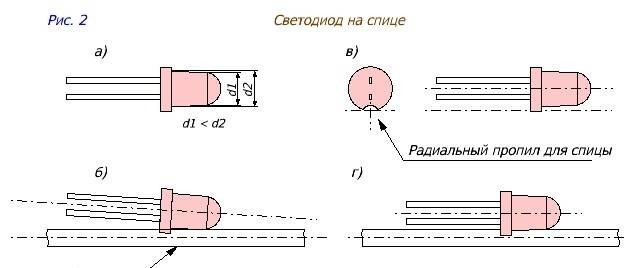
Before inserting the LED into the tube, it needs to be modified. The fact is that the LED is not round, but has a cone and a protrusion at the very bottom. And such an LED cannot be attached tightly to the spokes!
What to do ? - It is necessary to make a cut with a needle file according to the diameter of the knitting needle. See picture.
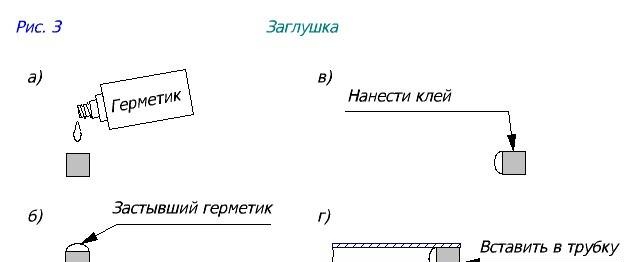
Now about the stubs. I took a piece of aluminum wire with a diameter of 5 mm. and long enough for fastening with a clamp. In general, you can use a second LED, then it will be even brighter!
Our plug must be placed on a sealant or “moment” type adhesive.
When installing the LED, problems may arise: the diameter of the straw may be smaller! And that’s why it needs to be flared. For example, with a pencil or by squeezing it quietly in a vice.
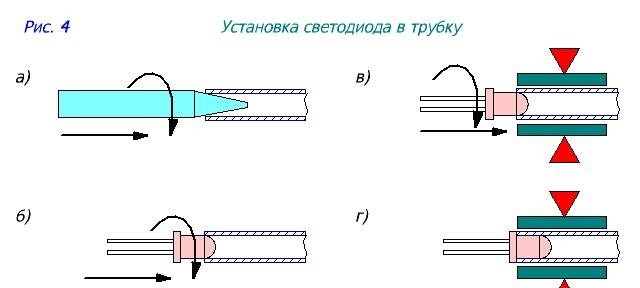
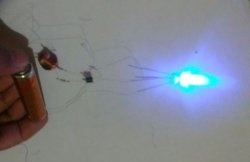
So - our “neon” is ready!
It is necessary to calculate the resistor
Resistor R is determined by the formula:
R = (V S - V L) / I
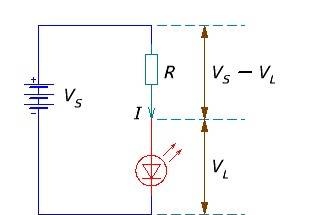
VS = supply voltage
V L= forward voltage calculated for each type of diode (usually 2 to 4 volts)
I = LED current (eg 20 mA), this should be less than the maximum allowed for your diode.
If the resistance size cannot be selected accurately, then take a resistor of a larger value. In fact, you are unlikely to notice the difference; the brightness of the glow will decrease quite slightly.
For example: If the supply voltage V S = 5.15 V, and there is a green LED V L = 3.5 V, requiring I = 20 mA = 0.020A, then R = (5.15 - 3.5 V) / 0.02A = 82.5 Ohm. In this case, you can choose 100 Ohm (nearest standard value which is greater).
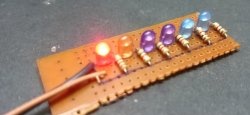
After we have calculated the value of the resistor, you can safely purchase and solder it to the LED leg.
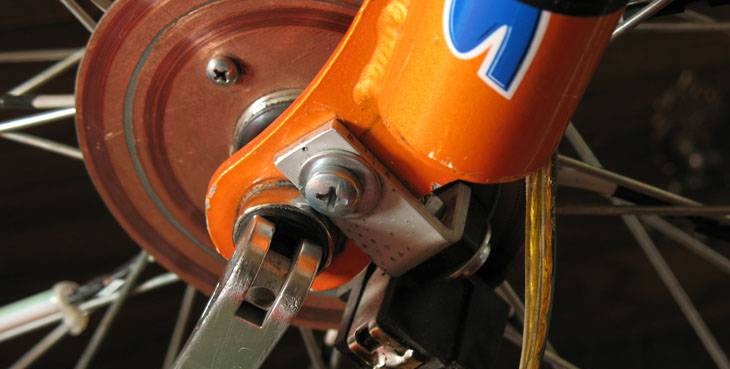
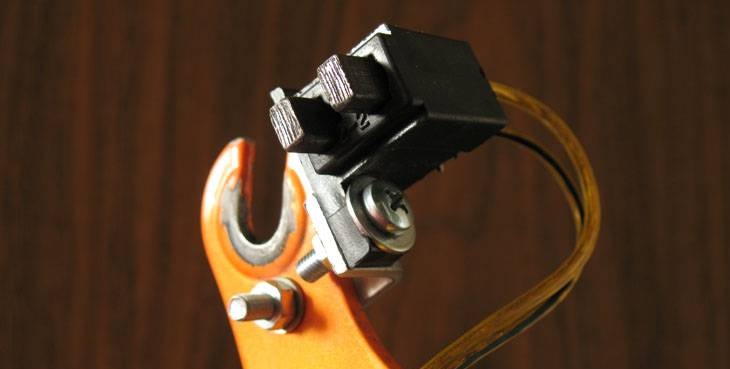
Fastening brushes.
The brushes will have to be attached in place, because different models of bicycles have different geometries and a number of additional holes. You will have to solve this problem yourself. I can only advise one thing - the closer the brushes are to the wheel axis, the better, this helps to reduce the diameter of the current collector disk.
At worst, you can install batteries on the wheel, closer to the center, thereby eliminating the brushes, but this operation is at your own risk.
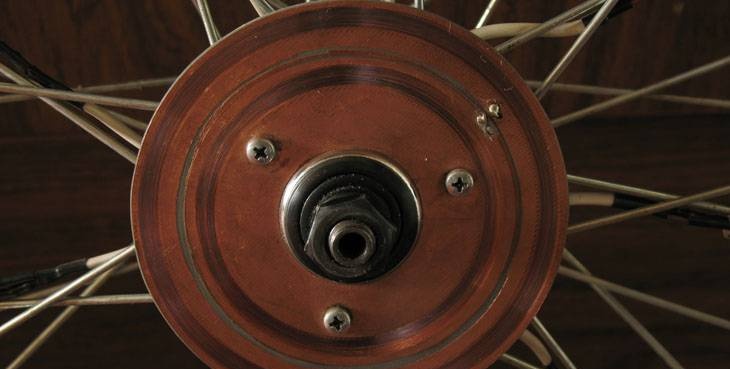
Current collector.
You will need foil fiberglass laminate, approximately 120x120 mm. See photo.
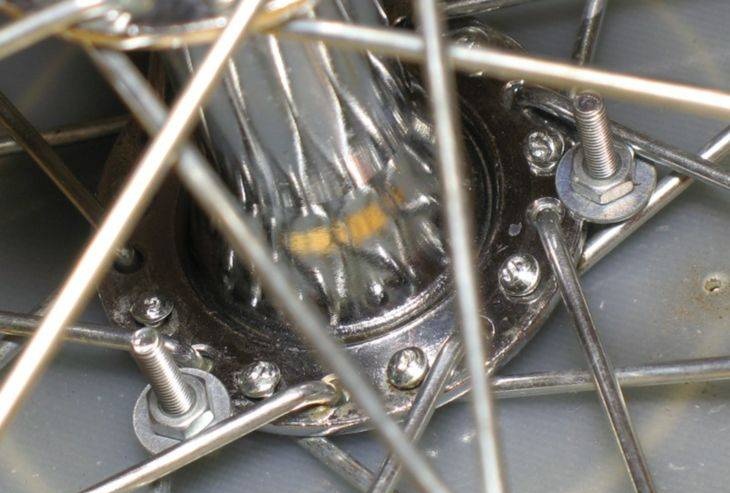
It is best to mount the pantograph or the disc brake (if there is one), it has a ready-made mount with screws.

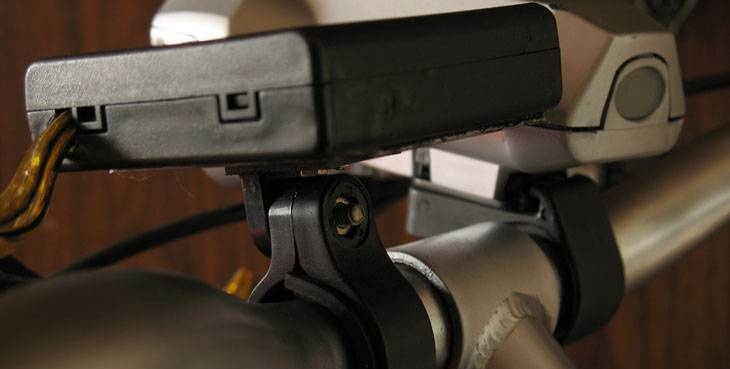
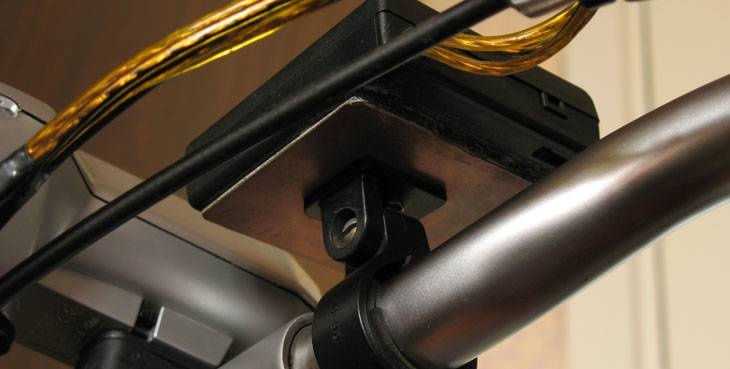
I used 1400 mA/h Ni-MH batteries as batteries.
The holder can be taken from the rear seat reflector and a PCB pad can be attached to it with screws.

We glue the battery box to the platform.
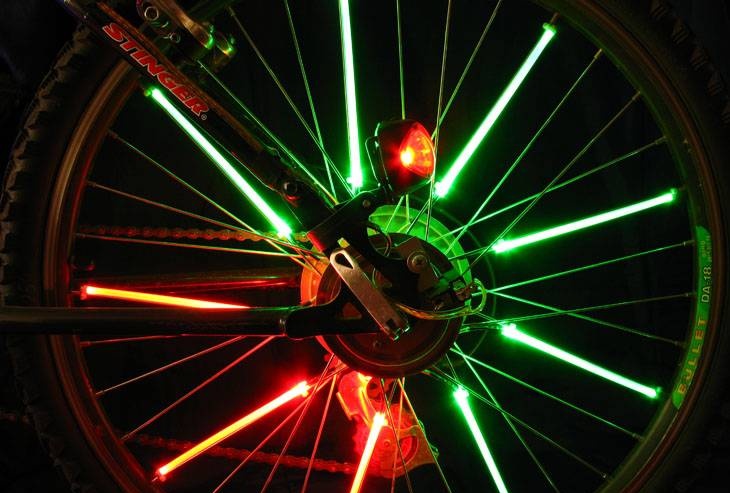
To ensure a symmetrical distribution of the tubes on the wheel, we install them on one side; during operation, it is generally not noticeable that they are on the side.
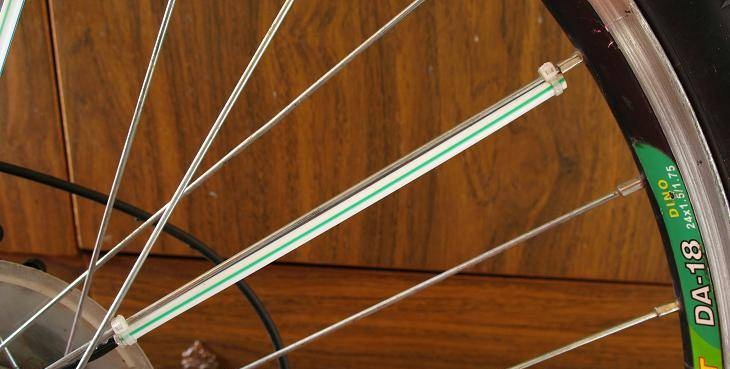
We secure the LED tubes with ties (clamps) to the plug and the LED. Please note that the tie lock is located on the spoke. Use side cutters to cut off the extra tails of the ties at the root of the lock.
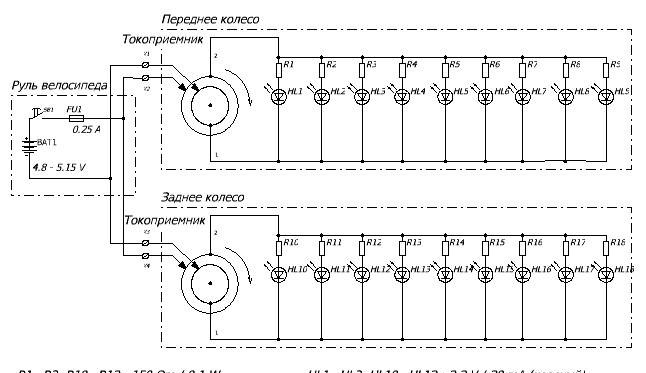
Device diagram.
It's not just straws that can be used as glow tubes. For example, my friend used IV tubes filled with glitter gel, which also turned out quite original.

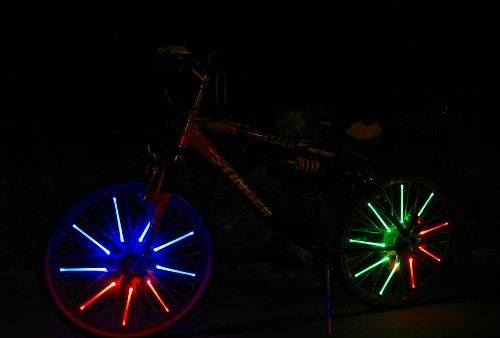
Happy night racing!