To make them, I took blue fabric, threads, frills, pinning needles, filler (cotton wool), blue and red rhinestones, cardboard, yellow and pink nail polish, as well as a folder - a binder, paper tape, scissors, a reliable glue, two white beads, transparent beads and blue fabric.
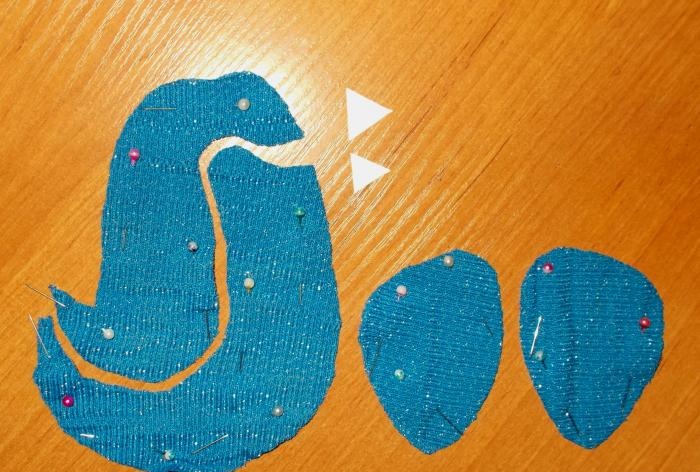
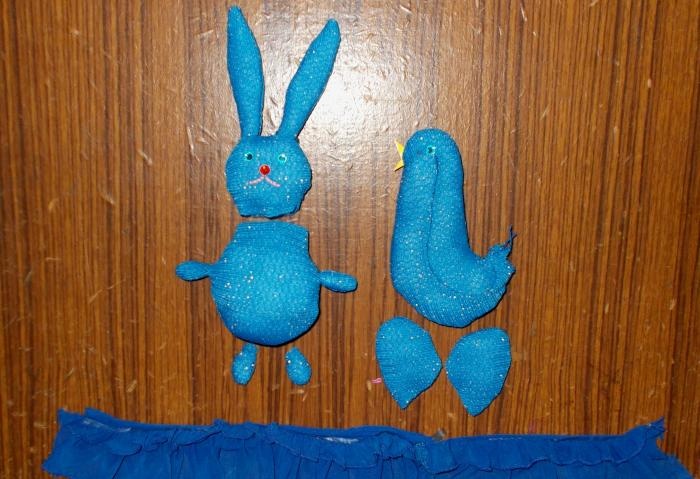
When starting work, I cut out samples of future toys from paper, which a little later will need to be divided into separate parts. These parts will need to be pinned to blue fabric and parts cut out from it with a small indentation (from 0.5 cm):
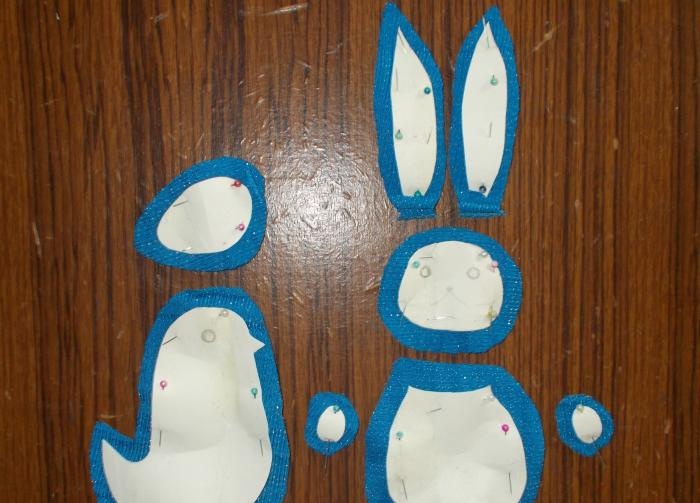
Next, I remove paper samples from the fabric and divide the part of the bird’s body into two parts, after which I cut out two parts from cardboard to make up the beak:
After this, I sew together the four parts of the toy’s body, forming two sides, and paint the beak parts with varnish.
I paint one side of the beak parts (top) with yellow varnish, and the other (bottom) with pink. You can take nail polish:
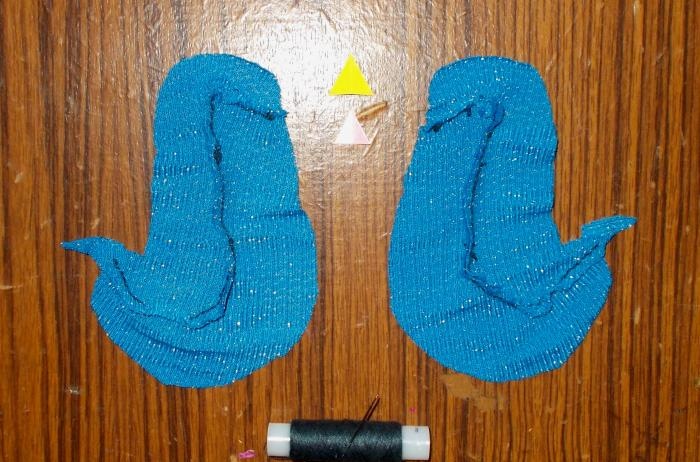
When the varnish has dried, you can sew both parts of the body, placing the beak parts inside. Then you can sew the wings, leaving small areas of them unsewn so that you can then turn the craft inside out.
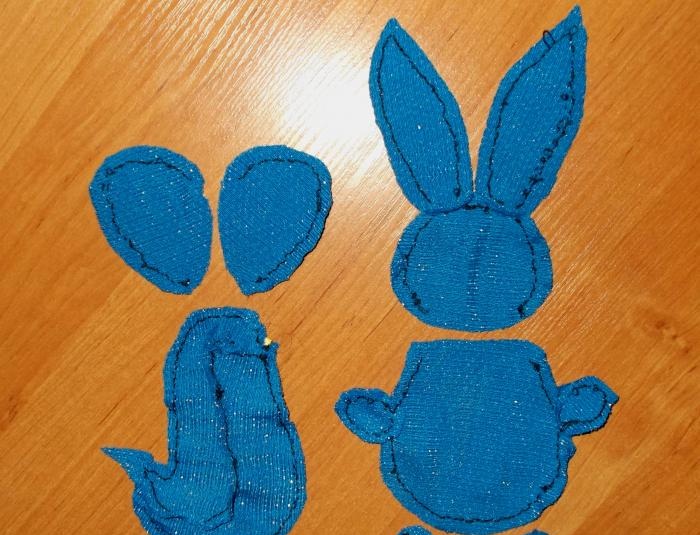
After sewing the bird is completed, I will begin sewing the rabbit.
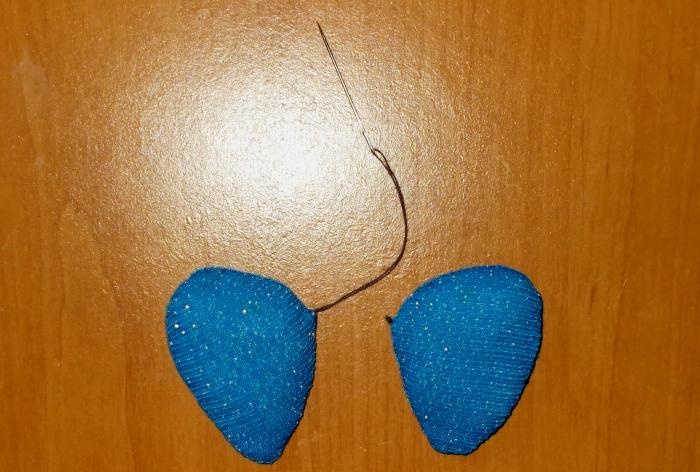
I also sew the parts of the toy rabbit with a slight indentation. During the work, I sew the details of his ears to the head, and the details of the paws to the body:
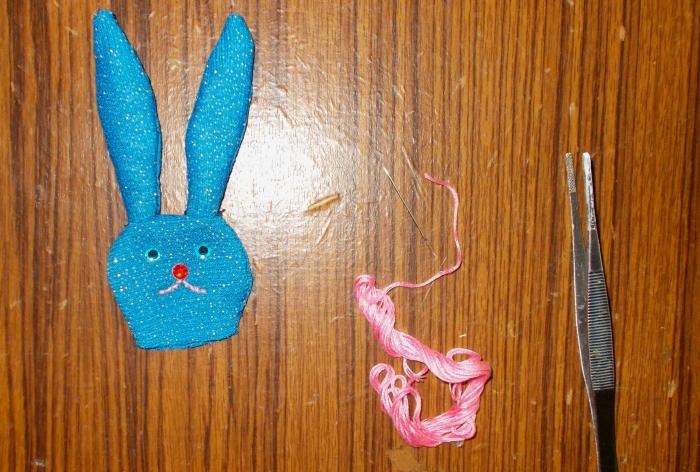
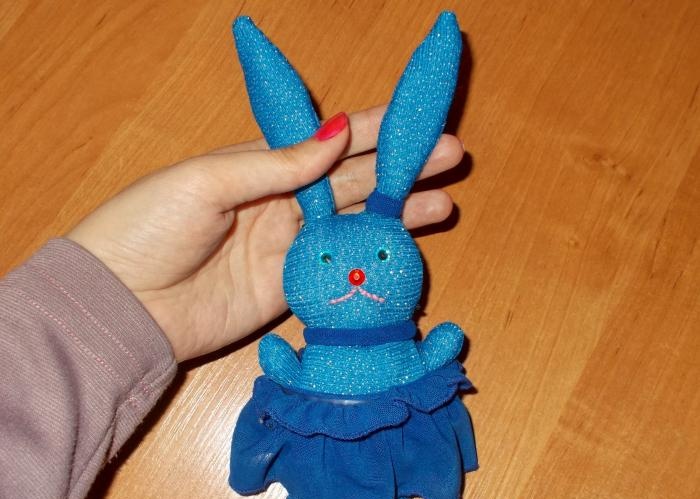
Next, I turn the parts inside out and glue blue rhinestones as eyes to the heads of the crafts. For the bunny, I choose one red rhinestone for the nose and embroider the mouth with pink floss. After that I will fill both crafts cotton wool:
When both crafts are filled with cotton wool, I will take the frilly fabric:
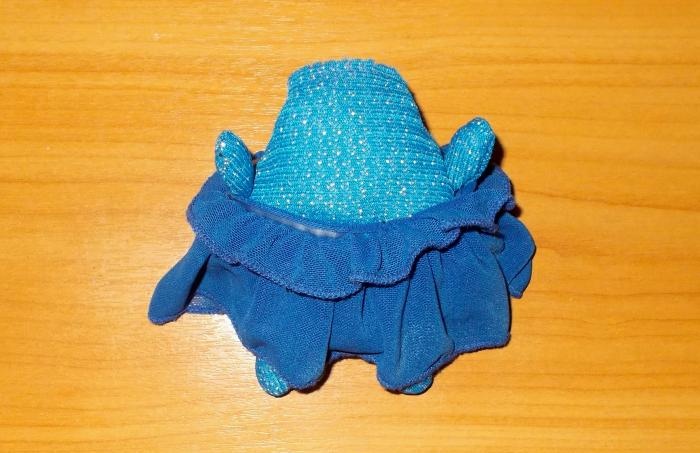
After sewing up the cotton-filled paw parts, I attach them to the bunny, after which I divide the frilly fabric into two parts and sew it onto the toys:
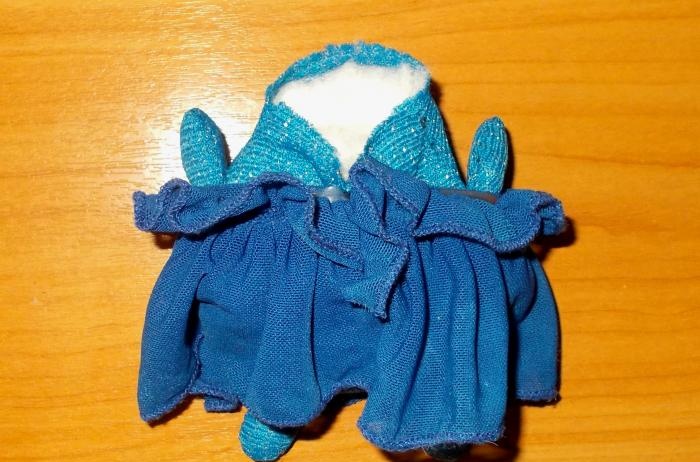
In order for the frilly fabric to maintain its position on the craft, it can be hemmed to the fabric of the craft itself:
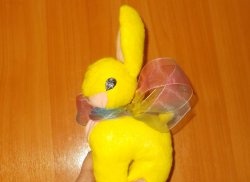
Next, I sew a thin strip of blue synthetic fabric along the length of the toy rabbit’s neck:
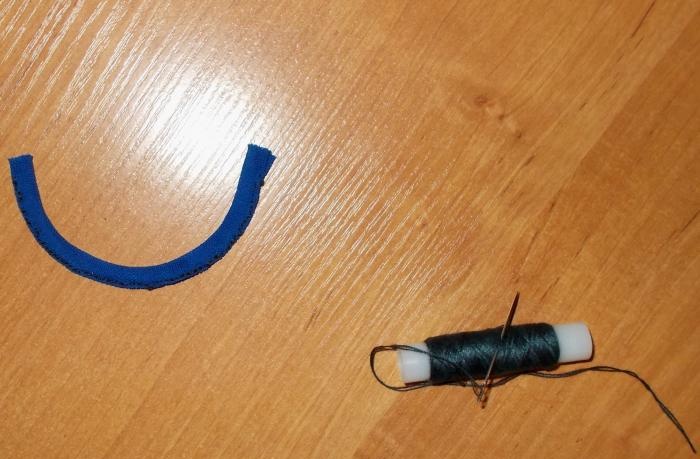
Now I sew the head to the body of the toy and sew a thin strip to its neck. The toy will need a second thin strip to support one of its ears:
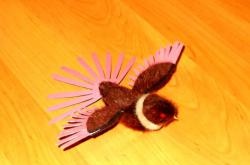
Getting to work on the Easter bird, I sew its wings:
After that, I sew up the hole in the toy bird through which the cotton wool was inserted into it.
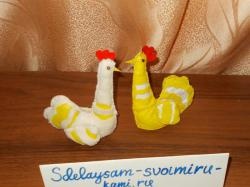
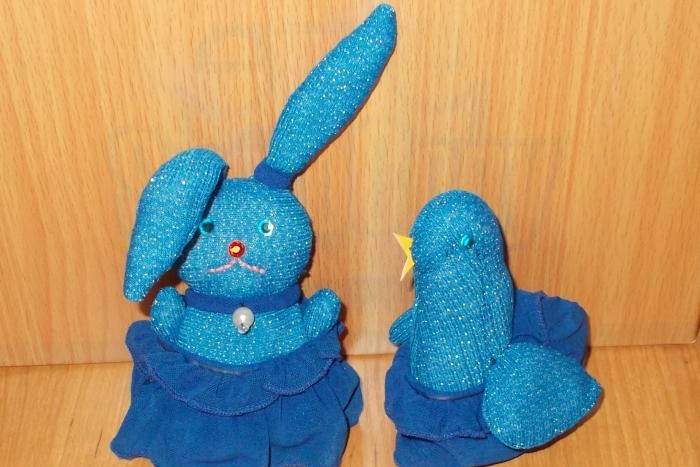
When a white bead is attached to the rabbit, and frills and wings are attached to the bird, they will look like this together:
For the bird, you will also need to make a thin strip of blue fabric with a bead, but for now I’m starting to make an openwork cross shape.
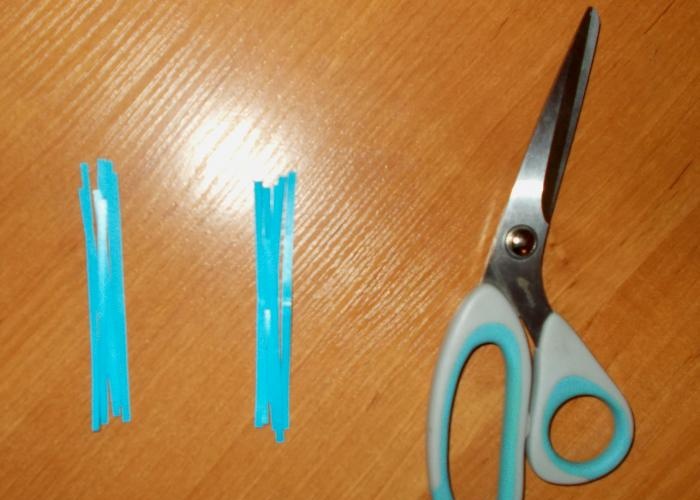
To make it, I take a blue sheet from an old binder and cut it into many thin strips:
I glue these strips in the shape of petals using paper tape:
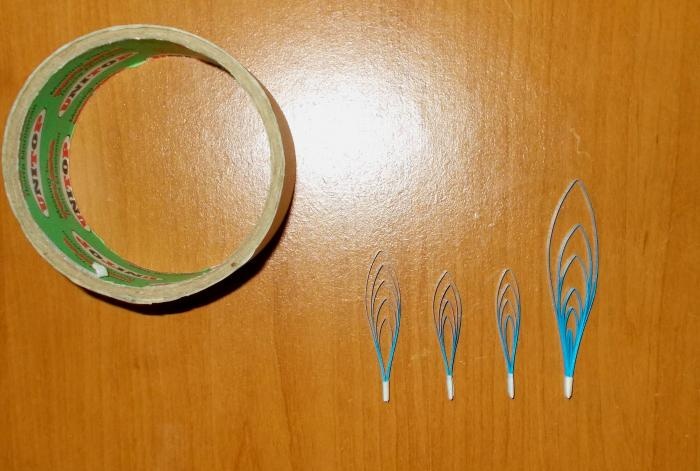
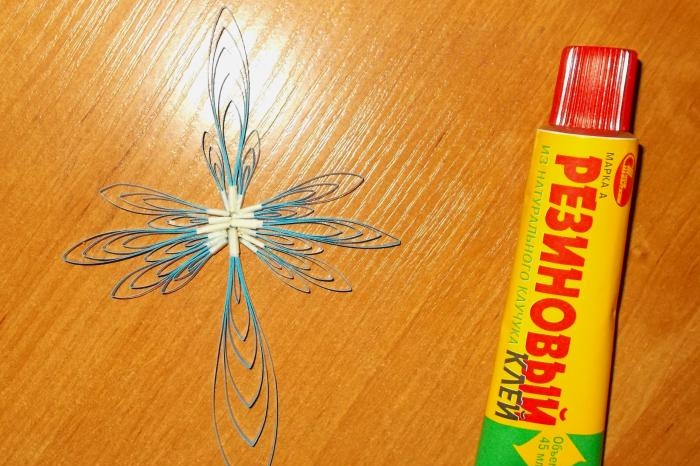
When creating the shapes of openwork petals, I make 4 large shapes, 4 “medium” and 8 small ones, which a little later, forming the shape of a cross, I glue together using reliable glue:
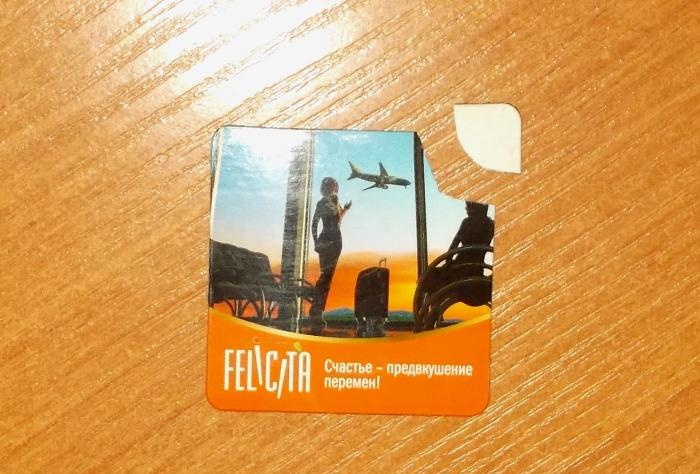
Next, I cut a small part from the magnetic plate to glue it to the cross. I separate the paper surface with the image from the plate, leaving a small layer of paper so that the magnet can be more reliably glued to the areas of the figure wrapped in paper tape:
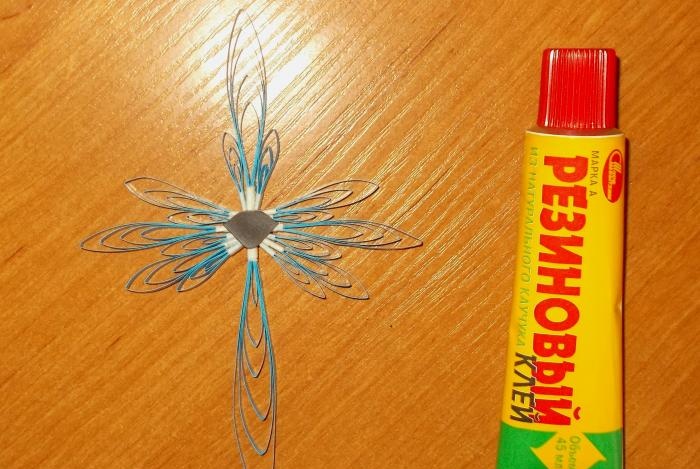
Now I glue the magnet to the cross figurine using reliable glue.
Such a small piece of magnet is enough for the figurine to stick well to the iron surface:
After that, I sew a thin strip of blue fabric for the toy bird and decorate the strip with a bead. If desired, you can glue rhinestones to the cross figure for decoration:
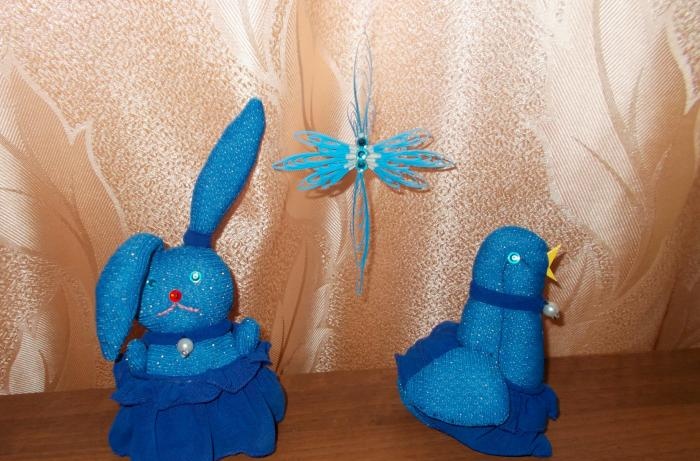
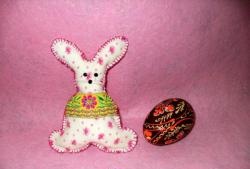
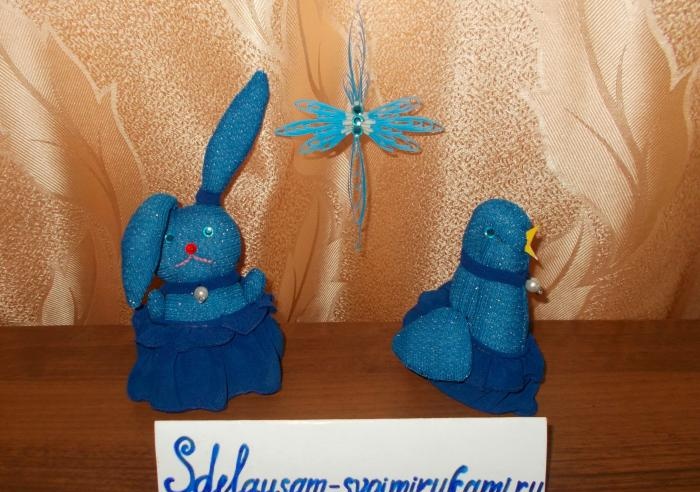
After this, both of my Easter crafts will be ready:
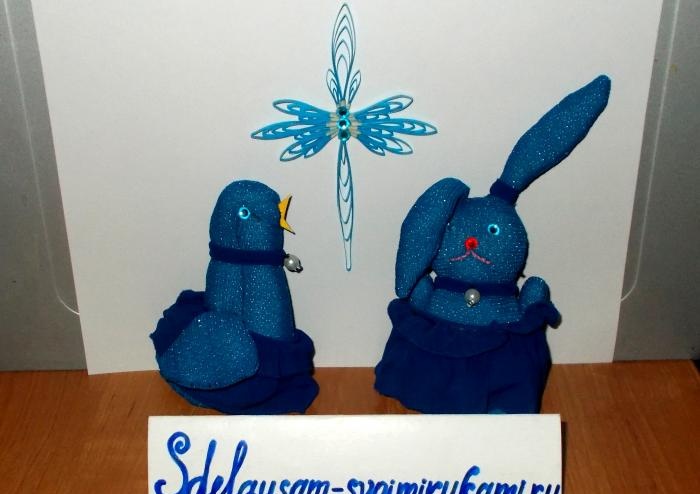
Sincerely, Vorobyova Dinara.