Indirect signs of a faulty power cable - the electric drill simply does not turn on or works intermittently. In this case, there is voltage in the socket, but there are no signs of mechanical failure of the tool (the drill chuck rotates freely by hand).
Preparing for work
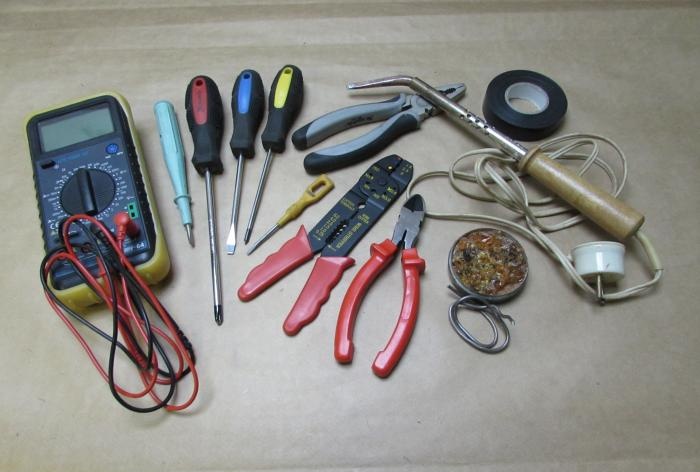
To check and subsequently repair the drill you will need a tool kit:
- Screwdrivers.
- Wire cutters.
- Insulation removal pliers.
- Multimeter or indicator screwdriver.
- Soldering iron.
- Solder, rosin.
- Insulating tape.
You can do without the soldering kit needed to tin the wires. The drill will work fine, but we recommend tinning the wires for two reasons:
Copper conductors will oxidize much more slowly, which means reliable contact will last longer.
The solder is guaranteed to hold all the wires together, ensuring the passage of current throughout the entire cross-section of the conductor.
If you need to replace the cord with a new one, purchase a cable with a rubber sheath, which is much more elastic than PVC film. There are many types of flexible wires, the most common are “KG” (Russian) and H-07-RN (foreign). Select the length of the cord that is convenient for work; according to professional experience in using an electric drill, the optimal length is about 4 meters.
The cable cross-section depends on the power of the tool:
- up to 500 W – 2x0.75 sq. mm.;
- up to 900 W – 2x1.0 sq. mm.;
- up to 1500 W – 2x1.5 sq. mm.
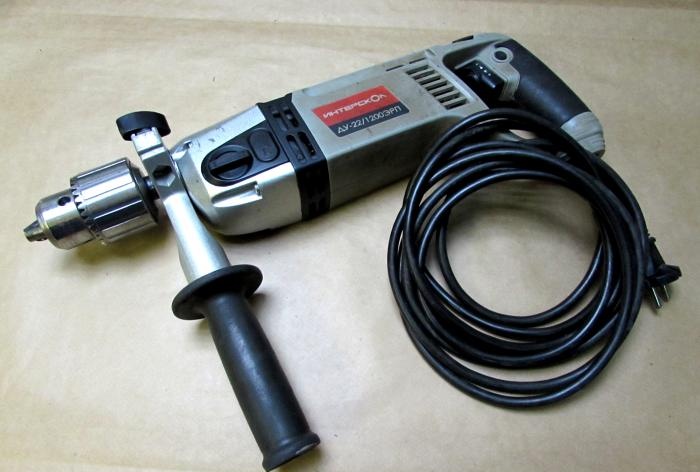
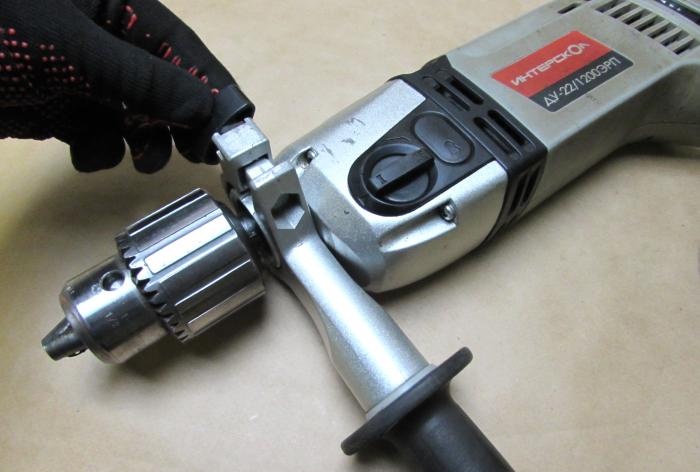
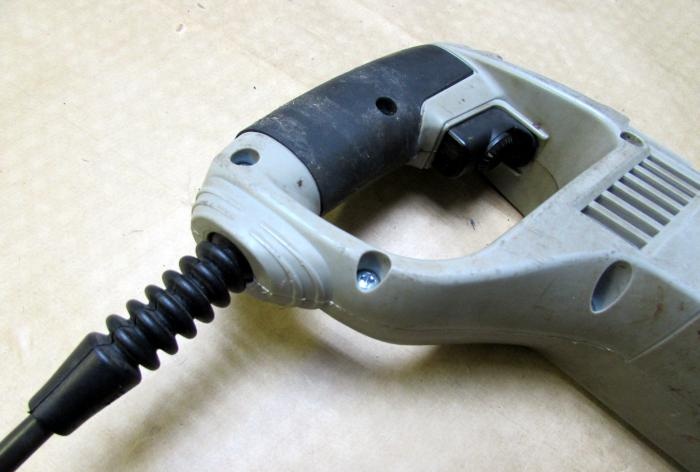
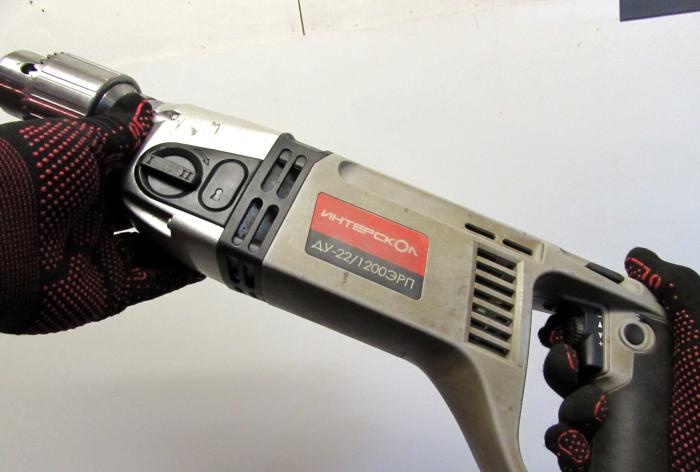
Before use, remove the side handle of the electric drill so that it is not in the way.
Fault diagnosis
Before disassembling a non-working drill, plug it into a power outlet and move the power cable near the entrance to the case by pressing or locking the power button. The tool will show signs of life if the cause of the breakdown is chafing of the wires in the bends of the cord.
Unplug the cable from the outlet and begin disassembling the drill. First, use a screwdriver to remove the bolts holding the plastic halves of the housing together.
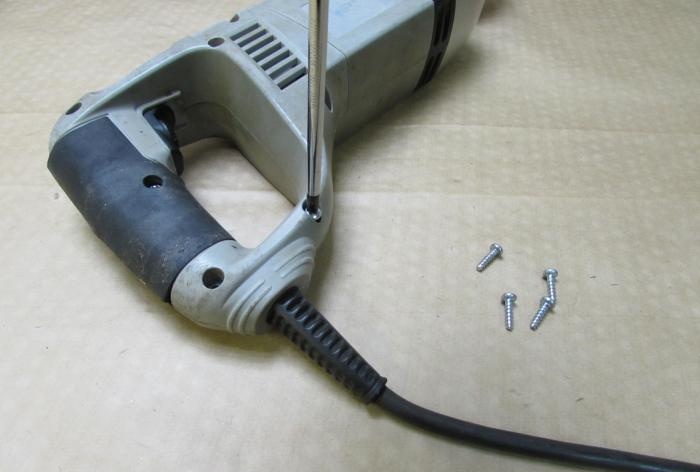
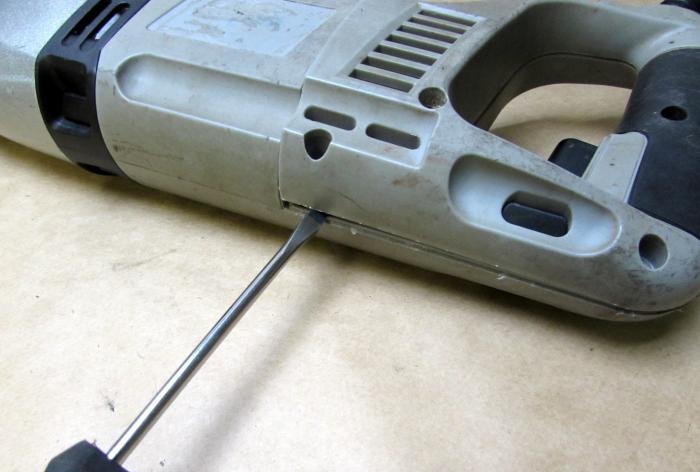
See if there are additional latches that need to be pressed or unclipped. Now separate the halves, carefully prying them with a screwdriver if necessary.
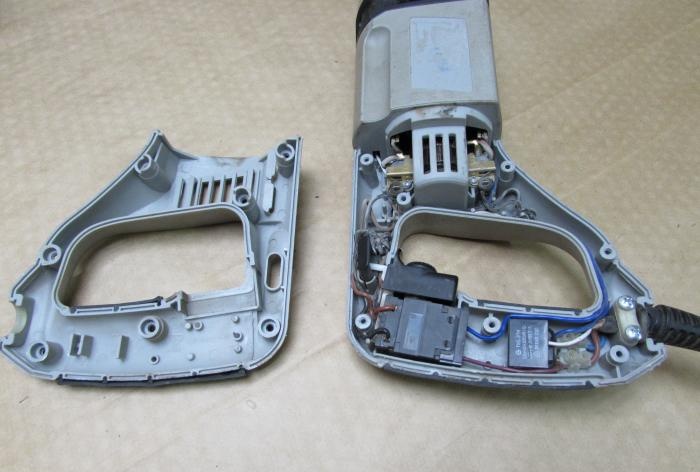
After removing the cover, take a photo or remember the placement of parts and wires.
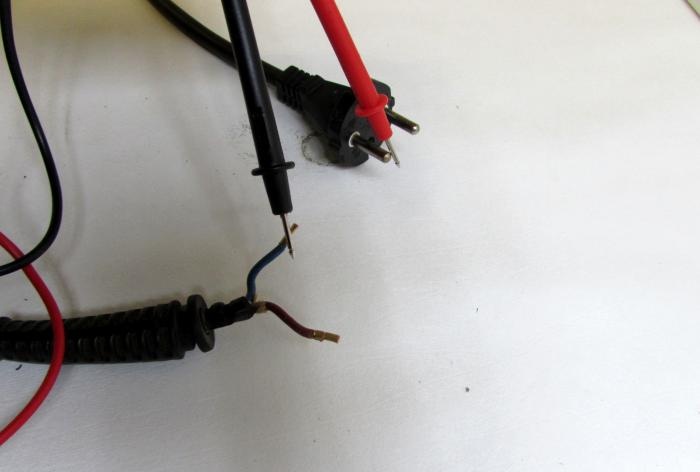
Test both wires of the power cable with a multimeter. To do this, connect the probes in ohmmeter mode to the cord terminal and to the plug contact. Repeat with the other wire.
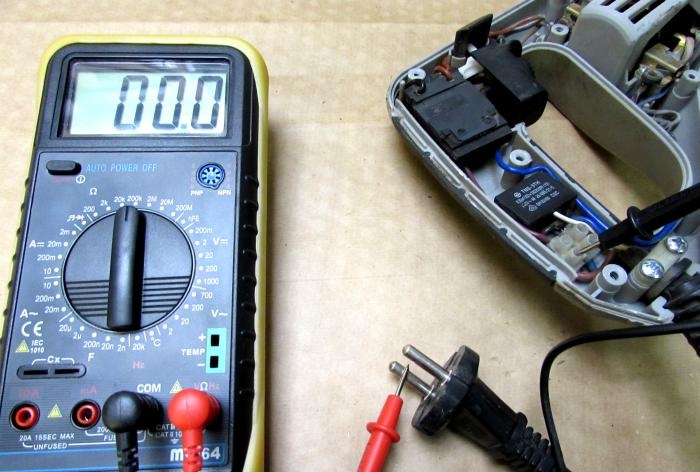
If you don't have a tester, use an indicator screwdriver to check. Connect the electric drill to the network, find the phase on one of the contacts with the indicator. Turn the plug over in the socket and look for the phase again; if at least at one stage the network is not detected, the cable is faulty.
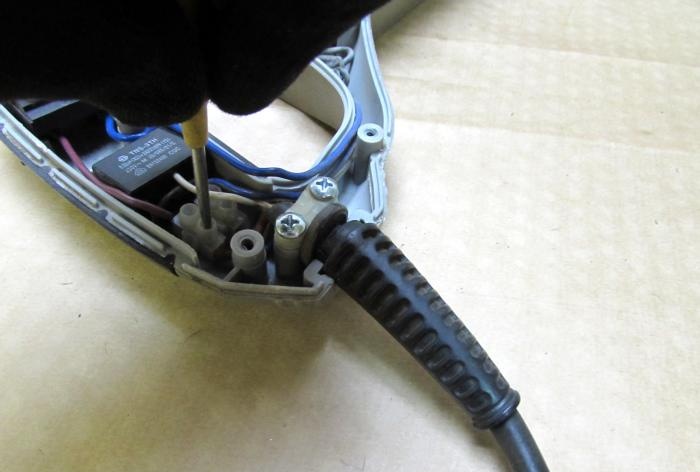
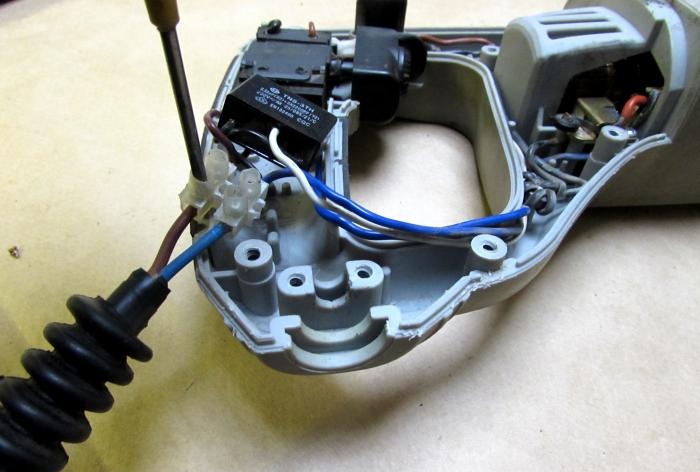
Remove the failed cord by unscrewing the clamping bar and loosening the contacts of the block.
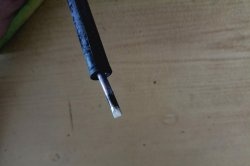
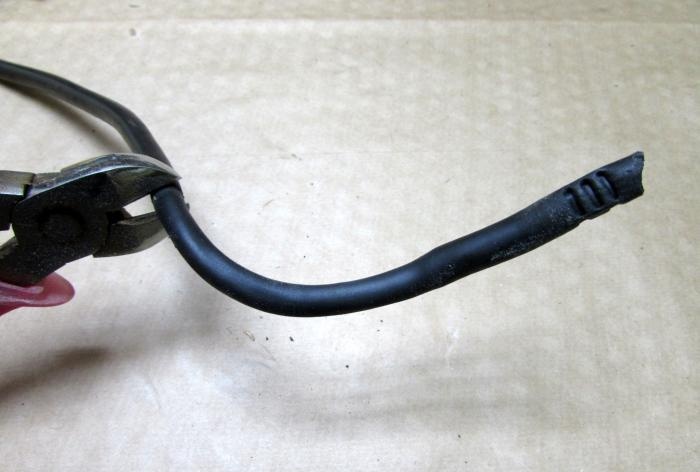
Most often, cable cores fray at bends.
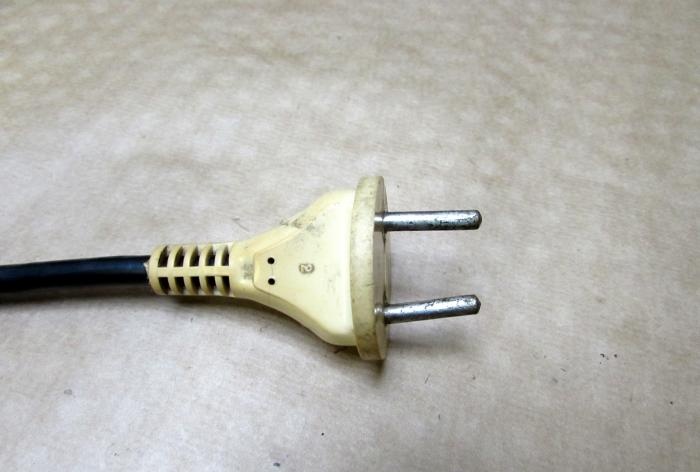
The cause of the voltage loss may also be hidden in the plug of the electric drill, especially if it shows signs of damage (for example, bent plugs).
Power cord repair
If the cord is long enough, simply cut off the worn section. The short cable will have to be replaced with a new one.
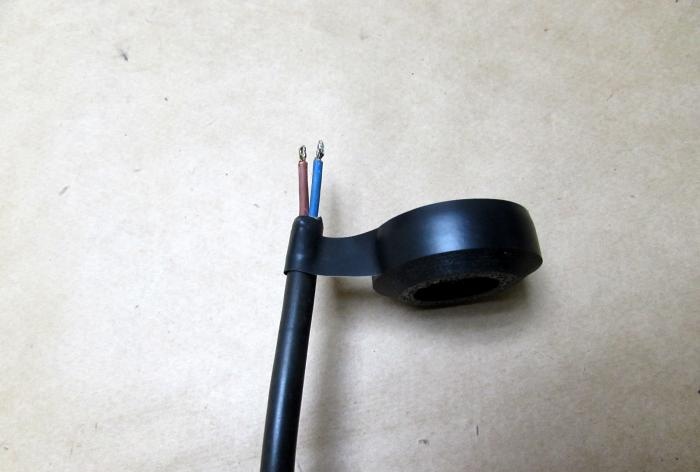
At the same time, it is advisable to change the roughened or cracked bushing at the cable entry point. It is not at all necessary to look for a “native” one; a suitable part can be easily selected in any auto shop. For example, a protective cover for the electric door lock rod was suitable for this drill.
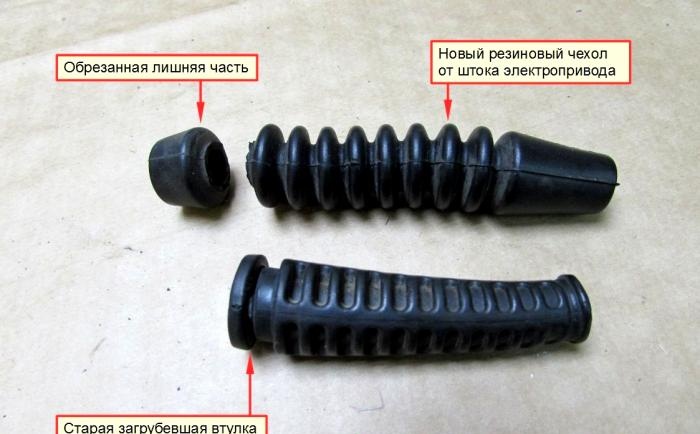
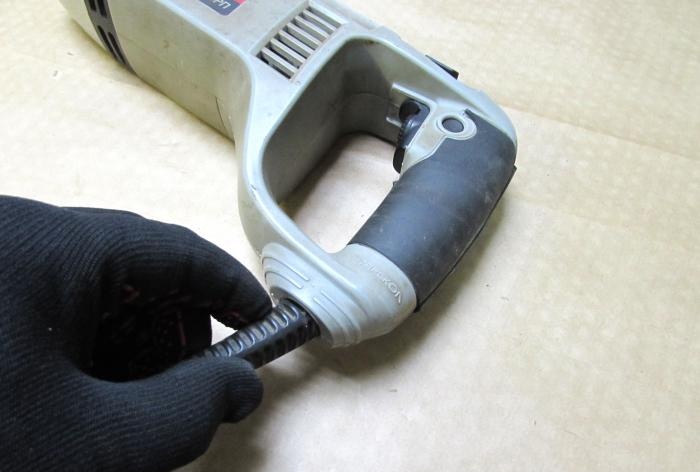
Try on the rubber bushing in the drill body and trim off the excess.
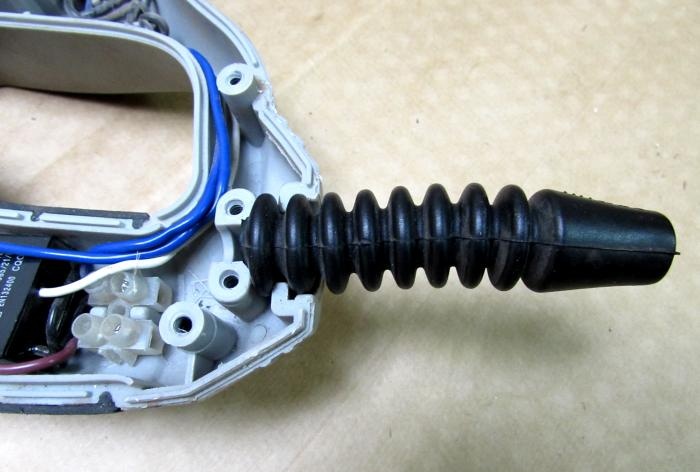
Place the cover on the cable and measure the stripping length of the conductors locally.
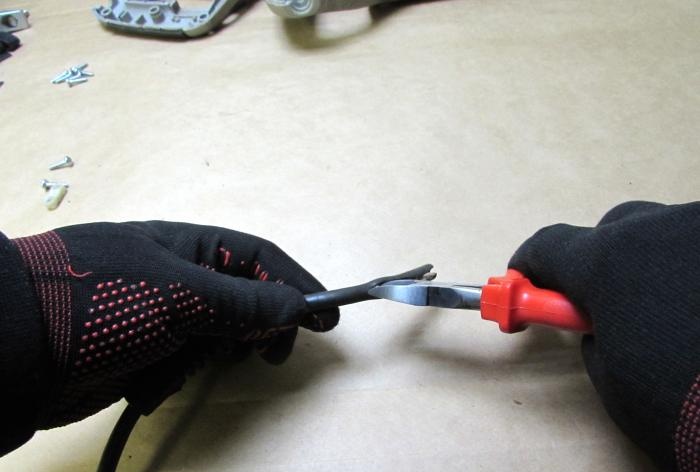
Cut the outer rubber casing with pliers.
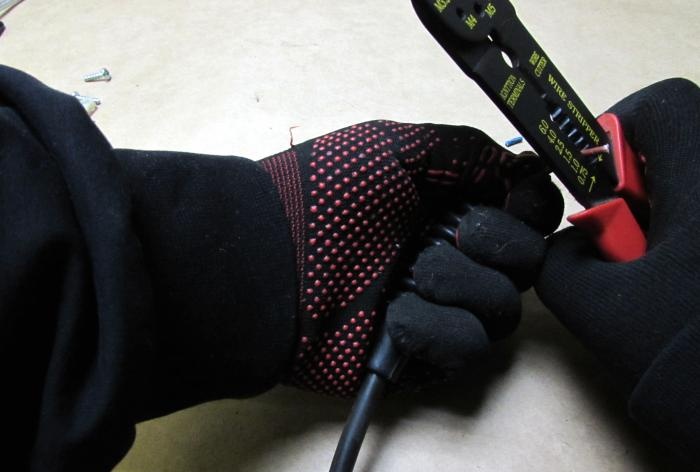
Remove about 10mm of insulation from the ends of the cores using a special tool.
Check the serviceability of the cord with a tester.
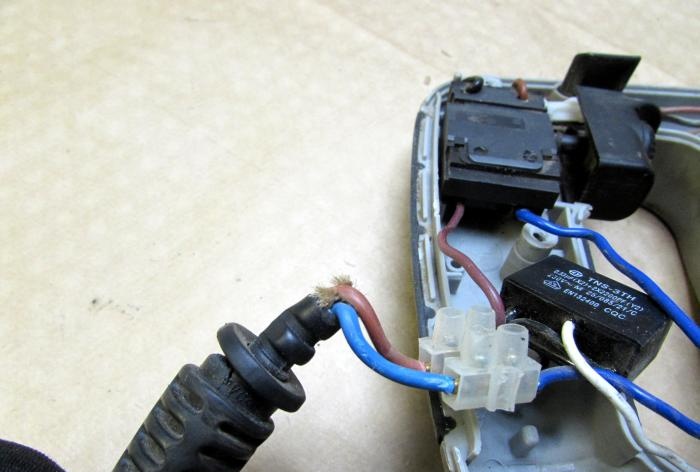
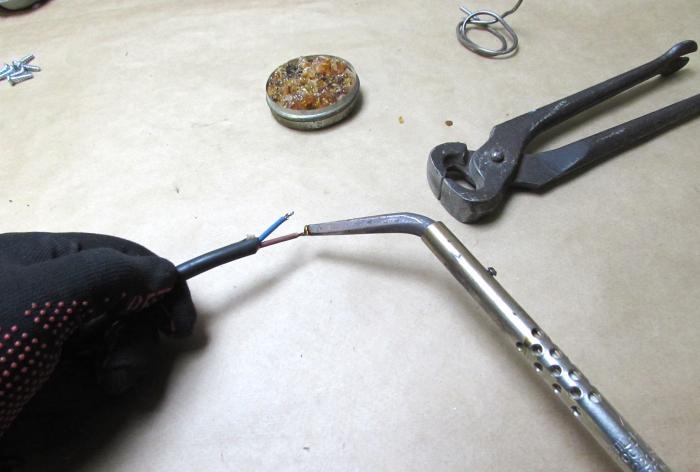
Twist the cable cores, dip them in rosin and apply solder in an even layer.
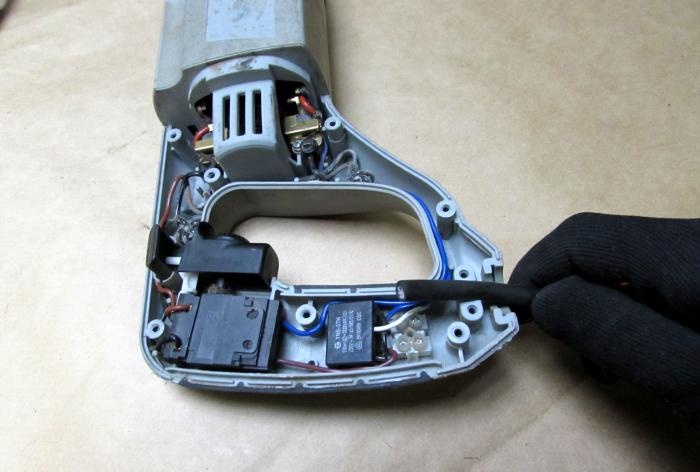
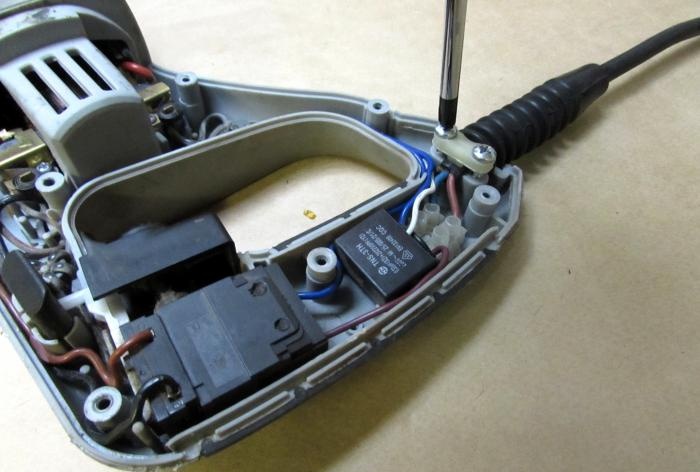
Wrap several layers of insulating tape where the cord is secured.
Connect the conductors to the block or directly to the button terminals, depending on the circuit of your electric drill.
Secure both screws of the fixing clamp.
Carefully lay the wires, plug the electric drill into the outlet and measure the voltage.
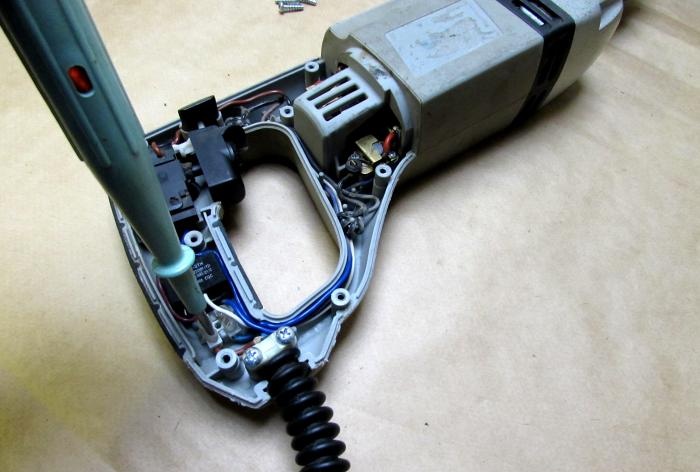
Check the location of parts and conductors, assemble the housing and fasten it with screws.
Connect the electric drill to the mains and make sure the tool is working properly.
When performing repair work yourself, remember safety. Plug in a disassembled drill only to measure voltage using insulated tester probes. After this, immediately remove the plug from the tool to avoid electric shock.