Materials and tools:
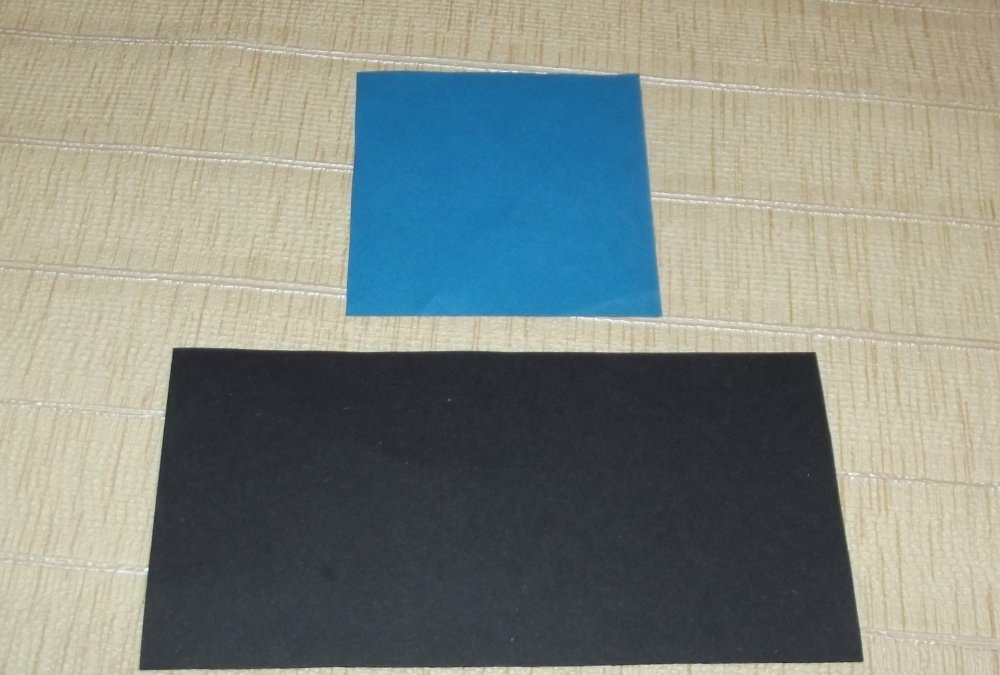
- a square piece of white paper measuring 7.5 cm x 7.5 cm;
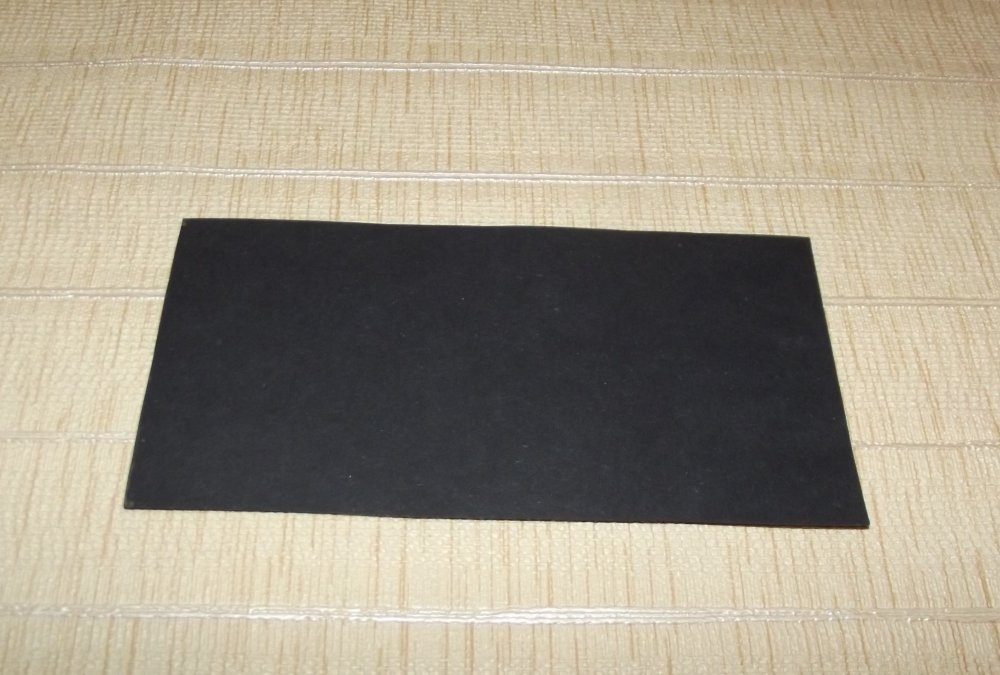
- a piece of black paper measuring 15 cm x 7.5 cm;
- a small piece of green paper (for the middle);
- scissors;
- pencil pen;
- stationery glue or PVA;
- ruler.
Step-by-step instructions with photos
Cutting out blanks
From a sheet of white paper, cut out a square measuring 7.5 cm x 7.5 cm. I took single-sided blue colored paper for these purposes, but there’s nothing wrong with that. After all, her other side is white!
From a sheet of black paper, cut out a rectangle measuring 15 cm x 7.5 cm. For this I used thick double-sided black paper, but regular single-sided paper will do just fine.
Making the top
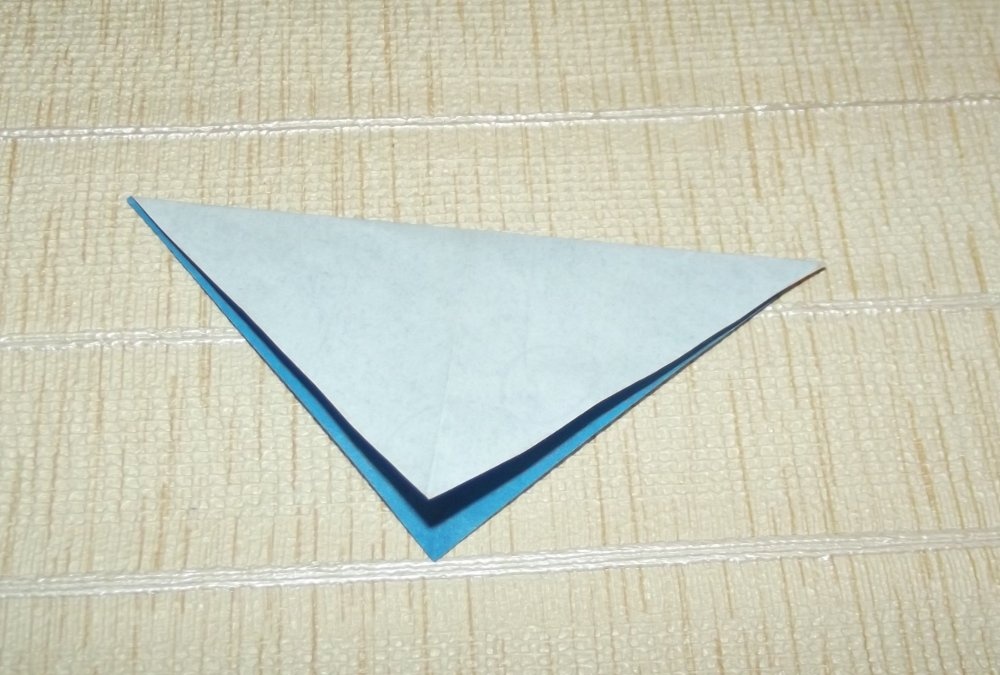
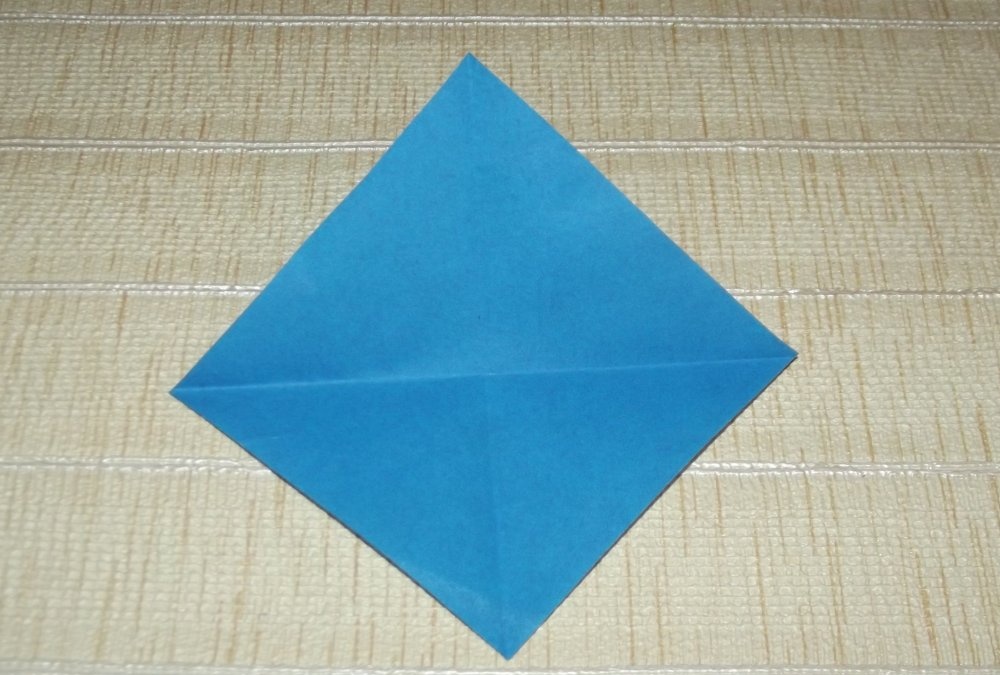
Take a square piece of paper and fold it in half diagonally with the white side up.
Unfold the paper and fold it in half diagonally in the opposite direction.
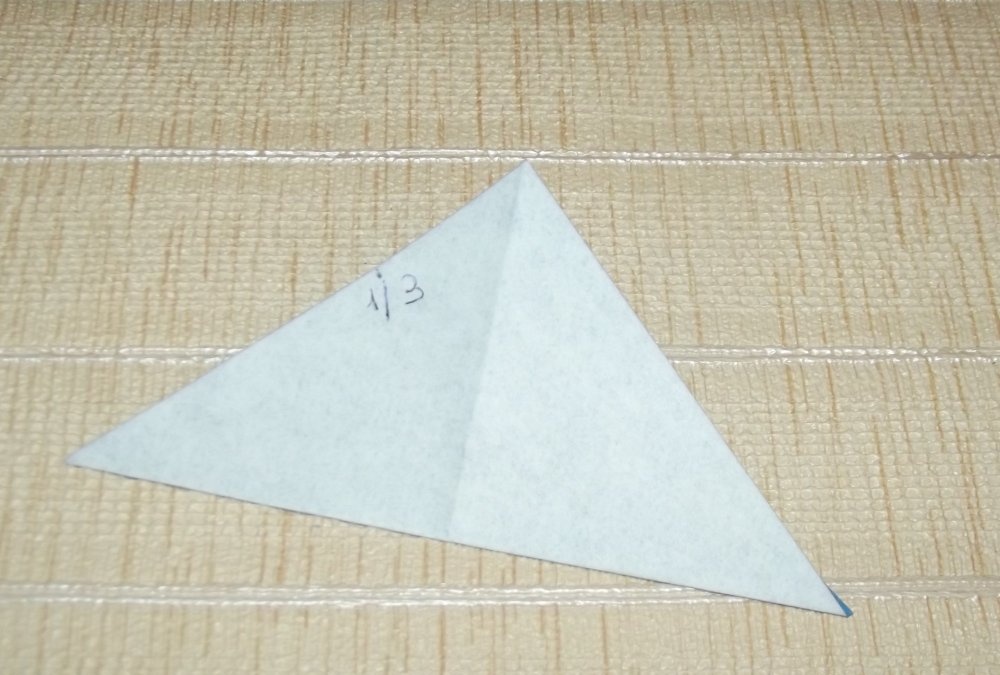
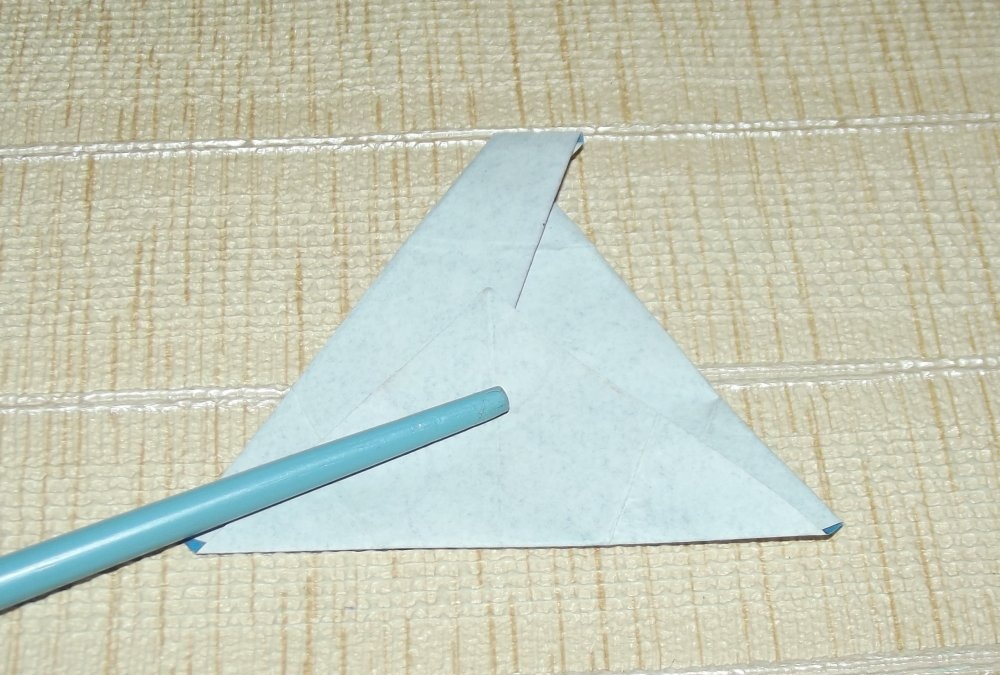
Leave the sheet folded diagonally. Take a ruler and pen/pencil and divide the left side of the triangle into 3 equal parts.
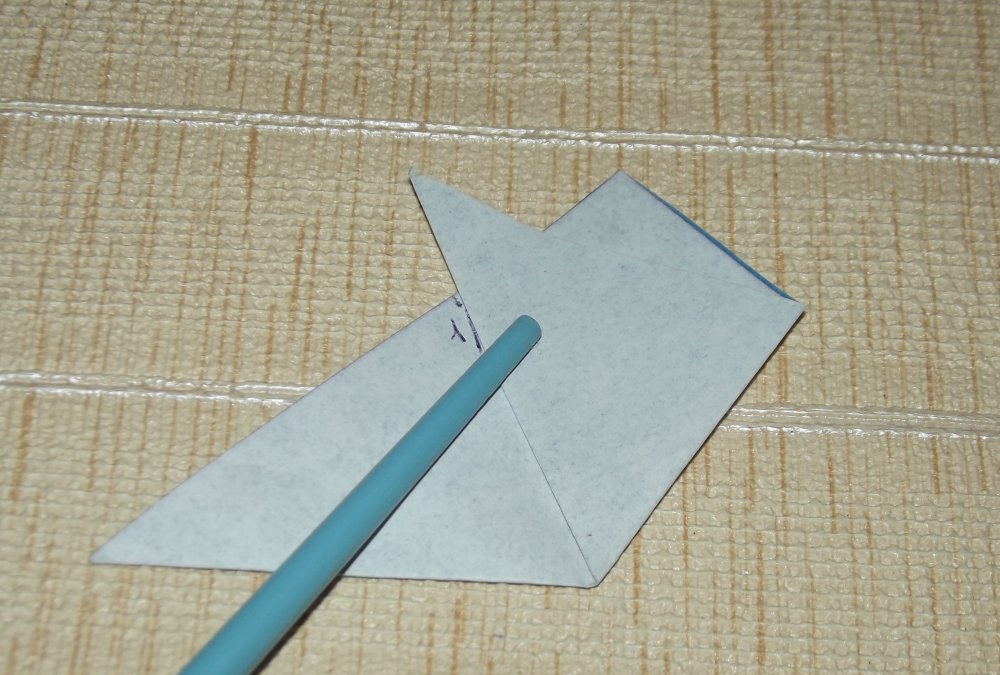
We lift the lower right corner up and fold it in the direction from the central point of the lower side to the upper third of the left side of our triangle.
We bend the lower left corner in the same way upward in the direction from the central point of the lower side to the upper third of the right side of the triangle. At this stage, you need to act extremely carefully and carefully, since the upward-curved corners may be positioned asymmetrically. If this happens, straighten the side folds and align them so that they are located as symmetrically as possible to each other.
We lift the lower corner of the homemade product up and apply it to the central point of intersection of the left and right corners. Carefully smooth out all the folds along the lines with a ruler or pencil.
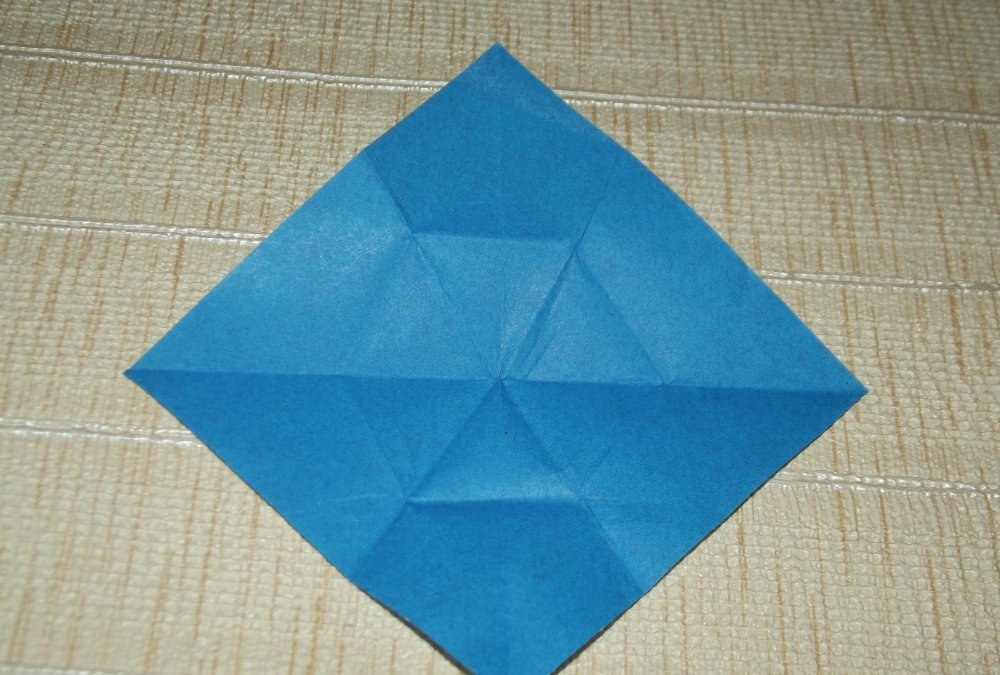
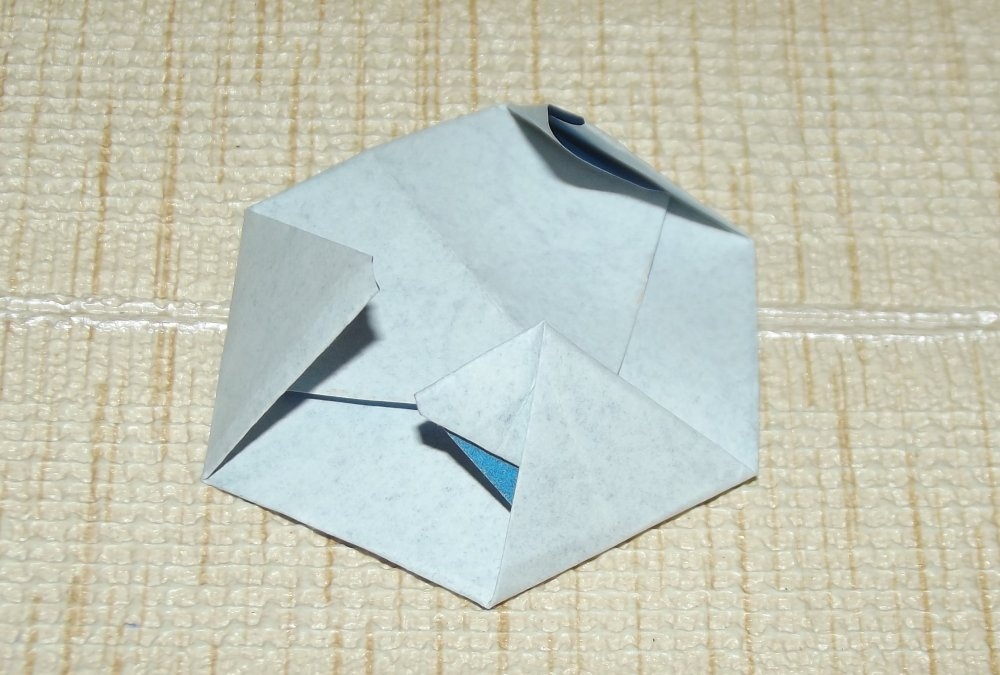
We straighten the paper completely. In its central part we should form a regular hexagon.

We fold the paper to one side of the hexagon located inside and iron it into an even fold. After this, we straighten the paper again.
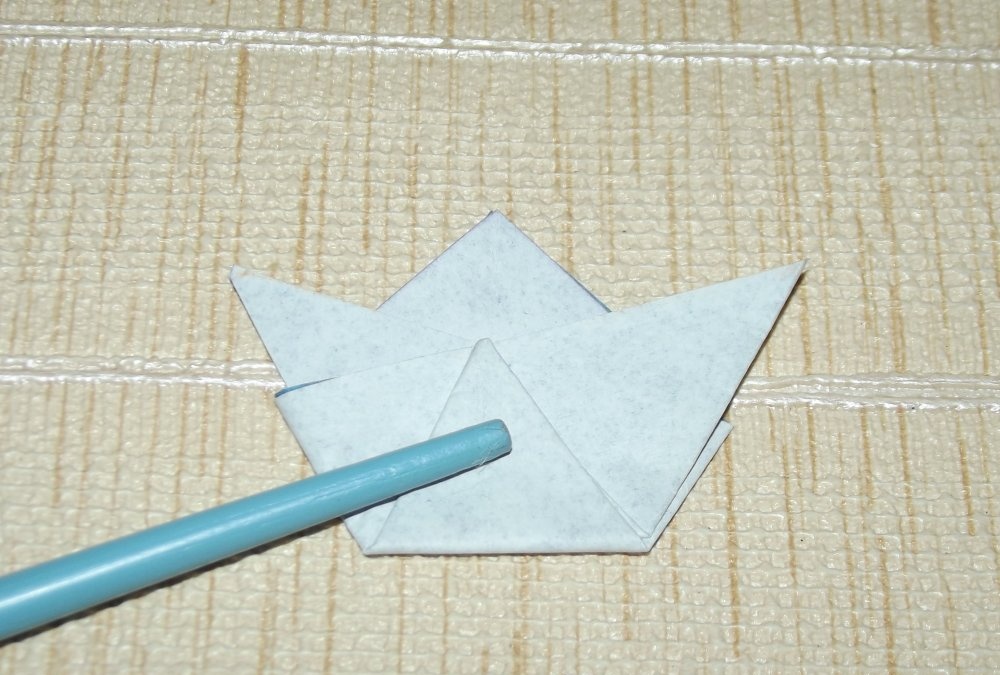
Repeat the above step with all other sides of the hexagon.
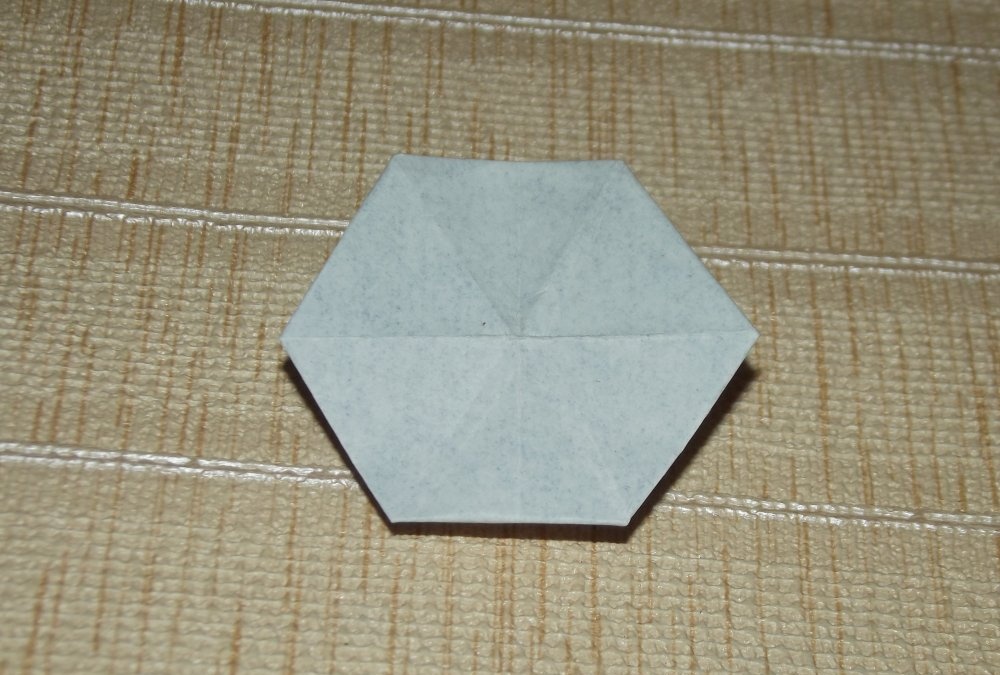
Fold the right side of the square to the nearest side of the hexagon.

Fold the left side of the square in the same way to the nearest side of the hexagon.
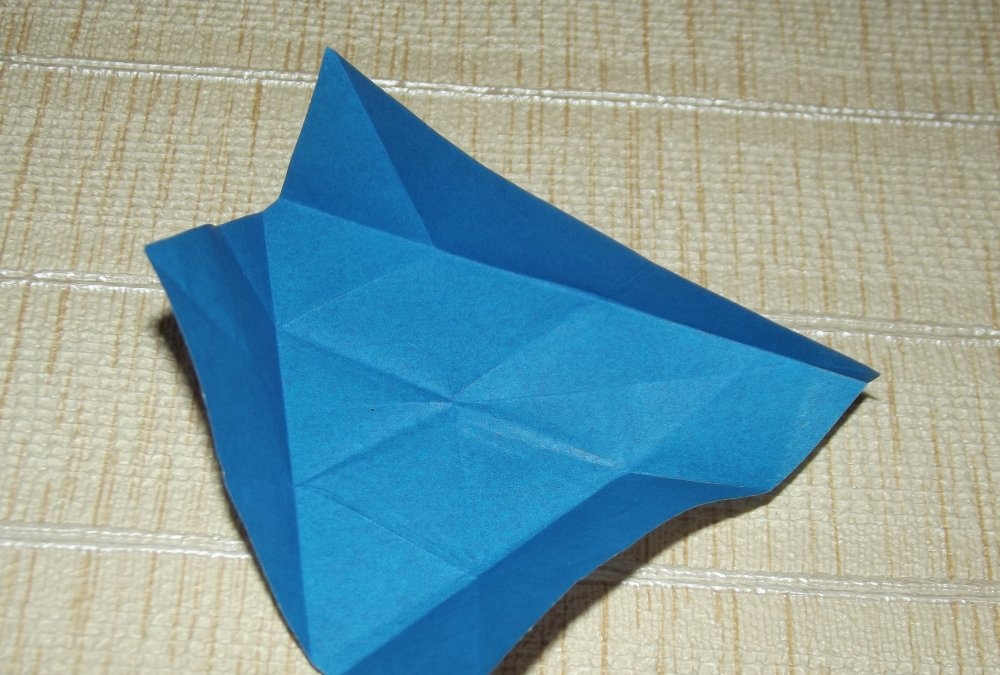
We bend the bottom edge of the resulting figure upward along the bottom side of the hexagon.
Fold the remaining three sides of the hexagon towards the center.
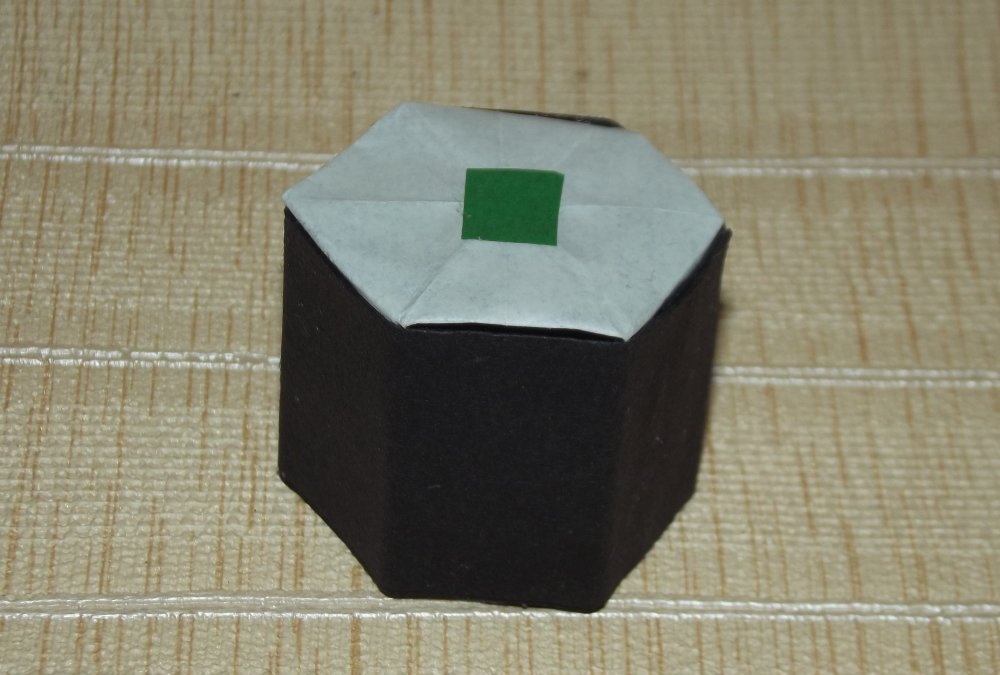
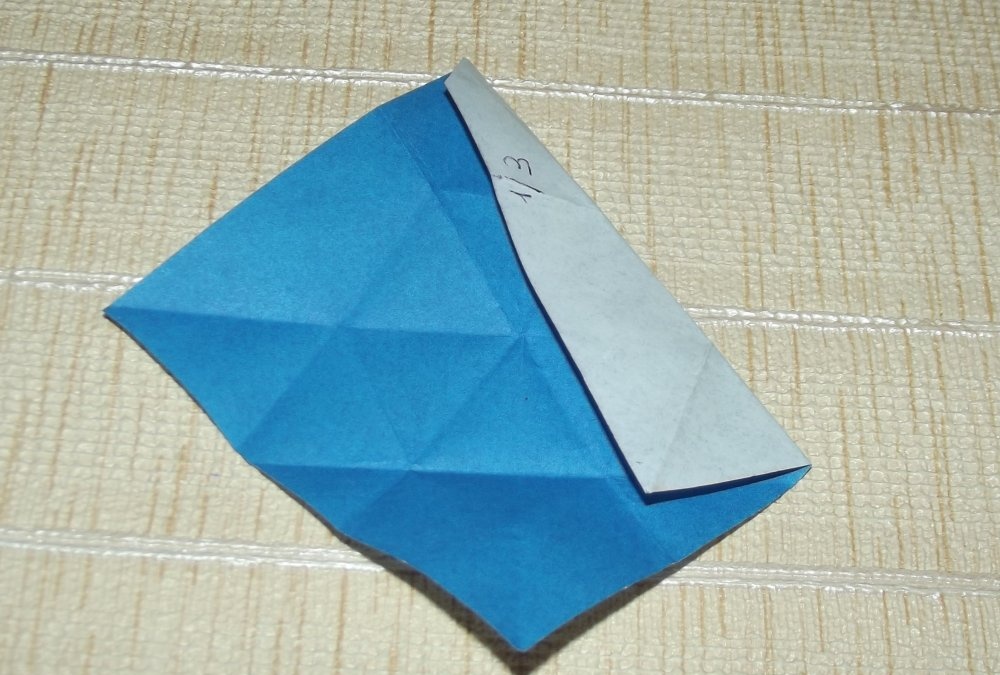
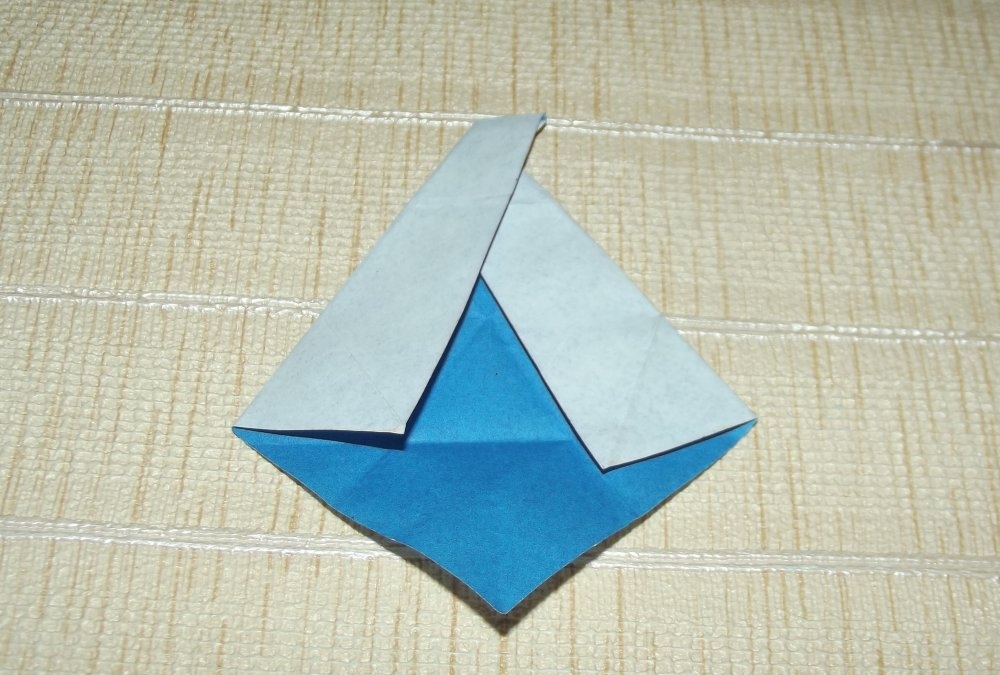
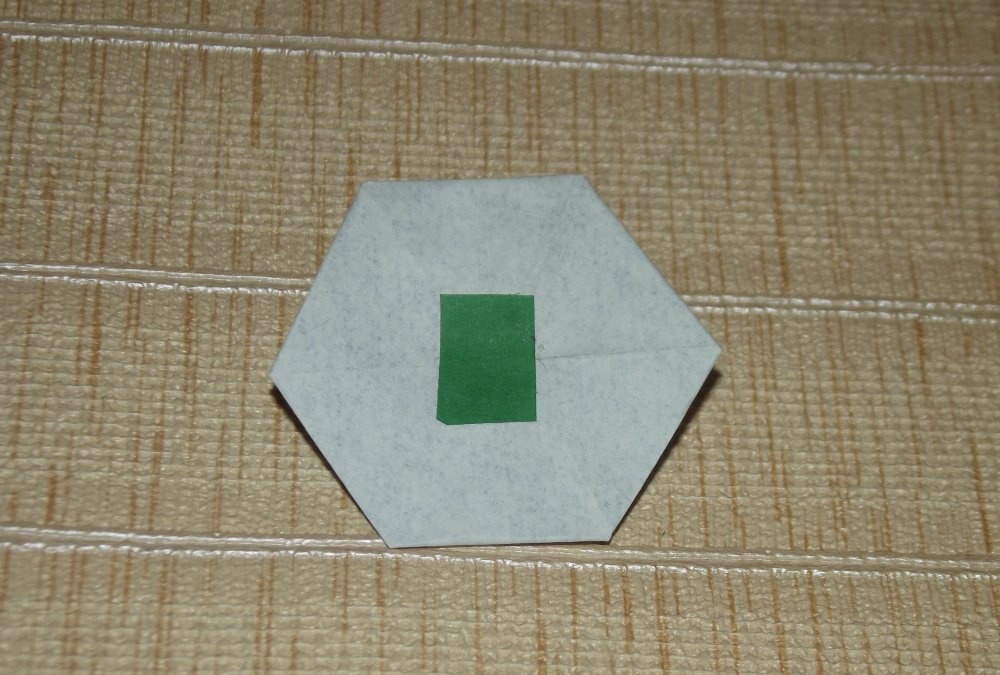
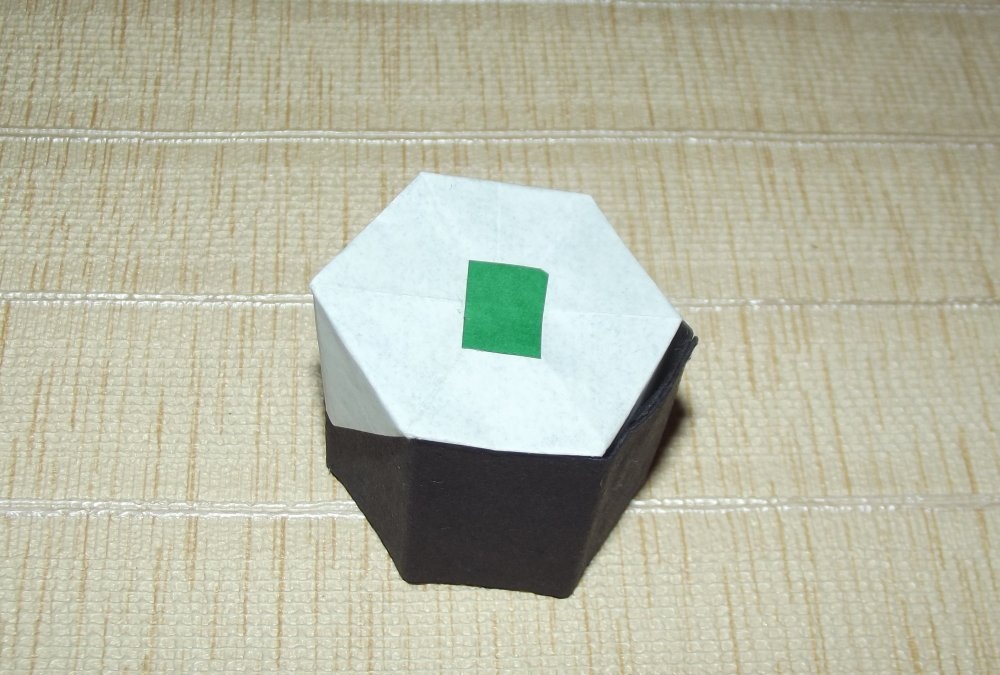
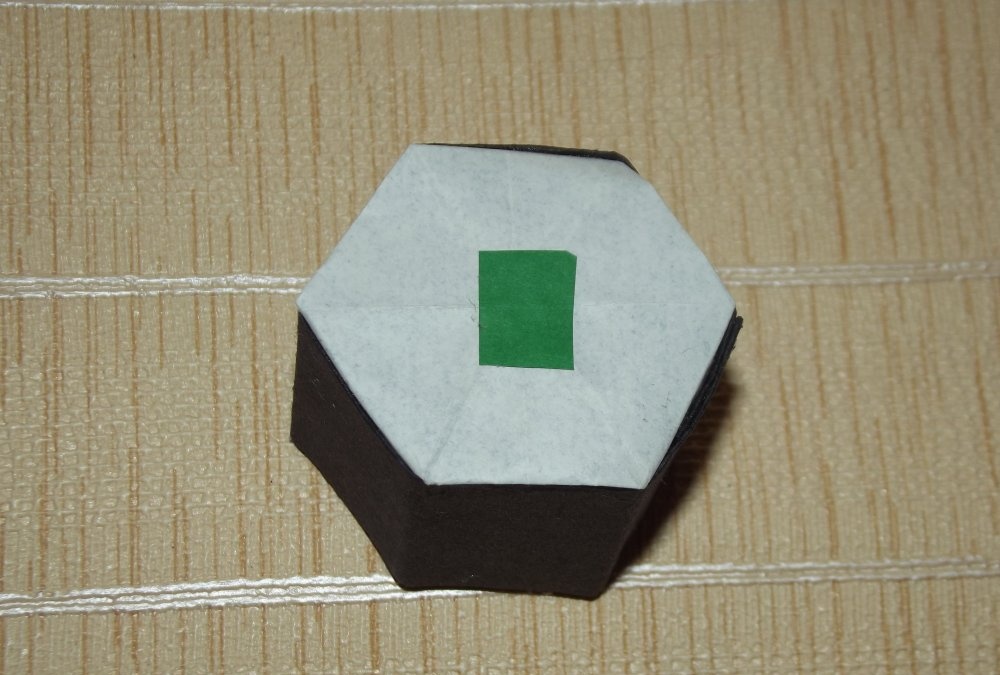
We turn the homemade product over. We should get a figure in the shape of a regular hexagon (see photo below).
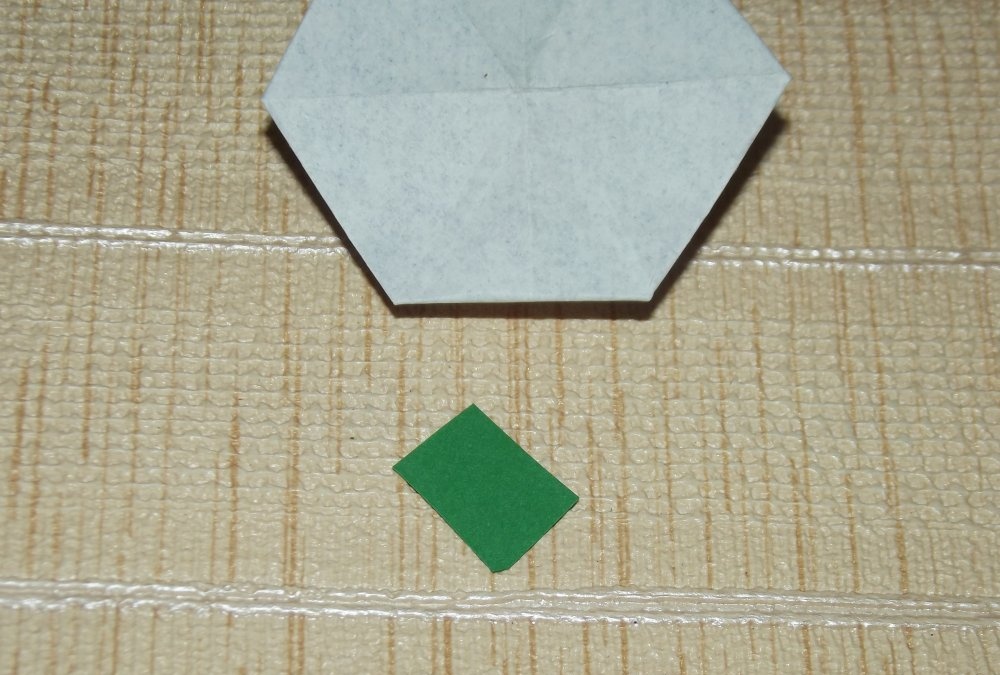
Making the middle
From a piece of green paper, cut out a rectangle measuring approximately 1 cm x 0.5 cm.
Using glue, glue this piece to the center of our hexagon.
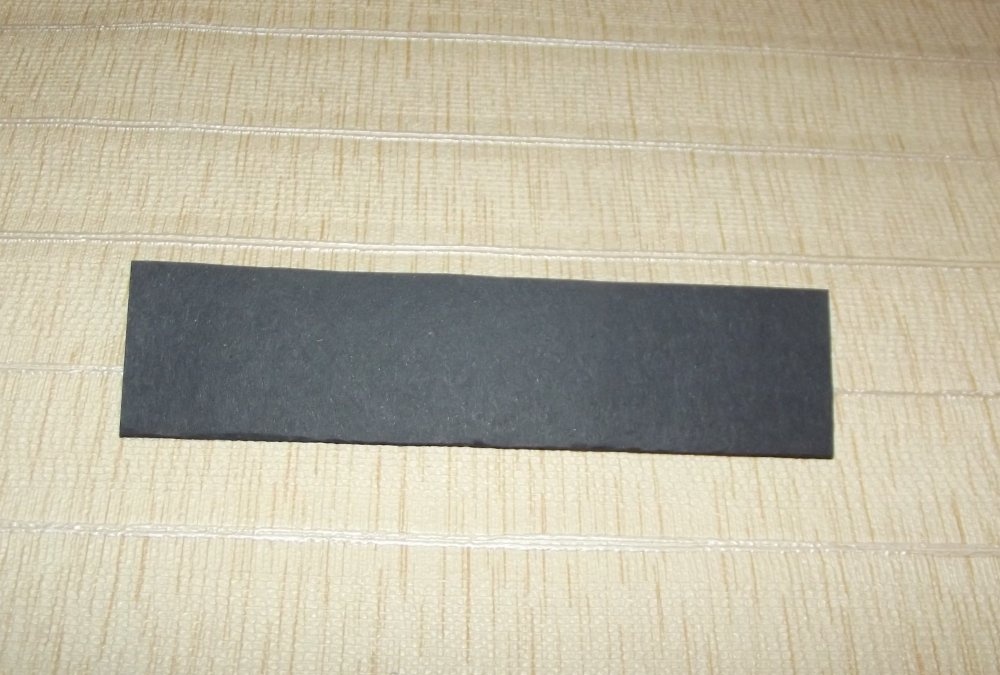
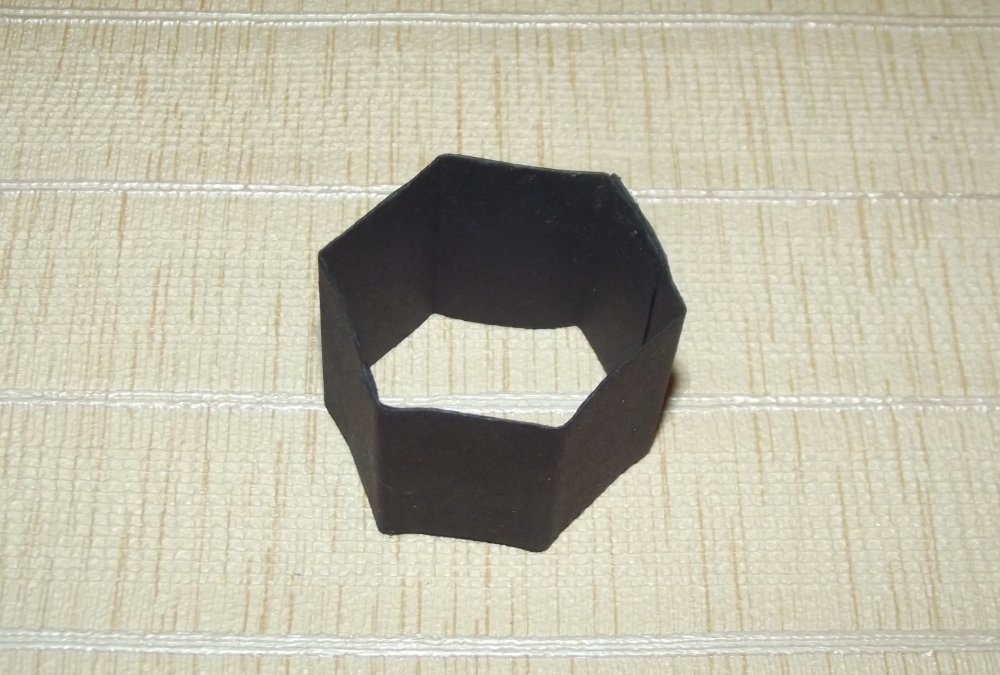
Making the side part
We will now work with the 7.5cm x 15cm black rectangle that we cut out earlier.
Fold this rectangle in half lengthwise.
On the right side, measure exactly 1.5 cm with a ruler.
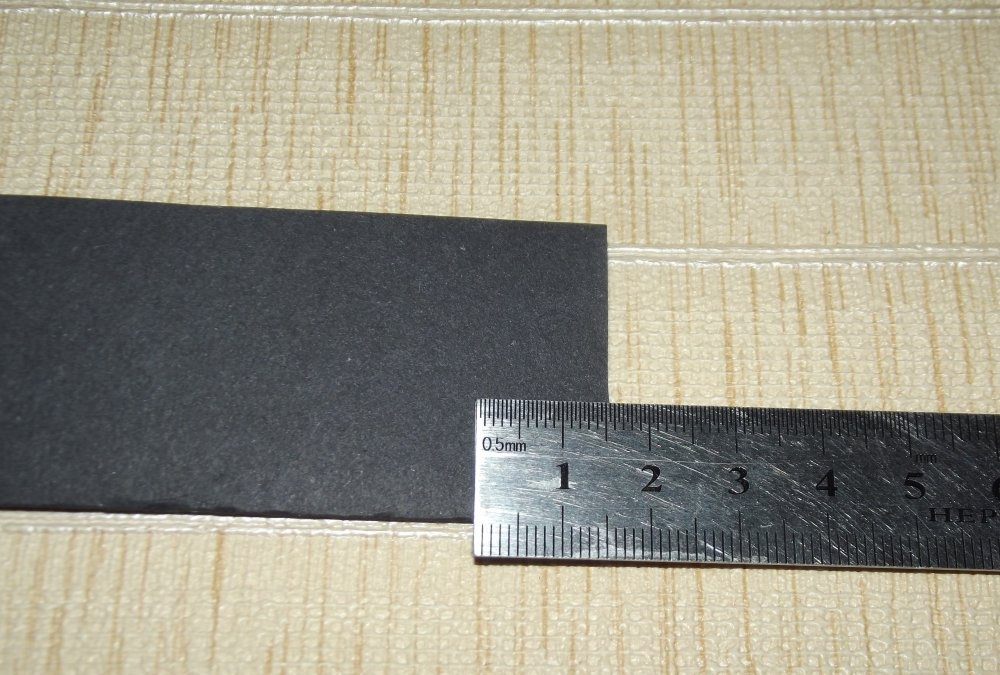
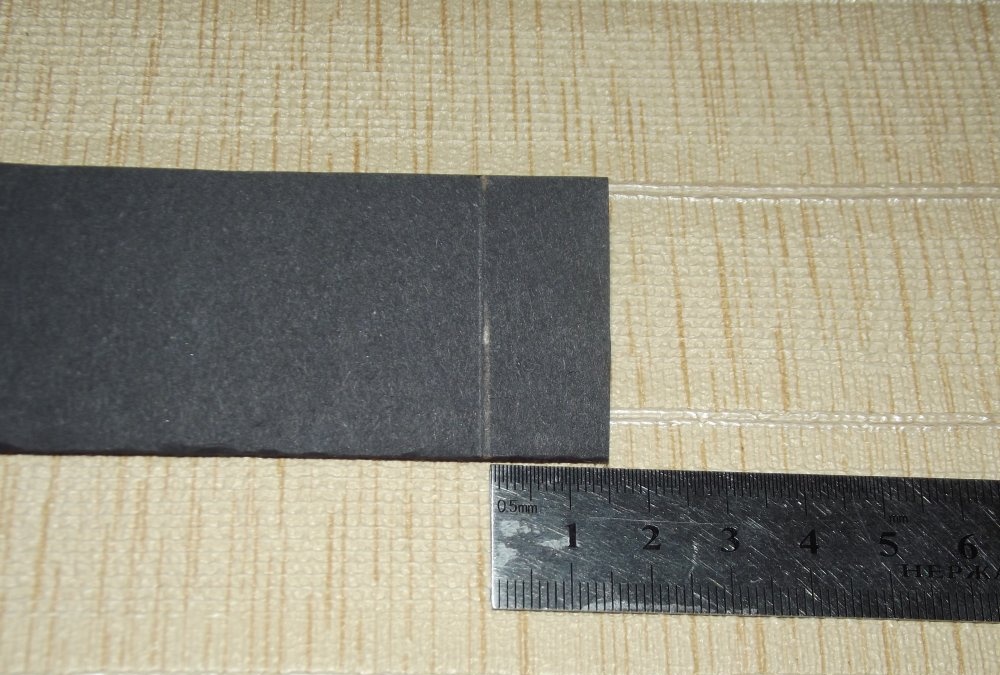
Draw a line with a pencil.
We coat this area with any available paper glue.
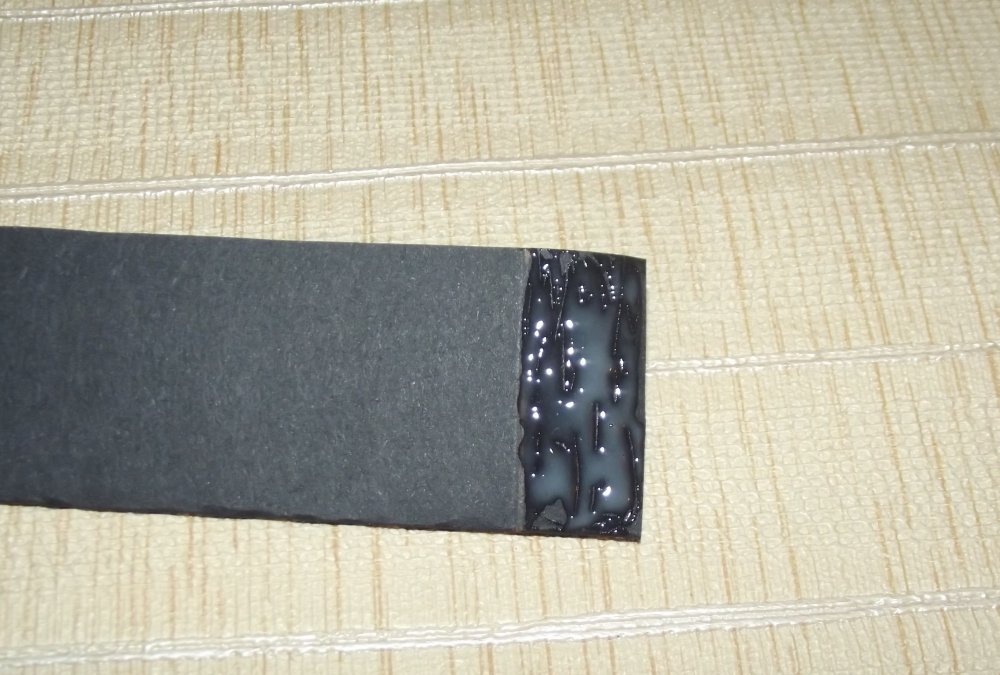
We place the left edge of the paper on its right edge coated with glue. We wait until the glue dries a little.
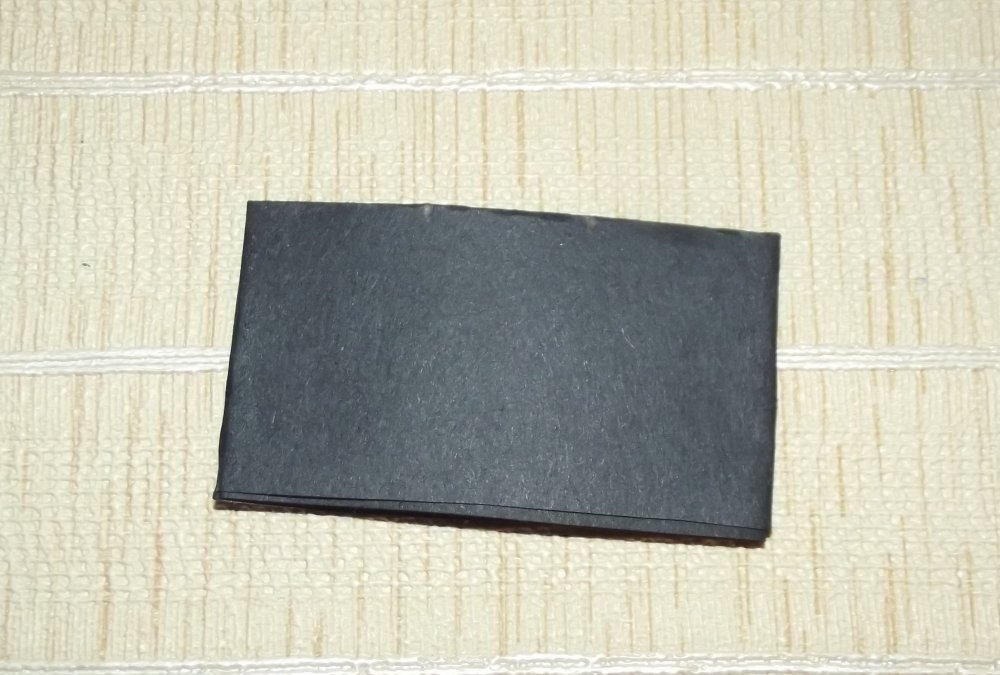
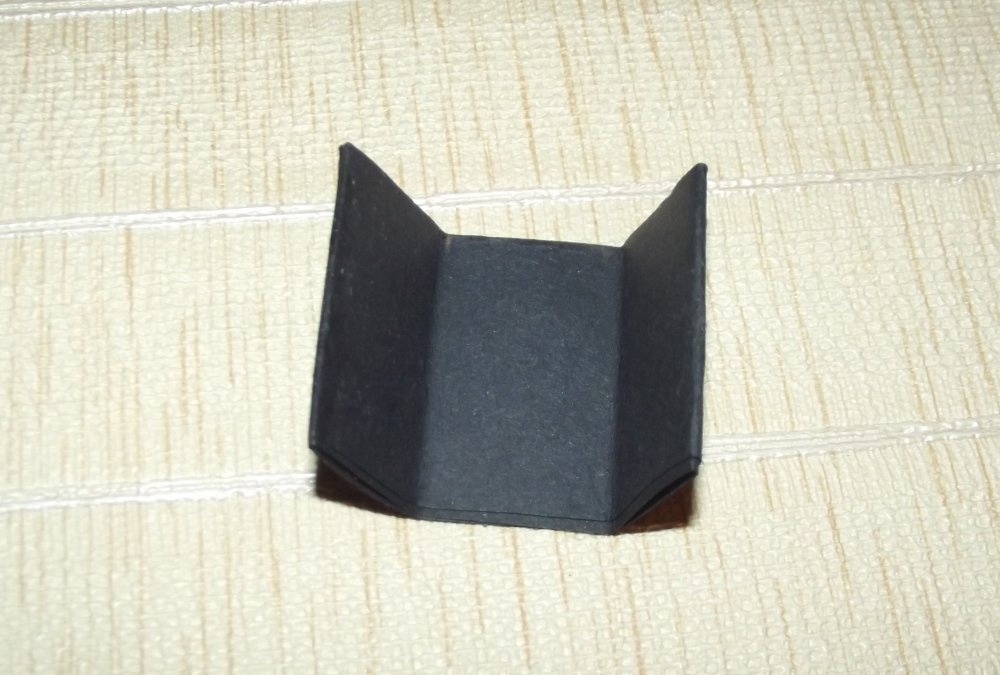
Divide the top side of the figure into three equal parts. At the marked points we bend the paper upward.
Let's straighten out the homemade product. We align and smooth the edges of the figure with our fingers so that they are all neat and symmetrical.
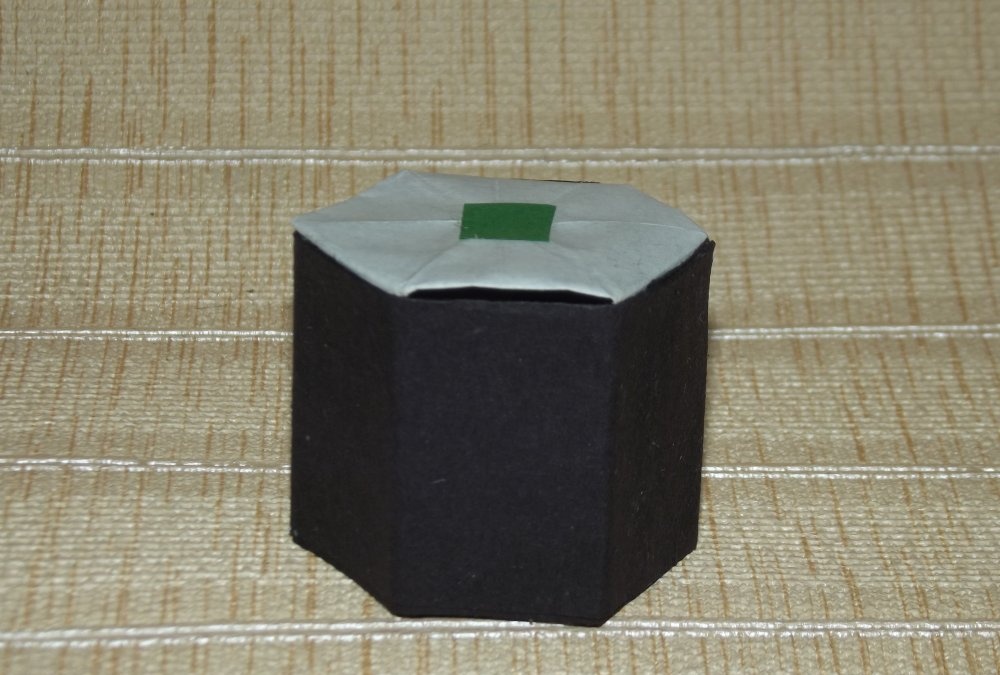
Assembling origami sushi
We take the previously made top with the middle glued in the center and the side part in the shape of a black hexagon. In the middle, coat the protruding corners at the bottom with glue and glue them to the side part from the inside.
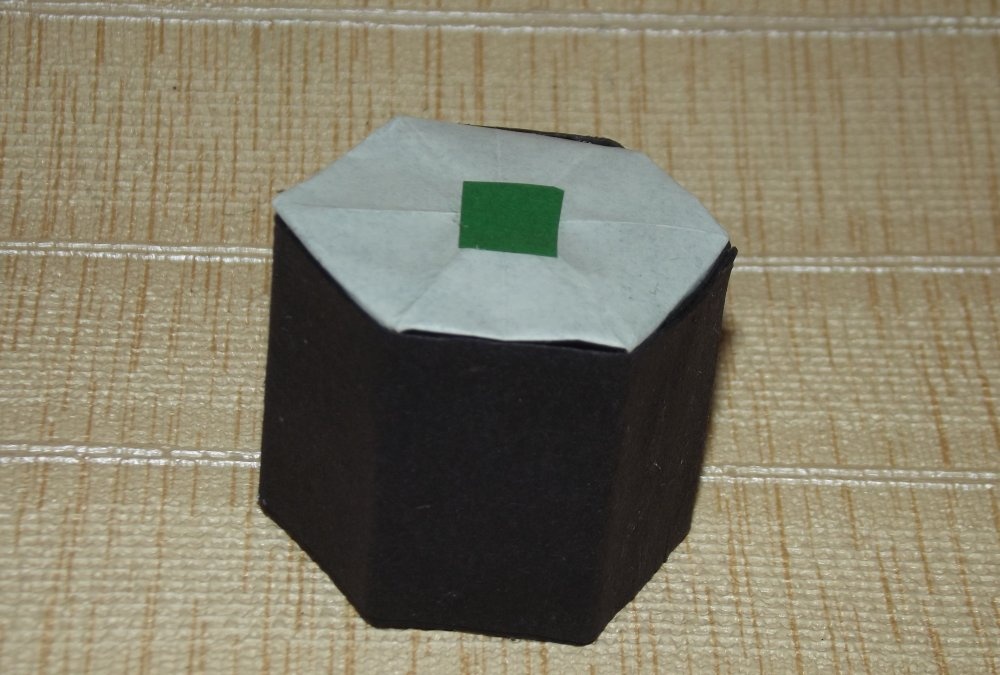
DIY origami sushi made from paper! Happy crafting!