Do it yourself
Life hacks, master classes, useful tips, recipes.
home » Electronics » DIY electronics » LED cube 3x3x3 non-programmable


I think many people wanted to assemble such a cube, but not everyone had the opportunity to purchase a microcontroller (MK), and not everyone knows how to program. So here's an alternative:


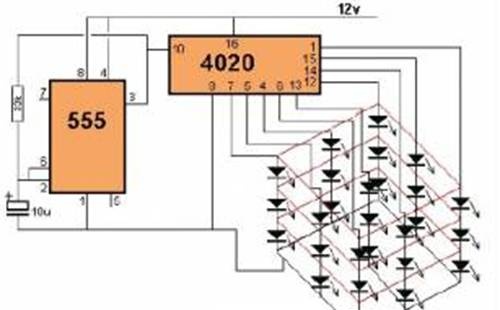
Does not require programming, the circuit is simple and all parts are accessible. And the CD4020 chip provides a variety of compositions that are not inferior to programmable cubes.


It's time to move from words to deeds)))

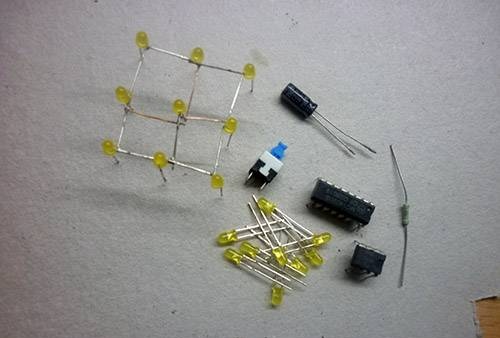
List of parts used with description:
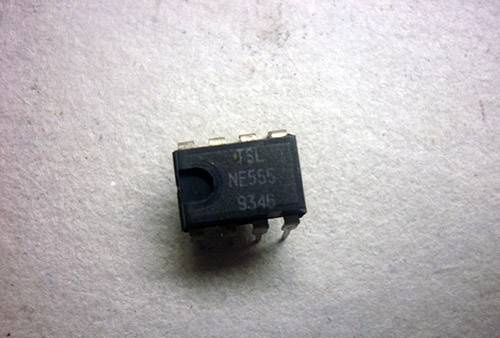
1)KR1006VI1 (NE555)

The microcircuit includes about 20 transistors, 15 resistors, 2 diodes. Output current is 200 mA, current consumption is approximately 3 mA more. Supply voltage from 4.5 to 18 volts. The accuracy of the timer does not depend on changes in supply voltage and is no more than 1% of the calculated value.


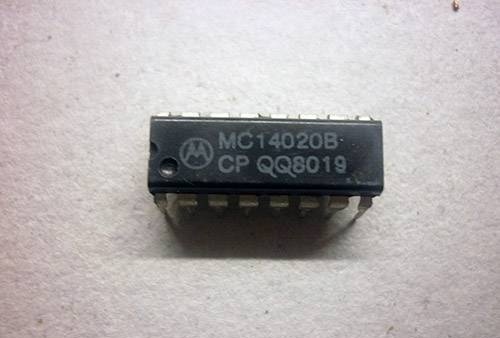
2) K561IE16 (CD4020, MC14020)

14-bit binary counter-divider.


3)LEDs to your taste 27pcs
4) Resistor 33K
5) Capacitor 10µ
6) Micro switch with latching (optional)
7) Krona 9V
8) Panels for chips (optional)
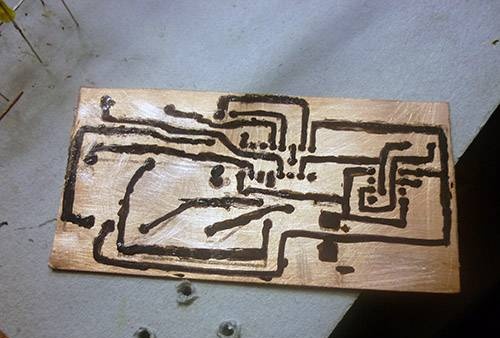
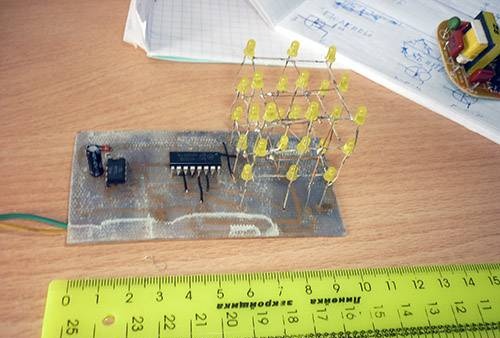
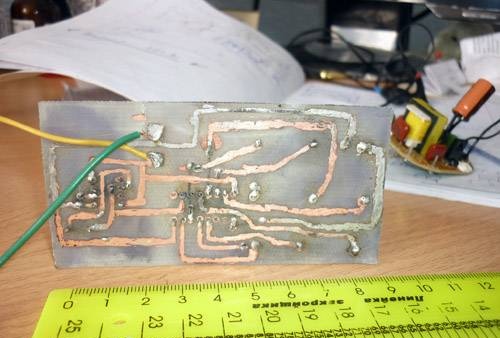
So, we draw the printed circuit board on fiberglass and lay it down to etch.


In the meantime, our board is etching, let's deal with the most difficult part - the cube itself.
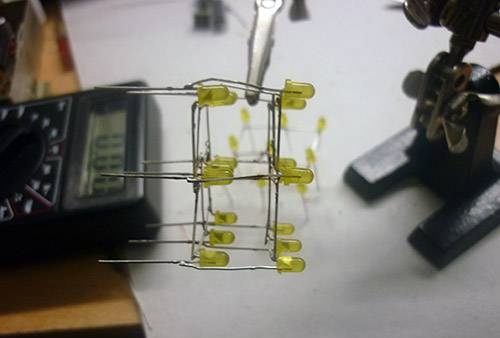
Drill holes in plywood (thick cardboard) for LEDs and put them in there. Now we bend all the cathodes (cons) clockwise (or counterclockwise, whichever is more convenient for you) and solder them. We solder the wires to the middle LED ourselves.


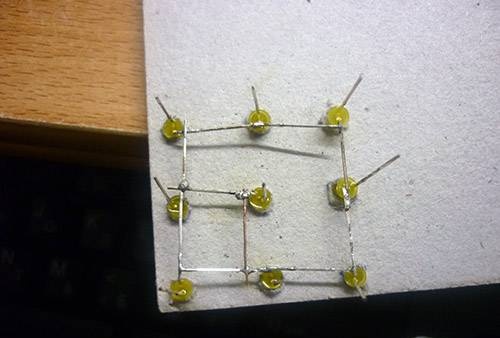
We also do the rest of the floors


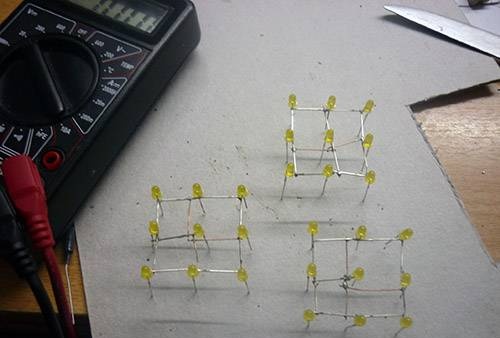
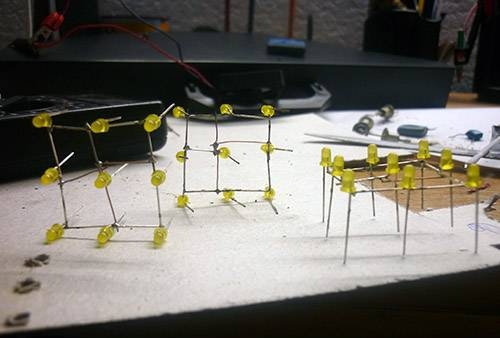
Now we need to solder them together. Only now we solder the anodes (pros)


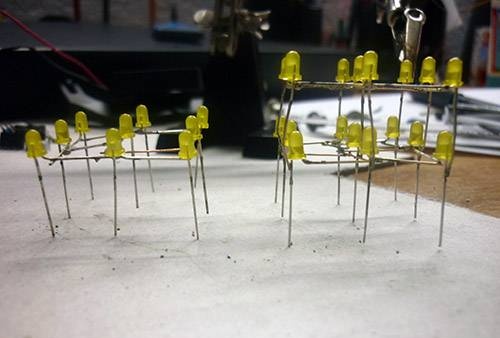
Now we also solder the third floor
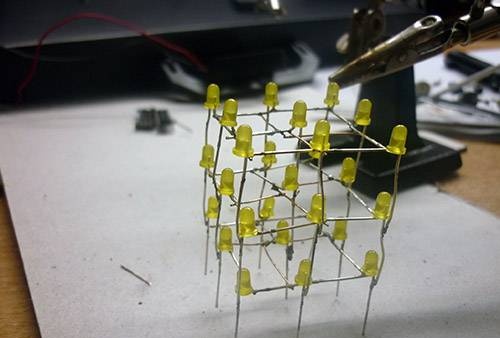

Ready!!)))


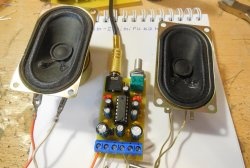
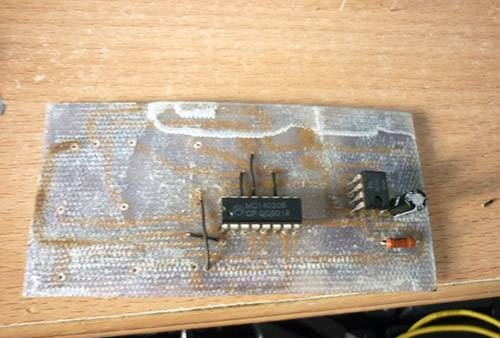
Now we take our already etched board and drill holes


First we solder the jumpers, and then the parts.


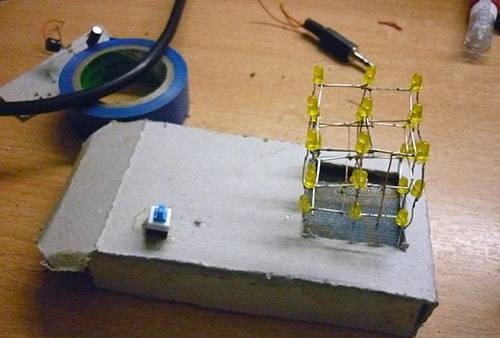
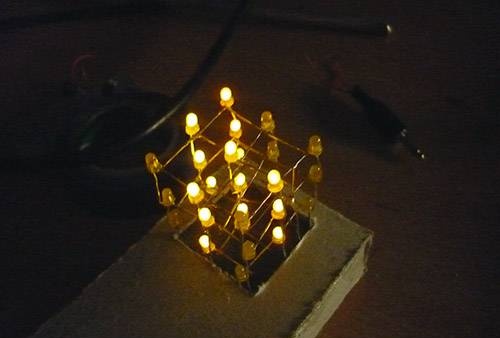
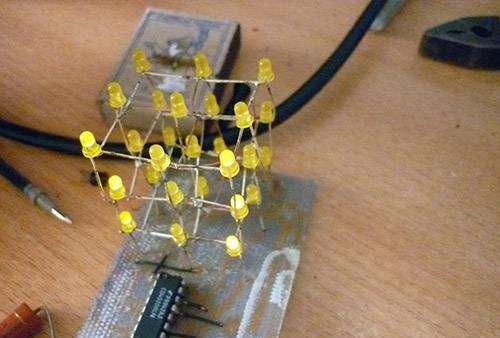
Now the final step is to solder the cube.


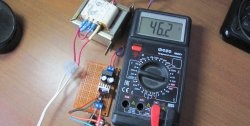
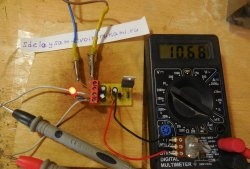
Now we connect 12V as written in the diagram. HURRAY works:


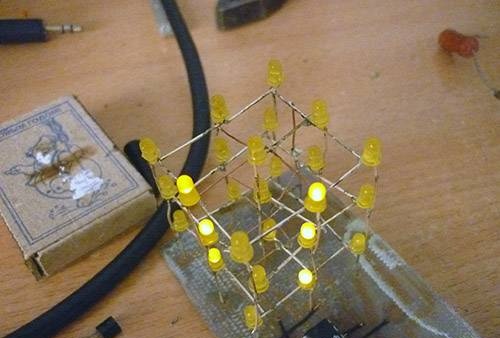
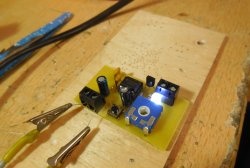
After a couple of minutes everything went out ((.

Correctly, the CD4020 microcircuit is not designed for such a voltage and it simply burned out. And you will have to change the microcircuit - desolder and solder in a new one. This is what panels for microcircuits were needed for. I didn’t put them on anything and paid ((

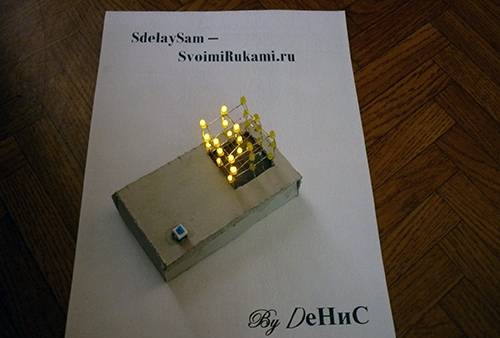
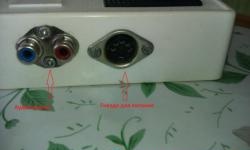
In the future, to avoid this, I installed a 9V crown. This has its advantages: you can carry the cube with you, it doesn’t need an outlet and the microcircuit won’t burn out. But there are also disadvantages - you will have to change the battery periodically.


I made a cardboard box for my cube. Here's what I got:


come back
Comment
  • bowtiesmilelaughingblushsmileyrelaxed relaxedsmirk
    heart_eyeskissing_heartkissing_closed_eyesflushedrelievedsatisfiedgrin
    winkstuck_out_tongue_winking_eyestuck_out_tongue_closed_eyesgrinningkissingstuck_out_tonguesleeping
    worriedfrowninganguishedopen_mouthgrimacingconfusedhushed
    expressionlessunamusedsweat_smilesweatdisappointed_relievedwearypassive
    disappointedconfoundedfearfulcold_sweatperseverecrysob
    joyastonishedscreamtired_faceangryragetriumph
    sleepyyummasksunglassesdizzy_faceimpsmiling_imp
    neutral_faceno_mouthinnocent
5+two=
Comments (22)
  1. Veent
    #1 Veent Guests 3 April 2011 16:38
    0
    it turned out great, if only LEDs If they were brighter it would be cool.
    and can you tell me the author of the music? smile
  2. NOTFRONT
    #2 NOTFRONT Guests 3 April 2011 17:02
    0
    Send me a photo! music - Hey There Delilah (Plain White T's)
  3. Veent
    #3 Veent Guests 3 April 2011 17:26
    0
    I didn’t take the photo, I, like most commentators, only advise)) I just saw the same cube at 5000 super bright LEDs
  4. NOTFRONT
    #4 NOTFRONT Guests 3 April 2011 17:40
    0
    Ah, got it. cool
  5. [)eNiS
    #5 [)eNiS Guests 4 April 2011 19:00
    1
    I'm very glad that you liked the topic))
  6. Denisov
    #6 Denisov Guests 6 June 2011 18:19
    1
    Did you draw on the board with a marker???
  7. [)eNiS
    #7 [)eNiS Guests 9 June 2011 15:16
    0
    In terms of? Do you mean that the board itself is blackish in color? For some reason this remains after the solvent) And if the roads are not smooth, my printer is faulty, so I have to paint them with varnish on top (
  8. Ljokha2012
    #8 Ljokha2012 Guests 9 August 2011 21:08
    0
    Can you provide a more precise diagram???!!! surprisedcool
  9. stall
    #9 stall Guests 13 October 2011 22:06
    0
    The question is where on the diagram is + and where is -?
  10. NOTFRONT
    #10 NOTFRONT Guests 14 October 2011 08:43
    0
    + goes to 12V, and minus under the letters enn.washerhouse.com

The laziest way to clear snow imaginable

How to make a printed circuit board using USSR technologies with your own hands

Boiled lard in a bag, awesome recipe

How to patch a hole in a polycarbonate greenhouse

«Do it yourself - with your own hands» - a site of interesting homemade products made from scrap materials and items at home. Step-by-step master classes with photos and descriptions, technologies, life hacks - everything a real master or just a craftsman needs for needlework. Crafts of any complexity, a large selection of directions and ideas for creativity.

We recommend reading

Washing machine error codes