Do it yourself
Life hacks, master classes, useful tips, recipes.
home » Homemade cars » Stabilizer for LEDs and DRLs
Almost all motorists are familiar with the problem of rapid failure of LED lamps. Which are often placed in side lights, daytime running lights (DRLs) or other lights.
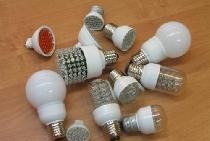
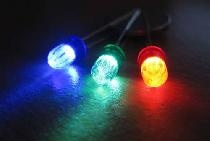
Typically, these LED lamps have low power and current consumption. What, in fact, determines their choice.
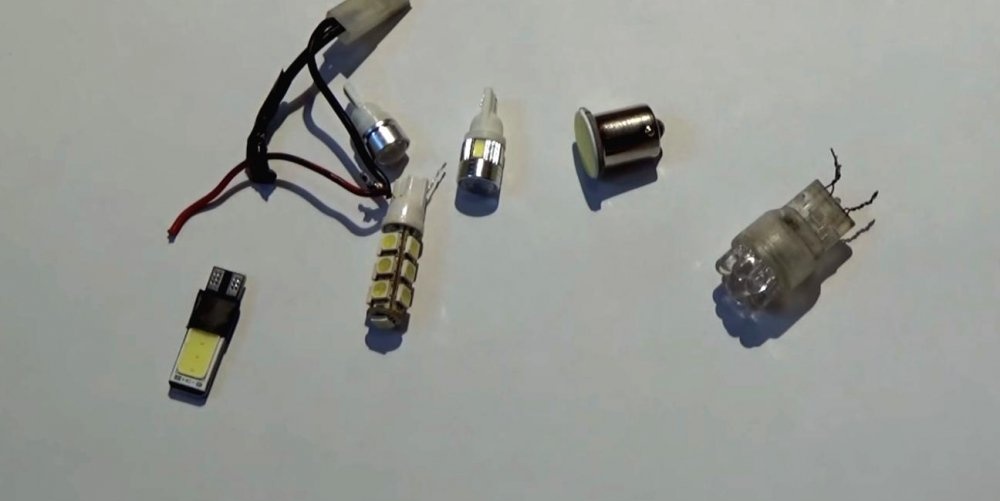
On my own Light-emitting diode It easily lasts more than 50,000 hours in optimal conditions, but in a car, especially a domestic one, it is sometimes not enough for a month. At first Light-emitting diode begins to flicker, and then completely burns out.
Stabilizer for LEDs and DRLs

What explains this?


The lamp manufacturer writes the marking “12V”. This is the optimal voltage at which LEDs the lamp operates almost at maximum. And if you supply 12 V to this lamp, it will last at maximum brightness for a very long time.
So why does it burn out in the car? Initially, the voltage of the car’s on-board network is 12.6 V. An overestimation of 12 is already visible. And the voltage of the network of a running car can reach up to 14.5 V. Let’s add to all this various surges from switching powerful high- or low-beam lamps, powerful voltage pulses and magnetic interference when starting the engine from the starter.And we won’t get the best network for power supply LEDs, which, unlike incandescent lamps, are very sensitive to all changes.
Since simple Chinese lamps often have no limiting elements other than a resistor, the lamp fails due to overvoltage.
During my practice, I changed dozens of such lamps. Most of them did not serve even a year. Eventually I got tired and decided to look for an easier way out.

Simple voltage stabilizer for LEDs


To ensure comfortable operation for LEDs I decided to make a simple stabilizer. Absolutely not difficult, any motorist can repeat it.
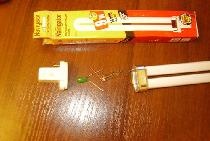
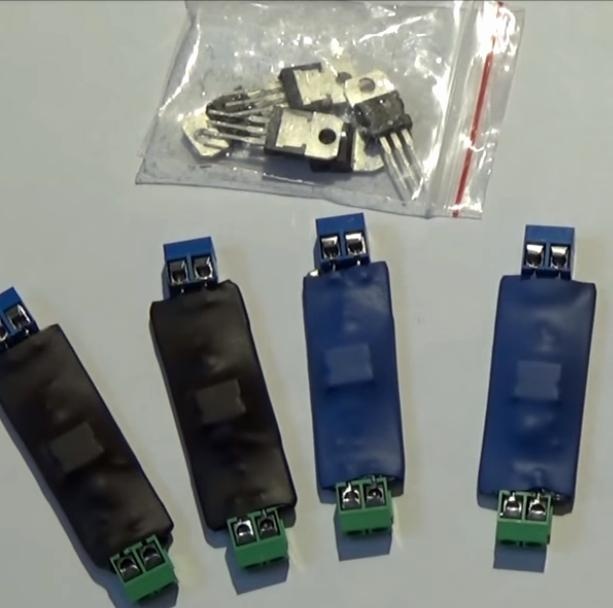
All we need:

Look like that's it. The entire package costs pennies on Ali Express - links in the list.

Stabilizer circuit


Stabilizer for LEDs and DRLs

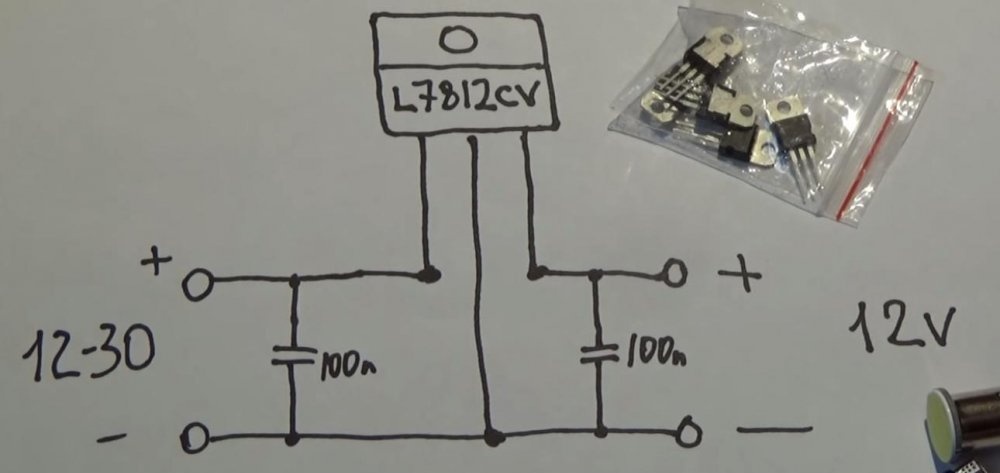
The circuit is taken from the datasheet for the L7805 chip.
Stabilizer for LEDs and DRLs

It's simple - on the left is the entrance, on the right is the exit. Such a stabilizer can withstand up to 1.5 A load, provided that it is installed on a radiator. Naturally, for small light bulbs no radiator is needed.

Stabilizer assembly for LEDs


All you need to do is cut out the required piece from the PCB. There is no need to etch the tracks - I cut out simple lines with a regular screwdriver.
Solder all the elements and you're done. No setup required.
Stabilizer for LEDs and DRLs

Stabilizer for LEDs and DRLs

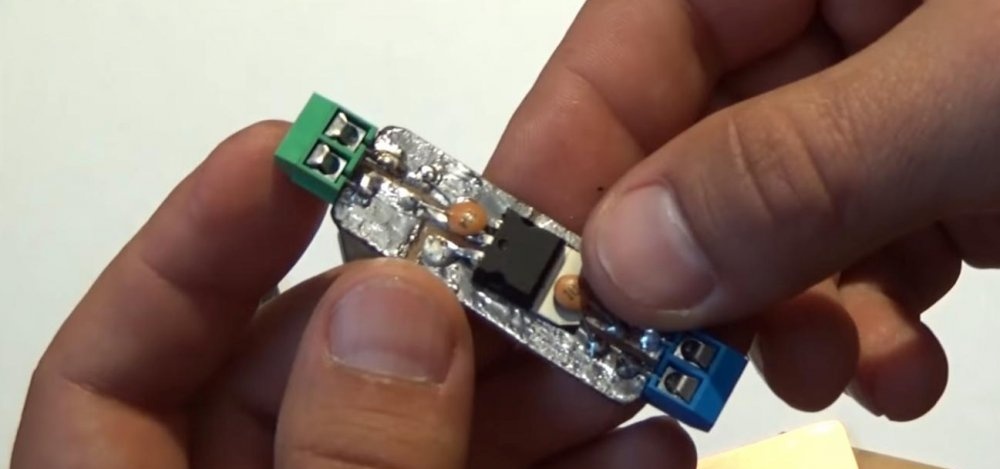
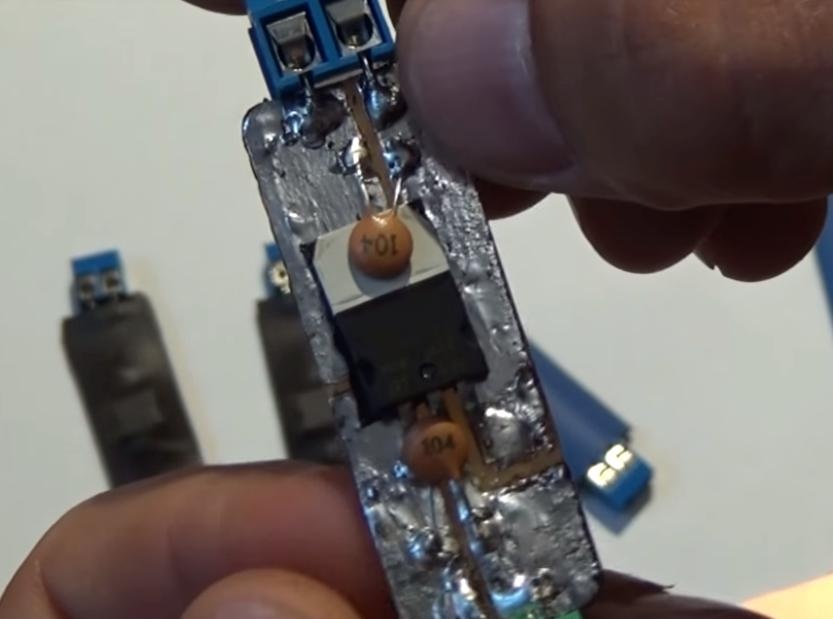
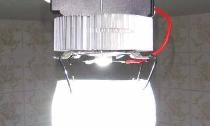
Thermal blower serves as the housing.
Another advantage of the circuit is that it is fashionable to use a car body as a radiator, since the central terminal of the microcircuit body is connected to the minus.
Stabilizer for LEDs and DRLs

That's all, the LEDs no longer burn out. I’ve been driving for more than a year and forgot about this problem, which I advise you to do as well.

Watch the assembly video


come back
Comment
  • bowtiesmilelaughingblushsmileyrelaxed relaxedsmirk
    heart_eyeskissing_heartkissing_closed_eyesflushedrelievedsatisfiedgrin
    winkstuck_out_tongue_winking_eyestuck_out_tongue_closed_eyesgrinningkissingstuck_out_tonguesleeping
    worriedfrowninganguishedopen_mouthgrimacingconfusedhushed
    expressionlessunamusedsweat_smilesweatdisappointed_relievedwearypassive
    disappointedconfoundedfearfulcold_sweatperseverecrysob
    joyastonishedscreamtired_faceangryragetriumph
    sleepyyummasksunglassesdizzy_faceimpsmiling_imp
    neutral_faceno_mouthinnocent
3+three=
Comments (8)
  1. Victor
    #1 Victor Guests January 19, 2018 10:18
    0
    Everything is fine, but...
    And the flange of the microcircuit will not short-circuit for an hour, plus and minus, the insulation is not visible. With a lamp of good power, good power will be released on the LM-ke and non-melting insulation is needed.
  2. Vladimir
    #2 Vladimir Guests 20 January 2018 06:29
    8
    It is more correct to stabilize not the voltage on the LEDs, but the current through them. The simplest version is LM317. Set the current value to 90% of the maximum value for a given diode.
    1. Dimka
      #3 Dimka Guests January 20, 2018 11:16
      2
      You're not entirely right! For LEDs yes - it is better to stabilize the current. But for finished lamps with resistors inside, it is the voltage that needs to be stabilized! Because the current cannot be stabilized for them.
  3. AlexPanych
    #4 AlexPanych Guests January 22, 2018 12:50
    1
    In fact, a slight increase in supply voltage is not a problem for LEDs with resistors.
    The problem is that in a car, there are significantly larger voltage surges in the on-board network; just look at the test standard for devices for the on-board network:
    Surges of +-100V may be normal. Yes, exactly from -100 to +100 volts.
    Thus, in order to protect yourself as an adult, the first one should be a diode with a permissible reverse voltage of at least 100V, it’s great if it’s up to 1000V.
    But then you need a stabilizer. And since we already have a resistor, it should only “eat up” surges so as not to overheat. Therefore, I would advise taking not 7812 (stabilization voltage from +11.5 to +12.5), but 7815 (from +14.4 to +15.6). I think this is quite enough. And it won't get warm.
    But the Author is right - the less current through LEDs, the longer they will last. And if the manufacturer has lowered the resistance of the limiting resistor in order to get brighter light from cheap LEDs, then it is logical to choose 7812 with a lower output voltage.
  4. Dmitriy
    #5 Dmitriy Guests January 23, 2018 11:22
    3
    And everything would be fine, but, if you believe the description of the microcircuit, the capacitors must have a capacity of at least 2.2 microns for tantalum or ceramic, and at least 10 microns for electrolytes. Dissipation power is 8 W, so when using powerful LEDs need a heat sink. Please also note that the minimum input-output voltage difference must be at least 2.5 volts (12 + 2.5 = 14.5), so if the battery is not very good, and the lights, music and stove are on, the circuit will be of no use from the word "absolutely"...
  5. Vladimir
    #6 Vladimir Guests 3 February 2018 19:05
    2
    The link probably needs to be corrected - the 7805 microcircuit is indicated, it is 5V, but you still need 7812 for 12V
  6. Guest Vladimir
    #7 Guest Vladimir Guests March 17, 2018 08:01
    1
    This is our opinion, let’s just try it...
  7. Ha
    #8 Ha Guests September 13, 2018 08:23
    1
    It is the current that needs to be stabilized, not the voltage.

4 homemade accessories for a rotary hammer that expand its capabilities

Various | Page 79 | Do it yourself

Computer chair reupholstery | Do it yourself

How to make an LED chandelier from PVC pipe with your own hands

«Do it yourself - with your own hands» - a site of interesting homemade products made from scrap materials and items at home. Step-by-step master classes with photos and descriptions, technologies, life hacks - everything a real master or just a craftsman needs for needlework. Crafts of any complexity, a large selection of directions and ideas for creativity.

We recommend reading

Washing machine error codes